
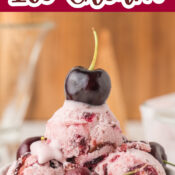
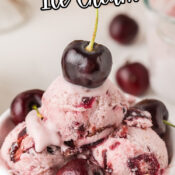
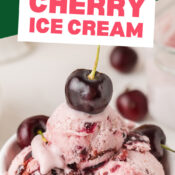
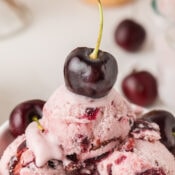

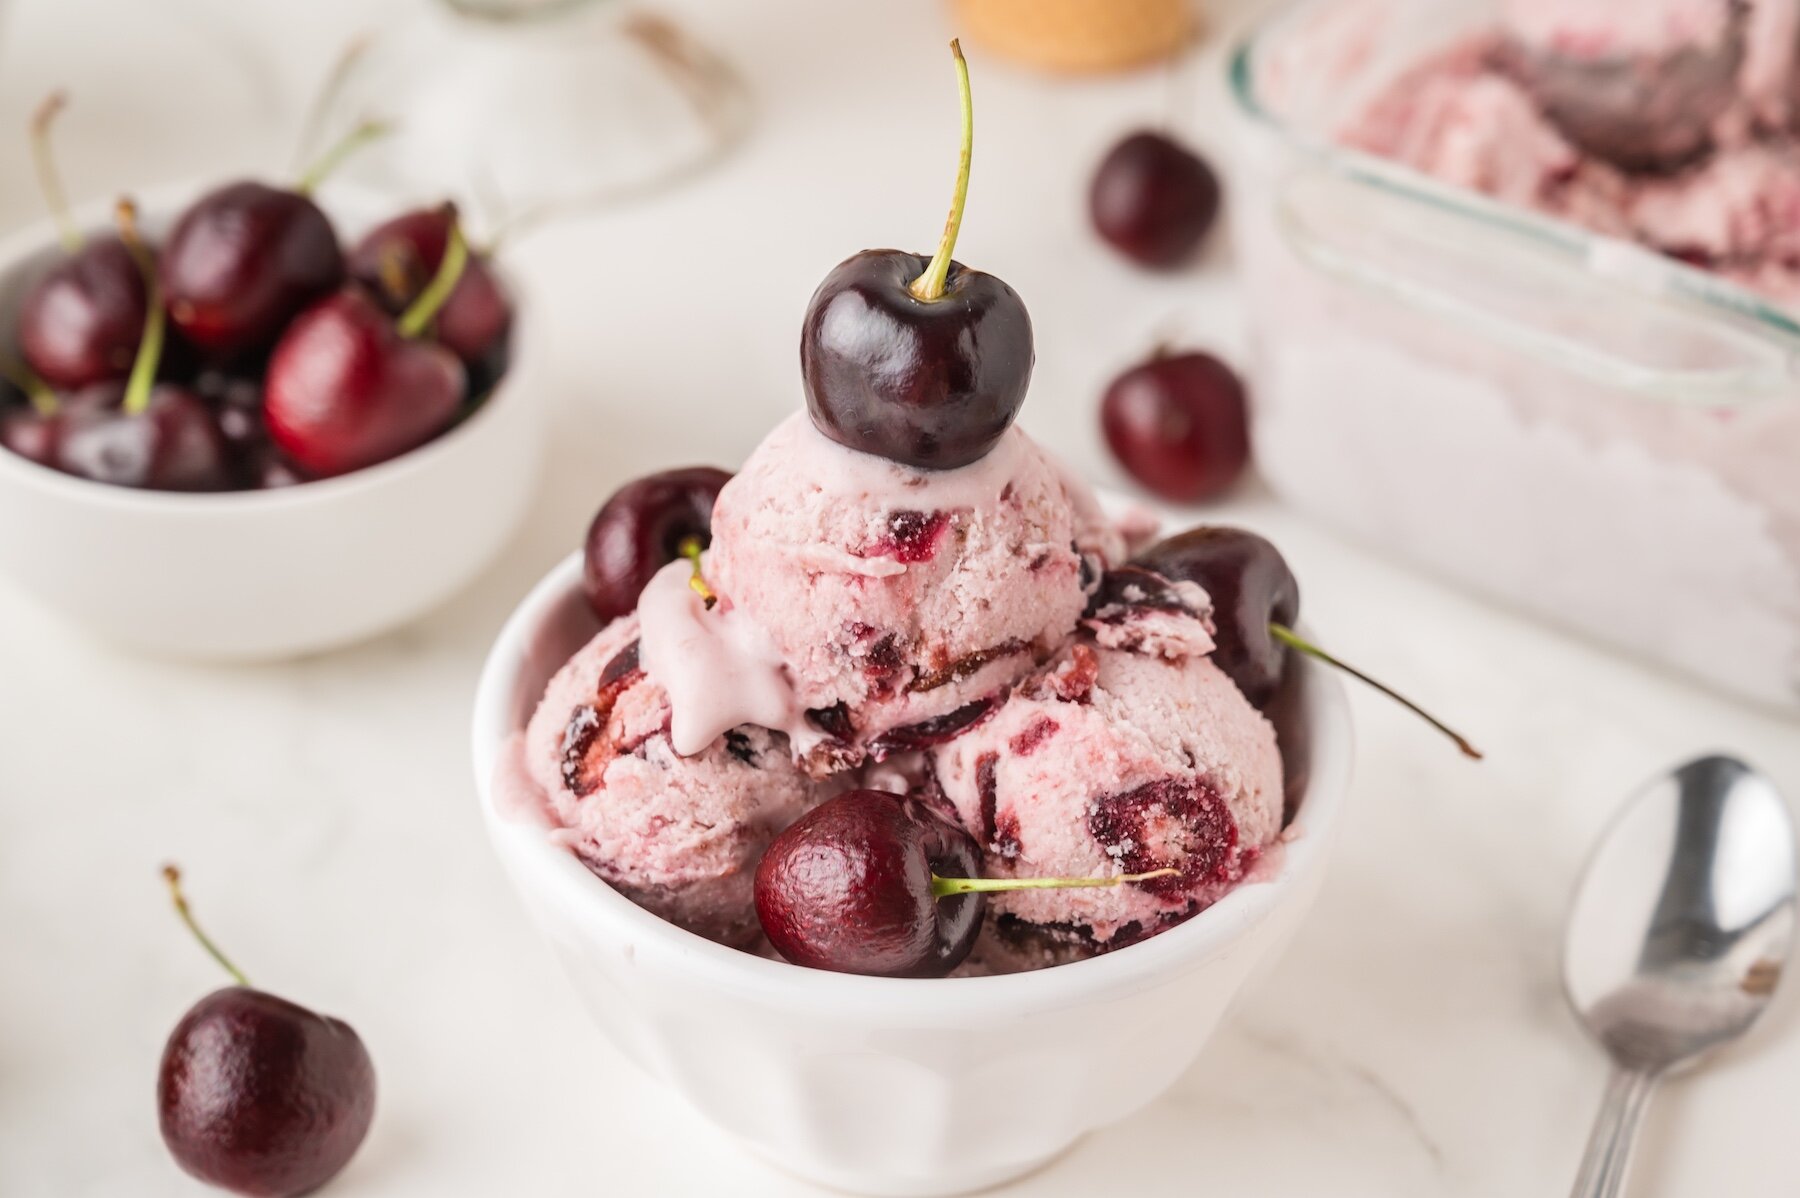
This black cherry ice cream recipe is sweet, creamy, and loaded with fresh cherry flavor that feels extra refreshing on a hot day. It's a simple homemade cherry ice cream made without a machine, no eggs, and just a few basic ingredients like heavy cream, vanilla, and cherries. If you're searching for light, healthy, and easy summer desserts for the 4th of July or Memorial Day, this cherry vanilla ice cream is quick and full of flavor. Pin this diy no churn recipe now so you always have one of the best homemade ice cream recipes ready to make!

Why this is the best black cherry ice cream recipe
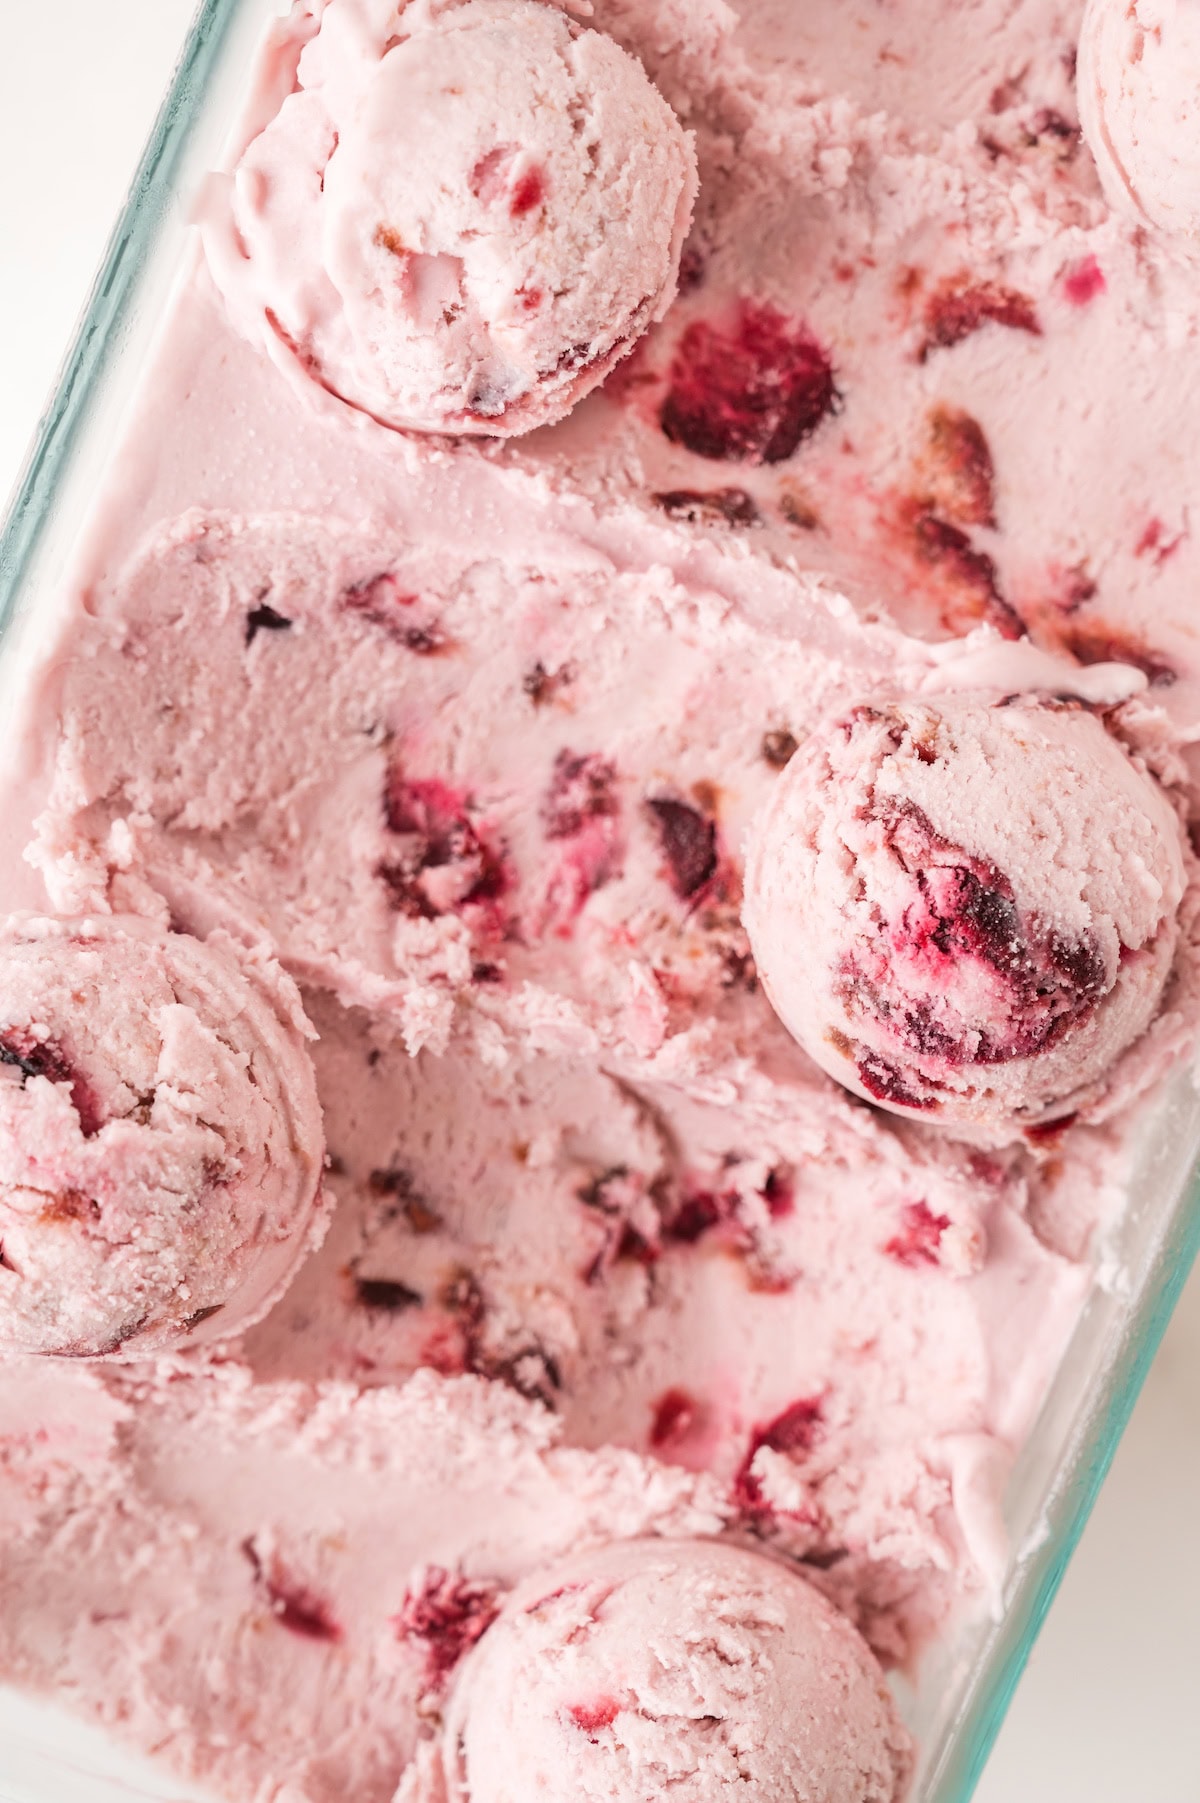
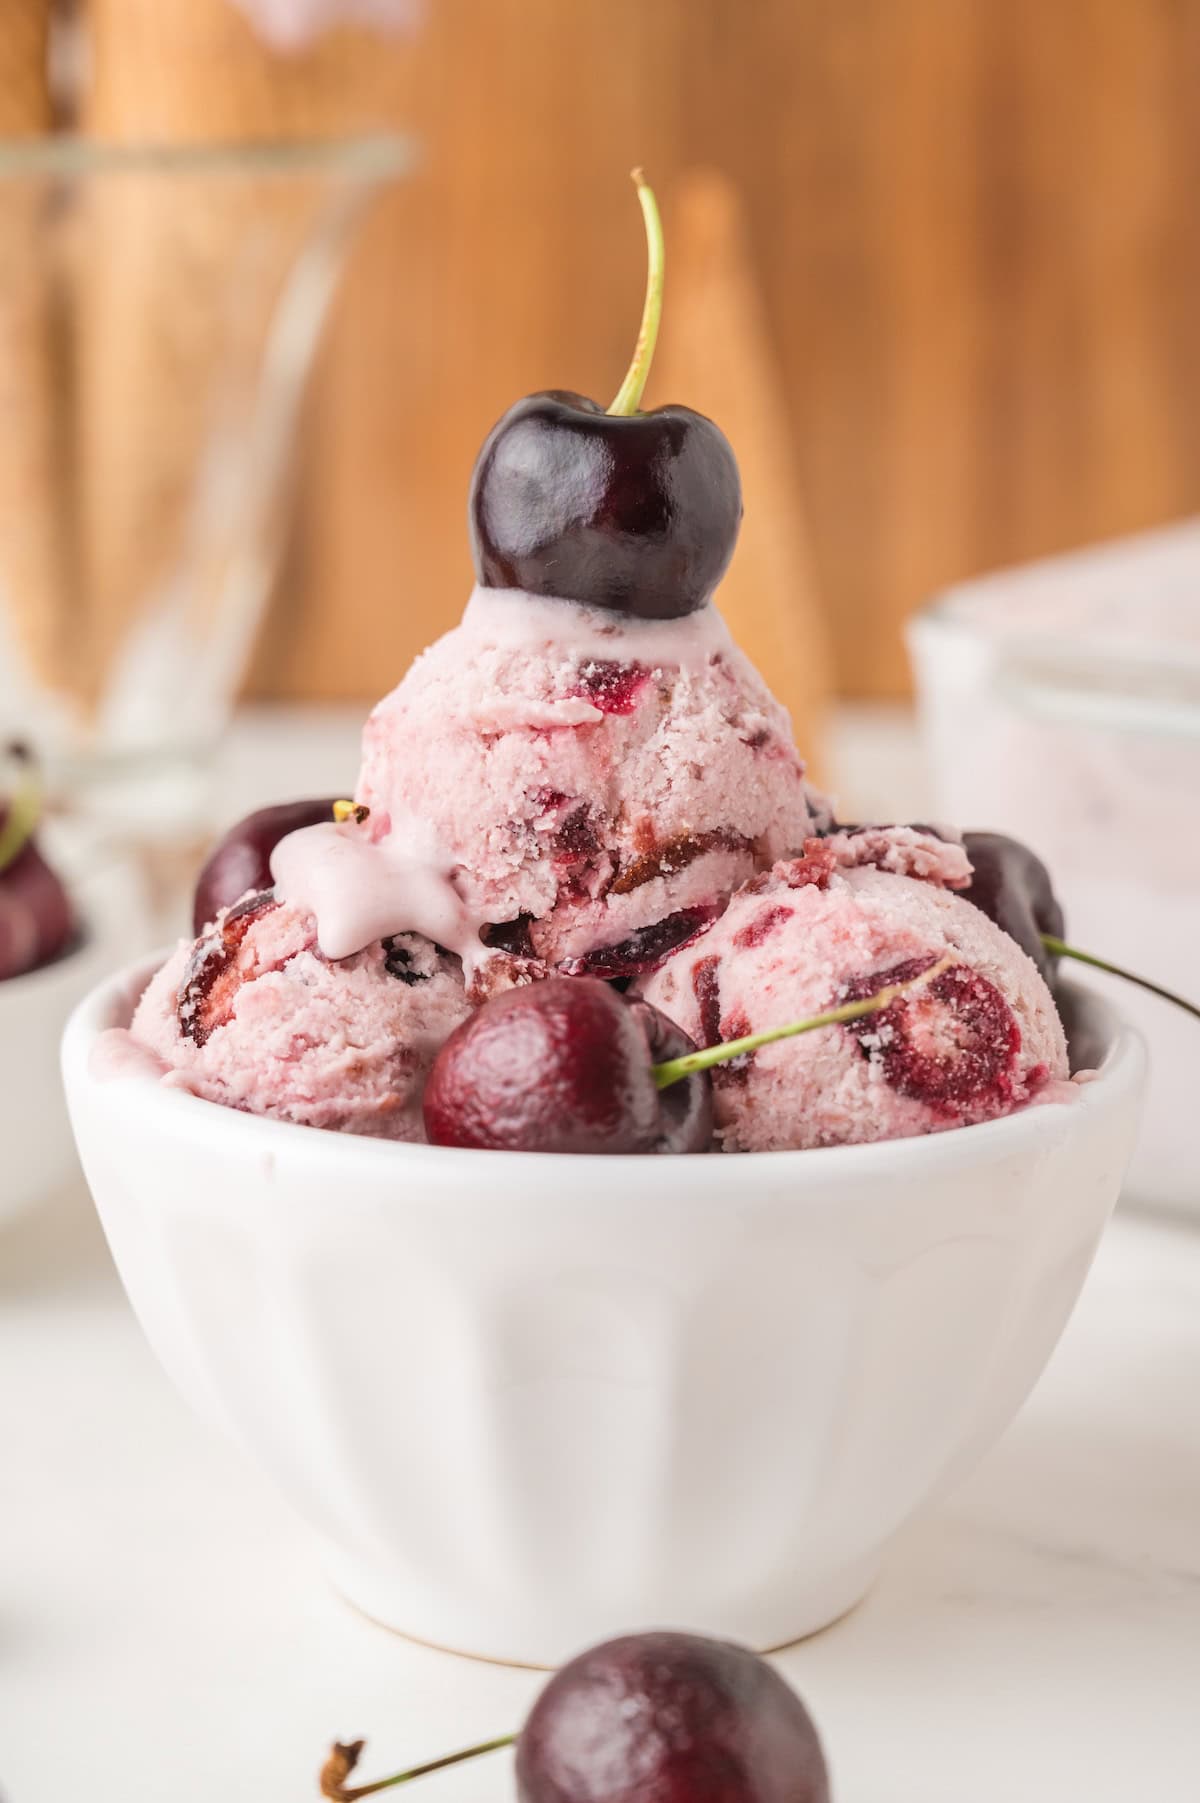
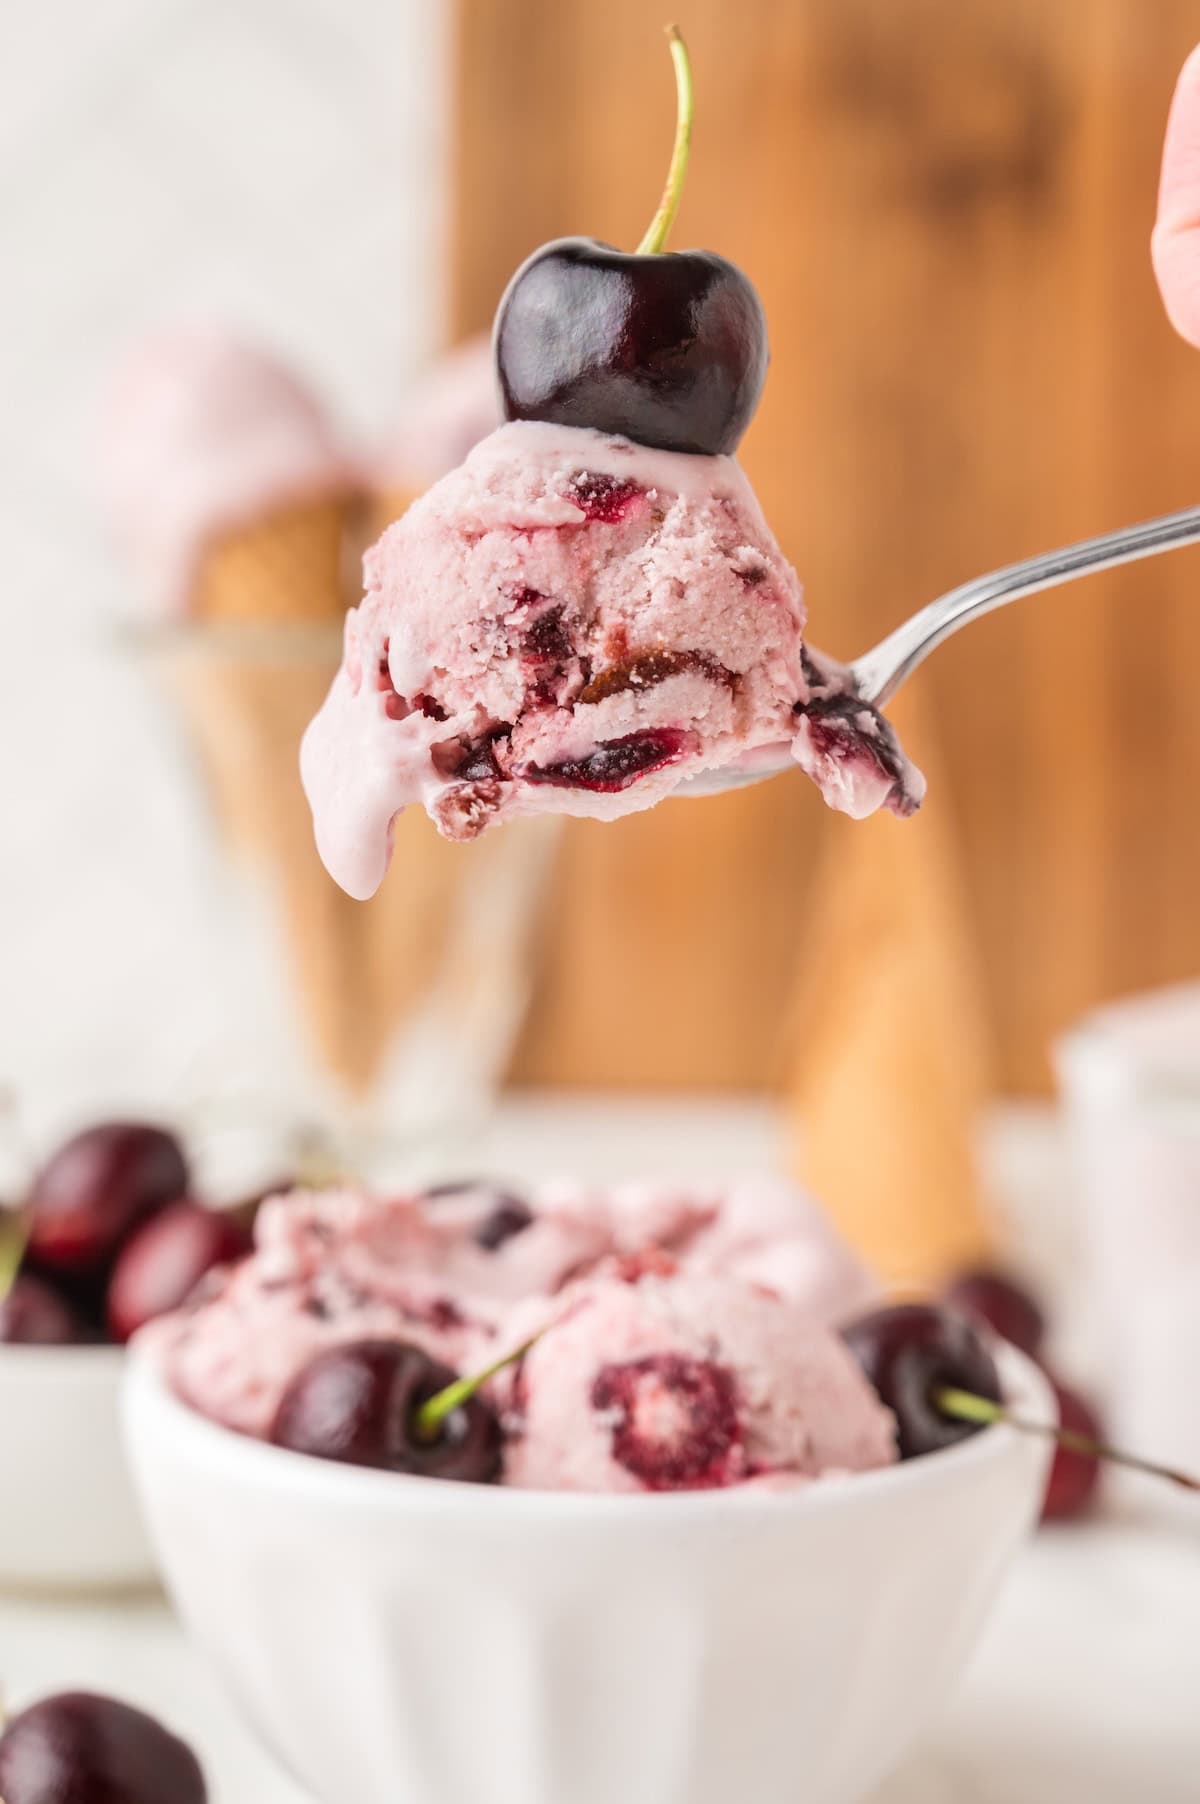
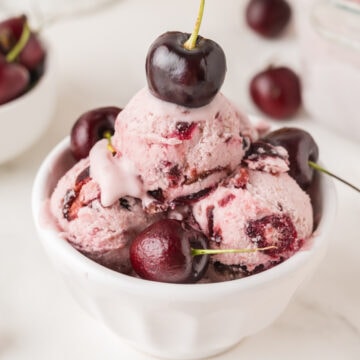
This sweet and creamy dessert is delicious! Everyone loves ice cream, and most of us love cherries, and the combination makes this recipe a big hit with kids and adults alike. Plus, nearly every bite contains chunks of juicy cherries, so you can be sure everyone is going to have a flavor-filled treat.
The ingredients for this easy recipe are common, easy to find, and inexpensive. You probably have most of the simple ingredients already in your pantry, and a quick trip to the grocery store will provide the remaining one or two. The exception is vanilla bean paste, but that is readily available on Amazon if not in your grocery store (larger ones do typically have it though). And if you need to, you can use vanilla extract in place of the vanilla bean paste.
This is a simple recipe. Cherry ice cream has only 5 ingredients!
This is an easy recipe. There are just a couple of easy steps: cook the cherries, whip the cream, mix the cherries and cream, freeze. That's really all there is to it. You can have this ice cream prepped and in the freezer in less than 15 minutes easily. Plus, all you need is an electric mixer - no ice cream maker required!
This recipe makes just the right amount. One batch makes about five servings, perfect for most families. If tightly wrapped, homemade ice cream can be stored for a couple of weeks (at most), so it helps that this recipe doesn't make a ton of extra. Nothing will go to waste!
What you'll need to make homemade cherry ice cream
Equipment
- Electric mixer - You need to beat the heavy cream to form stiff peaks, twice. You can do this with a whisk if you need to, but it takes a very long time and a lot of energy. Better to use a mixer and save yourself the work.
- Ice cream pan - You can use a plain old loaf pan if you don't have an ice cream pan, but the ice cream pan is better because it has an airtight lid that will prevent freezer burn. If you do use a plain loaf pan, make sure you wrap your ice cream tightly in plastic wrap before putting it in the freezer.
- Large bowl, small saucepan, rubber spatula, and measuring cups and spoons
Ingredients
See the printable recipe card at the bottom of the page for all measurements and nutritional information.
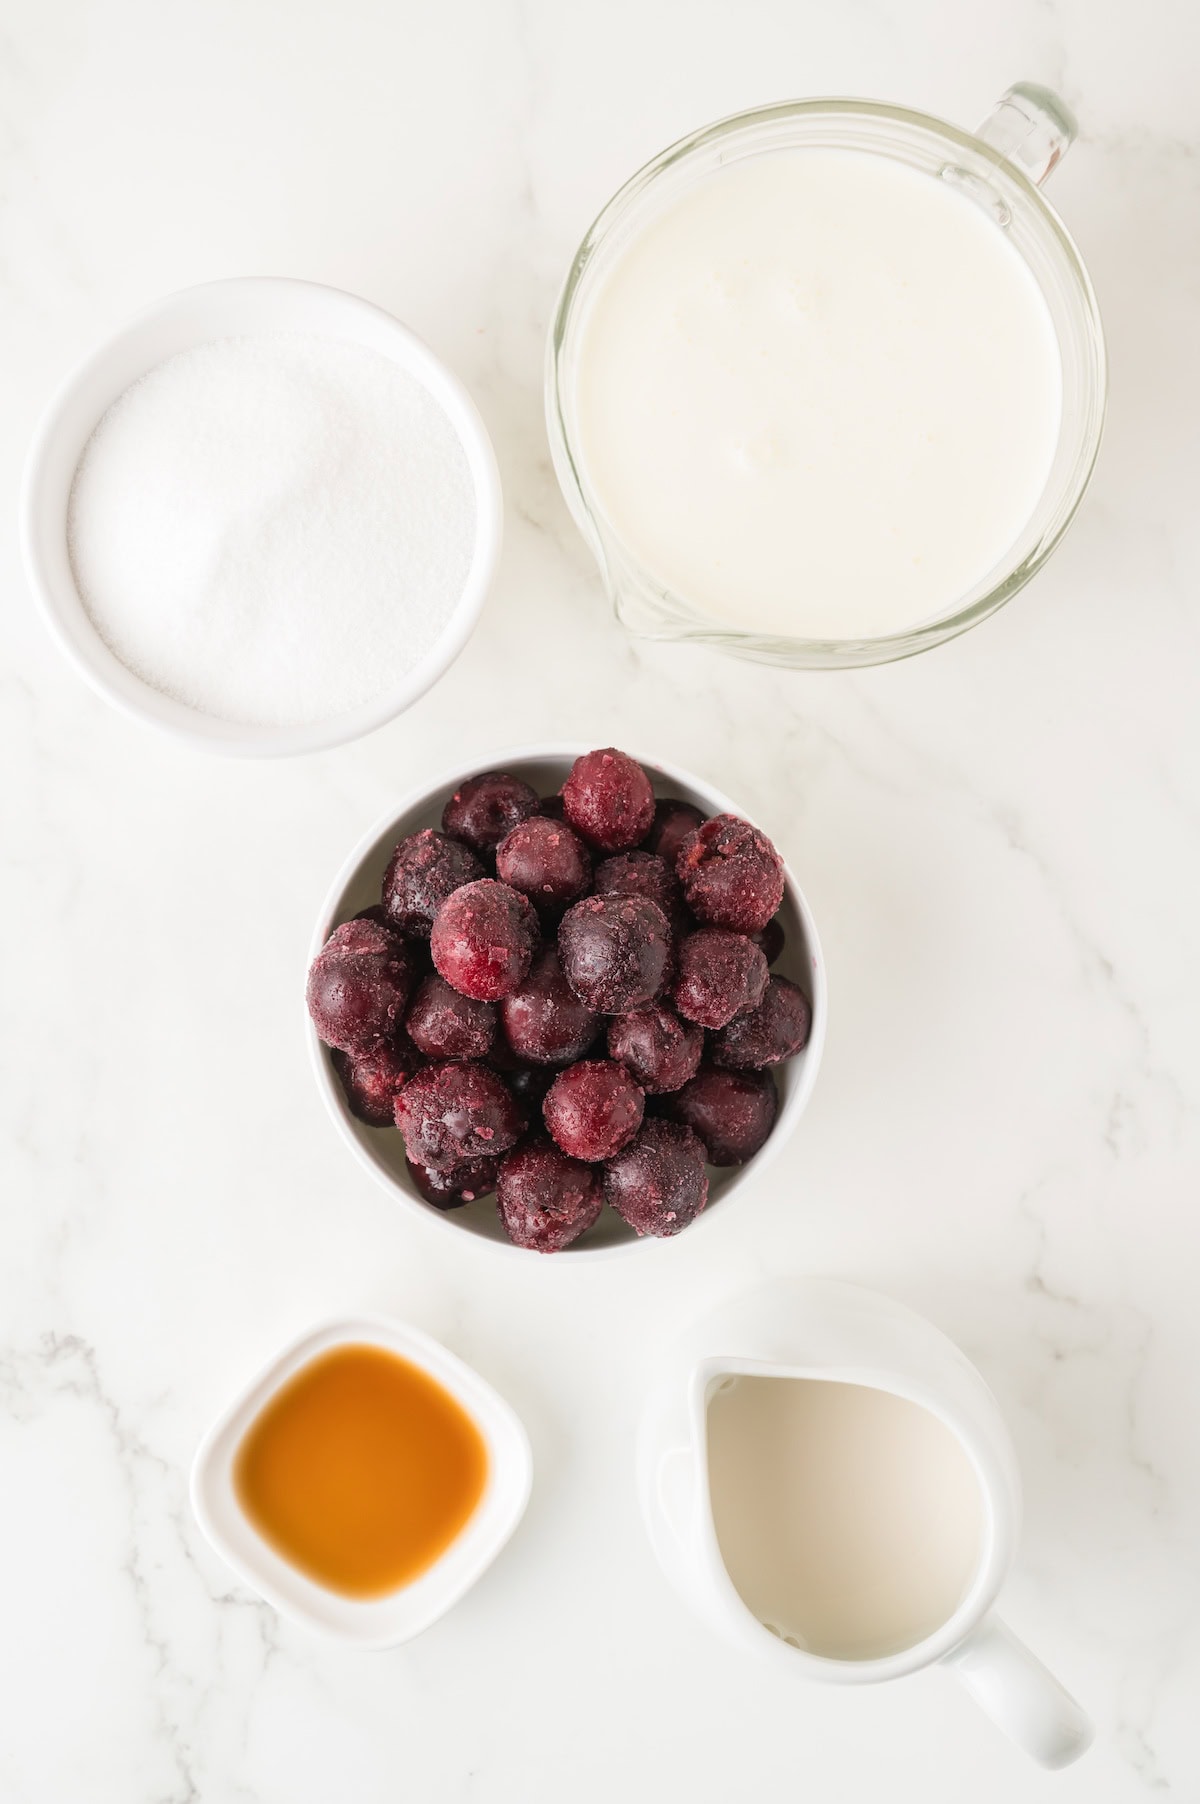
- Fresh or frozen cherries - These need to be pitted before you can use them. You will notice that I have used frozen cherries in my photos, and I do think that frozen cherries work a bit better because they release more juices while they thaw, but you can make this recipe using fresh cherries, and it will taste just as good. You will have to cook the cherries longer if you start with fresh ones.
- White sugar - You need to sweeten your ice cream. I don't recommend using a sugar substitute to cook the cherries (and that is only a quarter cup, so not a huge amount for 5 servings of ice cream), but you can use a substitute for the portion that goes into the actual ice cream.
- Heavy cream - This is the foundation of your ice cream. I don't know any way to make no churn ice cream (or any ice cream, for that matter) without heavy cream.
- Whole milk - This makes the ice cream a little thinner. If you don't add a little bit of whole milk, your finished ice cream will have an almost greasy consistency. But don't go for low-fat milk here. You want whole milk to avoid thinning the ice cream too much. If your ice cream doesn't have enough fat in it, it will get icy (with ice crystals, I mean) instead of being creamy.
- Vanilla bean paste - I prefer vanilla bean paste to vanilla extract for several reasons. First, vanilla extract is made by soaking vanilla beans in alcohol for a long time and then removing the beans. To make vanilla bean paste, they take concentrated vanilla extract, and then they add crushed vanilla beans to it. As you might imagine, vanilla bean paste has a deeper and richer vanilla flavor than vanilla extract. You can use them interchangeably, so if all you have is vanilla extract, you can use the same amount or a little more to get a similar flavor.
How to make black cherry ice cream
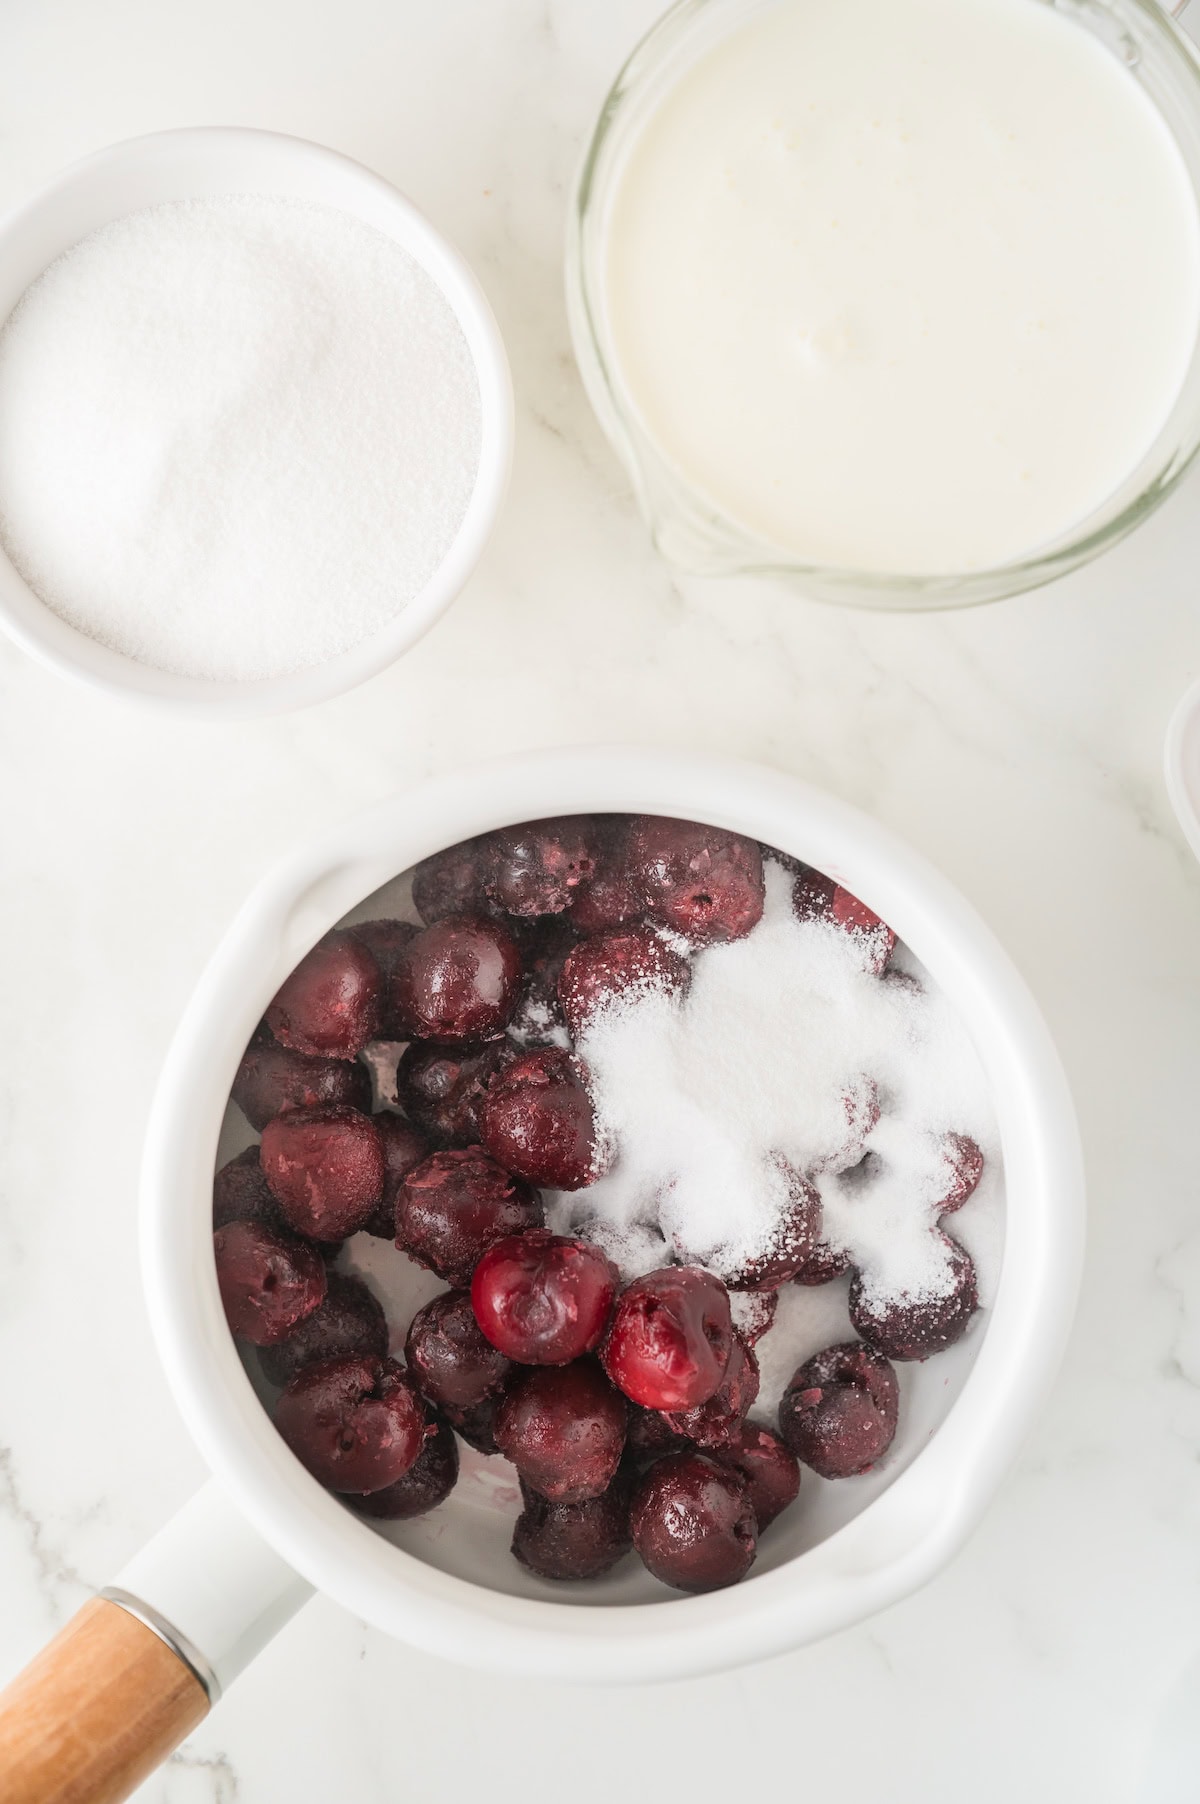
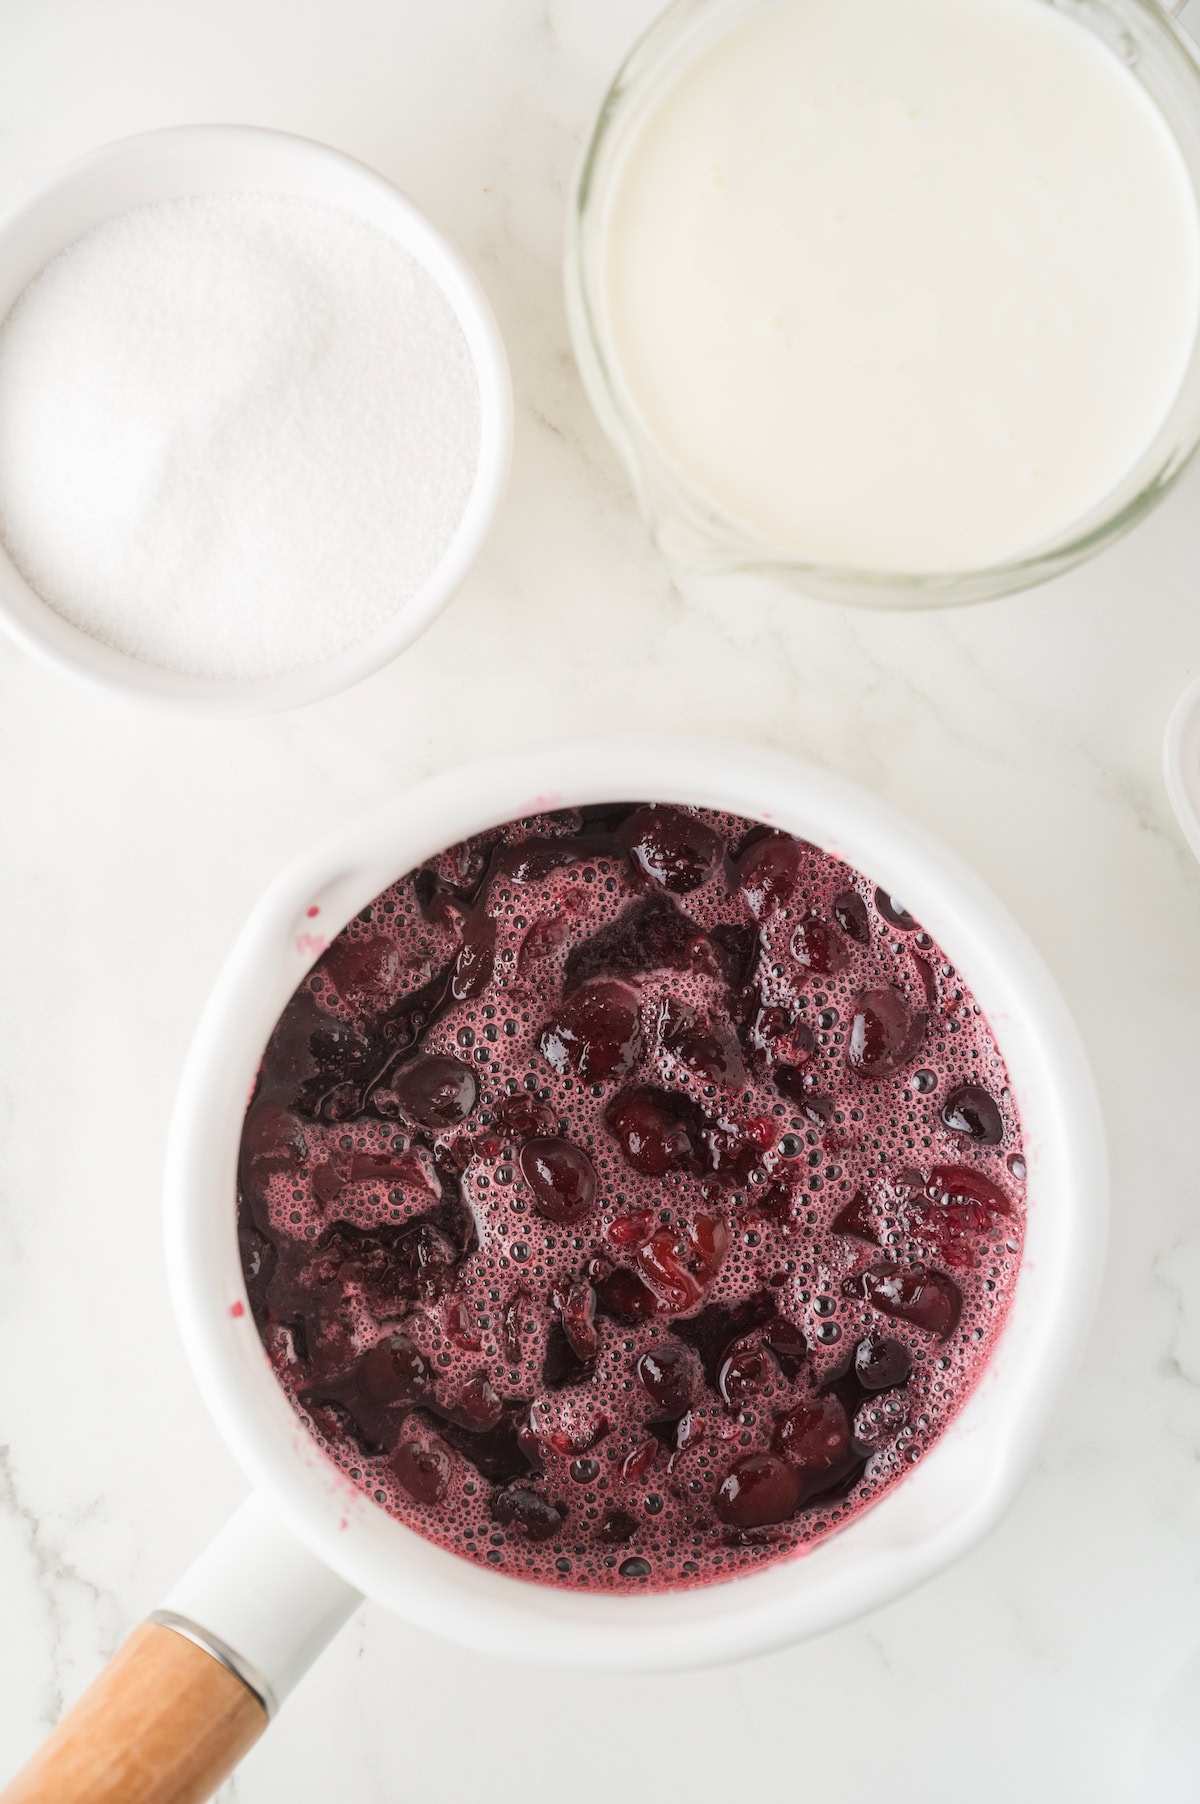
- Heat the cherries and ¼ cup sugar on the stove in a medium saucepan on medium-low or medium heat.

- Stir to dissolve the sugar and simmer until cherries are mostly broken down. Remove from the heat and set aside.
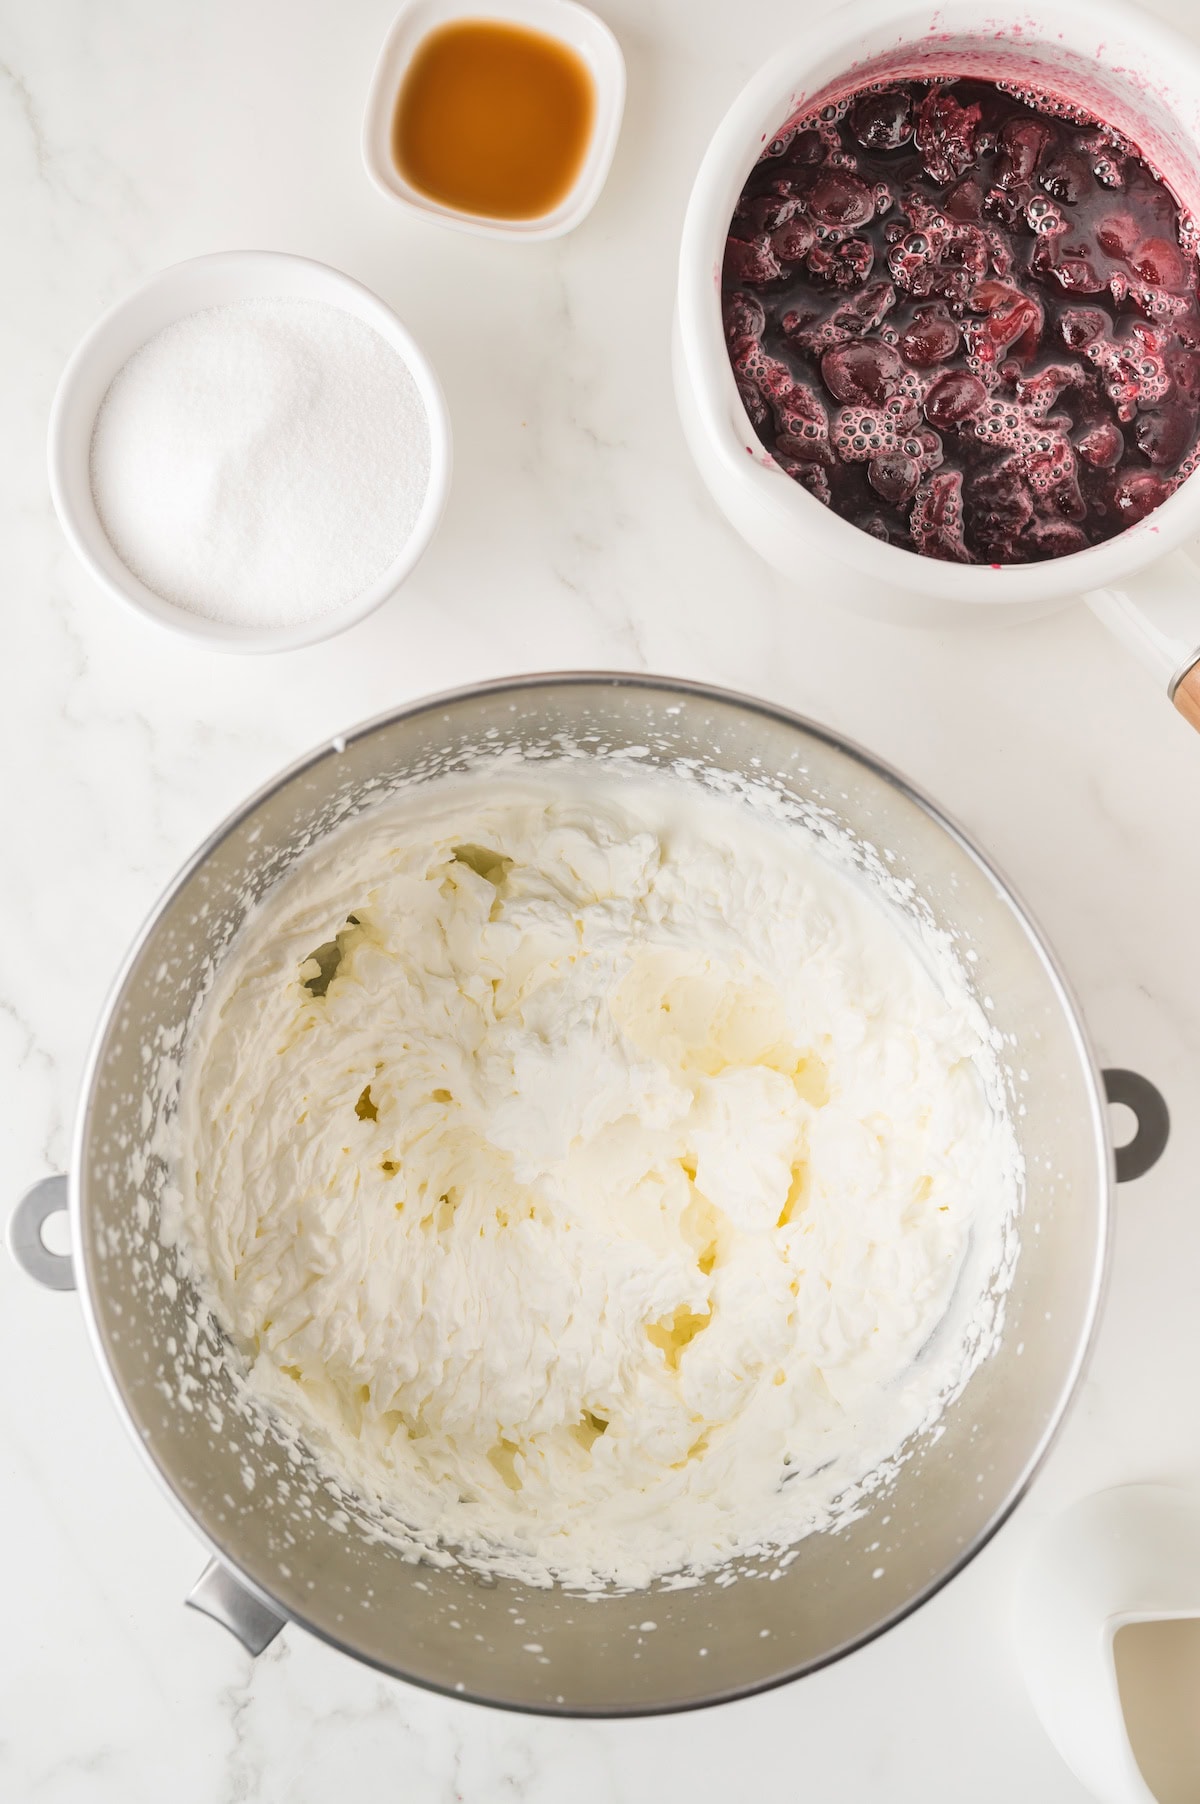
- Beat the heavy cream and remaining sugar until stiff peaks form.
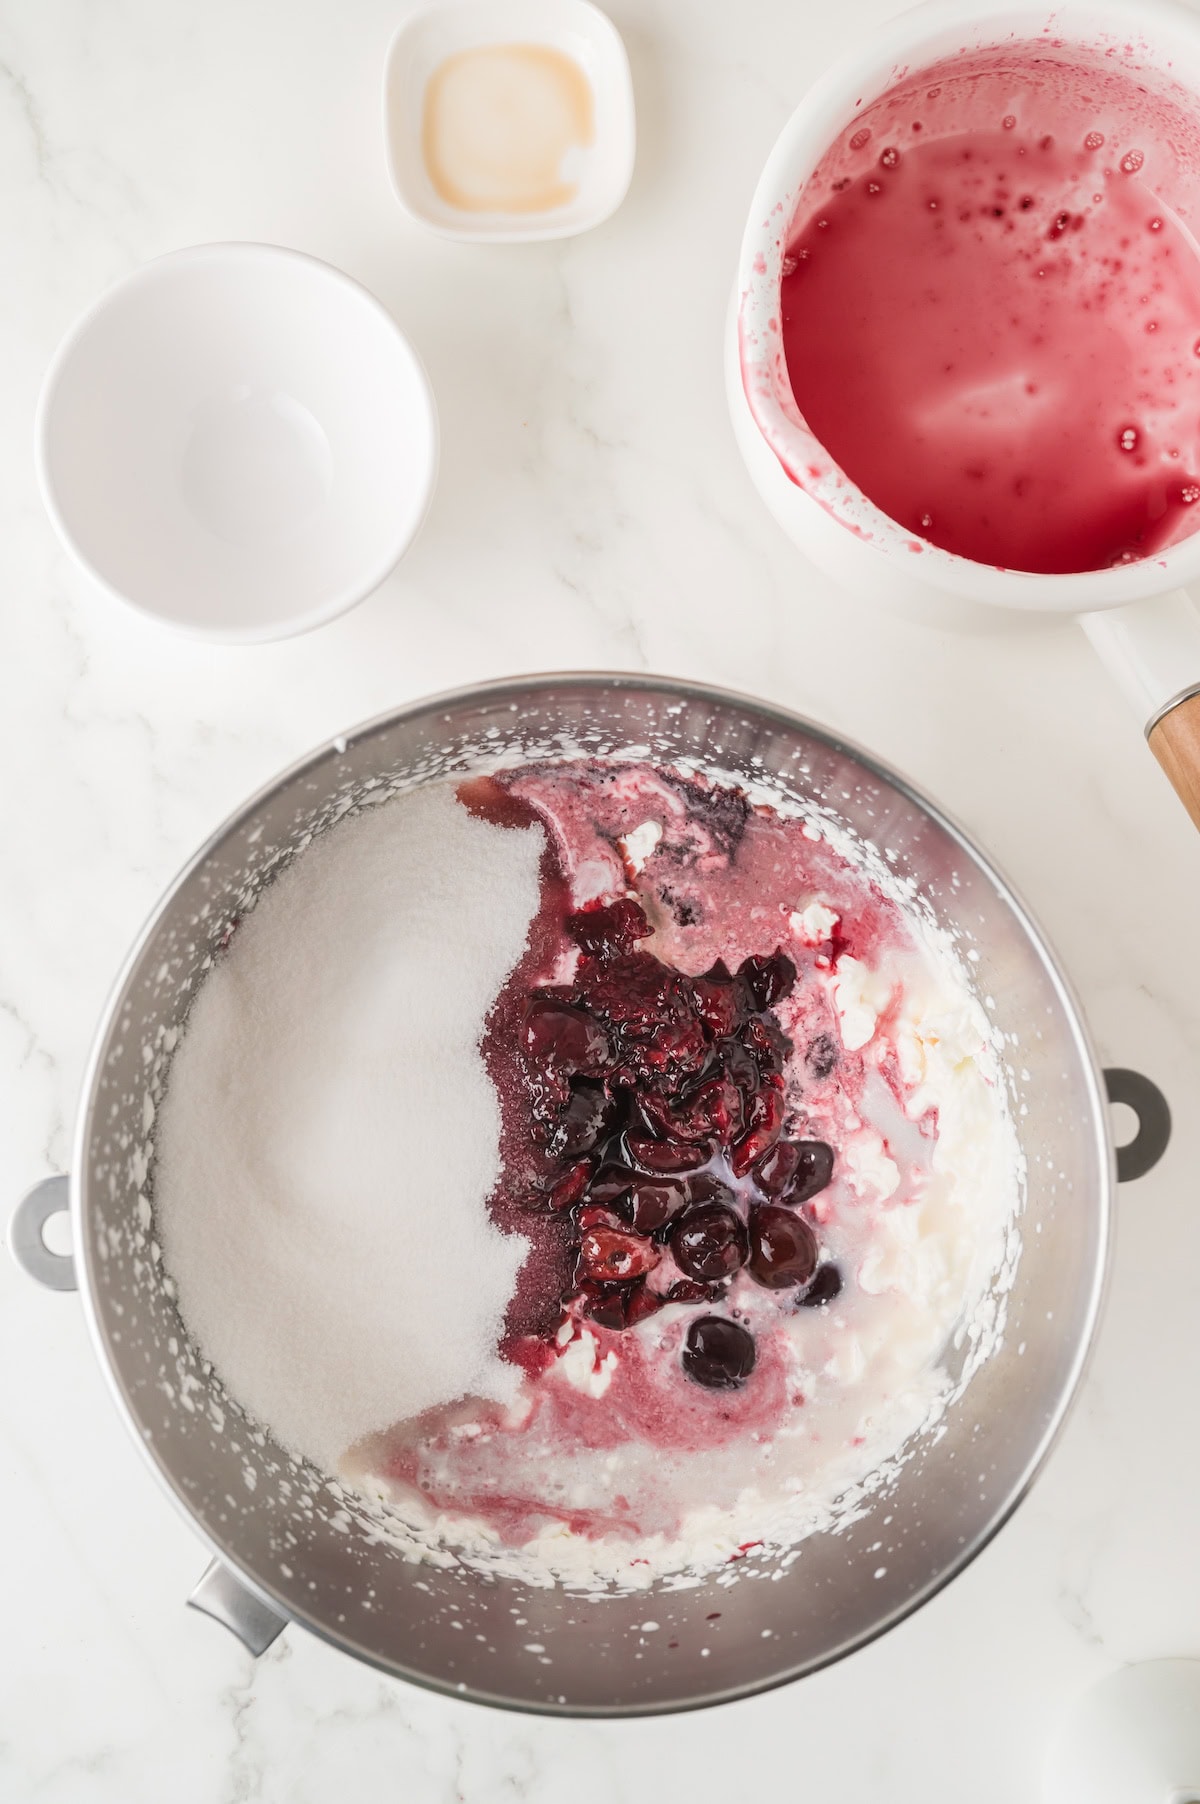
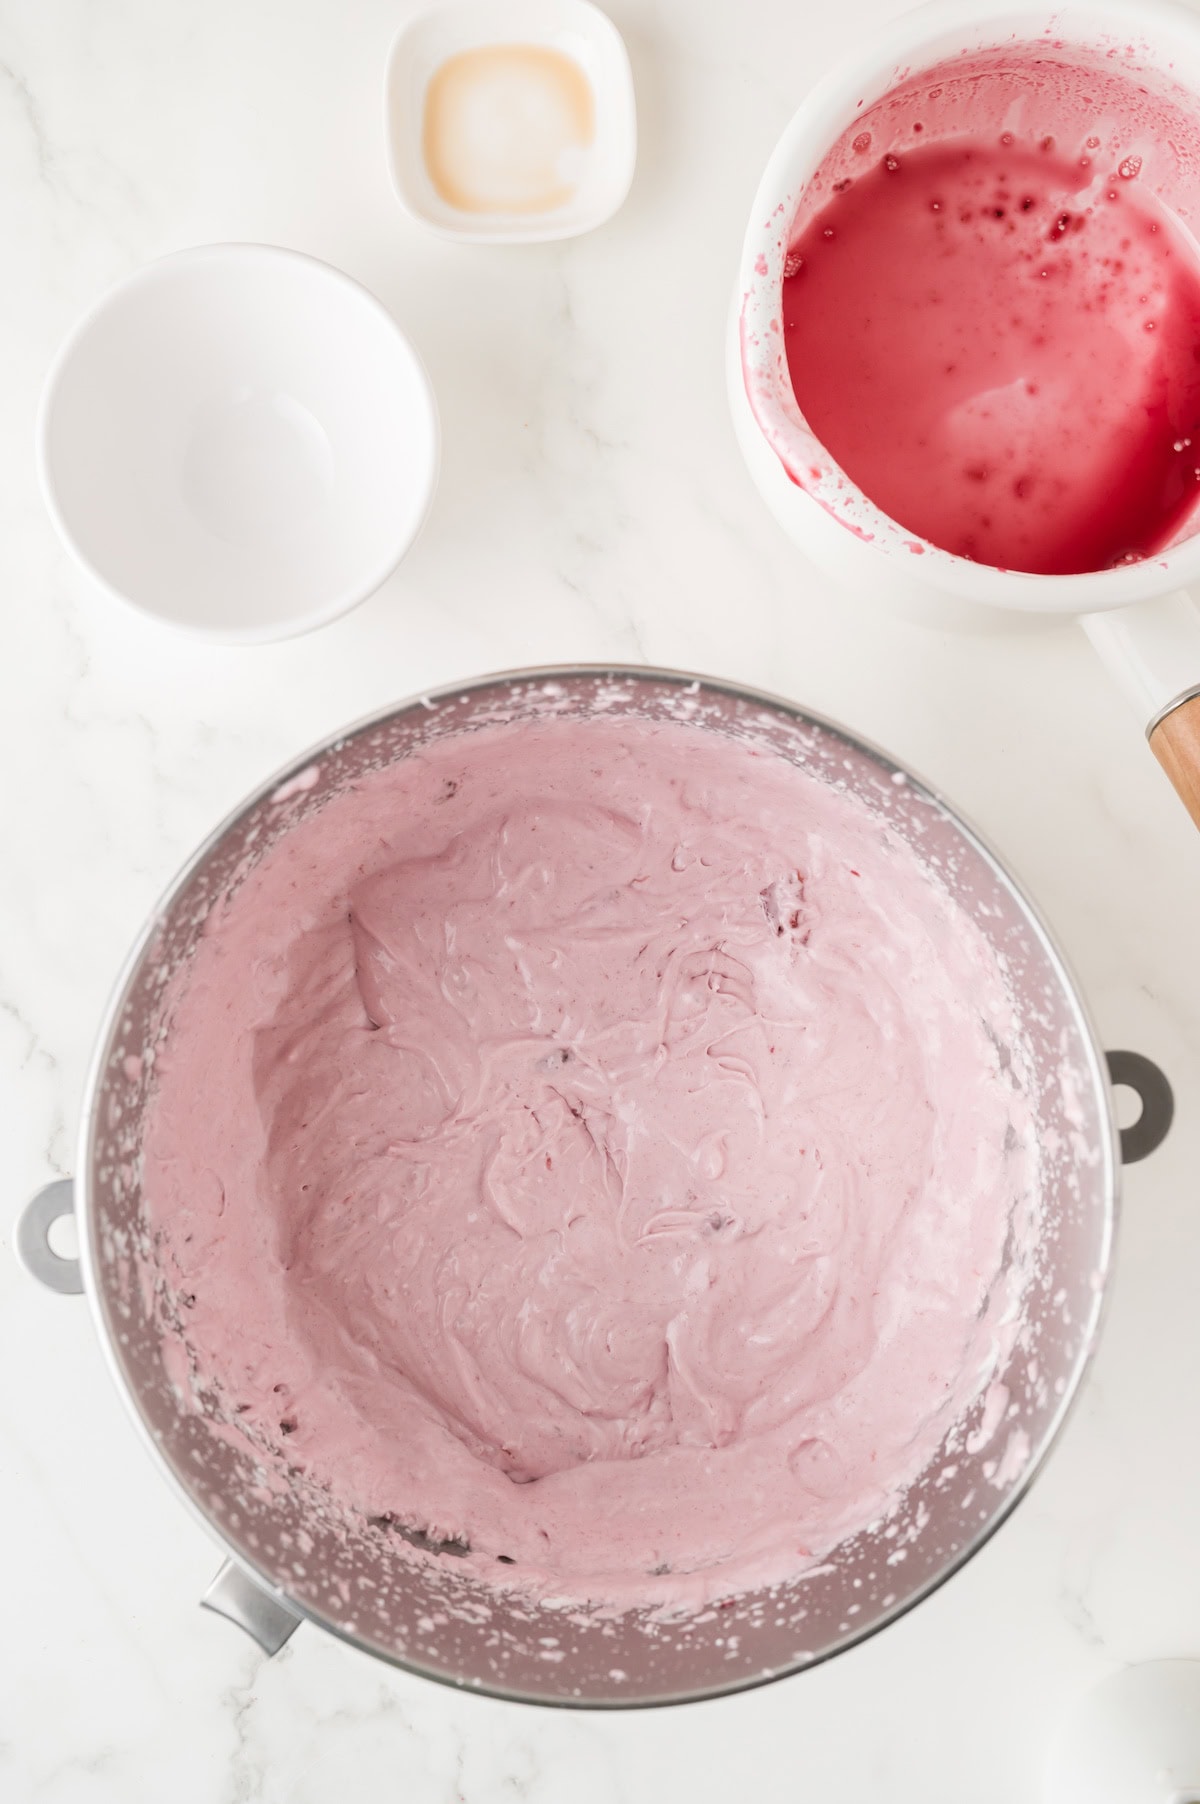
- Beat in the melted cherries, milk, and vanilla bean paste until the peaks start to form again. (They will not be as firm as before.)
- If you have trouble forming peaks the second time, use a spatula to fold in the cherries until the mixture is evenly distributed.
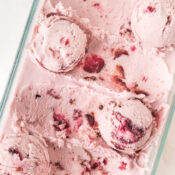
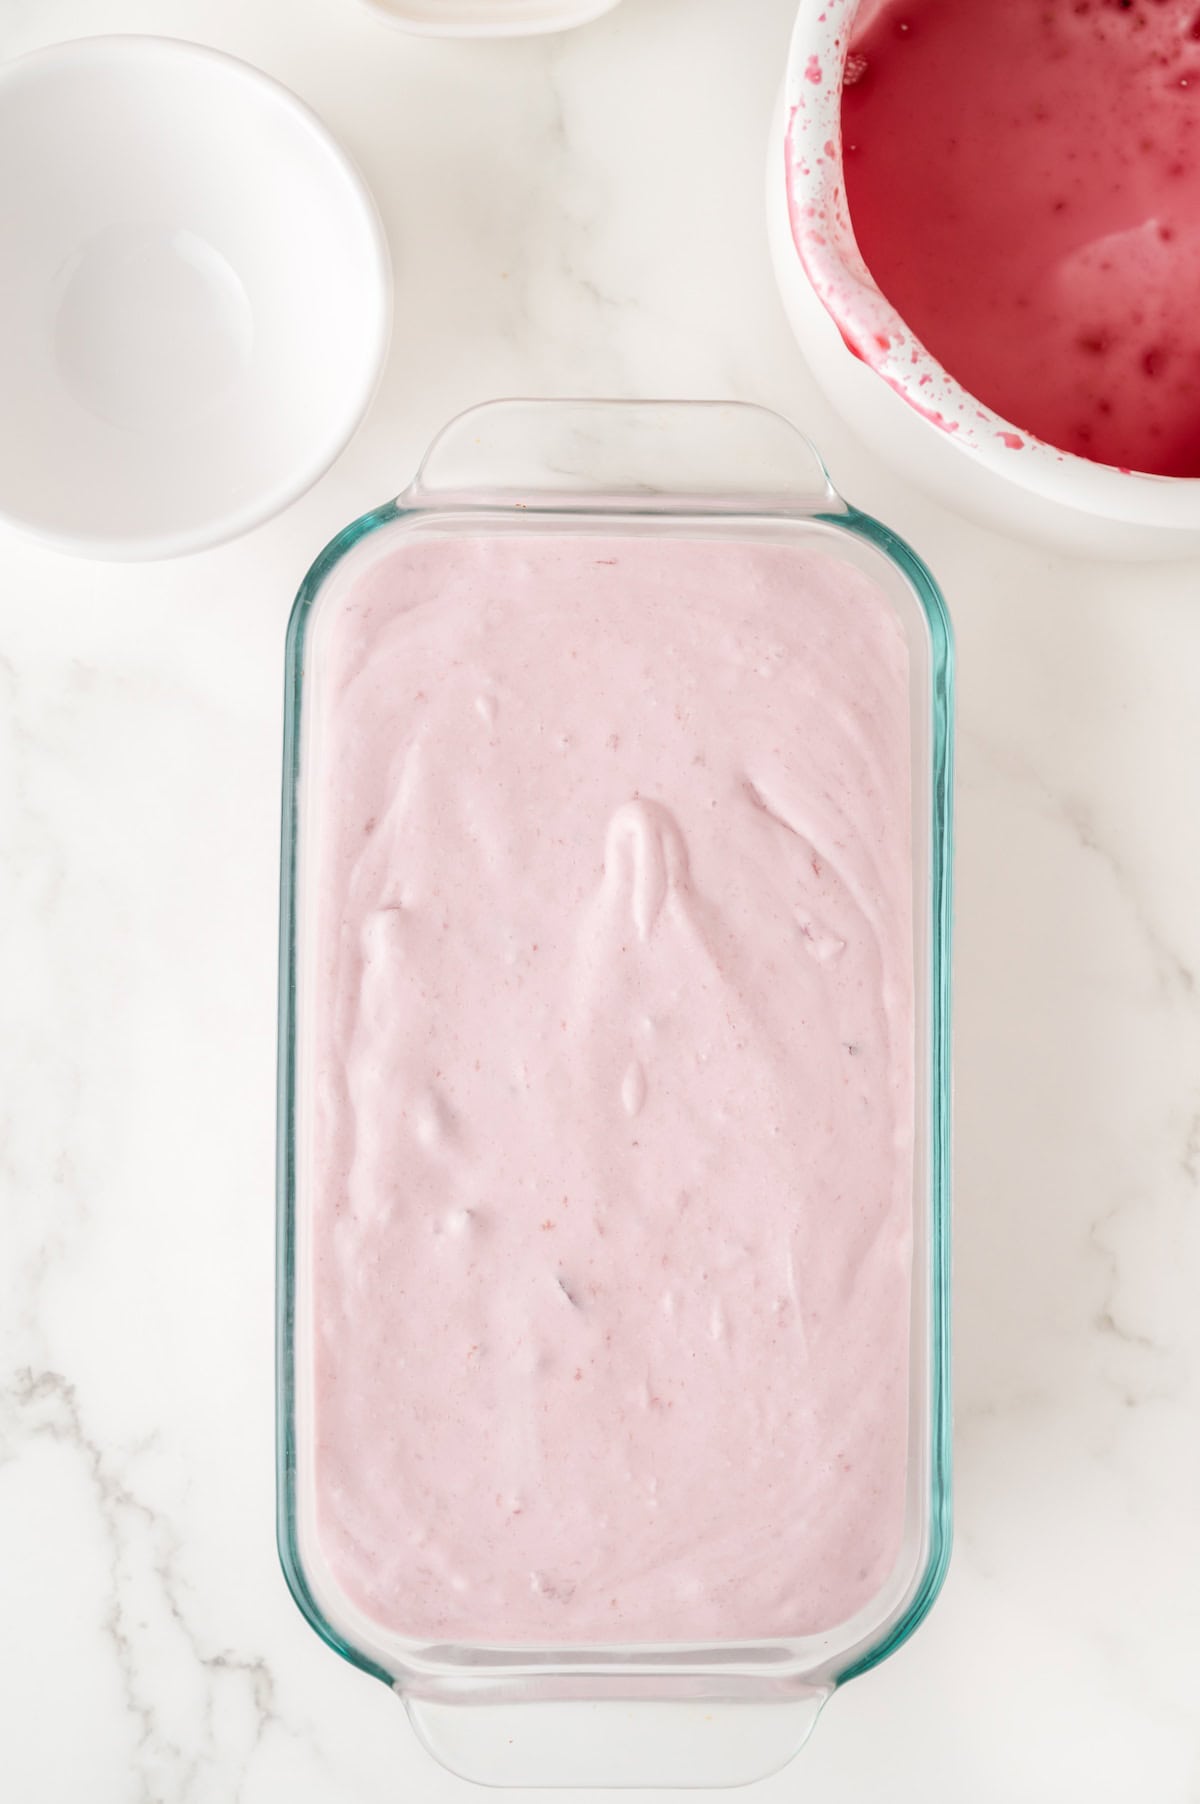
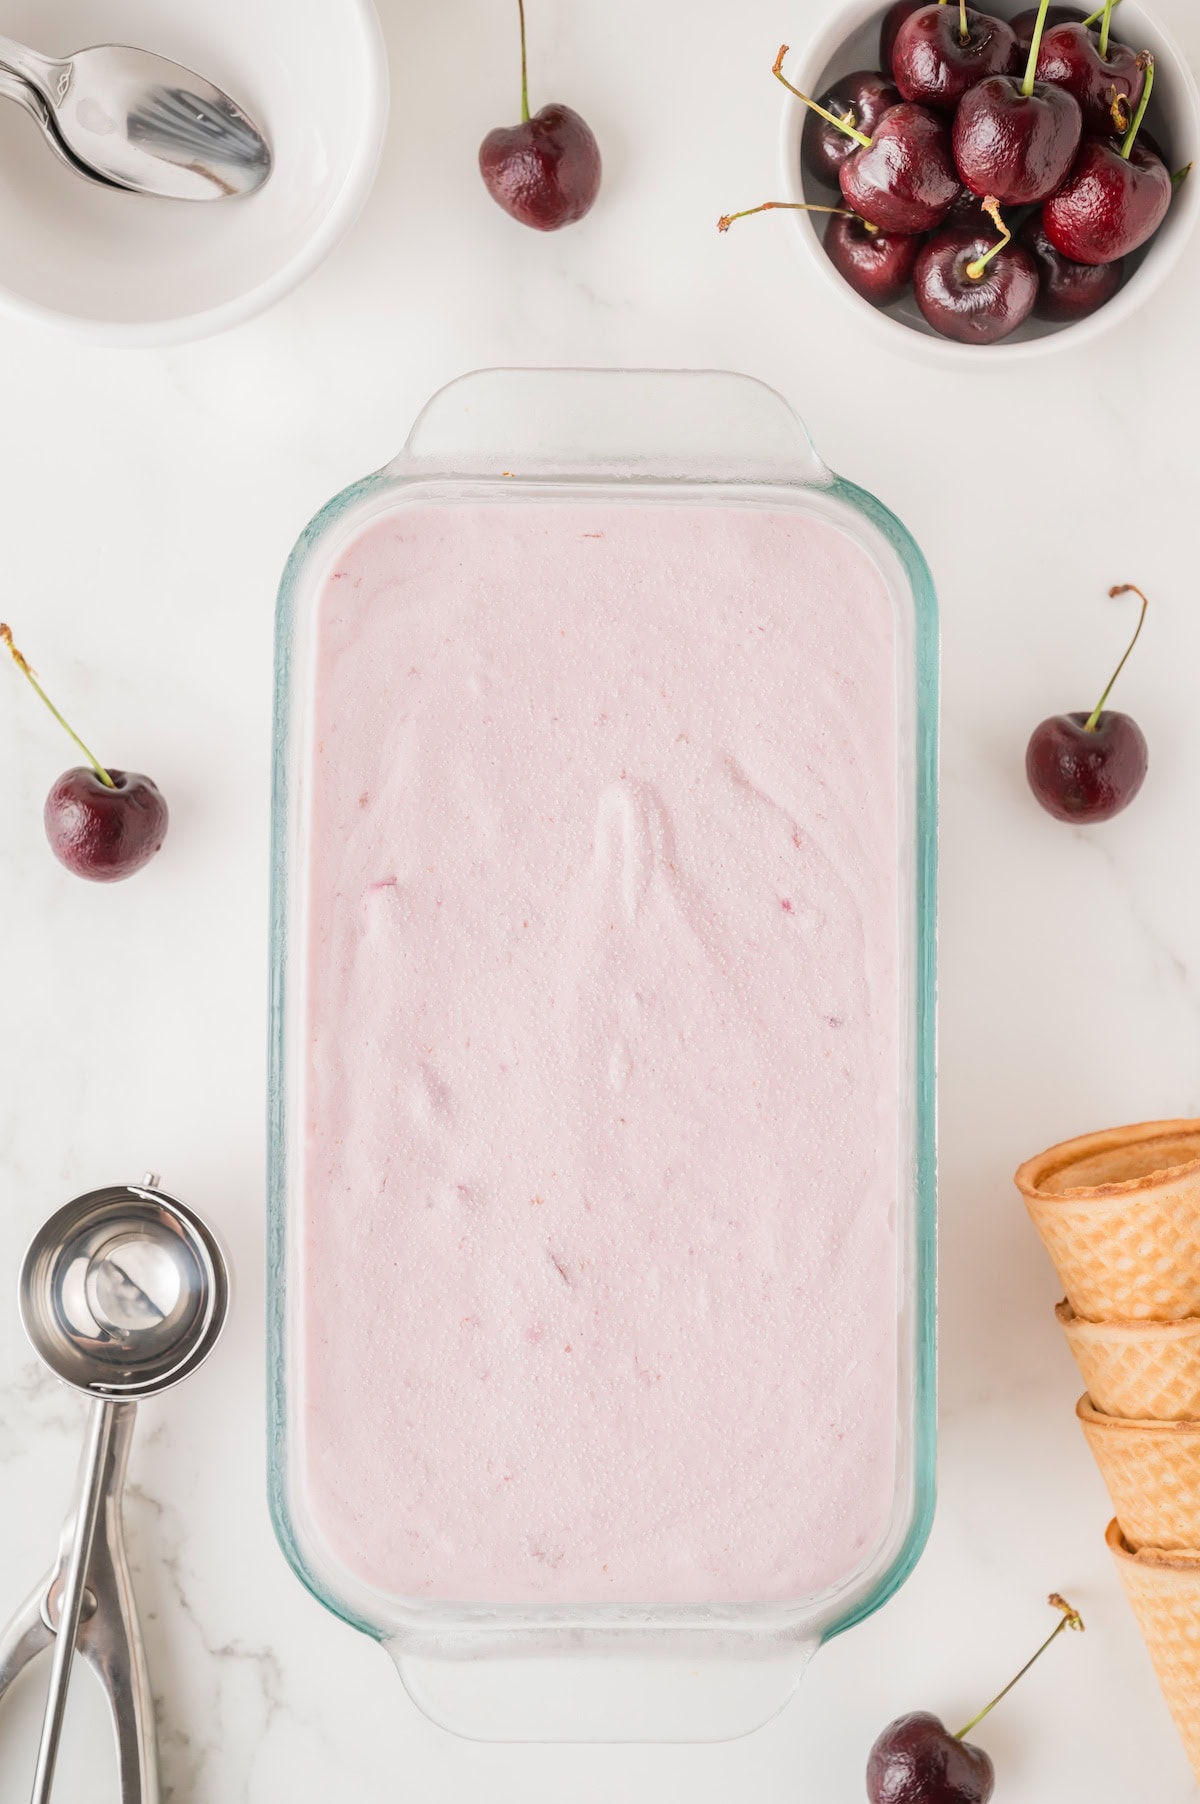
- Pour the cherry ice cream mixture into your ice cream pan.
- Freeze for at least 6 hours.
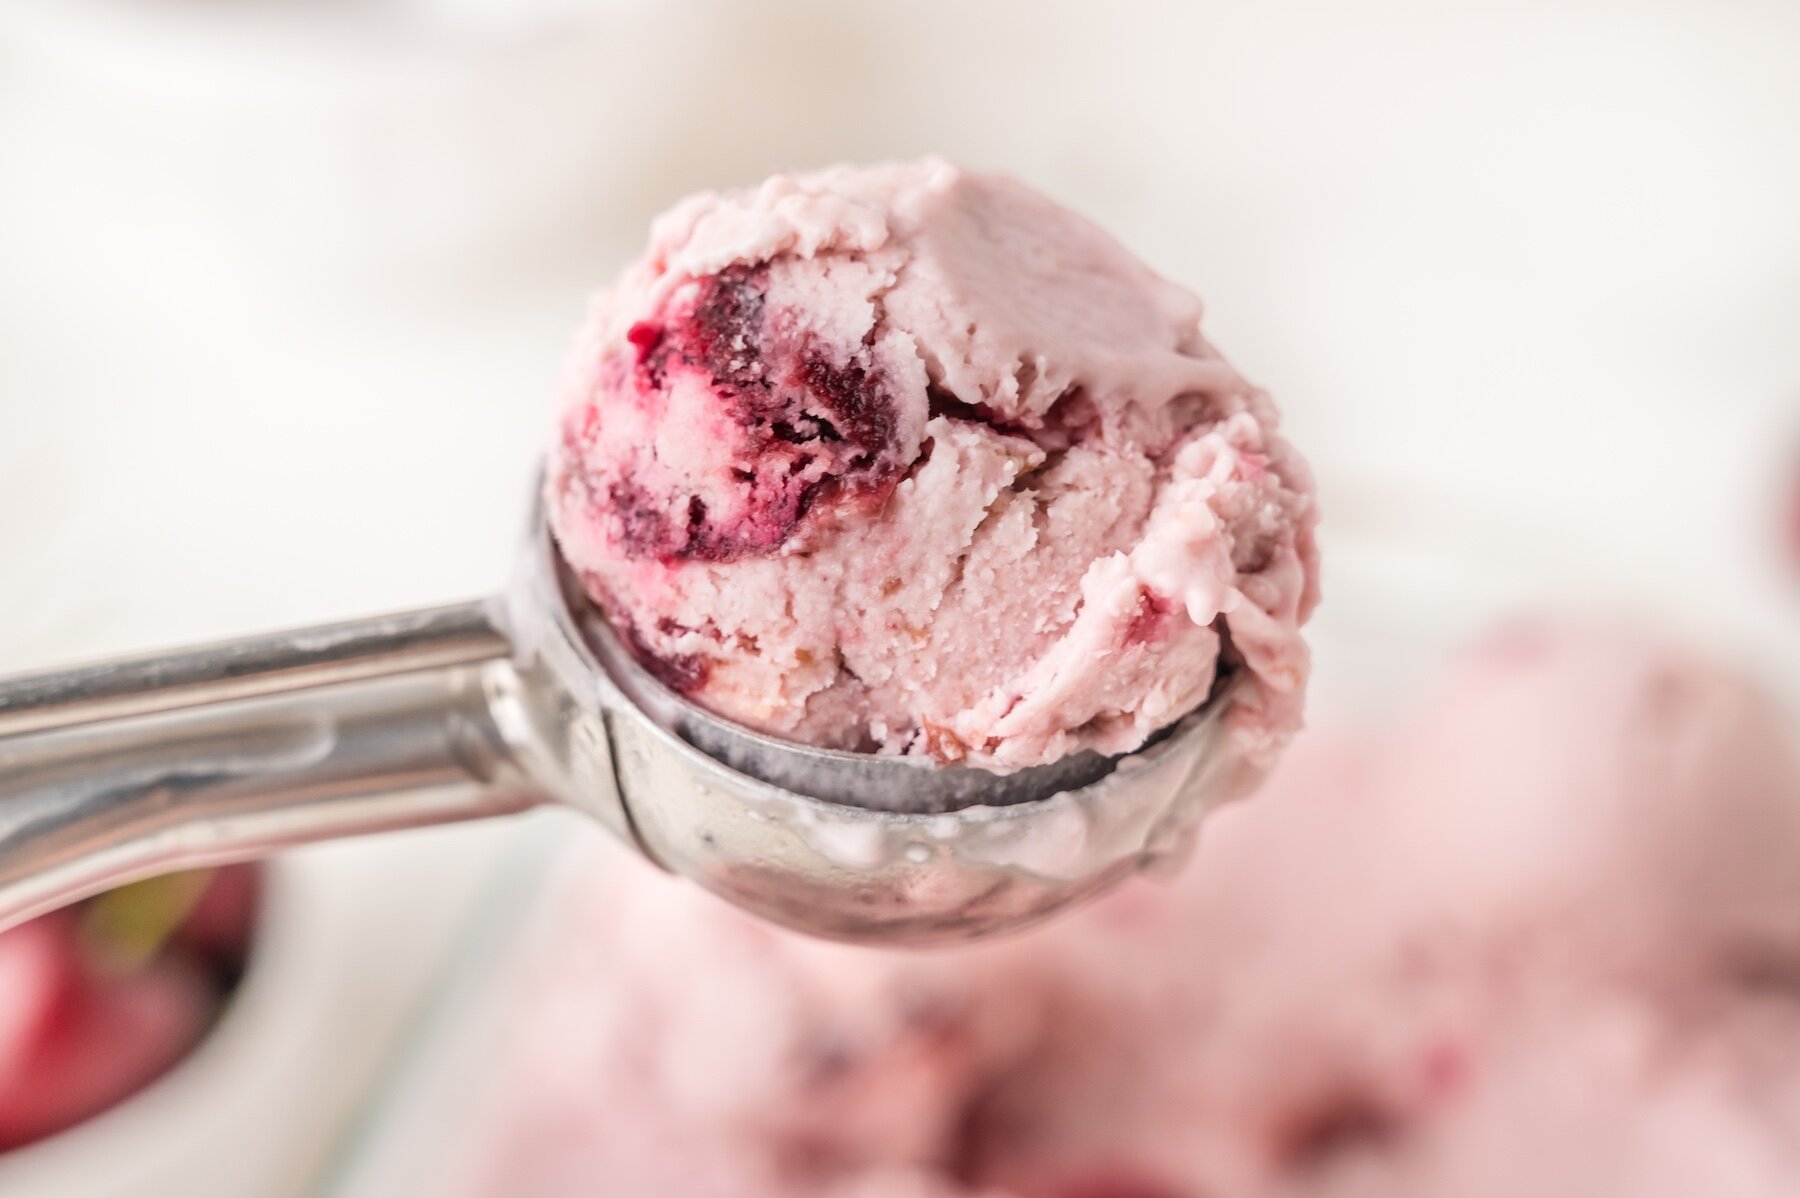
- Thaw for 5-10 minutes, scoop, and enjoy!

Variations and substitutions
If you want to make homemade cherry ice cream without the chunks of cherries, you should cook the cherries until they are completely broken down, then pour the mixture through a strainer and only add the liquid portion to the ice cream. Please note this will reduce the amount of servings the ice cream makes.
You can use fresh or frozen cherries in this recipe, but I prefer frozen because they release a liquid when they thaw, and that liquid is what helps give this ice cream its rich cherry flavor and pink coloring.
You can add slivered almonds and a teaspoon of almond extract to this recipe. Cherries and almonds are a perfect pairing.
For a Ben & Jerry's Cherry Garcia flavor, you can finely chop a semi-sweet or dark chocolate bar or grab a handful of mini chocolate chips and add that in with your cherries.
How do you know when homemade ice cream is ready to scoop?
You will know this ice cream is completely frozen and ready to scoop by sticking a butter knife or long toothpick into the center of the ice cream. If it comes out clean, or with a few frozen bits on it, then it's ready. If it comes out with any liquid on it, freeze for a few more hours.
Homemade ice cream is notoriously hard to scoop because it freezes so hard without all the preservatives and chemicals used in commercial ice cream. You will need to let it thaw on the counter for 5-10 minutes before trying to scoop it.
Storing leftovers
Make sure you cover leftovers tightly with plastic wrap or use an airtight ice cream pan for best results. If you put your ice cream in the freezer uncovered, it will be freezer burnt and inedible in under 12 hours.
Tightly covered, homemade cherry ice cream will last up to a month in the freezer.
Check out more delicious ice cream flavors:
No ice cream is complete without some homemade hot fudge!
- No Churn Cookie Dough Ice Cream - no ice cream machine required for all no churn recipes
- No Churn Butter Pecan Ice Cream
- No Churn Mint Chocolate Chip Ice Cream
- No Churn Rocky Road Ice Cream
- No Churn Pumpkin Pie Ice Cream
- No Churn Pineapple Ice Cream Recipe - Disney Dole Whip
- No Churn Oreo Ice Cream
- No Churn Peanut Butter Chocolate Swirl Ice Cream
- No Churn Red Velvet Ice Cream with Cream Cheese
- No Churn Cheesecake Ice Cream
- Strawberry Cheesecake Ice Cream - requires an ice cream machine
- Easy Homemade Vanilla Ice Cream Recipe with a Machine
- Root Beer Ice Cream - requires an ice cream machine
Recipe
Black Cherry Ice Cream
Equipment
Ingredients
- 2 cups cherries fresh or frozen, pitted
- 1¼ cups sugar
- 2 cups heavy cream
- ¼ cup whole milk
- 1 teaspoon vanilla bean paste
Instructions
- Heat the cherries and ¼ cup sugar on the stove in a medium saucepan on medium to medium-low heat. Once the cherries are mostly broken down, remove from heat and set aside.
- Beat the heavy cream and remaining sugar until stiff peaks form.
- Beat in the melted cherries, milk, and vanilla bean paste until the peaks start to form again. (They will not be as firm as before.)
- Pour the cherry ice cream mixture into your ice cream pan and freeze for at least 6 hours.
- Thaw for 5-10 minutes, scoop, and enjoy!

Salene says
This was so easy to make and so delicious!!!
Harmony says
Cherries are my favorite fruit. this recipe has so much cherry flavor. i'll be making it a lot and not sharing it with my kids. hahaha