
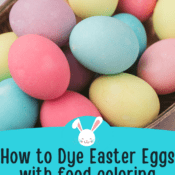


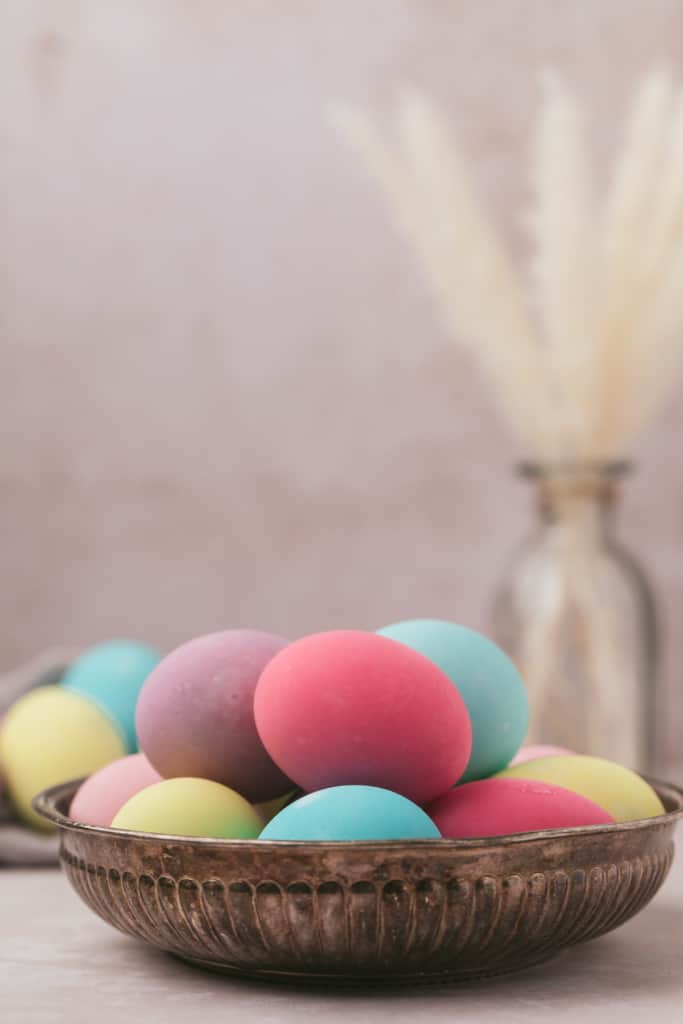
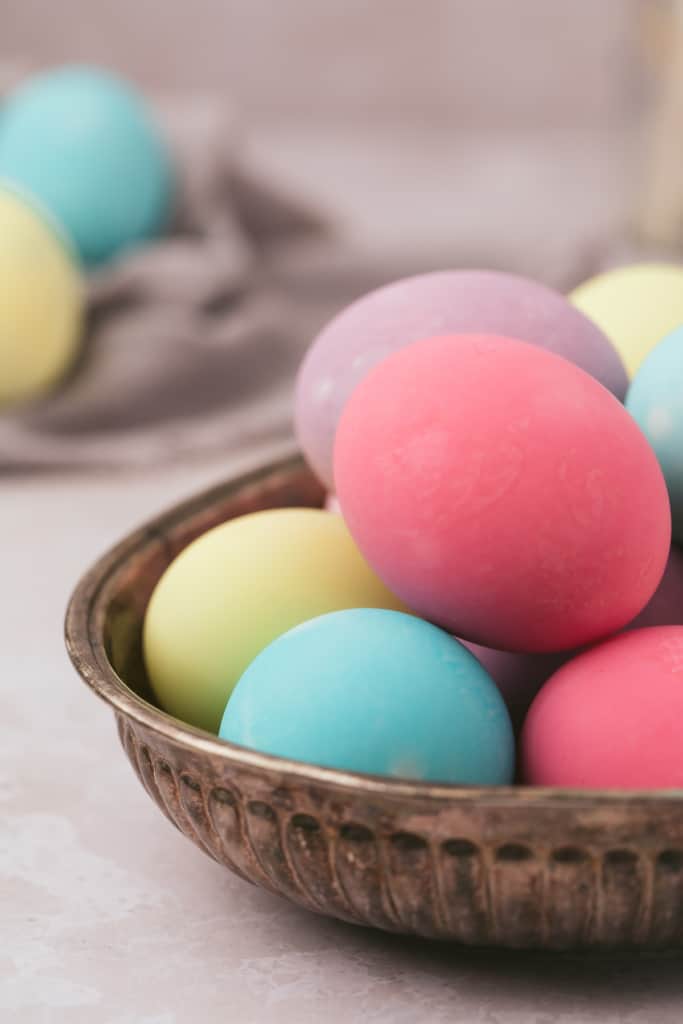
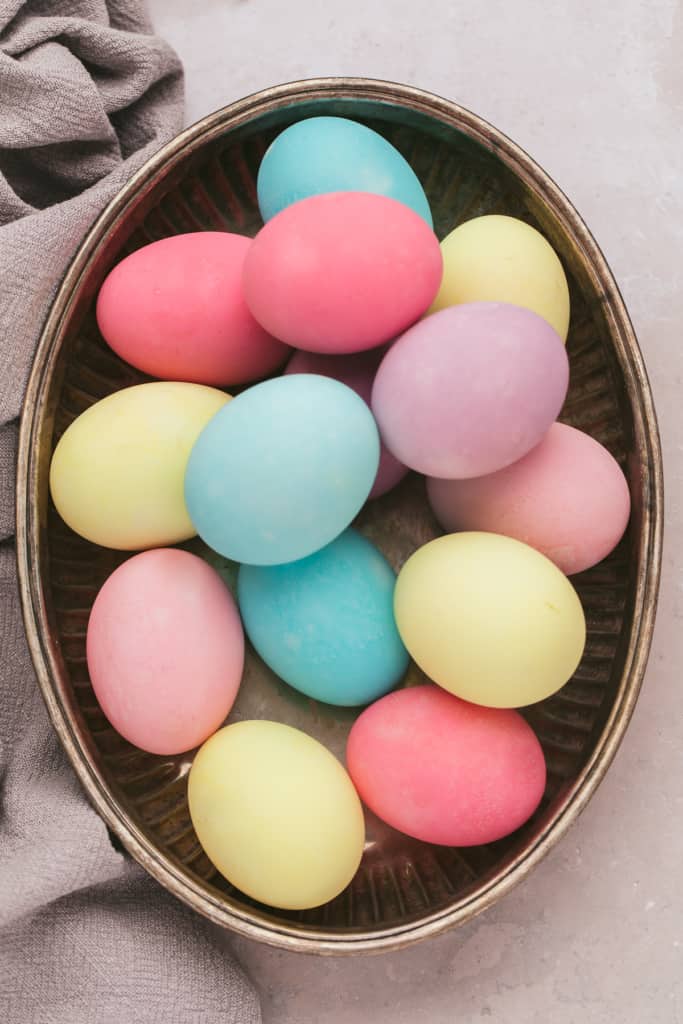
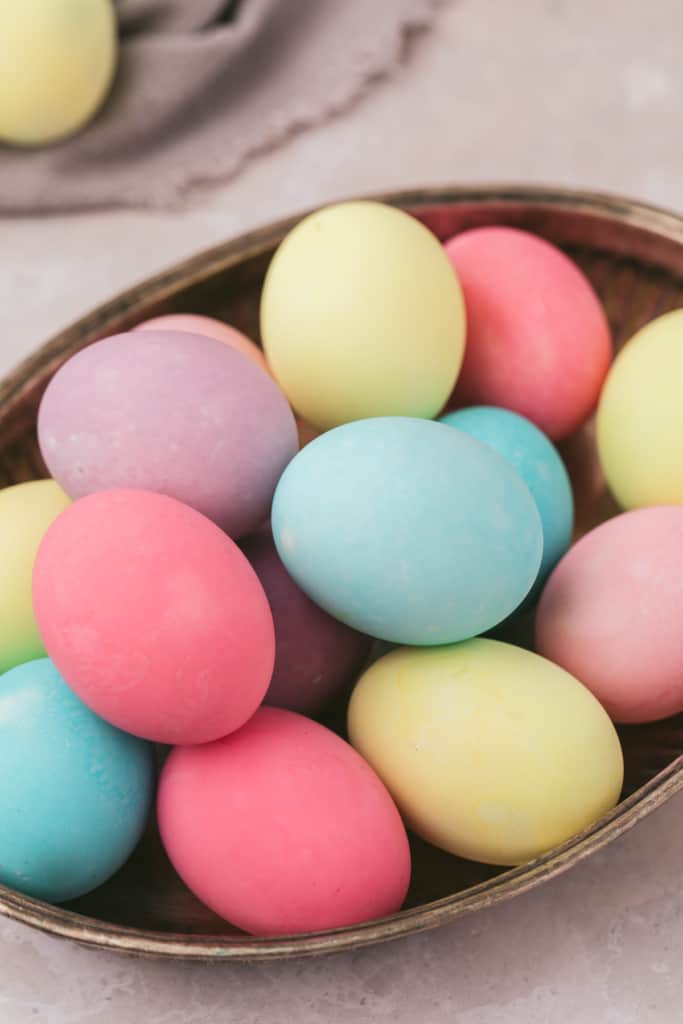
It's easy to dye Easter eggs at home without a kit! All you need are a few simple pantry ingredients: liquid or gel food coloring, vinegar, and boiling water. This is the best way to make beautiful, vibrant colored eggs, and they're so cheap too!
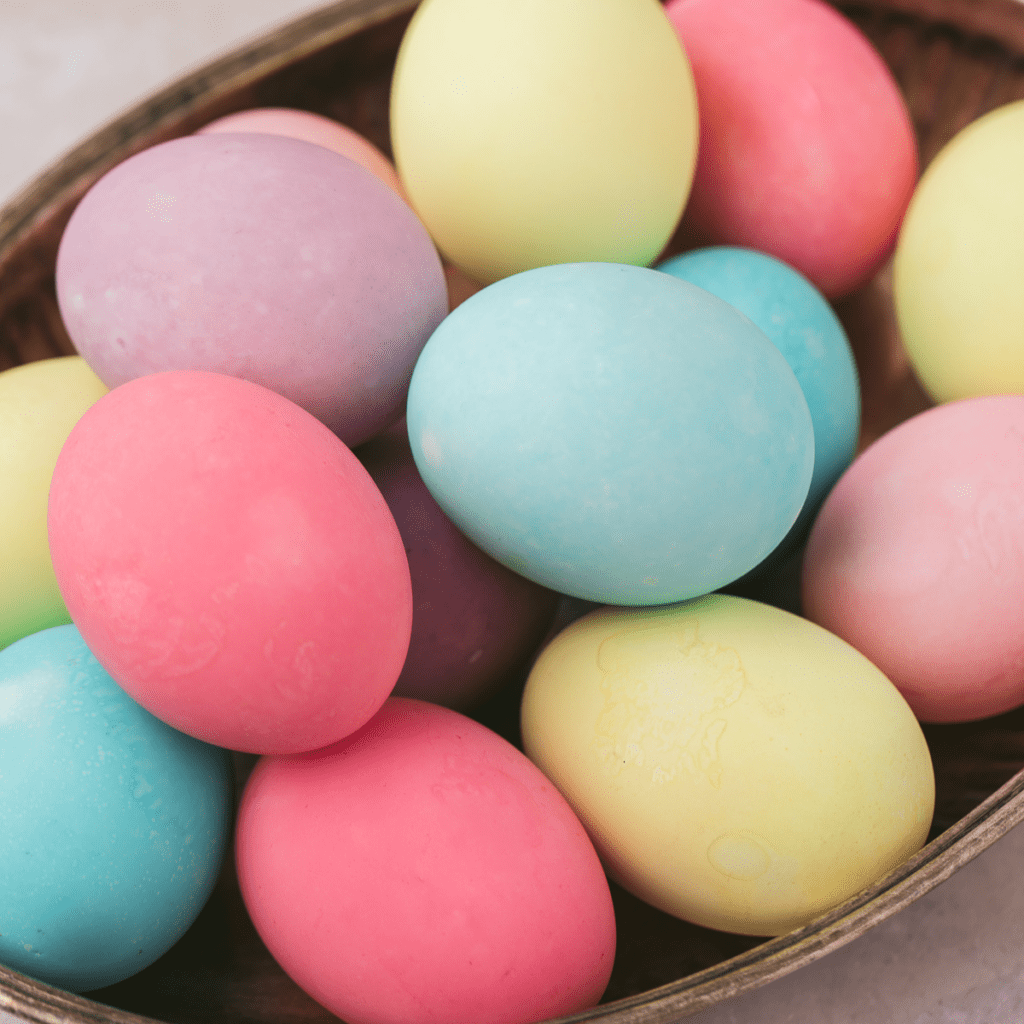
My kids and I have dyed Easter eggs every Easter of their lives. Every single one, even when they were babies. Egg dyeing is super fun for kids and adults.
Those Easter egg dye kits that they sell at the store are a huge rip-off. They cost $3-5 for a few dye tablets, and you have to mix up hot water and vinegar with the dye tablets.
If you have food coloring already in your pantry, you can dye Easter eggs for a few pennies! There's no need to buy one of those kits!
What you'll need to dye the best vibrant Easter eggs with food coloring
Equipment
- Small glass jars or bowls, one per color - These should be large enough to hold an egg, but not too wide. Narrow is best.
- Cooling rack - This should be a wire cooling rack with paper towels underneath to catch the drips of dye that will fall from the eggs.
Ingredients
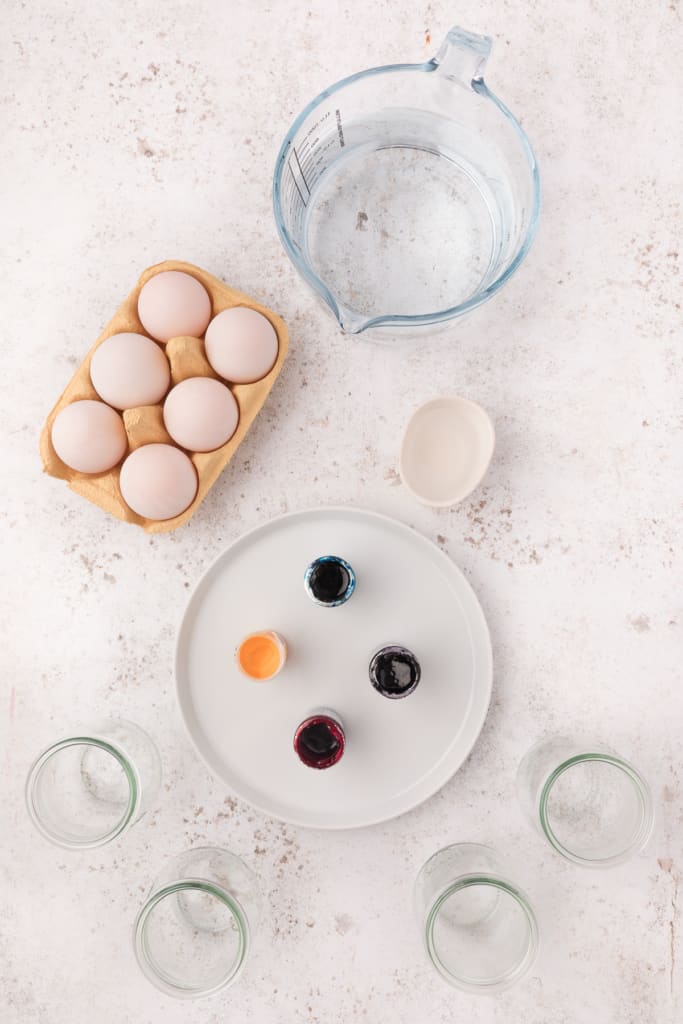
- 1 dozen eggs with white shells - There are several ways to hard cook (or "hard boil" even though they shouldn't be boiled) your eggs. This blog post explains why I think the Instant Pot method is the best, and it also gives you instructions for how to cook them in a pot of water on the stove.
- White vinegar - You will need 2 tablespoons of vinegar for each color you intend to use.
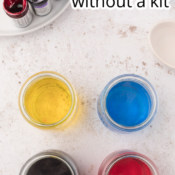
- Gel food color in various colors - For the photos in this blog post, I used pink, yellow, blue, and purple. You can use any combination of colors. Liquid food coloring will also work, although you will need a lot more (double or even triple the amount) to get a similar color. Gel food color is much more concentrated than liquid.
- Boiling water - It's best to start with boiling water, although it will cool quickly.
How to dye Easter eggs without a kit
This is so easy, and once you've done it, you'll never forget how!
- Hard boil eggs. Here are instructions for several easy methods.
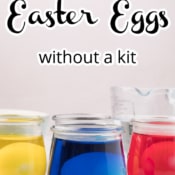
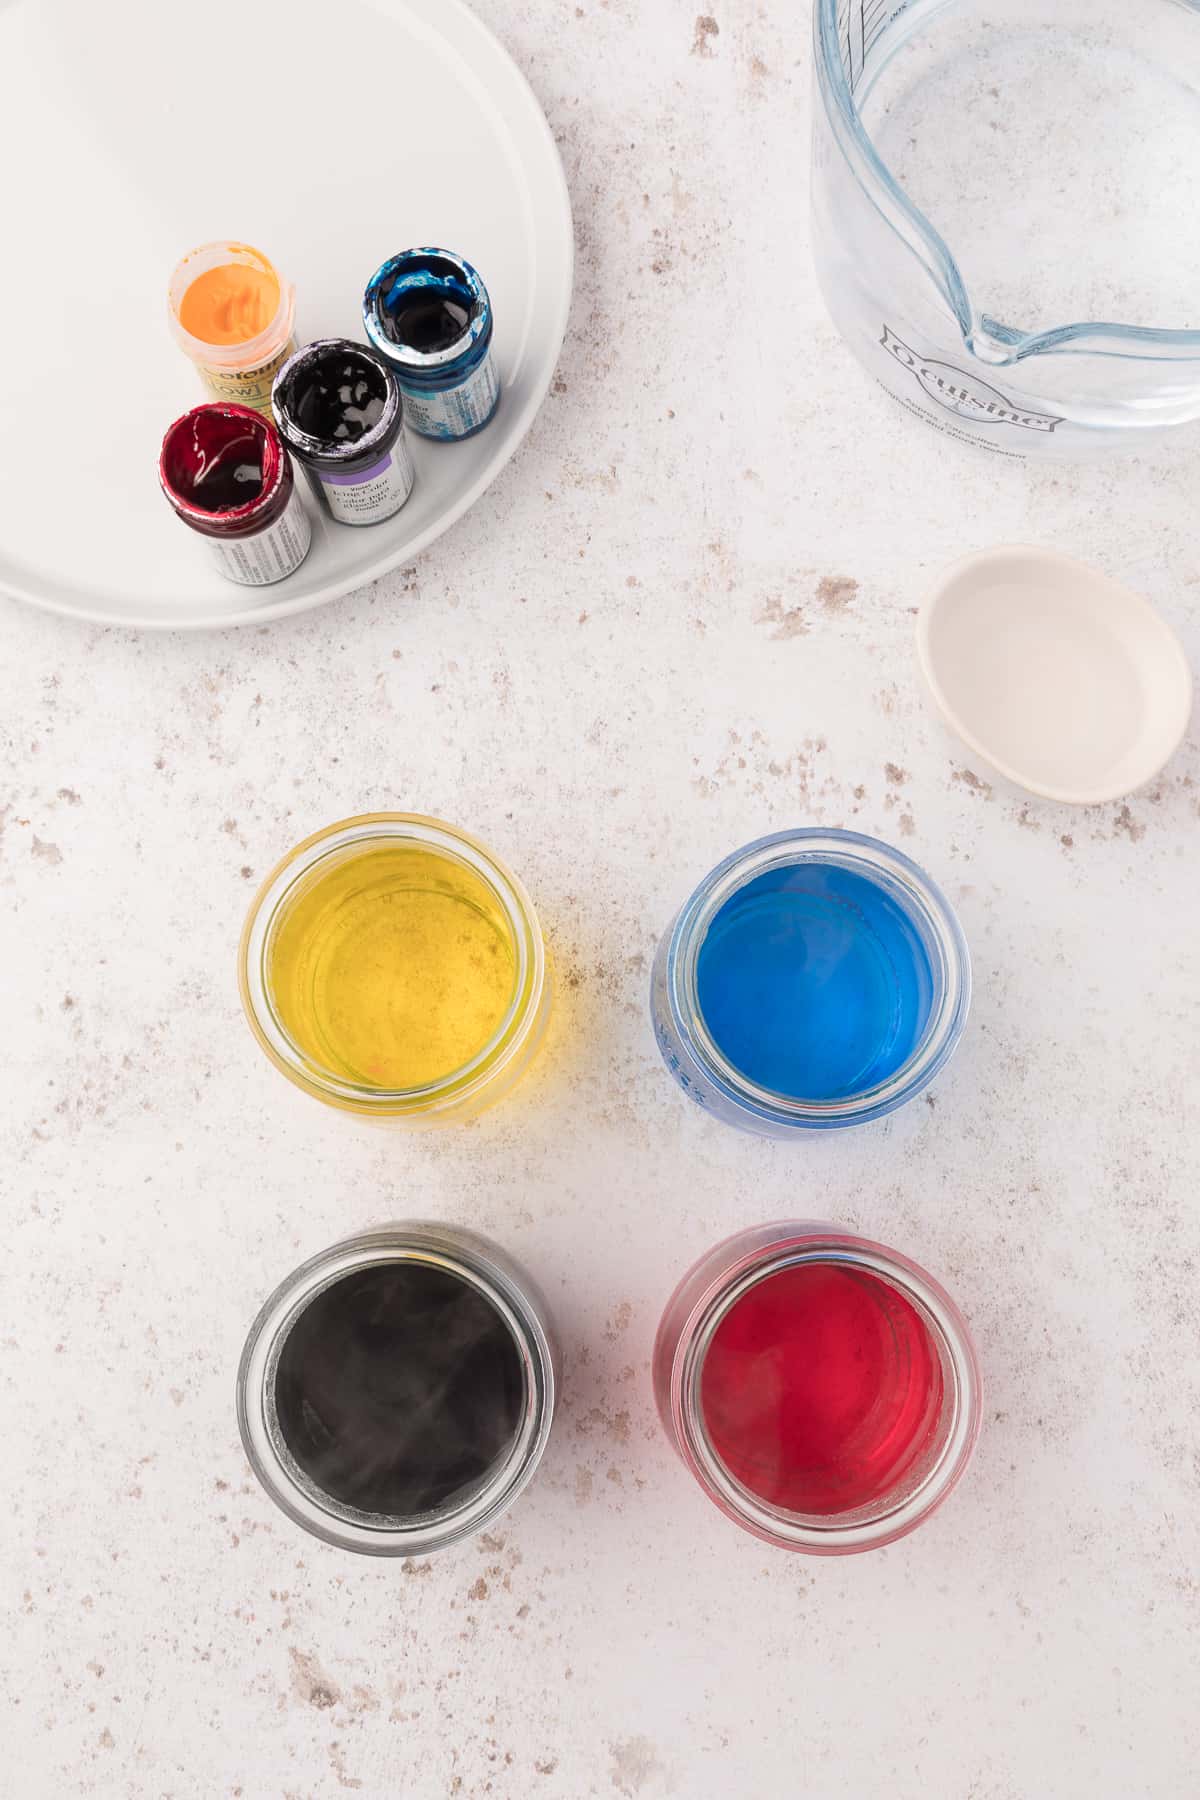
- Boil a kettle of water. Fill each jar halfway with about ¾ cup of hot water. Pour 2 tablespoons of white vinegar into each jar, then stir in the food coloring.
How much food coloring you add is up to you, but I usually start with ¼ teaspoon of gel or ¾ teaspoon of liquid. For a deeper, more intense color, add more and for a lighter pastel shade, add less. You can experiment as you go and add more water or more food coloring to get the shade you want.
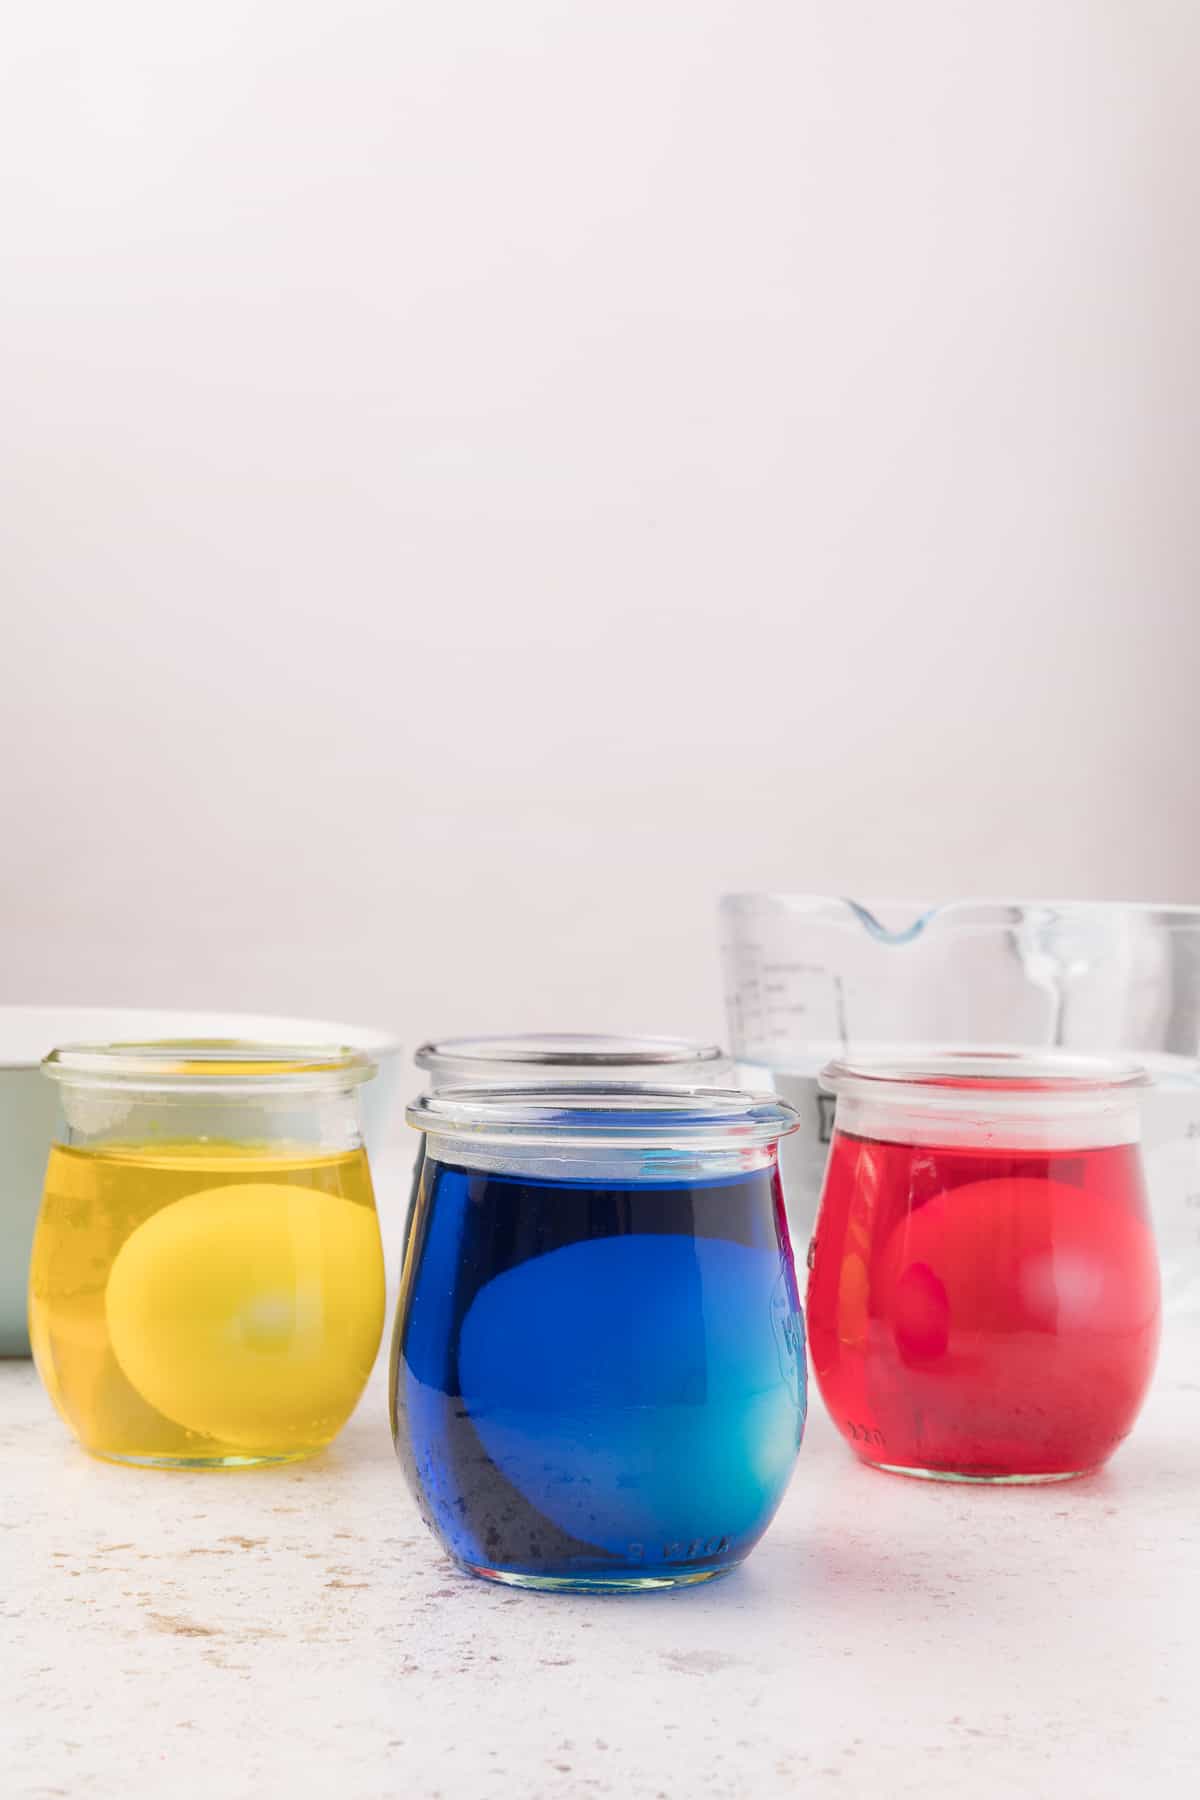
- When the eggs are cooked and cooled (no need to dry them), add them to the jars one at a time, leaving each egg in the jar for 5-10 minutes. Keep an eye on them and remove from the jars when they have reached a color that you are happy with.
- Remove the colored eggs from the jars with a slotted spoon or tongs, then set them on a wire cooling rack with paper towels underneath to dry. If you set the eggs directly on the paper towels, the towels will wick away some of the color and leave you with a white spot on the bottom of each egg. If you don't put paper towels under the drying rack, the drips of color may dye the surface underneath.
- Repeat the process for the rest of the eggs.
- Store dry dyed eggs in an egg carton in the refrigerator.
How many drops of regular food coloring do you need if you use liquid?
Oh boy. There are A LOT of drops in ¾ teaspoon of liquid food color. Just squeeze it into a measuring spoon and forget about counting drops.
Does the dye have to be hot to color the eggs?
Hot dye absorbs better and more quickly into the eggshells, but if you are working with children, I recommend allowing the dye to cool before letting them put eggs into it. I would never allow small children to work with boiling hot dye.
Hot dye takes 5-10 minutes to make a vibrant egg. Warm or room temperature dye takes 10-15 minutes.
Why do you need vinegar to dye Easter eggs?
You don't actually need vinegar; you could use lemon juice instead.
Whatever you use, you need to add a weak acid to the water in order to get vibrant eggs. If you don't use the acid, the eggs will be a very light pastel color.
The acid eats away some of the shell, allowing the color to really permeate the exterior.
Tips for dyeing Easter eggs with kids
If you are working with kids, be prepared for a mess. Here are some tips to help you have a greater chance of success:
As I said above, I would make sure the dye was completely cool before letting kids (especially young ones) try dyeing Easter eggs. If you use cool dye, you will have to let the eggs sit longer, possibly up to 10-15 minutes.
Also, cool the eggs completely using an ice bath.
Protect your surface with newspaper or a plastic drop cloth.
Have the kids wear old clothes that can be stained because they WILL get stained!
Pop each egg into a wire whisk and then hold the whisk in the jar of dye. An egg inside a whisk is much easier for small children to manage without getting dye all over the place.
Can you dye brown eggs?
Of course. The colors will be darker and a bit muted. That's the only difference.
How can you make designs on the Easter eggs?
There are several things you can do to make your dyed eggs more interesting.
You can wrap the eggs with rubber bands (tightly but not so tight that they crack the shells) to make stripes.
You can use a white crayon to draw or write on the eggs before coloring. Wax makes the shell resist the dye and leaves an un-dyed spot on the egg. We've done this in the past with names or polka dots or other designs.
You can also use stickers to resist the dye, although foam stickers work better than paper stickers (because paper stickers sort of dissolve in the water and leave a sticky mess).
What's the best way to hard boil the eggs to dye?
There are several methods that will make nicely hard cooked eggs with nice yellow yolks. You can get info on those methods in this post.
My favorite method is the 5-5-5 Instant Pot method because it's very simple, requires almost no hands-on time, and the eggs peel perfectly every single time.
Please note that if you actually boil the eggs, the yolks will get that yucky greenish gray ring around them. You need to cook them without boiling to keep the yolks yellow.
Can you eat dyed Easter eggs?
Some egg dyeing instructions tell you to use shaving cream to make marbleized patterns on your eggs. I don't do that because you can't eat the eggs.
As long as you use food safe dye in the instructions I've provided, the eggs are edible after coloring.
The dye doesn't transfer through the shells unless you crack the shells before dying. (We sometimes do that to make the egg whites have a cool pattern, but I didn't do it for the purposes of these instructions.)
What can I do with all those hard cooked eggs?
I have some wonderful recipes for you! Try one or more of these:
- Bacon Cheddar Deviled Eggs
- The Best Classic Deviled Eggs
- No Crunch Potato Salad
- Egg & Olive Salad - my favorite!
- Turkey Salad
- Egg & Asparagus Salad with Mimosa Dressing - another of my favorites!
- Cowboy Caviar
- No Crunch Macaroni Salad
How do you make Easter eggs shiny?
If you make your dyed eggs the way I suggest in this recipe, they will have a matte finish. If you want them to be shiny, wait until they're completely dry, put a dab of oil on a paper towel, and rub them very gently with the oily towel. It will give them a nice shine.
You can use any kind of oil: vegetable oil, coconut oil, avocado oil, olive oil. It doesn't matter one bit as long as it's an edible oil.
Just be careful that you don't rub too vigorously because that will rub the color off. Be very gentle.
How to store colored Easter eggs
You can store dyed Easter eggs in an egg carton in the refrigerator for up to 3 days. You should not freeze them because they would get weird.
Recipe

How to Dye Easter Eggs with Food Coloring
Equipment
Ingredients
- 12 large hard cooked eggs with white shells
- ½ cups white vinegar
- gel food color in various colors
- water
Instructions
- Boil a kettle of water. Fill each jar halfway with about ¾ cup of boiling water. Add 2 tablespoons of white vinegar to each jar, then stir in the food coloring. How much food coloring you add is up to you, but I usually start with ¼ teaspoon of gel or ¾ teaspoon of liquid. For a deeper, more intense color, add more and for a lighter pastel shade, add less. You can experiment as you go and add more water or food coloring to get the shade you want.
- When the eggs are cooked and cooled, add them to the jars one at a time, leaving each egg in the jar for 5-10 minutes. Keep an eye on them and remove from the jars when they have reached a color that you are happy with.
- Remove the colored eggs from the jars with a slotted spoon or tongs, then set them on a wire cooling rack with paper towels underneath to dry. If you set the eggs directly on the paper towels, the towels will wick away some of the color and leave you with a white spot on the bottom of each egg.
- Repeat the process for the rest of the eggs.


Comments
No Comments