How to make easy string art for beginners - This simple step by step tutorial shows how to DIY string art with nails and yarn, cords, or twine (embroidery thread doesn't look as nice). Includes patterns and ideas and can be made by kids or adults.
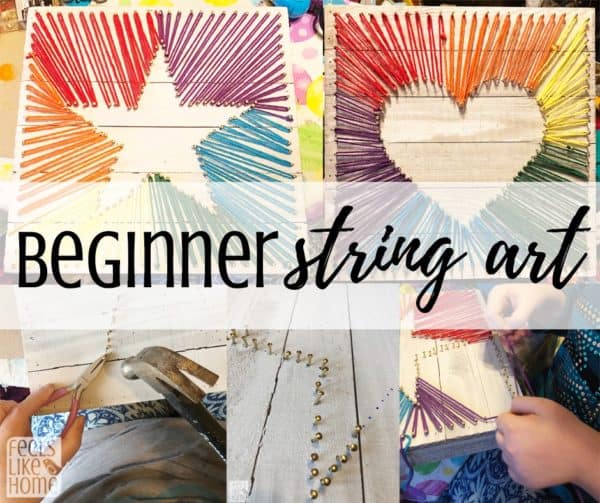
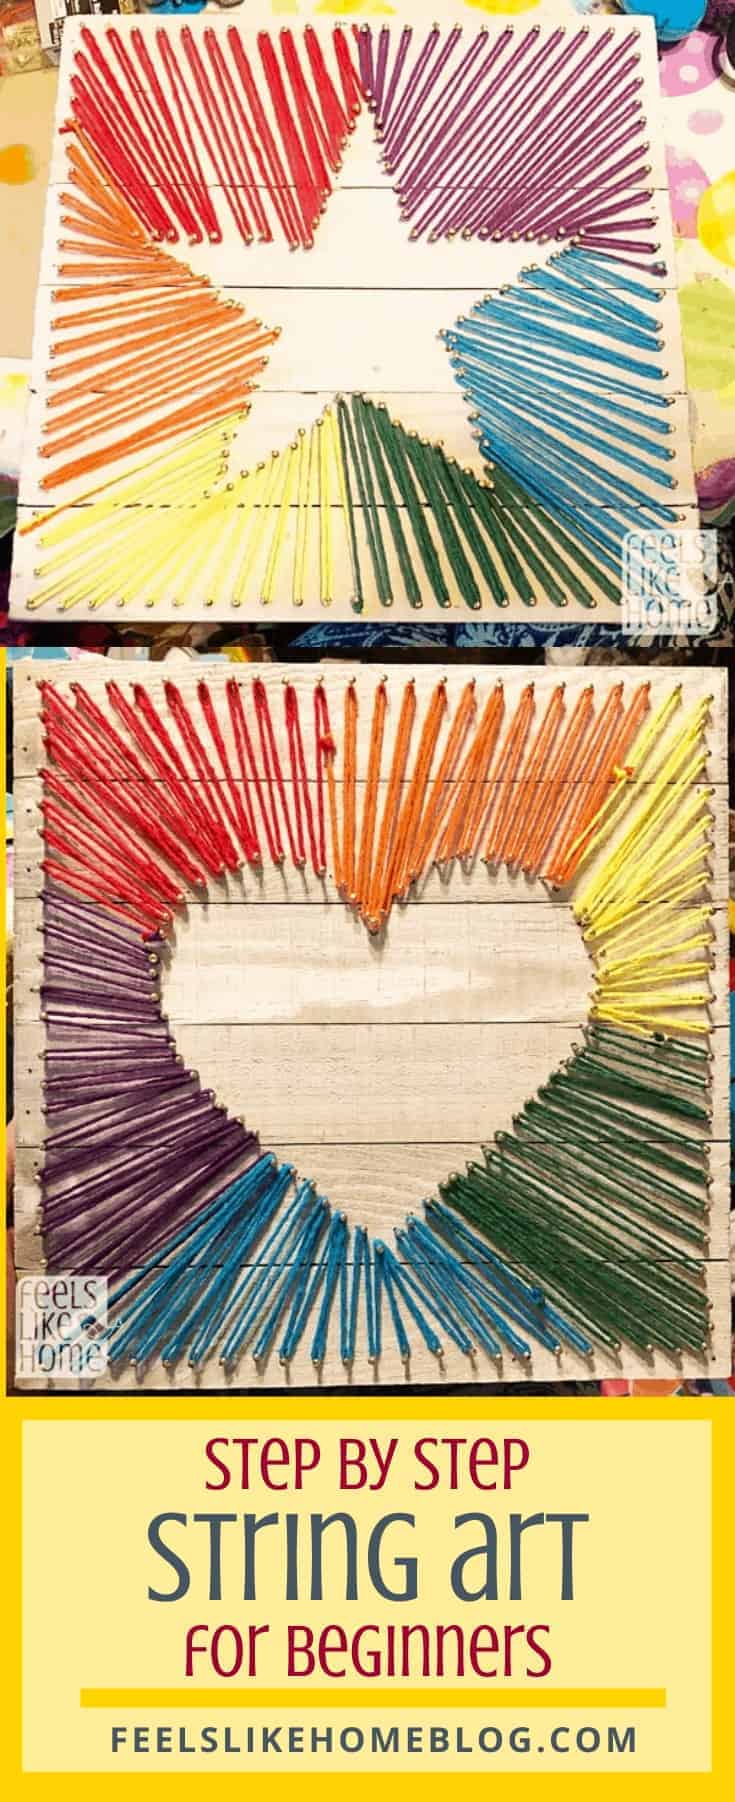
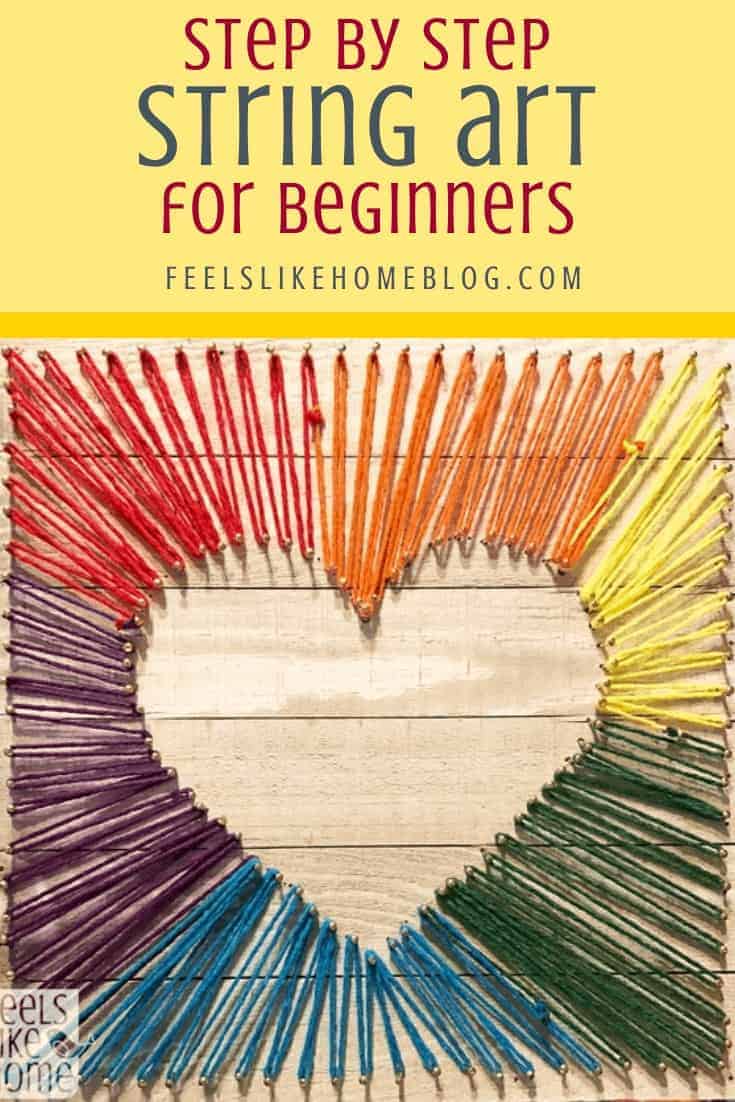
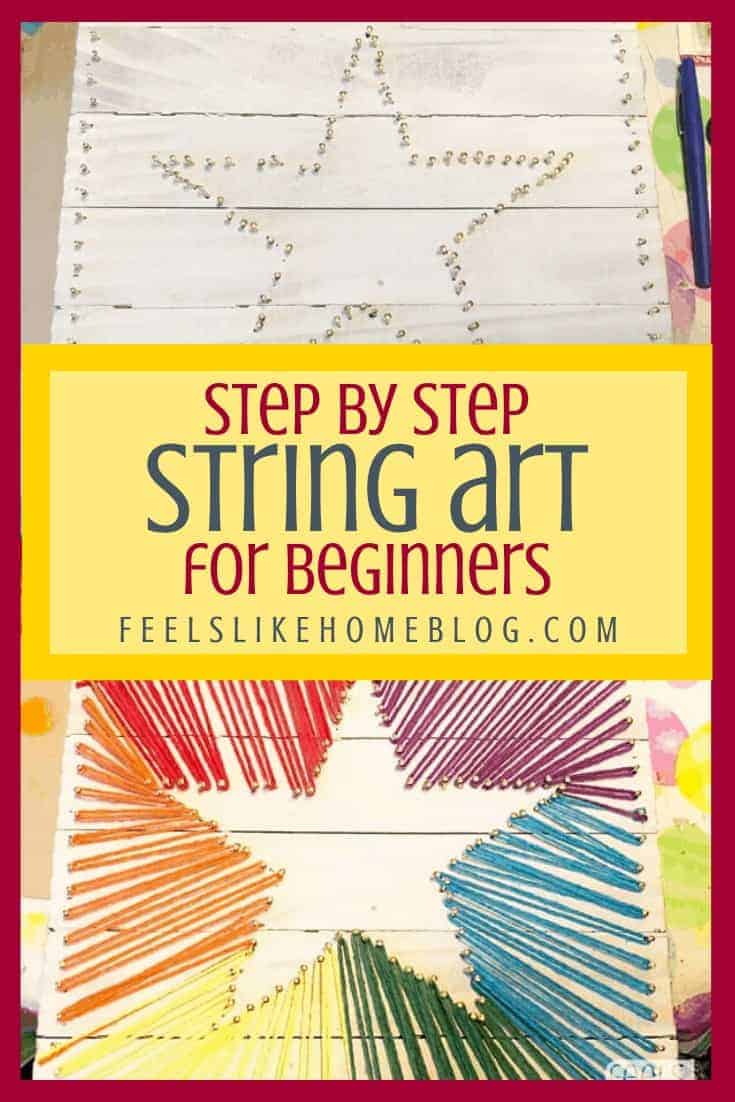
A couple of weeks ago, I posted this picture of my beautiful rainbow string art on Instagram:
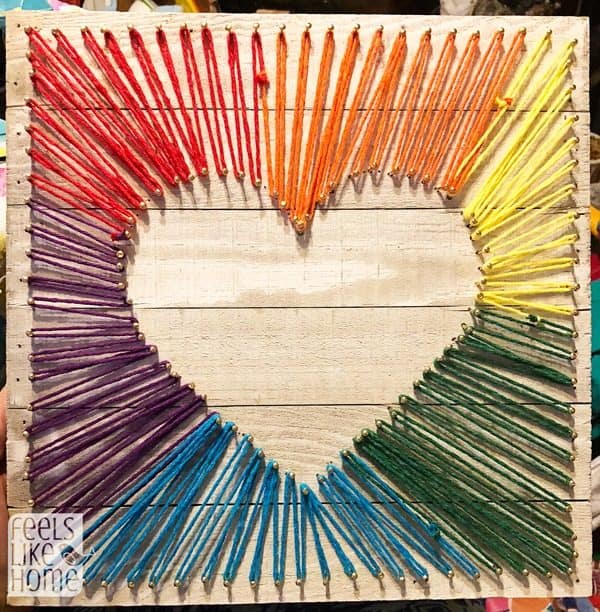
I was more or less happy with the outcome, but the project had taken me literally half my life to complete. I asked for help, suggestions, tips, encouragement, anything my friends and followers had to offer. Between Facebook and Instagram, I got a lot of advice, some of which I will share with you below.
In my Instagram post, I said that I didn't think I had another string art project in me, but I already had all the materials, and Allie was asking me to make one for her (the heart above was for Grace), and I have a tremendous amount of mom guilt over Grace sometimes getting preferential treatment, so there was no doubt that I was going to try a second time.
The very next day.
I guess this was good in a way because I used all the tips and suggestions and wisdom from my crafter friends right away and learned the wrong way to go about it and did everything opposite the second time.
The second string art project actually went pretty well and, while I do not believe I will ever come to enjoy hammering nails into wood, I would (haha) be willing to give another project a go, especially if I needed a pretty simple gift to give to a loved one or more decorations for bedrooms.
First things first. I have some advice on materials.
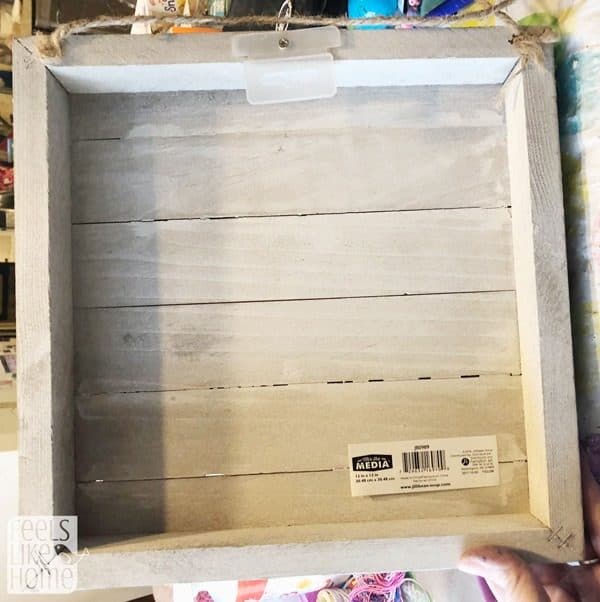
I got a really cute wooden panel at Walmart in the craft section. It was solid on the front (as you can see above and below) but open on the back. This was a problem because it was super difficult to get the nails to go in to the center open part. Around the edges, no problem. But the center part where there was nothing solid underneath? A major PITA.
Go for a solid piece of wood for your project and skip this cute nonsense. Or better yet, get the cute wood and use your creativity to do something else with it.
Of course, if you use a wooden board from the home improvement store, you will want to stain or paint it first to make it look nice. This adds time and effort, but I know you can handle it, my crafty friend. I have confidence in you. Get some spray paint if you don't feel like messing around with a brush.
String Art for Beginners Materials
*See the paragraphs immediately above for advice and recommendations on materials.
- 12"x12" block of soft wood like pine or plywood - Actually, you can use whatever size you want. Mine are both 12x12. I probably wouldn't go smaller than 8"x8" though because then the center shape would be so small that it would be hard to get the nails in.
- Paint or stain to prepare the wood - This is not pictured because my wood was already painted when I bought it. But most likely, you will have to paint or stain your own. If the page I linked to above stresses you out, try this set of simple acrylic craft paints. They'll work too.
- Linoleum nails - You want a pack of nails that are fairly short because there's not a lot of depth to the project. Otherwise, they will either stick out the back of the project or stick up way too tall on the front. These nails were a huge pain to hold because they're so short, but I remedied that with the jewelry pliers that are on down the materials list. I especially liked these nails because they have big heads (keeps the yarn in place).
- A string art design template - You'll need a paper pattern for this project. Geometric patterns with simple outlines work best. I searched on Pinterest for star pattern and let Allie choose from there. I saw a lot of nice star outline patterns, some fatter, some thinner, some rounded on the edges. She chose the one below which I have linked here. For the heart, I used my favorite method: fold a piece of paper in half, draw half a heart, cut on line, open. That's seriously all I did, and it came out perfect like it always does. You can't mess up a heart when you make it like that. Whatever design you choose, make sure you stick to simple shapes, especially as a beginner. You'll see more intricate and complex designs on Pinterest, but those are definitely not beginner projects!
- A marker or pencil - Any fine tipped marker or pencil will do. You just want something that will make small marks on the wood.
- A ruler - Preferably as wide as the piece of wood, but it's okay if it's smaller. It will just be more work for you.
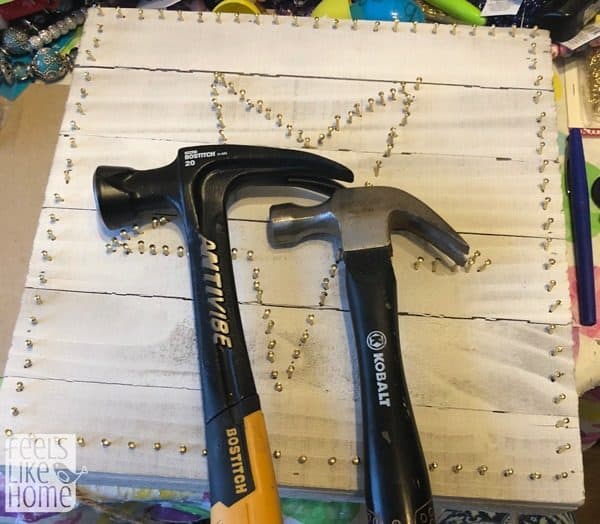
- A small hammer - See the difference between those two hammers above? I got the big yellow beast specifically for this project. I started using it, mashing my fingers while I was attempting to hold these tiny gold nails, and I was very frustrated and on the brink of tears. Joe took one look at me, and said, "Hold on. You need a smaller hammer." and disappeared, showing up about three minutes later with the beauty on the right which worked perfectly.
- Jewelry pliers - I happened to have these on hand, and they were SUPER helpful in holding the tiny nails to get them in somewhat straight. I used them a whole lot the second time around. You could maybe get along with a pair of sturdy scissors, but holding the nail with scissors could damage the scissors.
- Yarn or colorful threads - I tried this project with embroidery thread (also called embroidery floss) the first time around, and I was not at all happy with the results. While you could technically see the thread and tell what color it was, it had practically no visual impact. Do yourself a favor and start out with thicker yarn. If you're not familiar with yarn, go to the local craft store and select a yarn with a number 3 or 4 (worsted weight) on the back. Those will be thick enough but not too thick.
- Hanging hardware - If you're using a block of wood, you will need a way to hang it. No pictures of this below because my pre-painted board was also pre-assembled with a hanger.
- A string art kit - Your kids are not going to be down with this wood-based project, so if they want to do some string art, do yourself a HUGE favor and get them this string art kit. One of my friends highly recommended it and said her daughter is able to complete the easy projects all on her own using only the instructions and materials in the kit.
String Art Tutorial for Beginners
- First step is to prepare your wood as I have said above. Paint or stain it if you haven't been lucky enough to find a solid block of pre-painted or stained wood.
- Add your hanging hardware to the back of the board.
- Now the real work begins. Cut out your pattern and place it on the board. Use double-sided tape if you need to, to keep it in place. (I didn't, and I had no problems with slippage, but it kind of depends on how smooth your wood is whether you will need tape.)
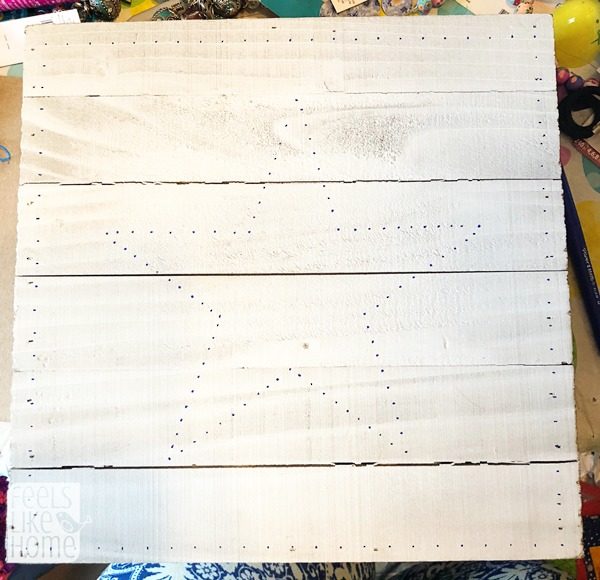
- Using your marker, make small dots along the perimeter of the shape, just outside the paper pattern, the whole way around. I didn't measure these but they are approximately ⅓" or maybe 1 cm apart.
- Next, measure the nails around the outside of the board. I made mine exactly ½" apart the whole way around.
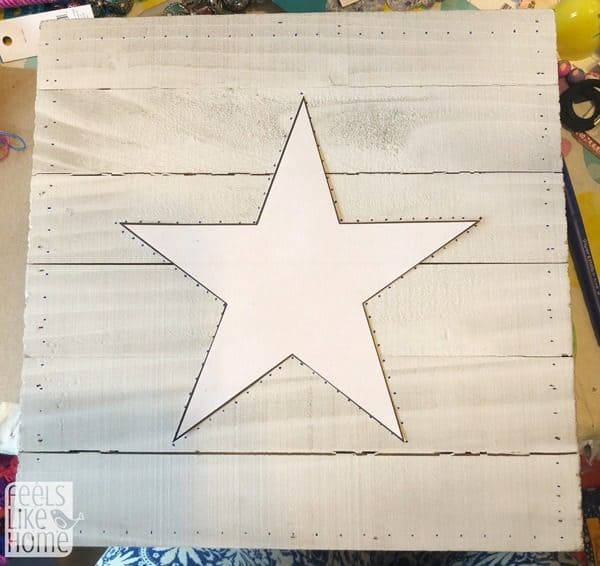
6. Remove the pattern and begin hammering your nails in. I started the first nail in the center and worked my way to the outside, doing the ring around the outside last.
7. It is easiest if you use flat jewelry pliers or needle nose pliers to hold the tiny nails. It is easy to get them crooked, so the jewelry pliers make a big difference in keeping them mostly straight.
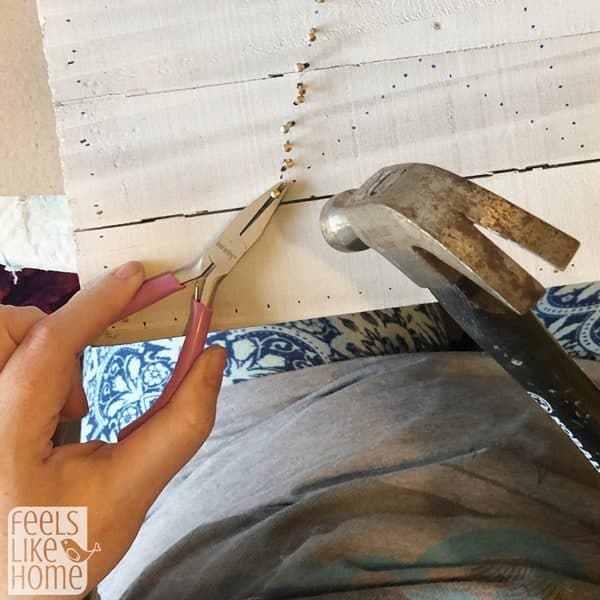
8. BUT as you can see below, it is not absolutely critical that all the nails are straight. Mine are pretty wonky most of the way around, and my finished product is still beautiful. So don't worry too much if yours look like mine.
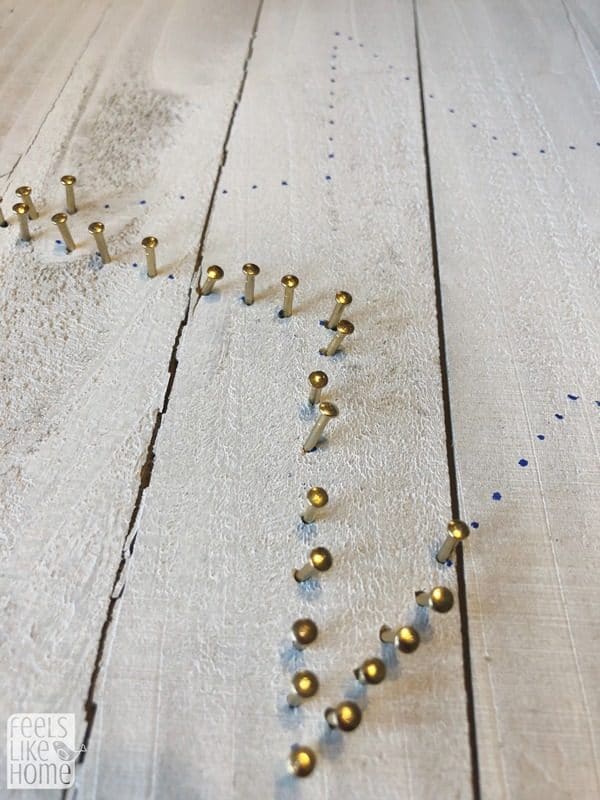
9. Also don't worry if your nails get off of the dots a bit. Sometimes, I discovered that my dots were a little too close together to make stringing work, so I shifted. You can probably see a few dots in the photo below, but you cannot see them in the finished string art because they are all covered up by the yarn.
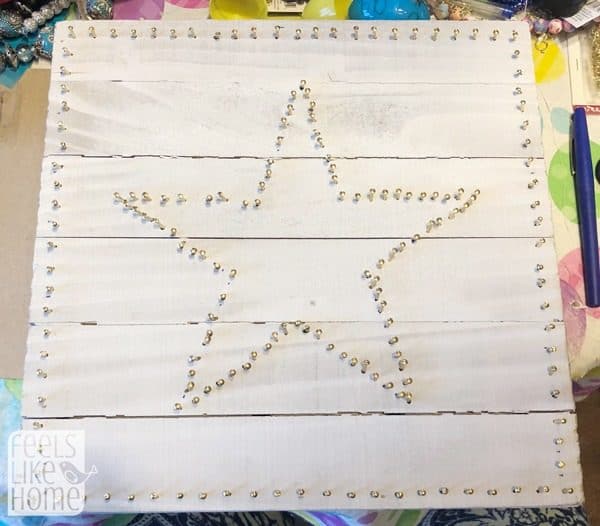
10. Begin stringing the yarn or heavy crochet thread by tying it to a nail. I always started and stopped in the outside ring, just to make it easy on myself. Tie the yarn like you're tying your shoes (this is called a square knot when you tie it twice together I think). Be sure to do it twice so that it doesn't come unraveled later.
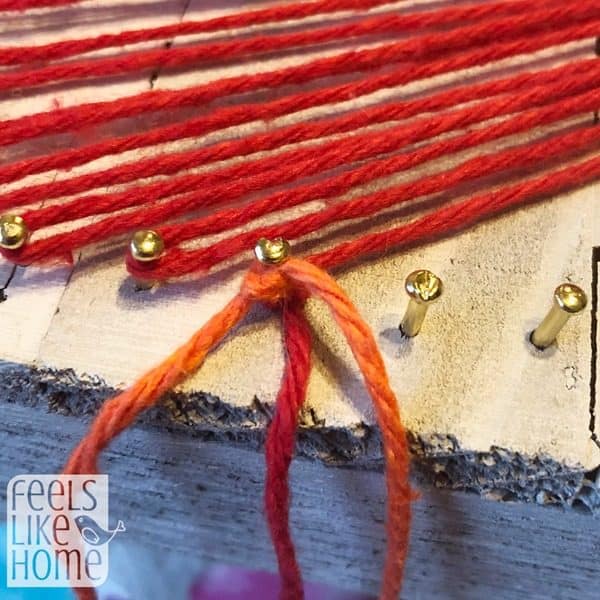
11. Now just string the yarn back and forth between the nails on the outside and the nails on the inside. Note that you can't just go one for one all the time, especially around the points of the star. You will sometimes have to wrap two outside nails around the same inside nail or two inside nails around the same outside nail. Just do your best to keep each section going together and not out of sync.
If you need additional guidance on this step, look at the finished string art photos above and below to see how I did it. You can see especially in the green section where the yarn is much thicker in some places; that's because I wrapped it more than once around that nail.
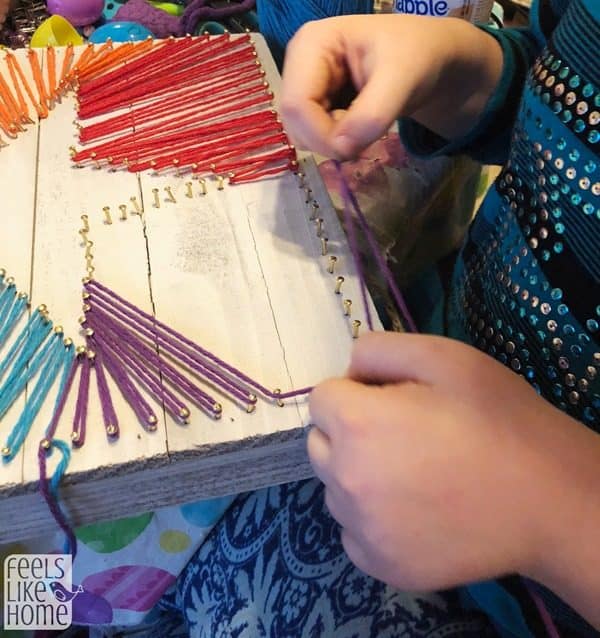
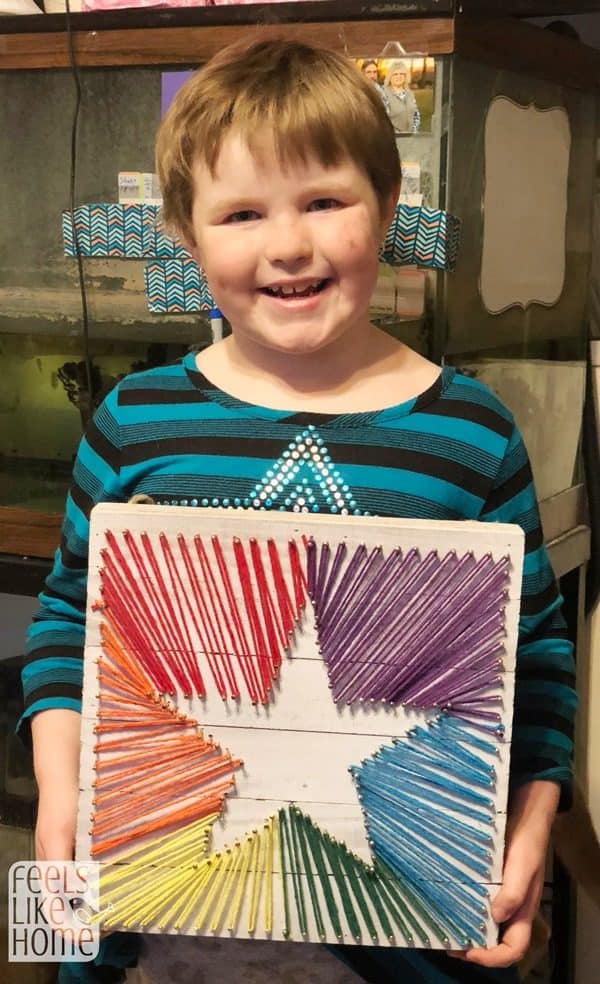
Allie needed a little guidance of what to wrap and when, but she easily completed the stringing on her star. She was very happy to have done it herself.
Those would be eye liner stars on her cheek. She and her sister were making each other look festive.
To change colors, cut the current color of yarn and tie it in a square knot around an outside nail. Then tie the next color onto the same nail and keep going around.
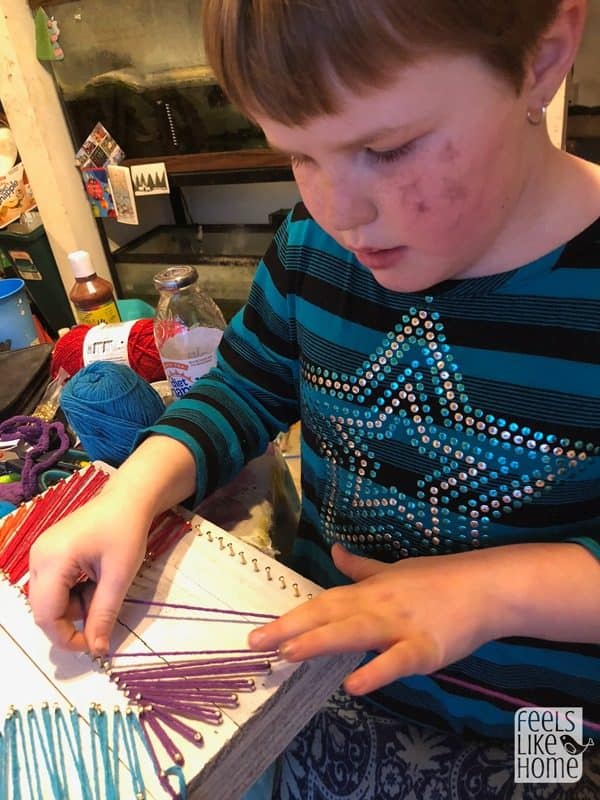
When you're finished, trim the tied ends close to the knots.
**Note on tying the knots. When I was wrapping the yarn for the heart at the very top, I used a crochet knot called a magic knot, and I hate the way it looks. You can see the obvious knots in the middle of the strung sections. I think you can't see the knots as obviously in the star. So definitely don't tie the yarn colors together. Just tie knots around nails.
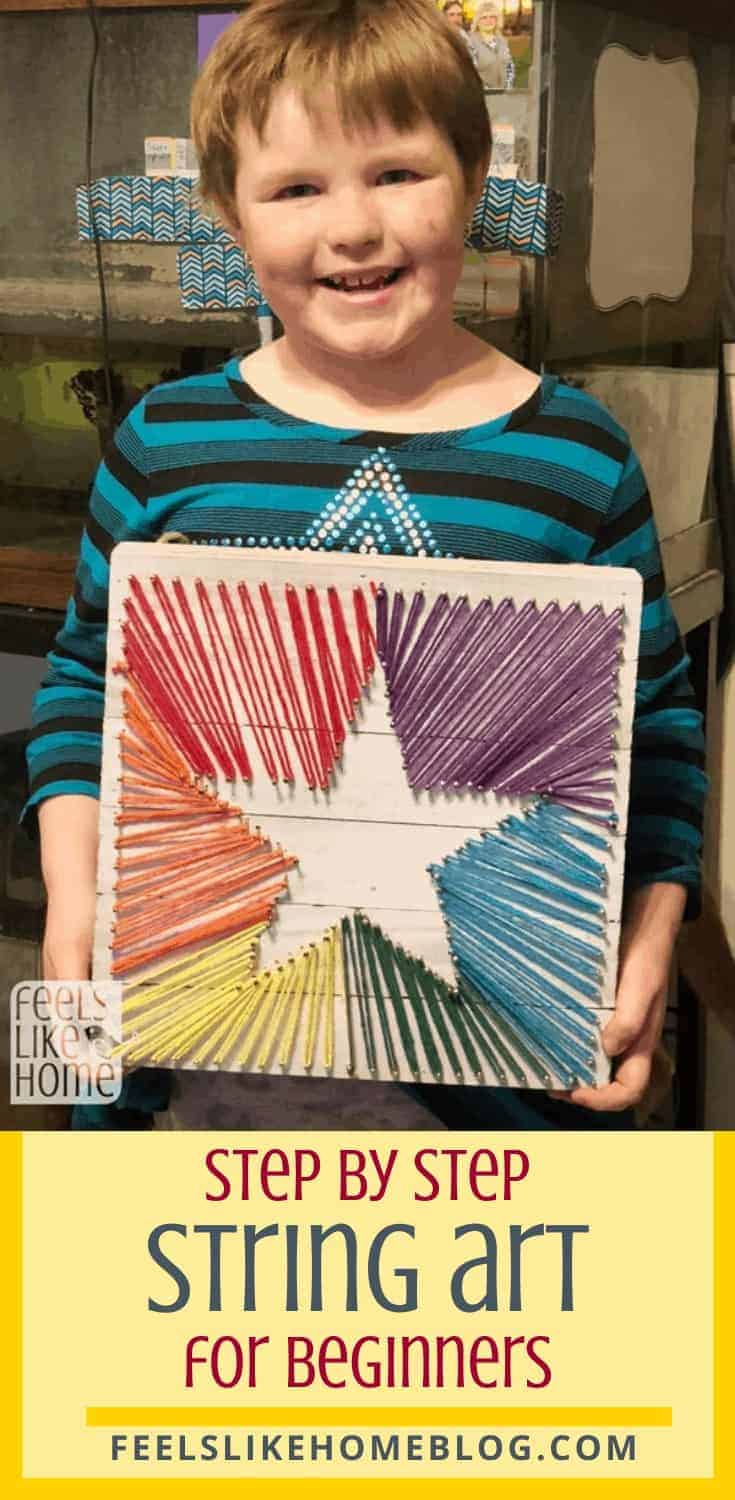
This is what our star looked like when we were finished. As I said above, you can tell where I wrapped more than once because the yarn looks significantly thicker in those places.
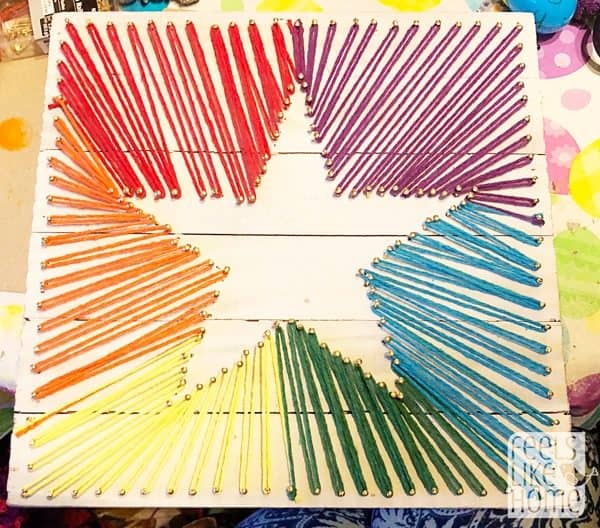
Allie was thrilled with her finished piece and hung it next to her bed.
Have you ever attempted string art?
If you have any string art tips for beginners that I may have missed, be sure to leave them in the comments below.
More unique craft ideas & tutorials
- Simple & Easy Christmas String Art
- 30 Cool DIY Father's Day Gifts for Kids to Make for Dad or Grandpa
- 45+ Amazing DIY Christmas Gifts That People Actually Want
- 40+ Easy Handmade DIY Christmas Gifts for Moms & Other Women
- 46 Beautiful Handmade Mother's Day Gifts
- 15 DIY Butterfly Decorations to Beautify Your Walls
- Melted Bead Suncatchers - Perfect for a Homemade Gift
- Zippered Pouch Sewing Tutorial
- Easy Summer Sewing Projects
- No Sew Lavender Sachets
- Chocolate Orange Hand Scrub




Katie says
I love this!! I will definitely trying this with my little girl. Thank you x
Tara Ziegmont says
Thank you!
Jeanne says
I use 16 gauge 3/4 inch nails. They seem to work well and have just large enough of a head that they hold the floss well. I tried yarn, thread, and embroidery floss (the kind that comes in skiens), but ended up on the fine crochet floss that comes on a roll. Uts thick enough to show the color well, but thin enough to wrap easily.
Also, in order to get the best bang for my buck, I bought a 1'x6' raw board at Home Depot and had the associate cut them into 12"x12" squares for me. It needed as little sanding on the edges, but after staining, ended up looking really nice.
sue says
is there anything else that could be used other than wood? I would like to do this with the ladies lunch craft group at the libray. hamer & nails would take to long as we only have 1.5 - 2 hrs.
Tara Ziegmont says
I think that would be enough time if you did a small and relatively simple design. I don't think anything other than wood would hold the nails in place very well. They would fall over.
Ashley says
You could make boards out of corrugated cardboard. Just layer them (maybe 4 layers) then wrap them in scrapbook paper or cardstock.
Jane says
I loved string art as a kid, (30+ years ago), first one I made said "I Love my dad"...it hung in his garage for a lot of years, I found it in his box of faves after he died. You can do pretty much any design you choose with this & make it as large as you want...get creative!
Meegan Anne Fiore says
that is soooooooooooooo cool
i love it
Christy says
Thank you for this tutorial. How long do you think this project took your daughter? I'm looking to do it for an activity for a group of boys ages 8-10 as a Mother's Day gift.
Tara Ziegmont says
I think it was an hour to ninety minutes, and she needed a good bit of help with the knots although boys that age might be able to do that part on their own.
Charlotte says
I'm doing this for a school project looks intresting
B Aspinall says
Thank you for taking the time to dummy it down for us, I appreciate it and so will my son next week during his art class with Mrs. Mommy. He is sometimes easily frustrated when he can not accomplish things as quickly as he would like to so I am always hesitant to do a project during school with him before first attempting a run through on my own. Your instructions however, make it seem so easy and fun that I have decided to live life on the edge and just make sure we are fully supplied with your list and some simple printed templates for ideas. Yours and your daughter's art pieces turned out lovely and hopefully will inspire us to create something half as amazing as well. Thank you again and bless you and yours.