Partway through this school year, I became the leader for my older daughter's Girl Scout troop. One of the badges they wanted to complete was the flowers badge, and one of the requirements of the badge was to use flowers in a helpful way. I was torn between making sachets from dried rose petals and dried lavender, but I settled on lavender because it was cheaper. (Good reason, right?)
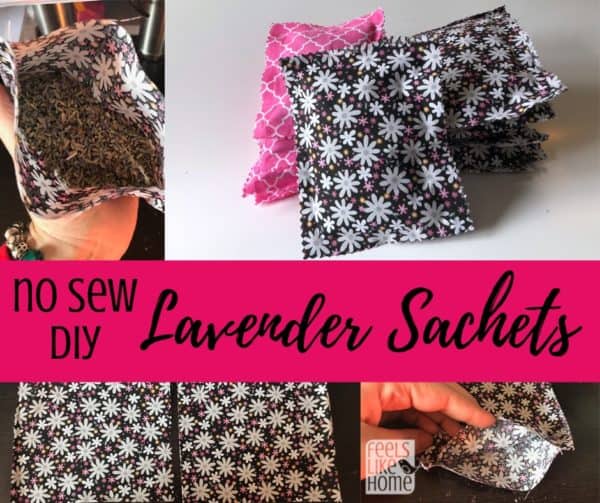
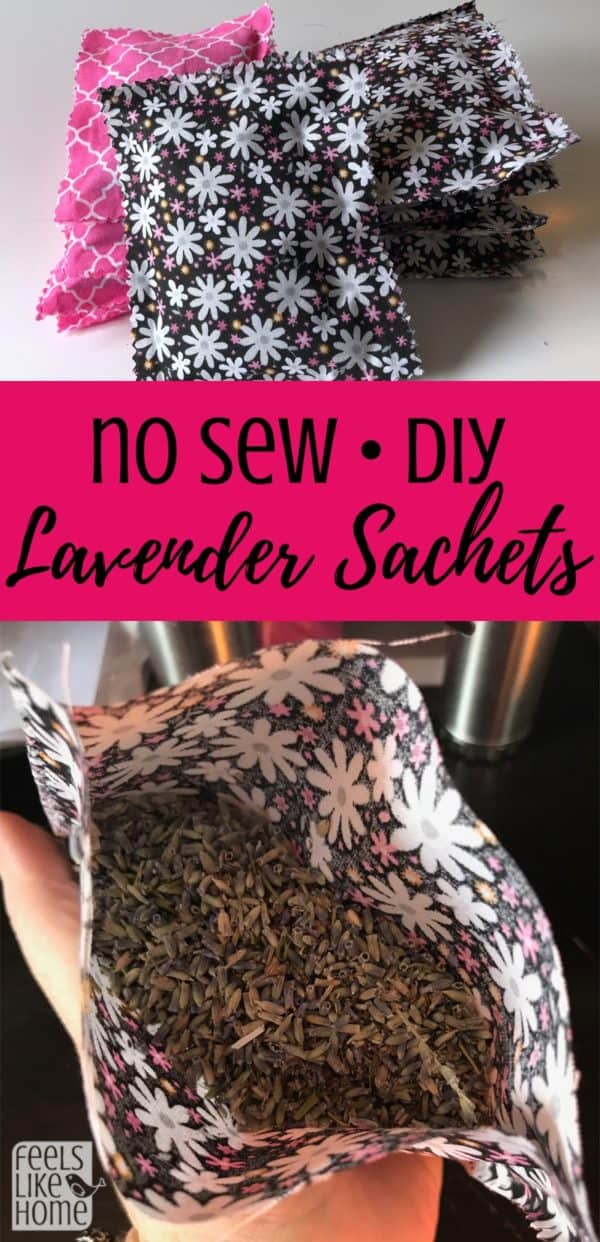
Making these lavender sachets is so simple and easy that it took the 10- and 11-year-old Girl Scouts about five minutes each to make 3 sets. If you aren't a child who's afraid of the hot glue gun, you could easily make a dozen or so in about the same amount of time. They come together very quickly.
Another note. As I said above, I was going for cheap since we are a small troop and don't have a lot of cash. If you are making these for gifts, you could easily embroider them a little by going up and down through the edge with embroidery floss, or you could hot glue rick rack on the edges or even sew a button or pre-made bow or flower into the center.
No Sew DIY Lavender Sachet Materials
These sachets are so easy and the materials are super simple.
- Fat quarters - You can get at least 5 sachets out of a single fat quarter. In case you're not familiar with the lingo, a fat quarter is ¼ yard of fabric, but instead of being 9 inches of fabric that's 45 inches long, it's 18 inches of fabric that's about 22 inches long. It's about the same square inches of fabric but more square than long and skinny. I think the easiest place to get these is Amazon (but I order just about everything on earth from Amazon). Fat quarters are under a dollar a piece at Walmart, and they're usually in the $2-3 range at Joann Fabrics.
- Pinking shears - These aren't absolutely necessary, because you could cut the fabric with sharp fabric scissors, but pinking them gives them a pretty edge and also prevents the fabric from fraying with handling. I prefer to use pinking shears on all cotton fabrics because fraying is almost always a concern.
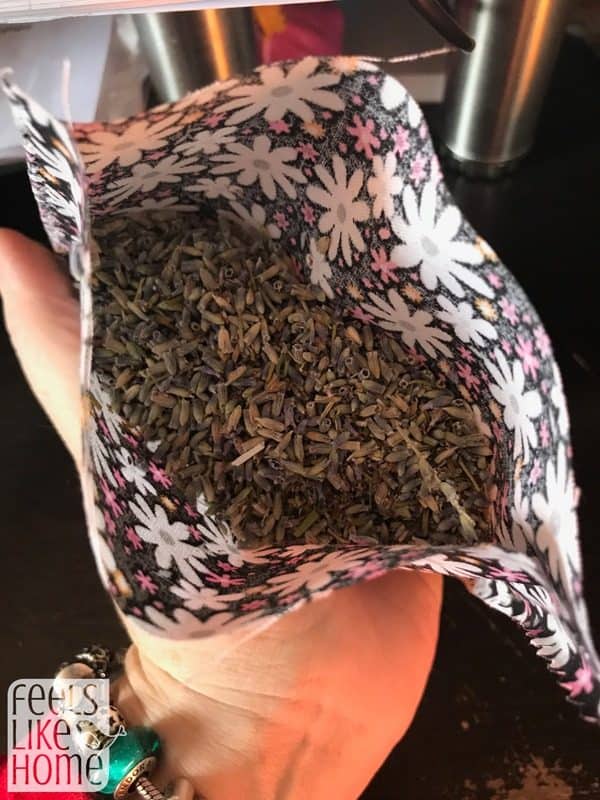
- Dried lavender buds - I bought this exact bag of lavender back in February, and it is pungent. It's not the best looking lavender (more of a gray color than a purple), but you will never see it anyway because it will be inside the fabric pouches.
- Hot glue gun with glue sticks - You can certainly sew these shut and, if your stitches are small enough, the lavender buds will not leak out much. But if you don't want to be bothered with sewing tiny stitches, you can hot glue them as we did. A nice thick line of hot glue all the way around will keep the lavender inside the sachet where it belongs.
- Embellishments - As I said above, you can embellish these however you want. We were going for economical, so we didn't, but any normal sewing or embroidery embellishment would be nice: embroidery floss, rick rack, buttons (these are my fave!), pre-made bows or flowers
- ⅓ or ½ cup measuring cup
How to make no sew DIY lavender sachets
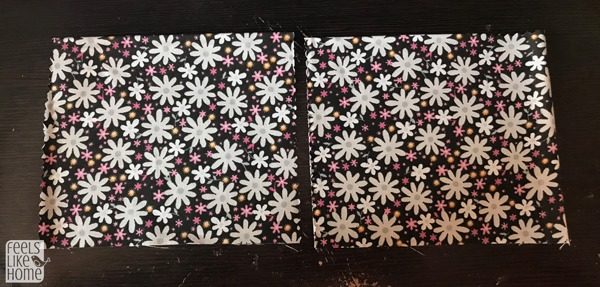
- Measure and cut the squares for the sachets. Fat quarters are typically folded into squares or rectangles, and I just cut along the creases in the fabric. This made shapes that were somewhere between 4"x4" and 6"x6" in a variety of square and rectangle shapes. We didn't need to be exact, so we weren't. If you're very concerned about precision, you could certainly make a template from cardboard and measure and cut the squares or rectangles yourself.
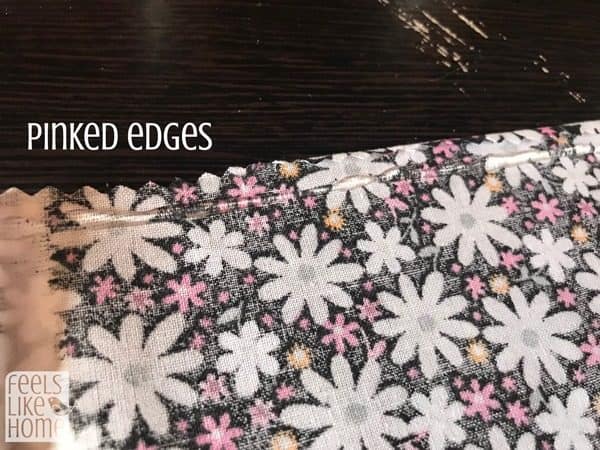
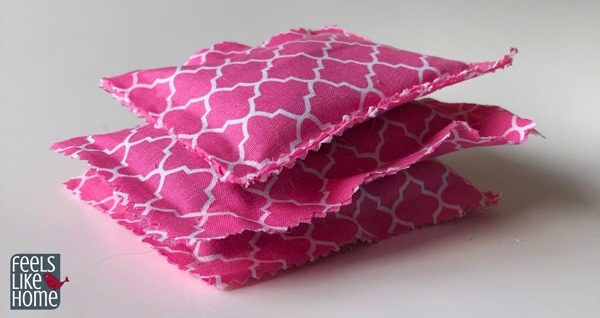
2. As I said, I used my pinking shears to cut the edges, which you can see in the image below. Note that the pinked edge folded over about halfway across the photo. It is cut that way the whole way across. If you look really closely, you can see the tiny triangles on the right side of the photo.
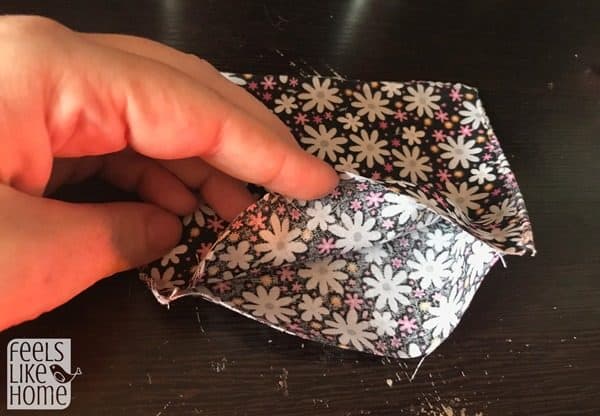
3. Use the hot glue gun to glue 3 of the edges together. The best way to do this is to put a thick line of glue across one entire side, press the other piece of fabric into the glue, then apply glue to the next side and repeat. Leave one edge completely open.
It should be noted here that you could totally do this the "normal" sewing way. I mean, turn the right sides (the pretty outside sides) to the inside, glue the three sides, and then turn it right side out. This will put the pinked edges inside the finished sachet whereas my way will put the pinked edges on the outside. I think it looks nice both ways so do what you want.
4. Using a measuring cup, scoop some lavender buds into the pouch. You want the pouch to be ½ to ⅔ full of lavender. The idea is that when the lavender stops smelling so strongly, you should be able to squish and squash it around to reactivate the scent. If you stuff it too full, you won't be able to do this very well.
5. Glue the final edge of the pouch together.
6. Embellish as desired.
How to use DIY no sew lavender sachets
There are myriad uses for lavender sachets.
- Put one in each of your clothes drawers to make your clothes smell nice.
- Lavender is a natural deterrent to the moths that eat fabric, so they do double duty in drawers and closets.
- Stick a sachet into your out of season clothing when you stow it away for the year.
- Toss a sachet into your luggage when you go on a trip.
- Store a sachet in your purse overnight and enjoy the scent for weeks after.
- Keep a sachet in the glove compartment of your car.
- Give a stack of sachets as a hostess gift.
- Tuck a sachet into your yarn stash.
- Store a sachet anywhere you want to smell better!
I have to be honest and admit that lavender is not my favorite scent, but it has been growing on me ever since we made these sachets in March. My mother-in-law loves it though, as do many other people I know. The dried lavender I linked above is so strong and lovely that you can make dozens of sachets from it and have your clothes and drawers and closets smelling good all year long!




Mikaela says
I love lavender and my sewing-challenged self can absolutely make these! I'm going to make some for my room and my car. Thank you for sharing!
Sally says
From a Girl Guide leader across the pond, great suggestion. I grow my own lavender and this will be just the thing to use it for.
Mny thanks
Yours in WAGGGS