


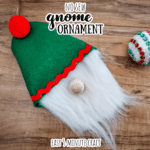
These beginner gnome ornaments are the best Christmas craft idea! So quick and easy, these no sew DIY gnomes are the best handmade Xmas tree ornaments, just glue the oversized Scandinavian Christmas decorations. Grab the free gnome pattern here to make these in 5 minutes or less.

My kids and I have a thing for gnomes. We have Christmas gnomes and Easter gnomes and Halloween gnomes and even a couple of plain old generic Scandinavian gnomes. Oh, and how could I forget the Fleur Delacour gnome that we made after watching Harry Potter?
Anyway, there are always gnomes on display in my house.
I put this simple gnome tutorial together because I thought we made a couple of gnomies for our Christmas tree, and the process is so simple, I thought you might like to make some too.
What you'll need to make a no sew DIY gnome ornament
This is a really easy and really quick craft, but you will need a few supplies to get started.
Equipment
You'll need a printer to print out the template.
You'll need some kind of marker to trace the pattern onto the felt and a nice, sharp pair of fabric scissors. You can probably get away with a regular old pair of scissors, as long as they're really sharp, but the dull ones that you use to cut cardboard and everything else under the sun will probably not give you a nice, clean edge on your felt.
You can use your scissors to cut out the fur for the beard, but I think it works just a little bit better to use an x-acto knife and cut just the backing of the fur. Either way will work.
Finally, you will need a hot glue gun and hot glue sticks to assemble the whole thing. I suppose you could use fabric glue, but it would take a lot longer and probably be a hassle.
Materials
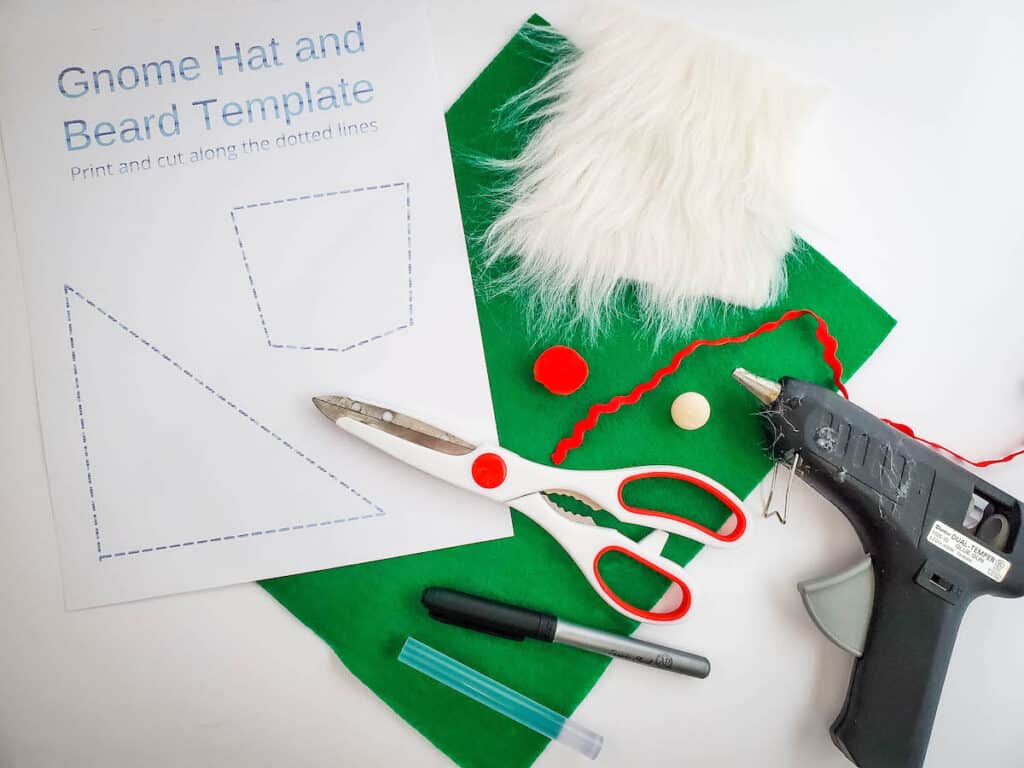
- 1 gnome hat and beard template - see button below to get this by email
- 1 piece felt - I used a nice dark green, but you can use any color of your choice.
- 1 square faux fur - This link will take you to the exact fur that I used. You'll get a few squares which are enough to make several gnome ornaments or even larger sock gnomes.
- 1 length red rick rack trim - You can use any red trim, and you'll need about 3½ inches.
- 1 small red pompom
- 1 small wooden ball - You could use a wooden bead, but you'll want to cover the holes with some air dry clay. I used a bead with a diameter of 12 mm.
- 1 length ribbon or twine or decorative string - This is to glue on the back to make a hanger for the ornament.
How to make an easy DIY gnome ornament for your Christmas tree
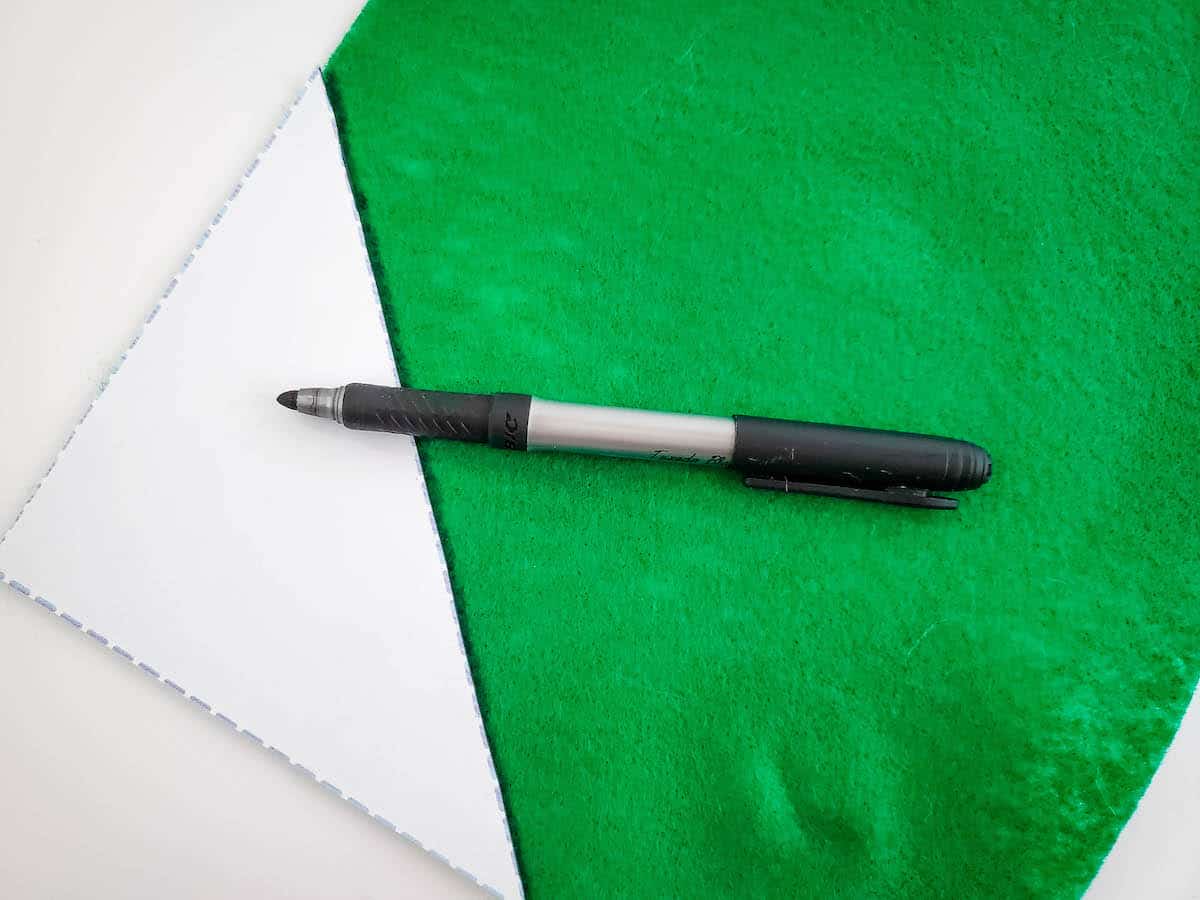
- Print the gnome hat and beard template. Cut the hat and beard out on the dotted lines.

- Trace the triangle hat onto the felt and trace with a marker.
- Cut the gnome's hat from the top of the felt sheet using sharp scissors.
- Trace the beard template onto the back of faux fur fabric with the marker.
- Use scissors or an x-acto knife to cut it out. (See note below.)
- Apply a strip of hot glue to the middle of the bottom on the back of the felt. Set the top of the beard (wider end) upside down on top of the glue.
- Apply a strip of hot glue to each side on the top of the back of the gnome beard. Fold the green felt over onto the glue on the back of the beard. Repeat for the other side.
- Apply a small drop of glue near the top of the back of the felt, on each side, then press down to adhere the felt.
- Flip your project over to the front of the hat. Apply a small dab of glue to the top center of the hat. Press the red pom-pom onto the drop of glue, hold for a few seconds.
- Cut the piece of trim to size.
- Apply a strip of hot glue along the bottom edge of the hat.
- Carefully set the piece of trim on top of the glue and trim the edges if needed.
- Apply glue to the back of the wood ball, then attach to the center of the beard, about ½ inch underneath the rim of the hat.
- Add a loop of twine, ribbon, yarn, or string to the center of the top of the hat using hot glue. You could even make a loop out of your red rick rack trim and hang the ornament with that!


The free printable gnome hat pattern & beard pattern
A note about cutting faux fur
Faux fur can sometimes make a mess when you cut it with scissors as you are cutting both the back of the fur and the pile or fuzzy part of the fur. I have found it easier with long nap fur like this to use an x-acto knife from the back of the fur. This way, it cuts through only the backing and leaves the actual fur long. Either way will work though.
What to do with all those gnome ornaments
If you're anything like me, you're going to get hooked on making these cute little Christmas ornaments. You could use them as door knob hangers (make a bigger twine loop in the last step) or attach them to gifts instead of a bow. You could of course put them on your Christmas tree or hang them from a garland wherever you hang one or hang one from the center of your front door wreath.
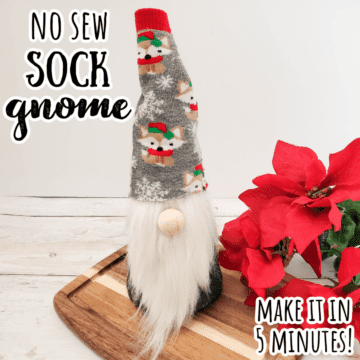
If you like this gnome ornament, you're going to love this cute project!
This easy no sew DIY sock gnome comes together almost as fast as the ornament above, and it makes a super cute little 3D gnome for any holiday decorations.
I love my gnome ornament because it's super easy to make and super quick. However, in doing some research, I found another gnome ornament that I really like. It's a lot more involved and takes a lot more time, but it makes a really cool (and really huge) ornament, so I wanted to share that link with you.

No Sew DIY Gnome Christmas Ornaments
Equipment
- Marker
Materials
- 1 gnome hat and beard template
- 1 piece felt green or color of your choice
- 1 square faux fur
- 1 length red rick rack trim about 3½ inches
- 1 small pompom red color
- 1 small wooden ball
- 1 length ribbon or twine or decorative string
Instructions
- Print the gnome hat and beard template. Cut the hat and beard out on the dotted lines.
- Trace the triangle hat onto the felt and trace with a marker, then cut it out with scissors.
- Trace the beard template onto the back of faux fur fabric with the marker, then use scissors or an x-acto knife to cut it out. (See note below.)
- Apply a strip of hot glue to the middle of the bottom on the back of the felt. Set the top of the beard (wider end) upside down on top of the glue.
- Apply a strip of hot glue to each side on the top of the back of the beard. Fold the green felt over onto the glue on the back of the beard. Repeat for the other side.
- Apply a small drop of glue near the top of the back of the felt, on each side, then press down to adhere the felt.
- Flip your project over to the front side. Apply a small dab of glue to the top center of the hat. Press the red pom onto the drop of glue, hold for a few seconds.
- Cut the piece of trim to size, then apply a strip of hot glue along the bottom of the hat. Carefully set the piece of trim on top of the glue and trim the edges if needed.
- Apply glue to the back of the wood ball, then attach to the center of the beard, about ½ inch underneath the rim of the hat.
- Add a piece of twine, ribbon, or string to the center of the top of the hat using hot glue.


Comments
No Comments