
This simple and easy salt dough recipe uses only 4 ingredients (and one of them is the coloring). You can bake it in the oven and add decorations for beautifully colored salt dough ornaments to hang on a garland or Christmas tree. Great recipe for kids.
My kids love to play with dough. They don't care if it's commercial Play-Doh or homemade play dough or salt dough or flour dough or cloud dough or something else. They just love dough.
I wanted to make them a different kind of dough since we make this salt dough recipe all the time. (I've seen this recipe called Salt Dough and seen it called Flour Dough in different places, but I'm going to call it salt dough for the sake of this blog post.)
I decided the different element would be color.
Coloring salt dough is a tricky proposition (at least, it is for me). If you color it before mixing, it is all the same color. If you color it after mixing, it can change the consistency.
I have found that liquid color (liquid watercolors and liquid food coloring) dilute the dough and require more flour which, in turn, dilutes the color. That is a frustrating cycle for me.
I haven't experimented with gel food color, but I think it might work better.
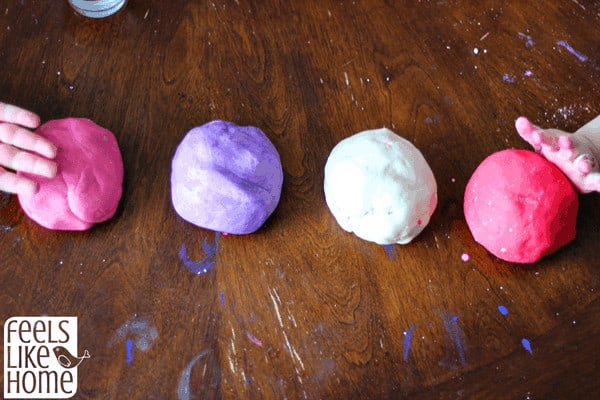
This time, I tried powdered tempera paint, and I found that it worked quite well.
In this case, it made my dough a little too crumbly, but that was easy to remedy with just a little extra water. (Allie poured in too much water, requiring me to add more flour, leaving my purple a little less purple than intended. It still worked.)
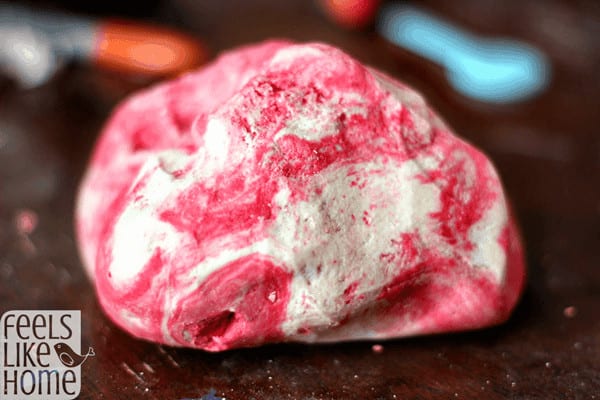
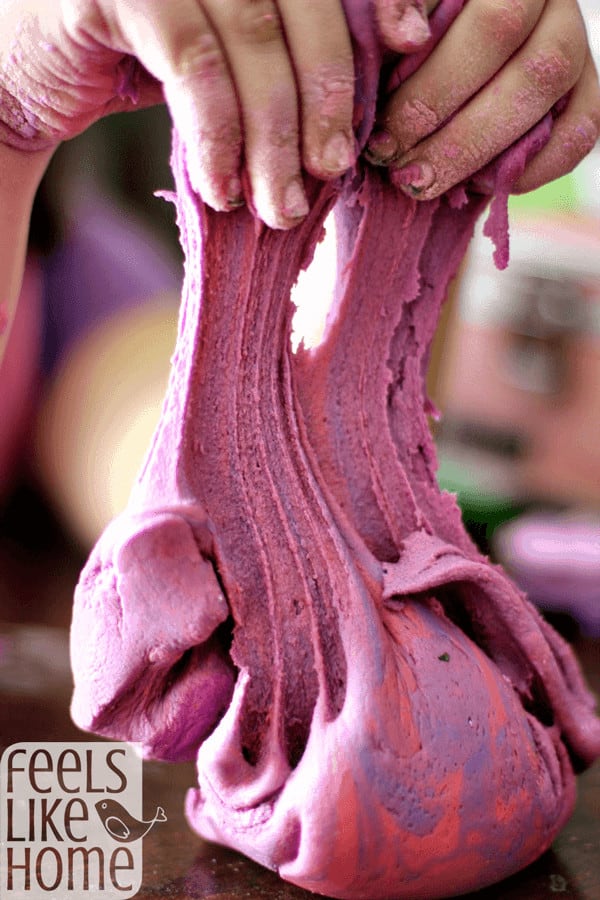
When you first mix the colors, it has a pretty marbled appearance like this:
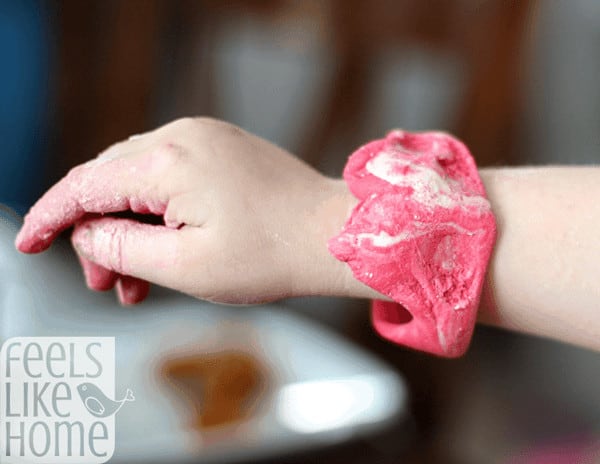
Allie made herself a bracelet using the marbled dough.
Grace used her pink and purple to make a cupcake.

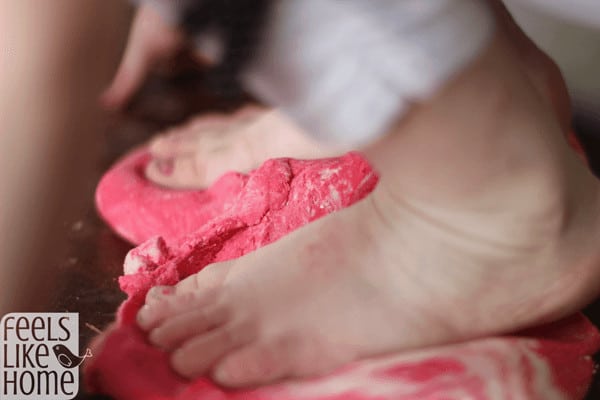
Then they asked if they could make footprints, which I thought was a terrific idea. They wanted to do it so they could say they stood on the table, which I pretended was okay for a few minutes. You could make handprint ornaments for the grandparents in the same way. Maybe start out with a nice big circle or heart and then press the little hand into it?
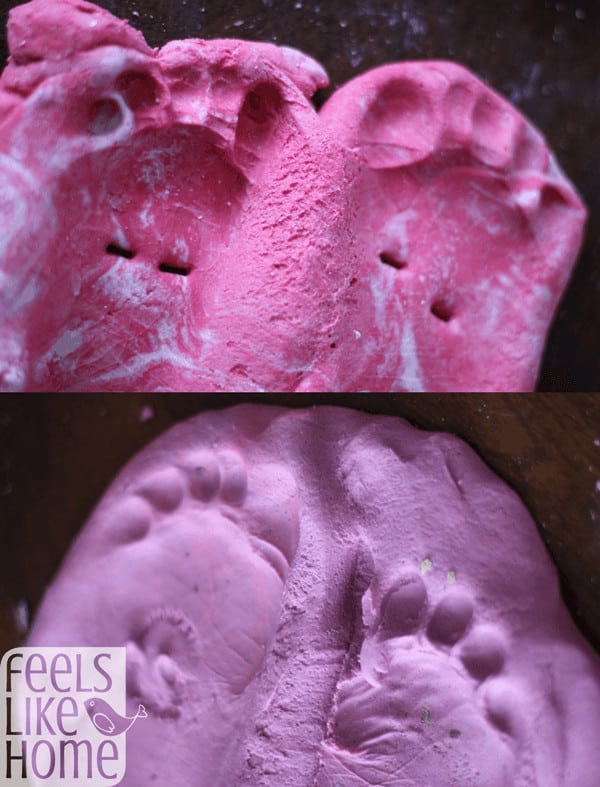
See in this photo how the colors are starting to blend together, looking more like a single color and less like a marbled dough.
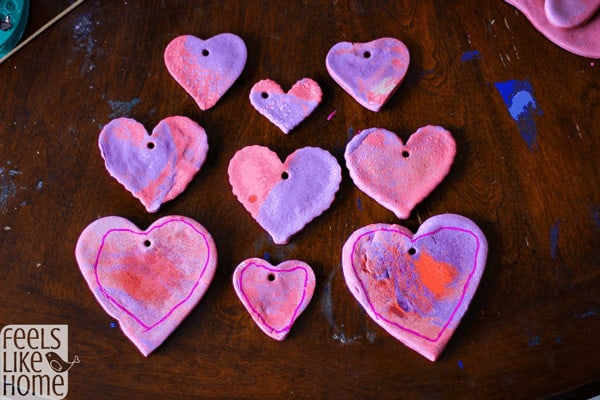
After baking in the oven, the salt dough gets hard. We picked out some of the prettiest cooked hearts for special projects like salt dough ornaments and gifts for the grandparents.
And like this necklace:

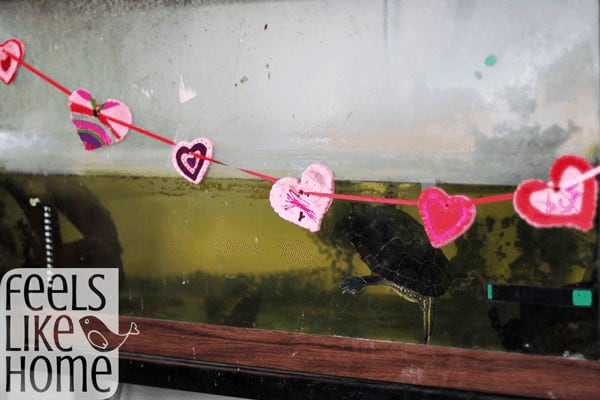
Most of the hearts were solid pink (because of lots of playing and kneading after we mixed the colors). We took a bunch of these hearts and colored them with Sharpie markers, strung them on a ribbon, and added decorations to make a garland to pretty up the turtle's tank.

Nothing is going to make his tank pretty, but the hearts are a festive addition. These are all colored with Sharpies, but you could get the same effect with acrylic paints.
If you want your salt dough ornaments to last a little longer, you can apply a thin coat of Mod Podge to them on all sides. Allow them to dry completely before hanging.
What you'll need to make colored salt dough
EQUIPMENT
- Stand mixer
- Large bowl
- Rolling Pin
- Cookie cutters
- Baking sheet or cookie sheet
INGREDIENTS
See printable recipe card below for all measurements.
- All-purpose flour
- Table salt
- Cold water
- Powdered tempera paint - It takes a lot of paint to make nice, bright colors. I didn't measure precisely, but it was at least 2 tablespoons per ¼ of the salt dough recipe.
How to make colored salt dough
- Mix the plain flour and salt in a very large mixing bowl.
- Add in the water until the dough is moistened but not sticky. If the dough is sticky, add a bit more flour to get it right. I use my KitchenAid mixer with the dough hook attachment to avoid all the stirring for this step.
- I always have to go back and forth between adding flour and adding water until I get the right consistency. Since you're going to add powdery paint, it can be a little moist for now.
- Separate the dough into 4 fist-sized balls. Return the first small ball of dough to the mixer and pour in the powdered paint. Use the dough hook to knead the color into the dough.
- Play with the dough. If you mix the colors right before rolling it out, you'll have a pretty marbled dough similar to the first photo below. If you mix the colors and then play with it a while, you'll have a blended color like the later photos show.
- To make shapes, sprinkle work surface and rolling pin with flour. Roll out the dough to ¼"-½" and use cookie cutters to cut the shapes. If you're making salt dough ornaments or a garland like we did, make sure you cut holes in the shapes before baking. We used a simple drinking straw for this purpose.
- Line a baking tray with parchment paper. Carefully place the shapes on the paper and bake salt dough ornaments in the oven at 250ºF for 90 minutes, or until they are dried out and hard but not browned.
- If desired, coat each ornament with a thin layer of Mod Podge or spray sealer. This will help the ornaments to last longer.
Recipe

How to Make Colored Salt Dough
Equipment
- Cookie cutters
- Baking sheet or cookie sheet
Ingredients
- 4 cups all-purpose flour plus some for sprinkling later
- 1 cup table salt
- 1½ cups cold water maybe a little more or a little less
- Powdered tempera paint It takes a lot of paint to make nice, bright colors. I don't measure precisely, but it was at least 2 tablespoons per ¼ of the salt dough recipe.
Instructions
- Mix the flour and salt.
- Add in the water until the dough is moistened but not sticky. If the dough is sticky, add a bit more flour to get it right. I use my stand mixer with the dough hook attachment to avoid all the stirring for this step.
- I always have to go back and forth between adding flour and adding water until I get the right consistency. Since you're going to add powdery paint, it can be a little moist for now.
- Separate the dough into 4 fist-sized balls. Return the first small ball of dough to the mixer and pour in the powdered paint. Use the dough hook to knead the color into the dough.
- Play with the dough. If you mix the colors right before rolling it out, you'll have a pretty marbled dough similar to the first photo below. If you mix the colors and then play with it a while, you'll have a blended color like the later photos show.
- To make shapes, sprinkle work surface and rolling pin with flour. Roll out the dough to ¼"-½" and use cookie cutters to cut the shapes.
- Bake the dough in the oven at 250ºF for 90 minutes, until it is dried out but not browned.


Comments
No Comments