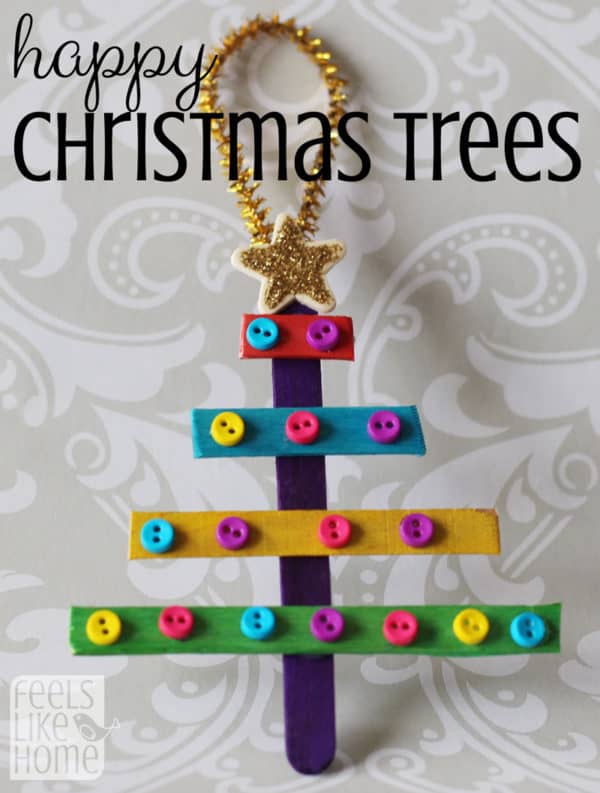
This craft is as easy as easy can get. Seriously. Pre-painted popsicle sticks, heavy duty scissors, and a little bit of hot glue. And then you'll have pretty Christmas trees to hang on your Christmas tree. It doesn't get better than that!
I played with a lot of combinations for these trees, but I always came back to liking the dark purple tree trunk the best. I'm not sure why (or why the colors mattered so much to me, but they did).
My kids and I have been making a lot of diy tree ornaments and crafts this holiday season, and these trees were by far our quickest popsicle stick Christmas ornaments.
It's also my favorite. I love the way these happy little trees look on our Christmas tree. (Do you know who said happy little trees? It's somebody on tv who is now deceased, as if that will help you to guess.)
Materials to make popsicle stick Christmas tree ornaments
- Pre-colored popsicle sticks - They sell these at the craft store already colored. Who knew? I saw them at Michael's and was instantly impressed. We didn't have to paint them! Did I mention that they were already colored in the store?! Insanity. It made our craft take about a minute and a half.
- Heavy duty scissors
- Hot glue gun & glue sticks
- Decorations - We used stick-on gems, stick-on pearls, beads, buttons, and glitter glue.
- Wooden stars and/or gold pom poms
- Sparkly pipe cleaners, ribbon, or even a piece of twine
Instructions for this easy ornament craft
1. Using your heavy duty scissors, cut the craft sticks. I used my Cutco Super Shears which I have had for about twenty years and can cut through a penny. They cost an arm and a leg ($60 I think? maybe more), but they will seriously cut through almost anything. I am totally in love with them. So I used them to cut my popsicle sticks, but if you only have regular old scissors, you might need a utility knife.
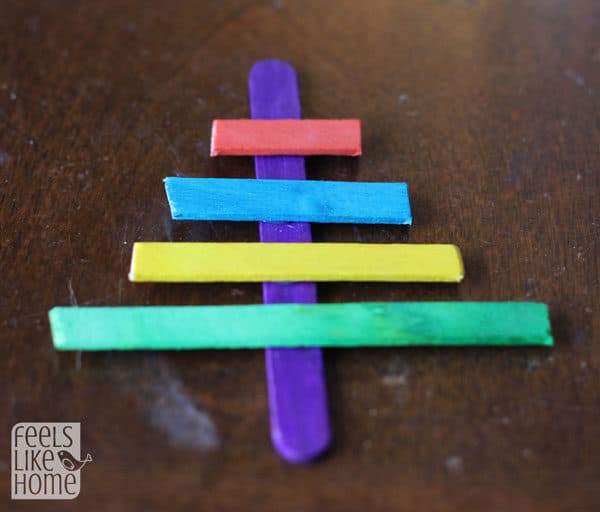
Cut just the ends off of the first popsicle stick. Cut the next stick a little shorter, and the next a little shorter still, and the last very short. I was able to get 3 very short pieces out of the same popsicle stick and 2 short pieces out of the same popsicle stick. Less cutting for me.
The cuts don't have to be perfect. This tree is going for a rustic look.
I hope you can have rustic and brightly colored in the same tree because I do.
2. Hot glue the popsicle stick pieces onto the trunk with the biggest piece at the bottom and the small piece at the top.
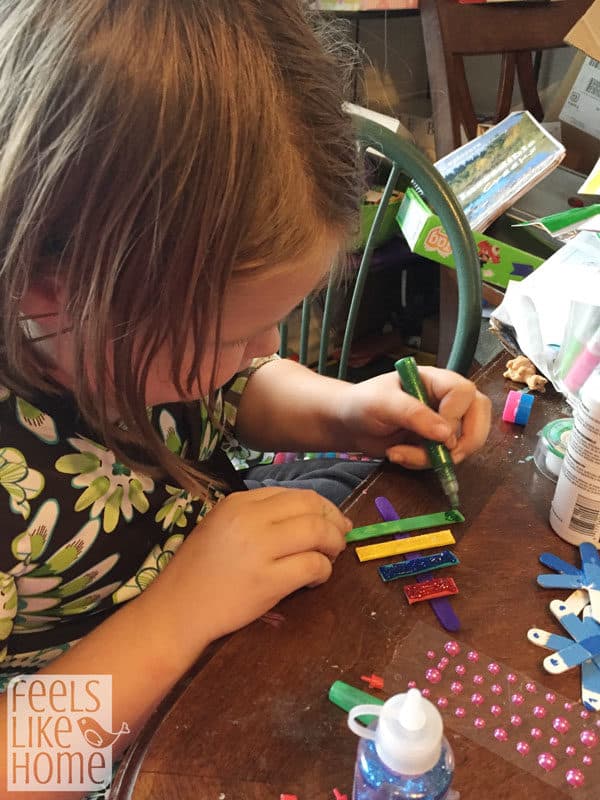
3. Decorate the tree.
We had a lot of fun decorating our trees, experimenting with different decorations. Here is Grace covering hers with glitter glue.
I will be honest and 'fess up. I made the tree with the buttons in the title image. It's my favorite, which is not usually the case, but I really love it. I have it hanging on the tree right next to my chair in the living room so I can see it every day.
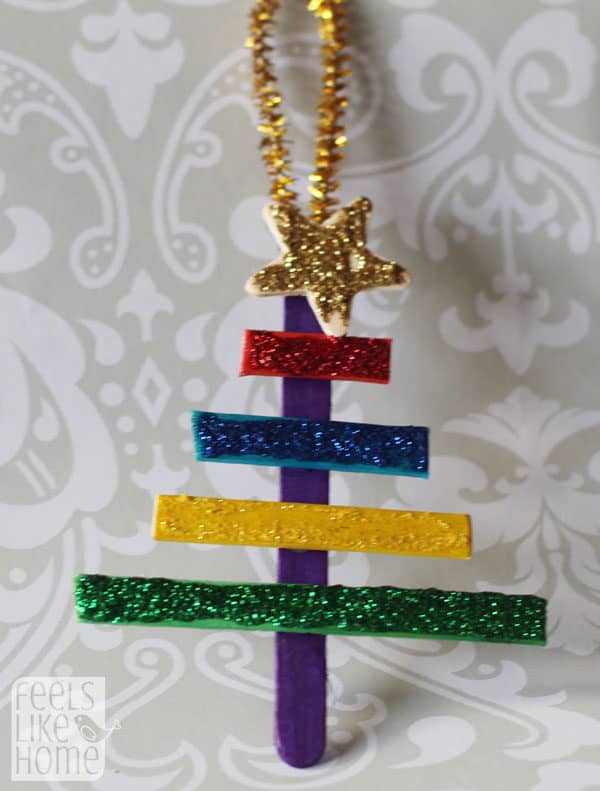
4. After the decorations have dried, turn the tree over. Cut a pipe cleaner in half, fold it into a U shape, and hot glue it onto the back of the tree.
5. Paint a wooden star and let it dry. Or just use a gold pom pom like I did below. Hot glue the topper onto the front of the tree.
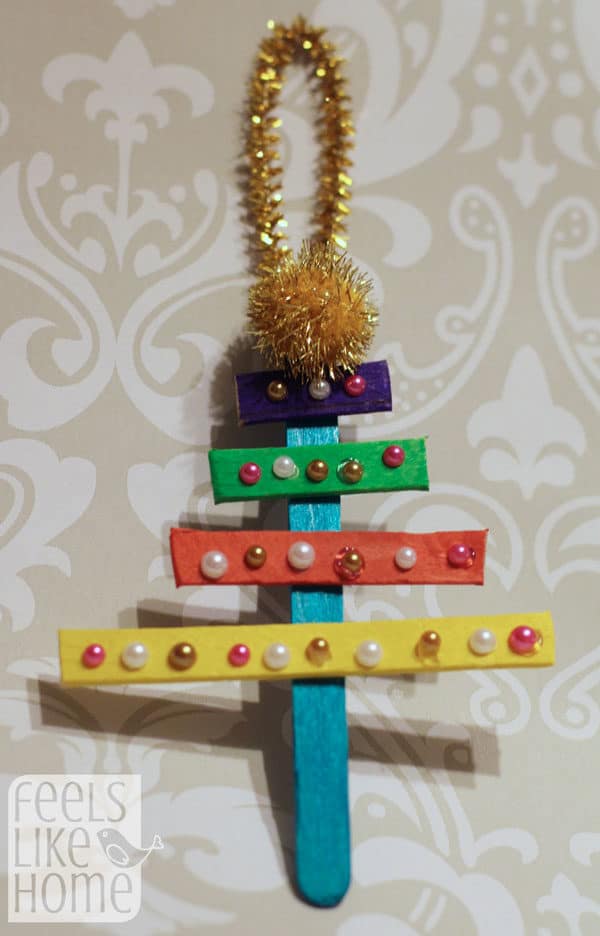
That's it! Attach a hook and hang your happy little tree on the big Christmas tree.
This one and the next one were Allie's. She loves red.
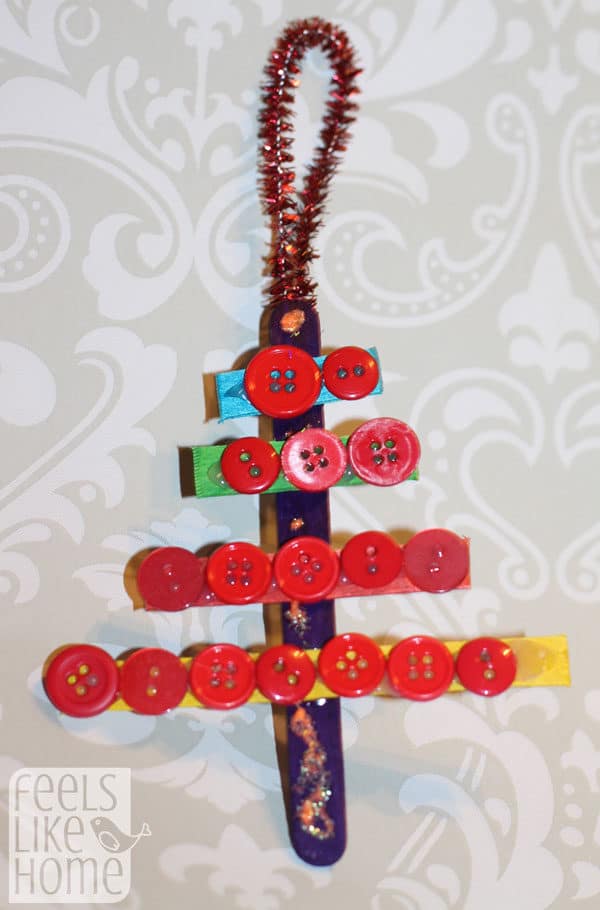
And she loves glitter which we have in common.
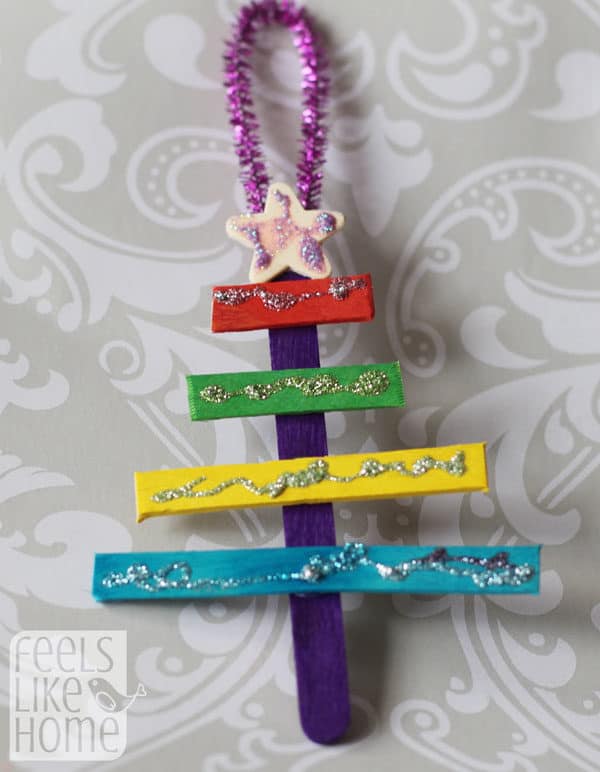
One of the things that makes these trees so much fun is that you can decorate them with anything. I think sequins would be fun, too.
Check out these other Christmas crafts for little kids and for tweens and teens!




Robyn Wright says
Adorable - just like all the kids projects you do!