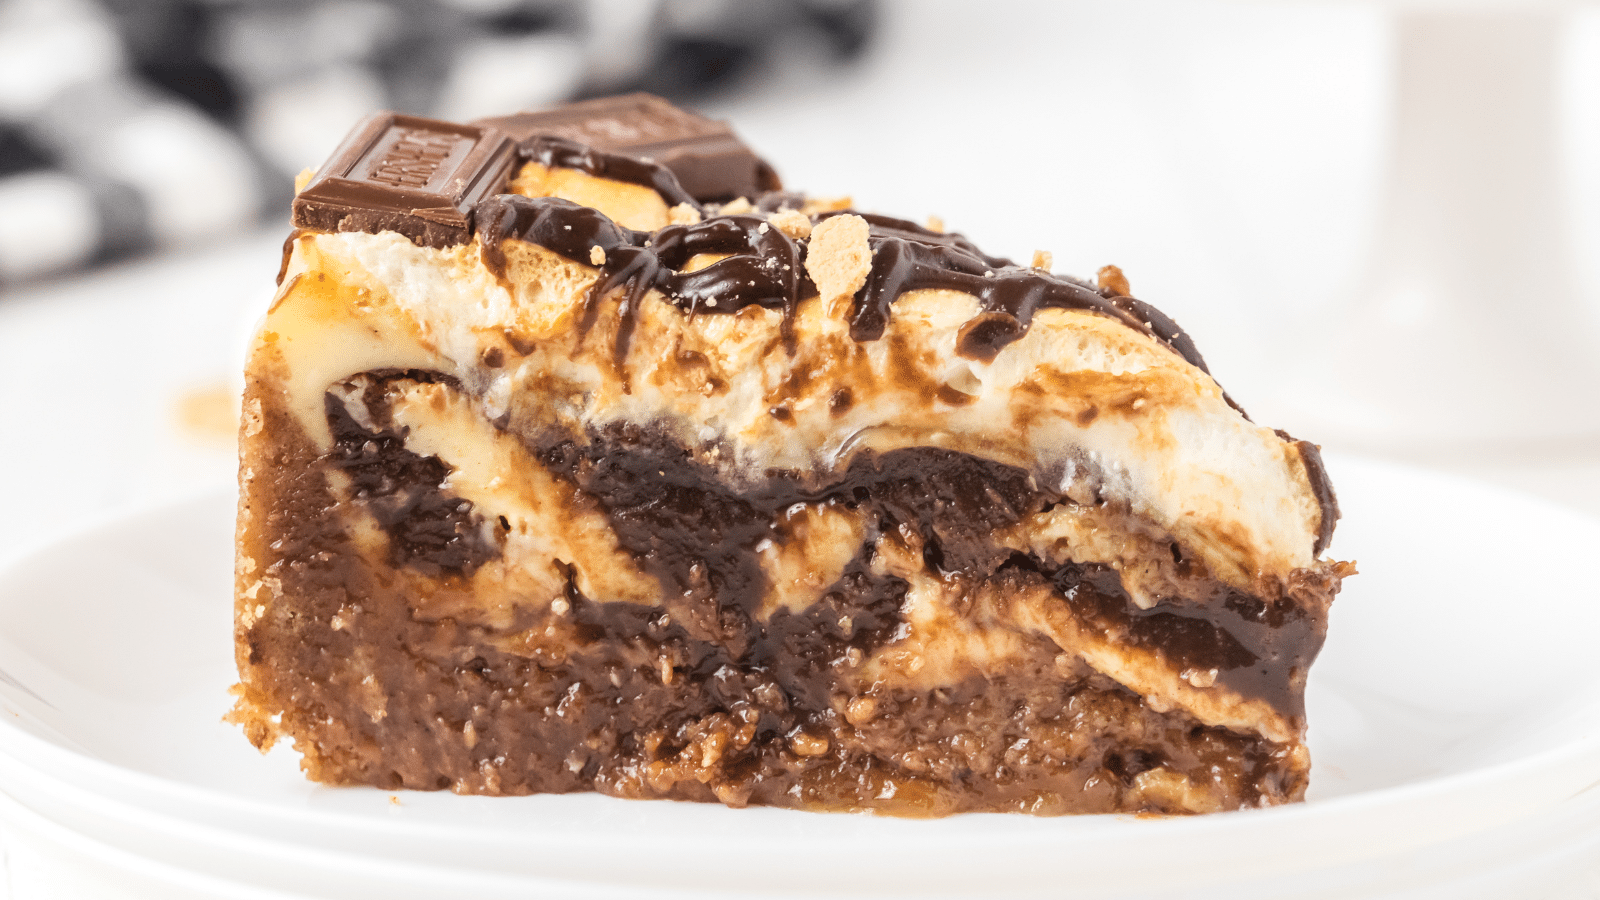
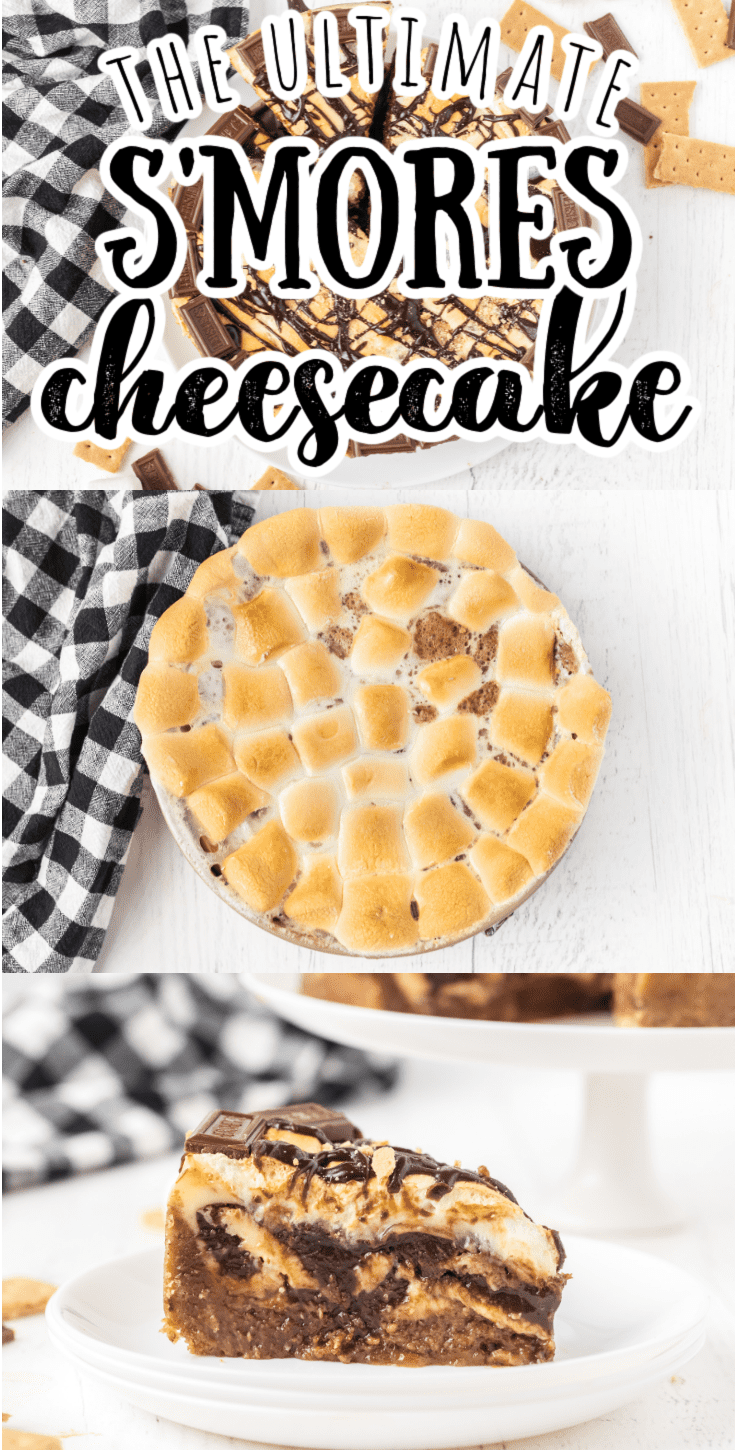
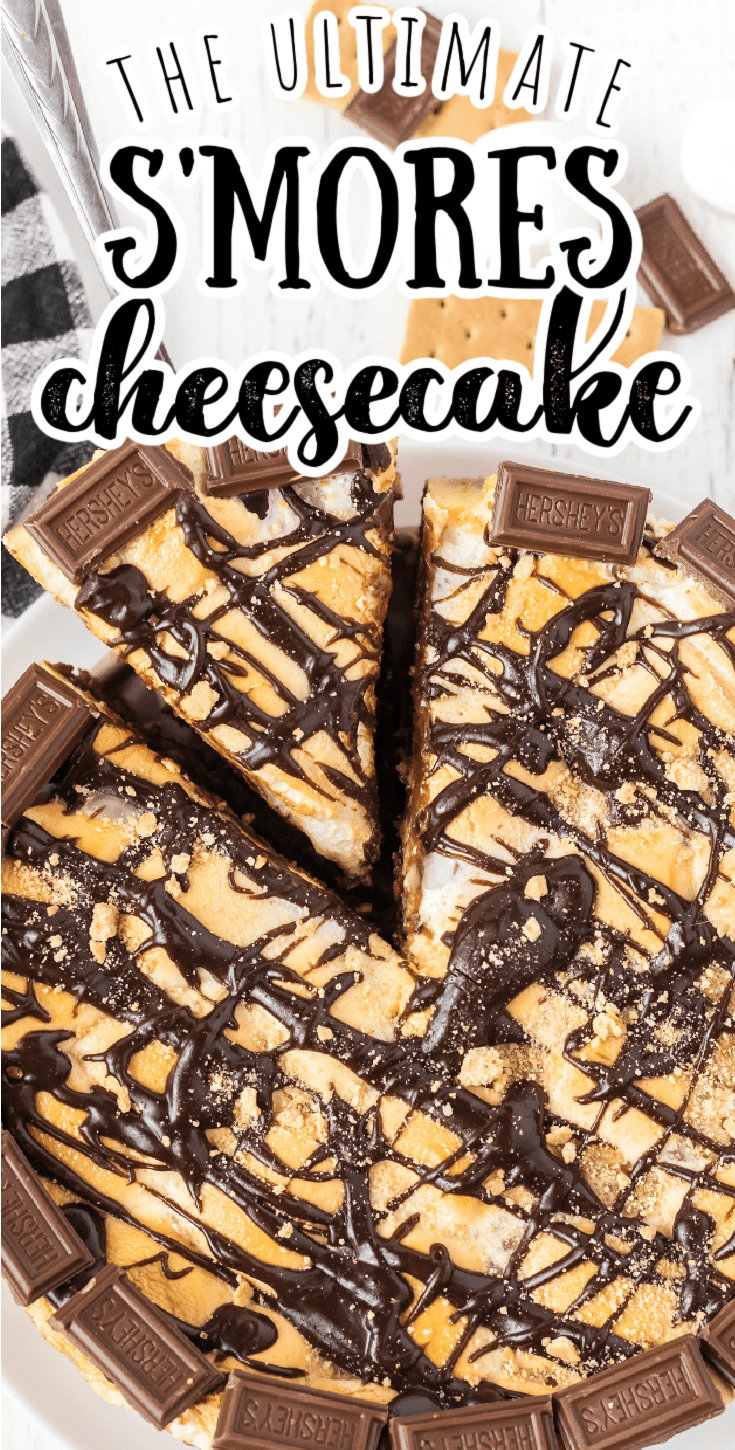
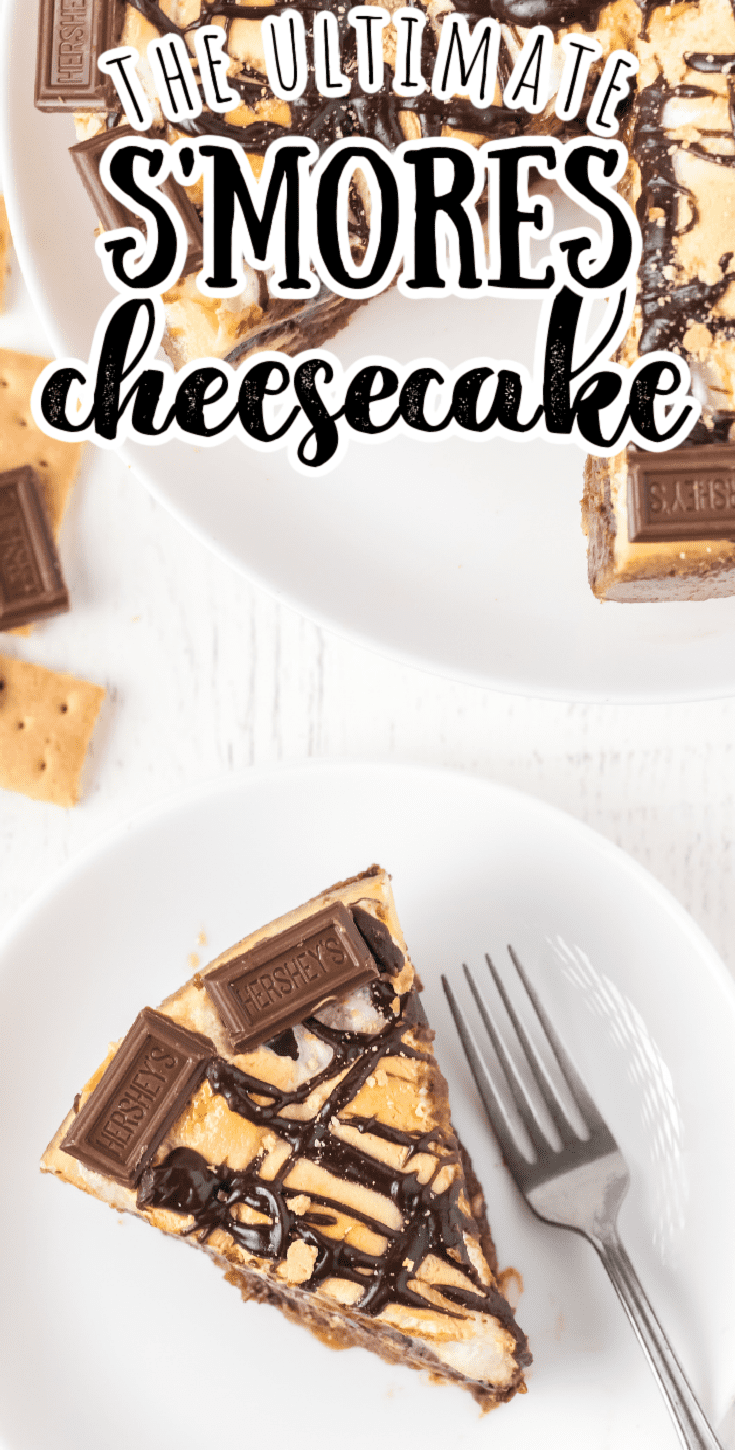
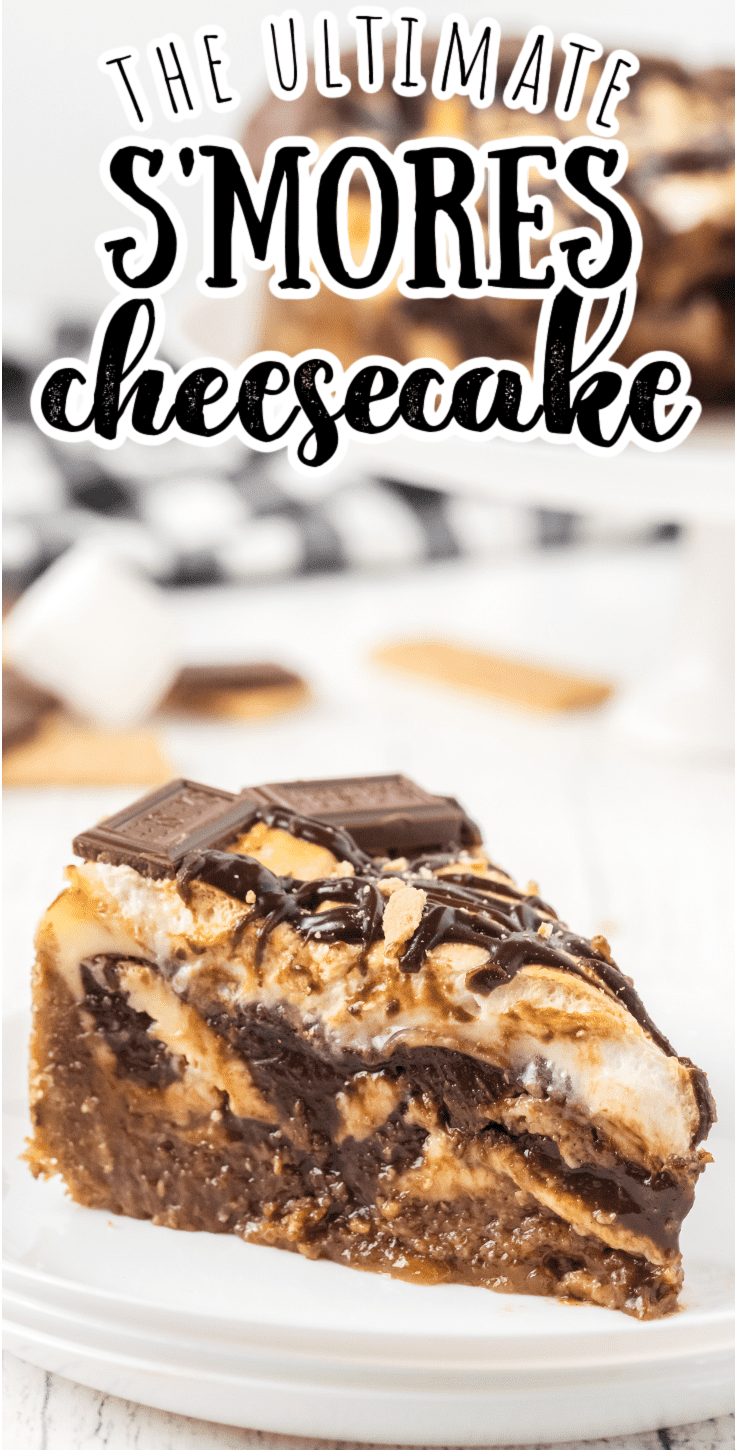
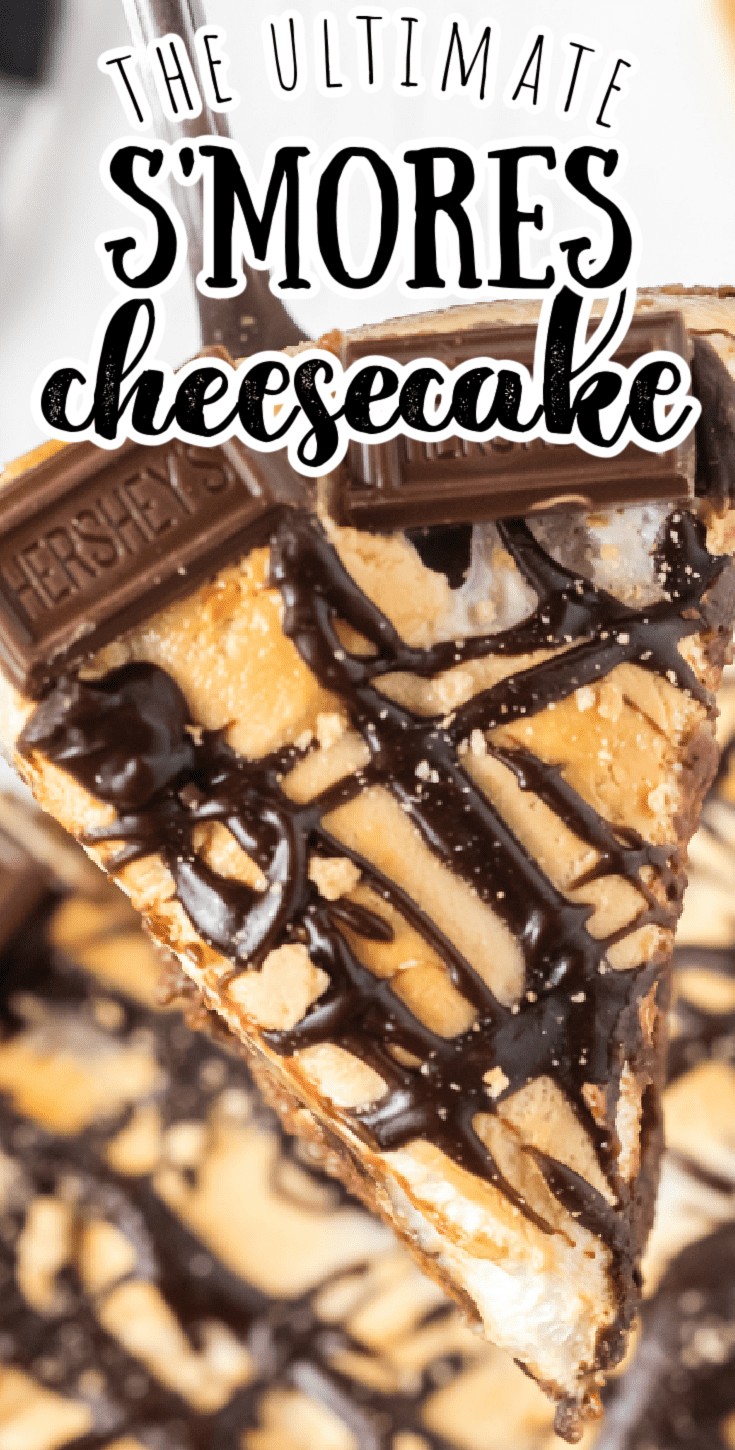
This is the best easy s'mores cheesecake! A smooth and creamy cheesecake filling is stuffed with rich chocolate and gooey marshmallows, with a crunchy graham cracker crust. It's going to be your new favorite dessert.
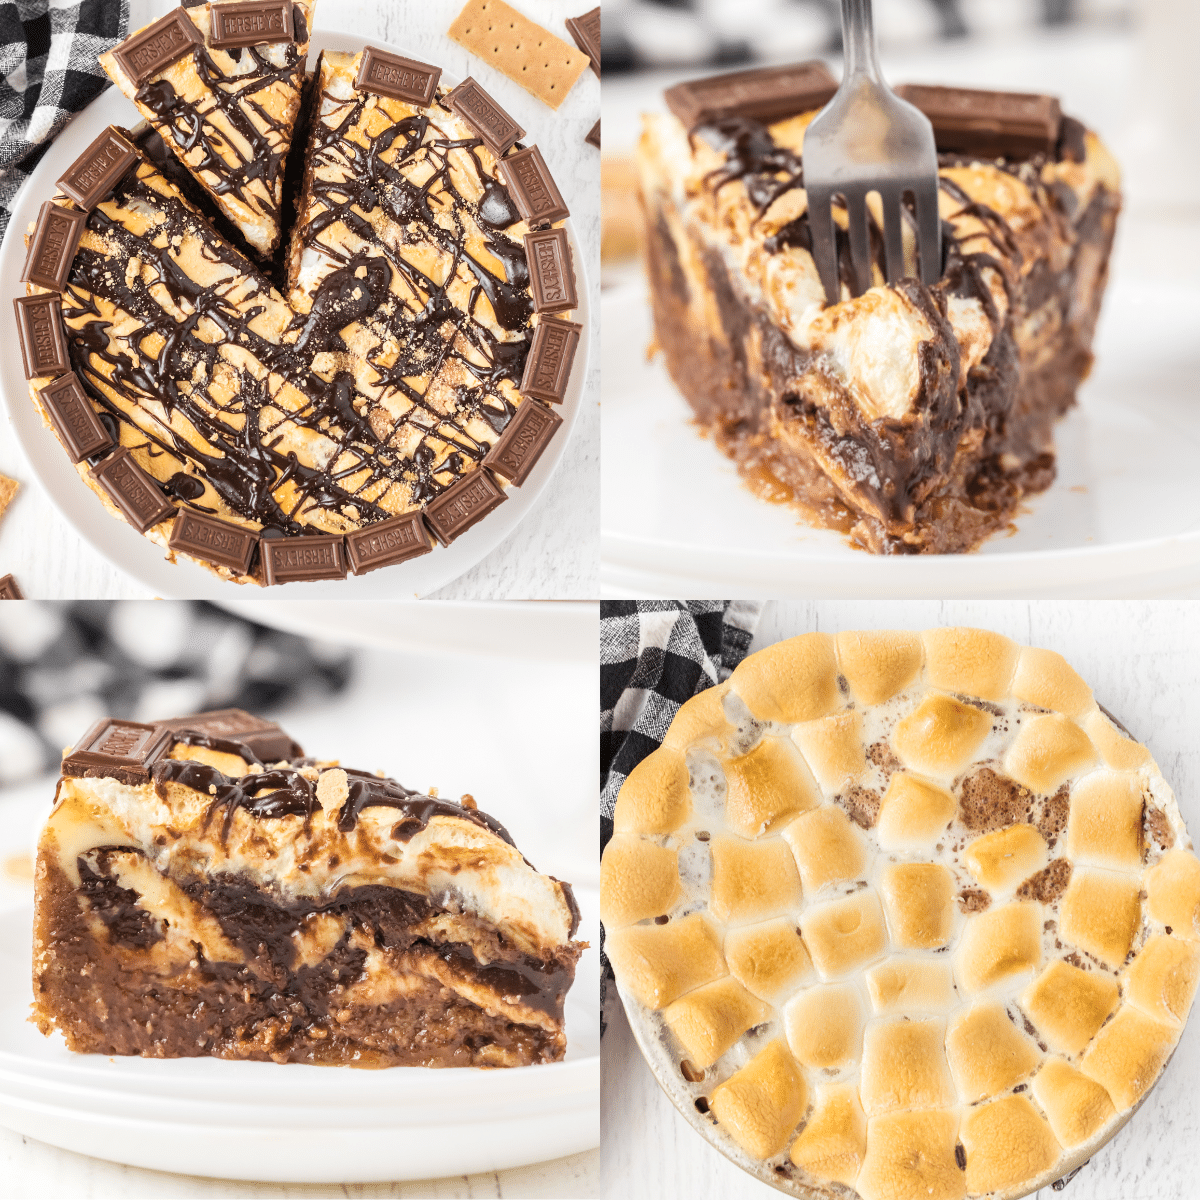
On Wednesday, while Grace was taking a nap (she's been quite sick), Allie and I made a s'mores cheesecake to bring some of our favorite flavors together.
I had a new cheesecake recipe to try out, and we haven't had a campfire in a while to get our s'mores fix, so it seemed like a good combination.
Was it ever a good combination! That is the understatement of the year.
Every bite of this rich cheesecake was loaded with the sticky goodness of marshmallows and the rich sweetness of homemade hot fudge, and it was - dare I say it? - way better than a regular old s'more cooked on the campfire.
I'm not even kidding.
This particular cheesecake recipe has a lot of ingredients, but it comes together fairly easily once you have everything gathered.
4-year-old Allie was a big help to me in measuring and putting the ingredients together. The only thing she couldn't help with was the hot fudge sauce, as that was made directly on the stovetop.
This s'mores cheesecake is so sweet and so decadent that you won't be able to eat more than a small slice. I actually cut myself a big old hunk and had to put half of it back in the fridge for later.
That is a sign of an amazing dessert.
What you'll need to make an easy s'mores cheesecake
Equipment
You will of course need a springform pan as you would to make any cheesecake.
You will need either a blender or food processor to crush the graham crackers. If you have neither, you could put the crackers into a large zippered plastic bag and use a rolling pin to crush them. It takes longer, and the pieces won't be as uniform, but it will work.
Finally, you will need either a stand mixer or an electric hand mixer to mix the cheesecake filling. A stand mixer is easier, but they are big and heavy, and I don't have the space to keep mine on the counter all the time, so I tend to use my hand mixer just because it's easier than lugging the KitchenAid out of its hiding spot and making room for it on the counter.
Could you mix this cake with a spatula? Yes, I suppose that you could. However, it would be difficult to mix and take a long time. Hand mixers are pretty cheap. Get one if you don't already have one.
Ingredients
- Hot fudge sauce - This is really easy to prepare and takes less than 10 minutes. It's much better than the hot fudge sauce you could buy in the grocery store, so take 10 minutes and make it yourself. You will be glad you did. If you don't have hot fudge sauce, you could alternately use chocolate ganache thinned with a bit of heavy cream.
- 2 packages honey graham crackers - This is ⅔ of a box, not 2 boxes.
- White sugar
- Brown sugar - The brown sugar gives the crust a really nice flavor that you will miss if you only use white sugar.
- Melted butter - This is what binds the graham cracker crust together. You can't make the crust without it.
- Cinnamon - This isn't absolutely necessary, but it goes really well with the chocolate and gives the crust a really nice flavor.
- 2 blocks of softened cream cheese softened - Do NOT go low fat here, you will regret it.
My preferred method to soften cream cheese is to leave it out on the counter overnight. It will not spoil in that amount of time.
If you forget to leave the cream cheese out overnight to soften, you can heat it in a heat safe bowl in the microwave in 30-second increments until it's soft enough to blend. - Sweetened condensed milk - You need this for sweetness in the filling but also for liquid. If you can't get sweetened condensed milk, you could substitute 12 ounces of heavy cream plus 6 tablespoons of white or brown sugar. (6 tablespoons = ¼ cup plus 2 tablespoons = ¼ cup plus ⅛ cup)
- Vanilla - My original recipe from 2015 used vanilla extract, and you can definitely use that. I have, however, switched over to using vanilla bean paste exclusively, and I will not go back. The paste has a very robust and rich vanilla flavor, and unlike vanilla extract, it contains actual crushed vanilla beans.
- Eggs
- Mini marshmallows - These go into the filling. If you only have large marshmallows, you'll want to snip them into quarters using scissors.
- Full-size marshmallows - These go on top of the cheesecake to make it pretty. If you don't have big ones, you could use a second bag of mini marshmallows.
- HERSHEY bars - These are broken into rectangles for a garnish. They aren't 100% necessary.
How to make an easy s'mores cheesecake
- Preheat the oven to 325ºF.
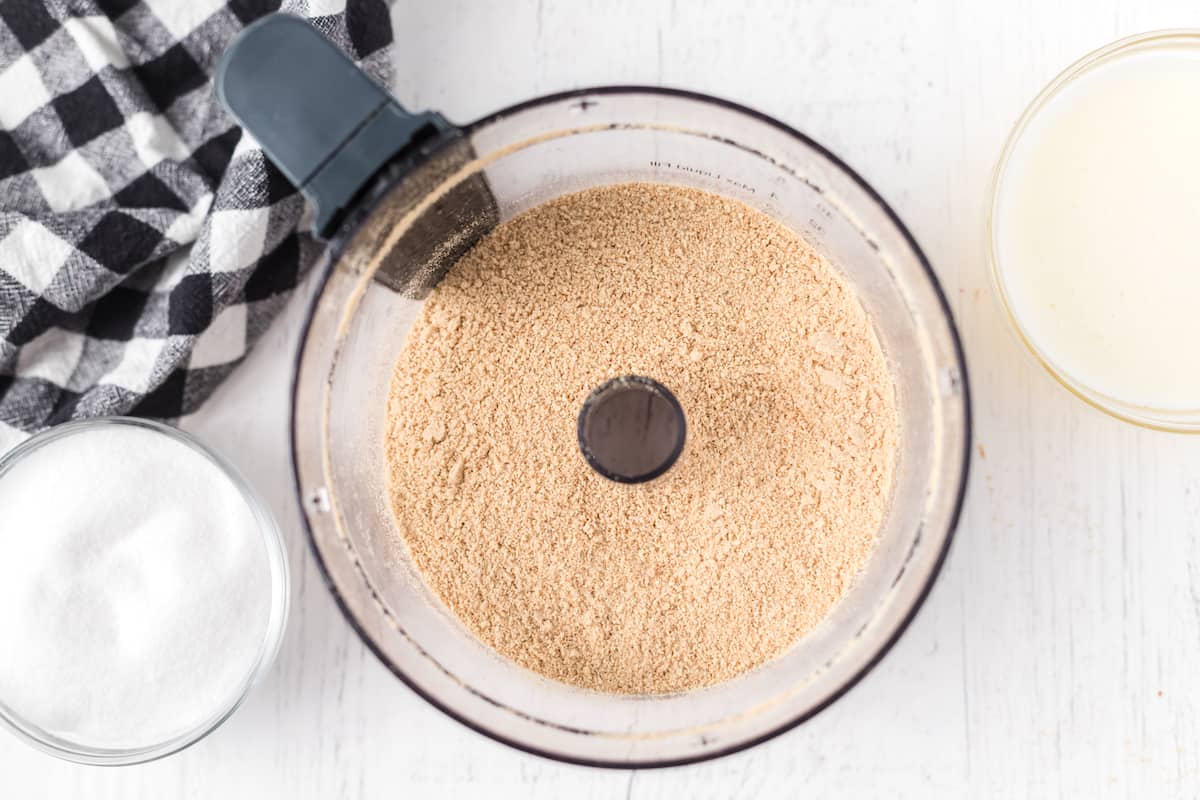
- First, prepare the cheesecake crust. Crumble 2 packages of graham crackers by pulsing a few times in a blender or food processor.
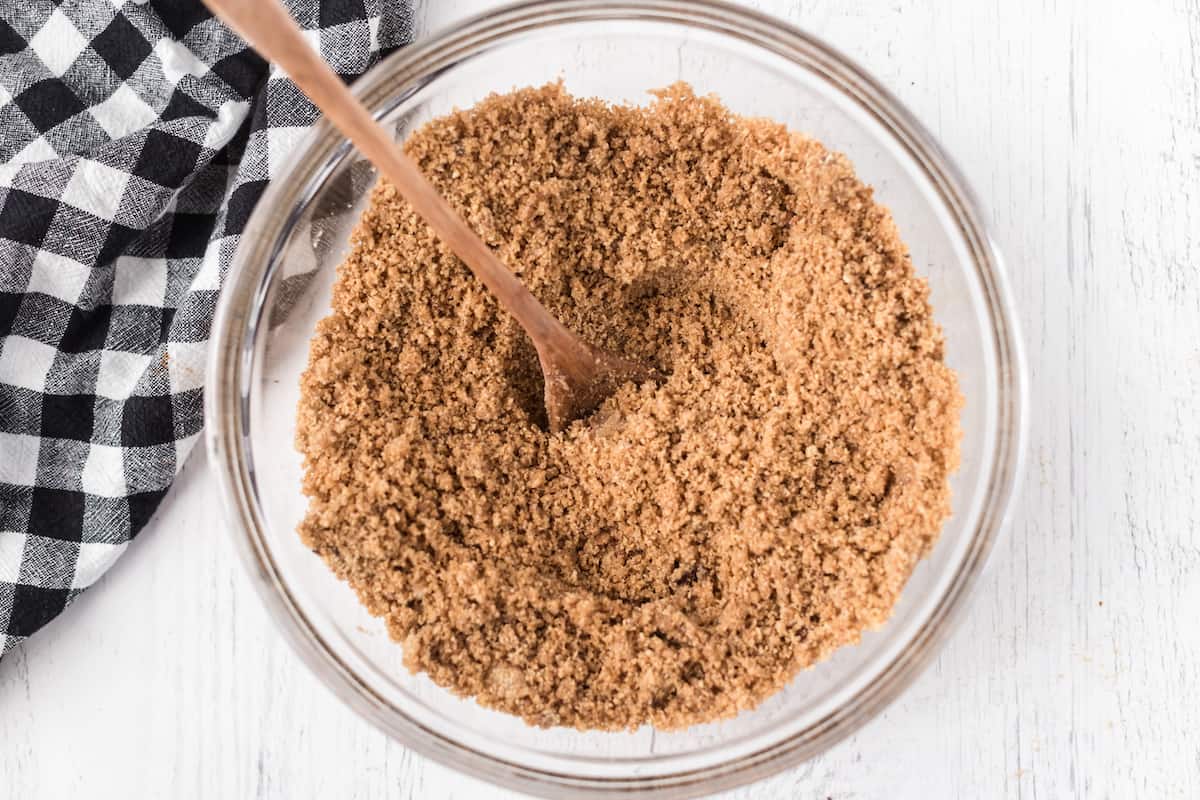
- In a medium bowl, combine melted butter, sugars, and cinnamon. When this is well blended, stir in the graham cracker crumbs and mix until the crumbs are evenly moist.
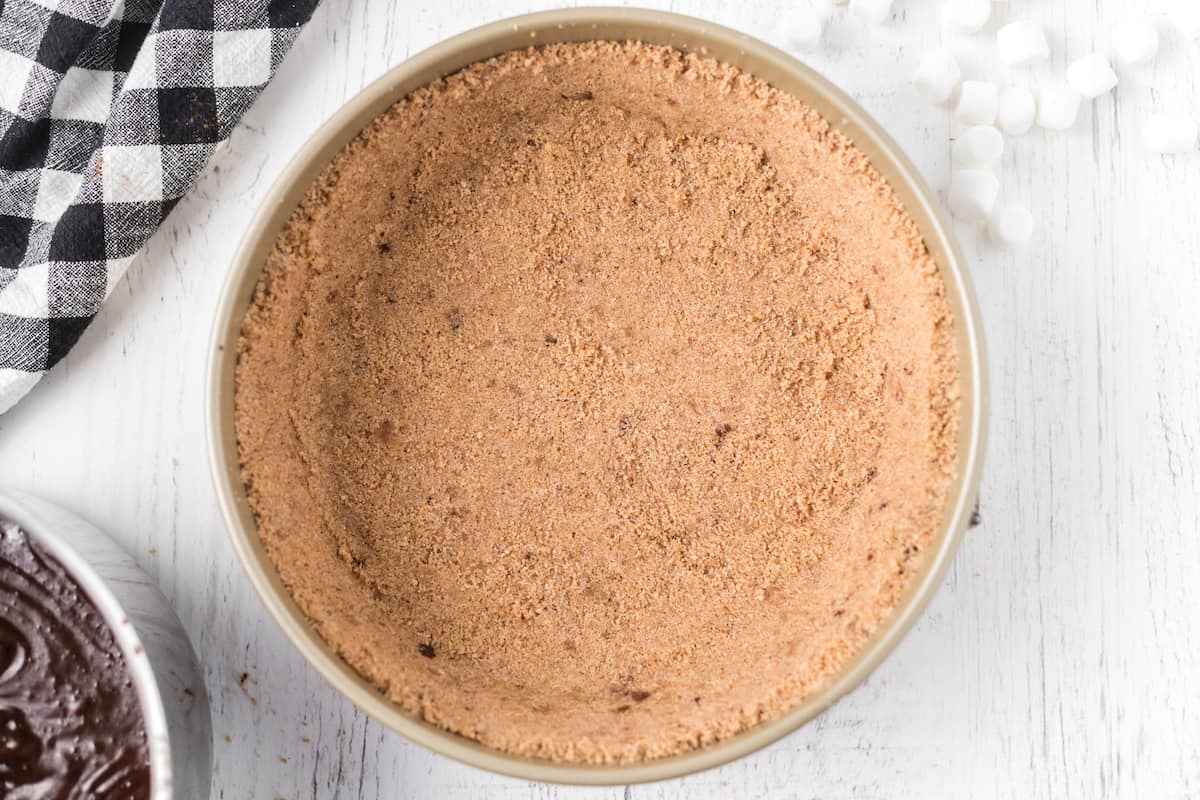
- Press crust mixture into a 9-inch springform pan, making the crust smooth across the bottom and slightly up the sides of the pan.
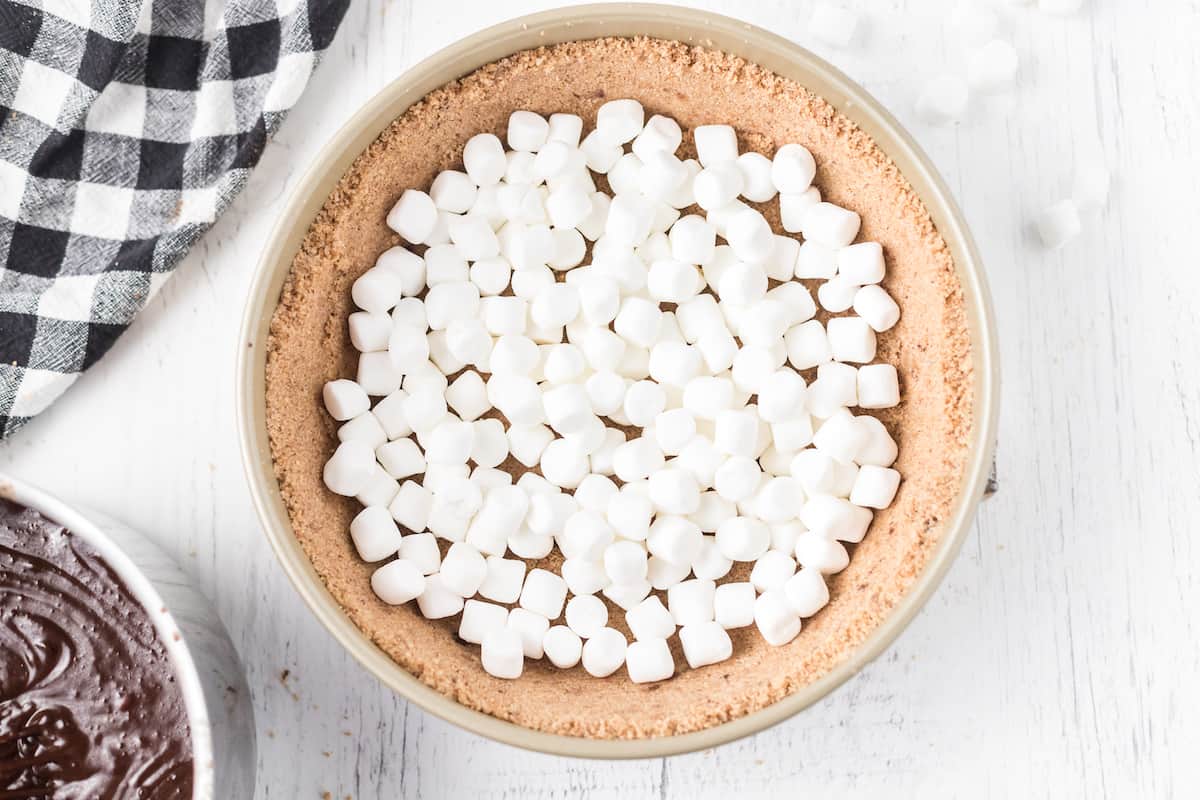
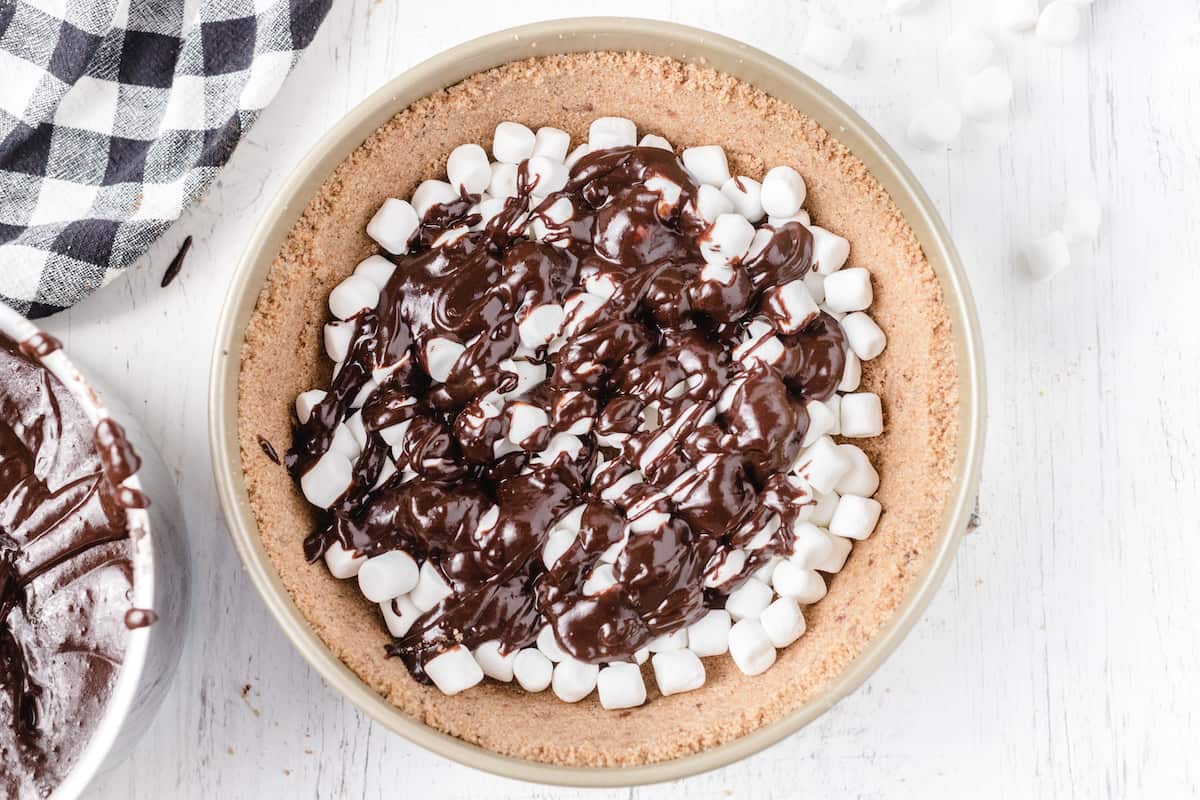
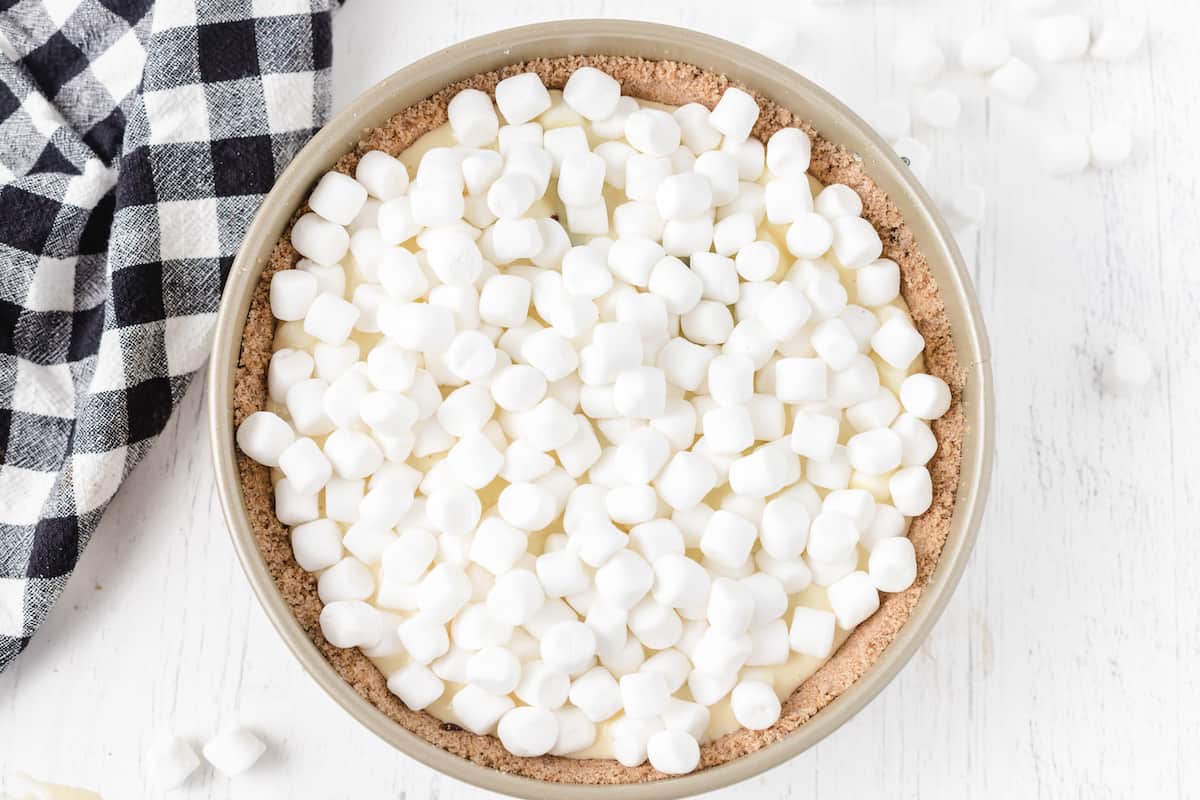
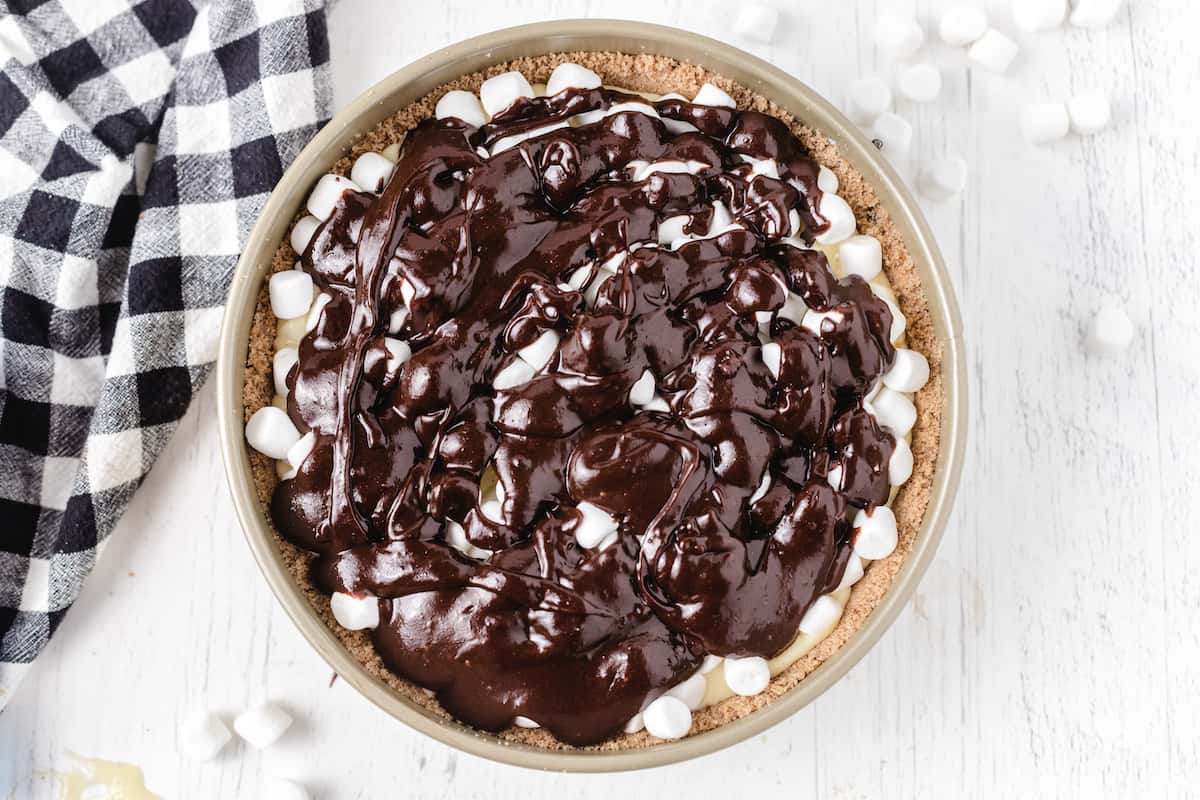
- Sprinkle with a thick layer of mini marshmallows and top with a drizzle of hot fudge sauce.
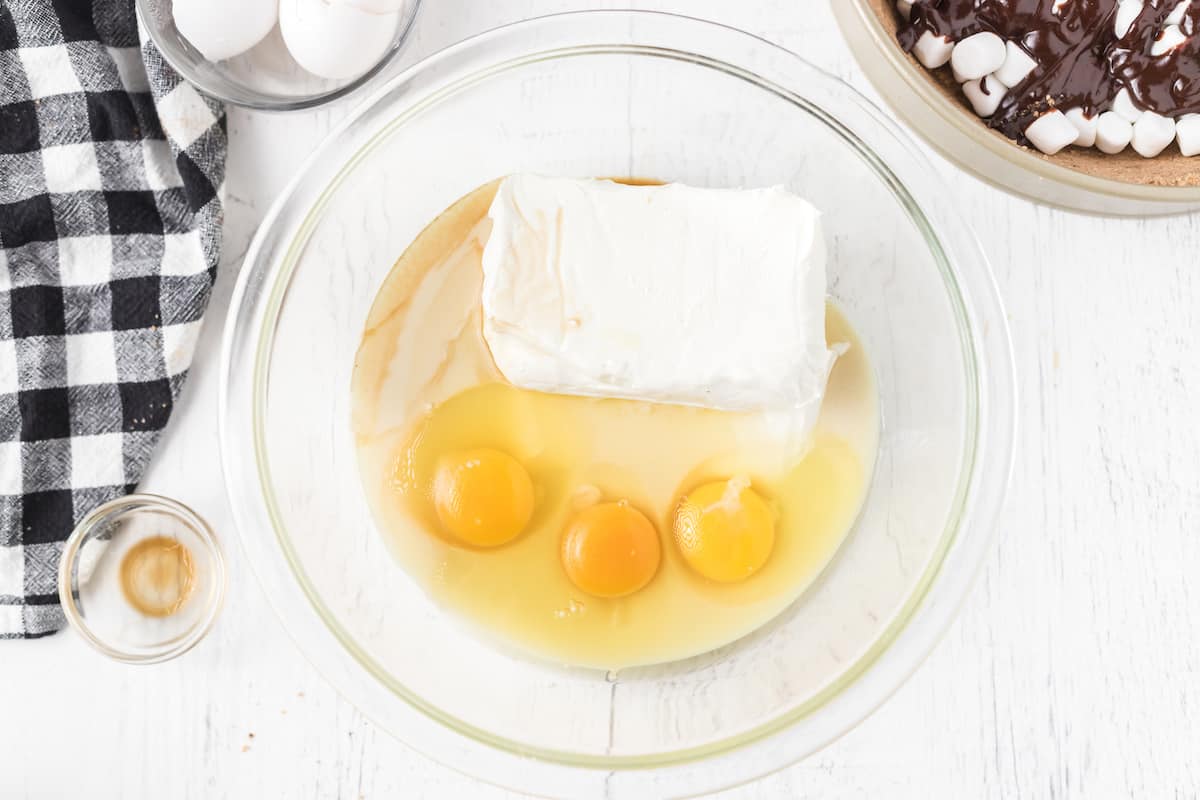
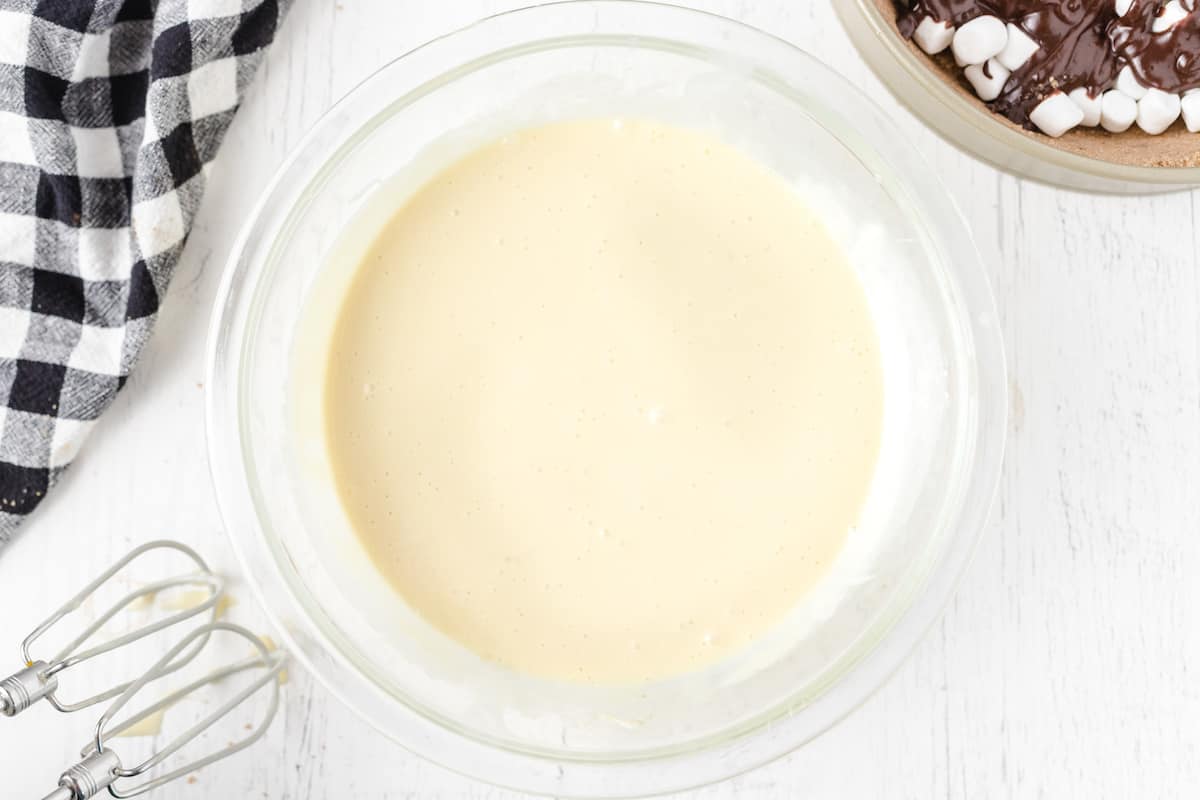
- Using the large bowl of a stand mixer (or an electric hand mixer or even a whisk or spatula but that would be much more difficult), beat cream cheese until smooth. Then blend the cream cheese, milk, vanilla, and eggs until just combined. You never want to over-blend a cheesecake as this will cause it to crack as it cools.
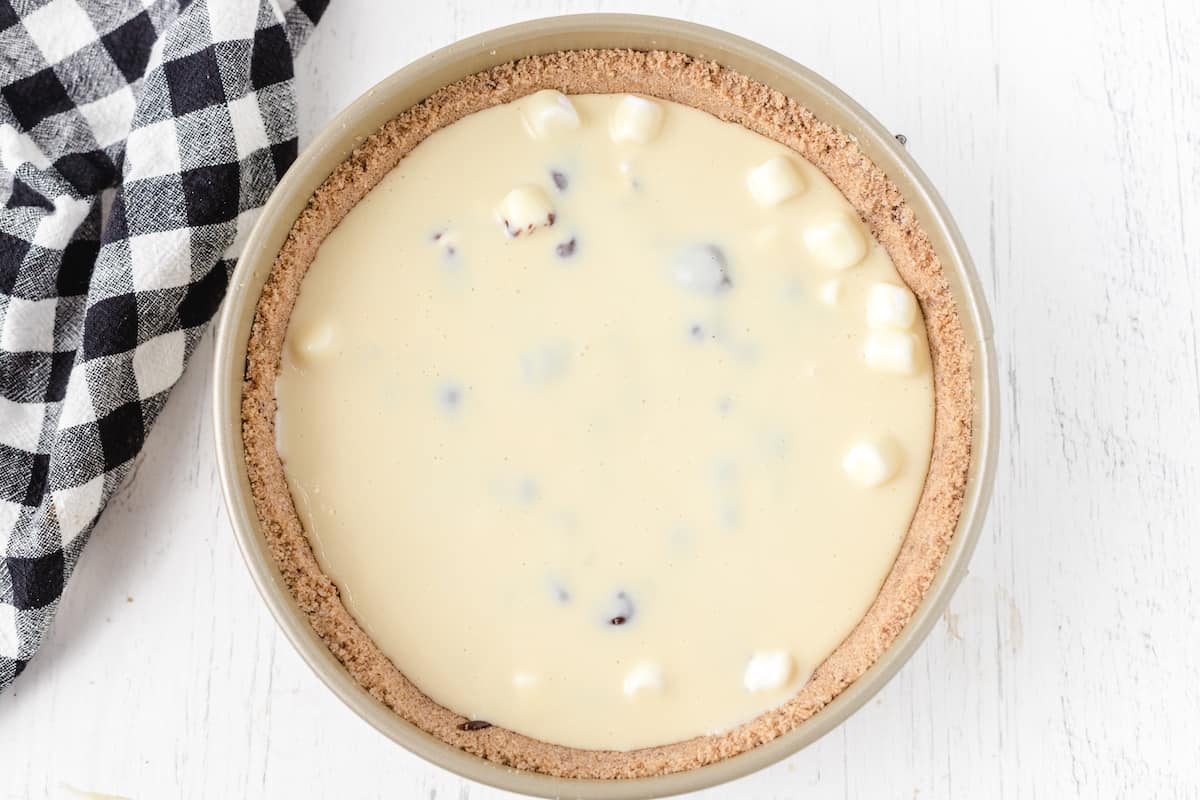
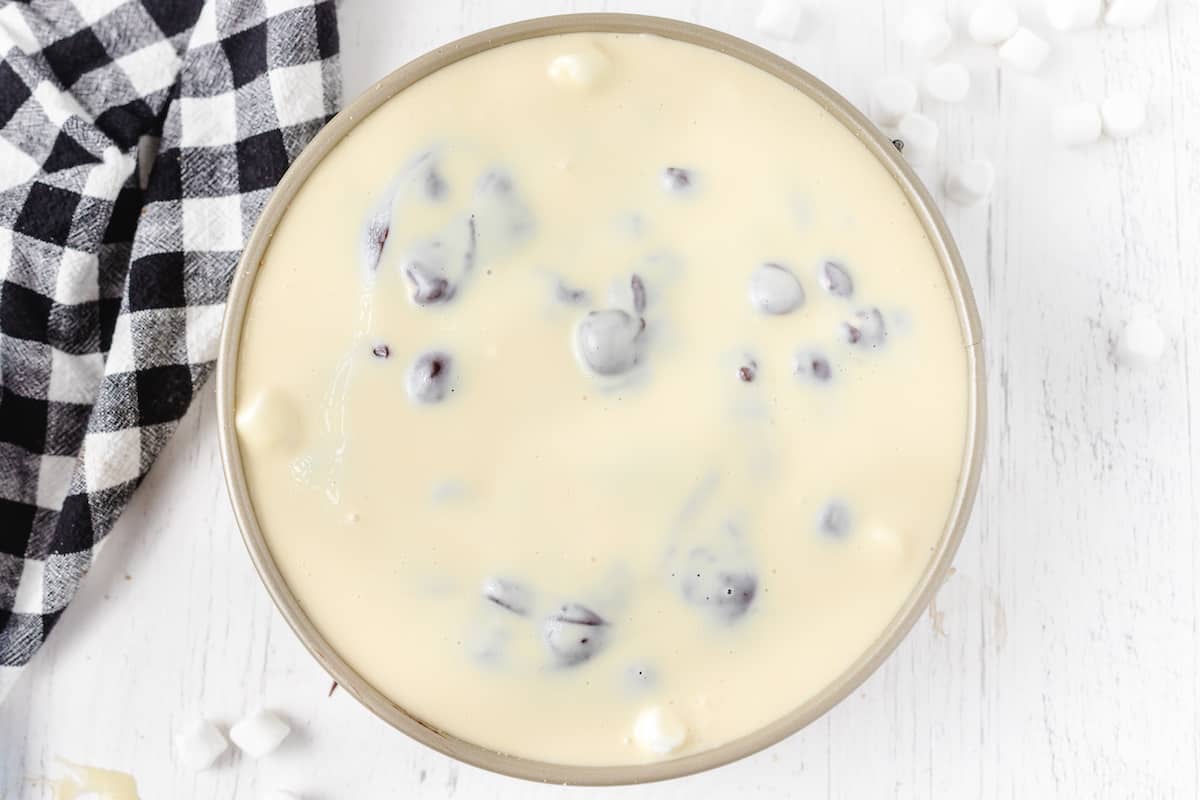
- Pour ½ of batter over the fudgey marshmallows and crust.
- Top with more marshmallows and more hot fudge sauce and then spread the rest of the batter over top.
- Bake the cheesecake for 45 minutes. It is finished even though the center is still soft and jiggly.
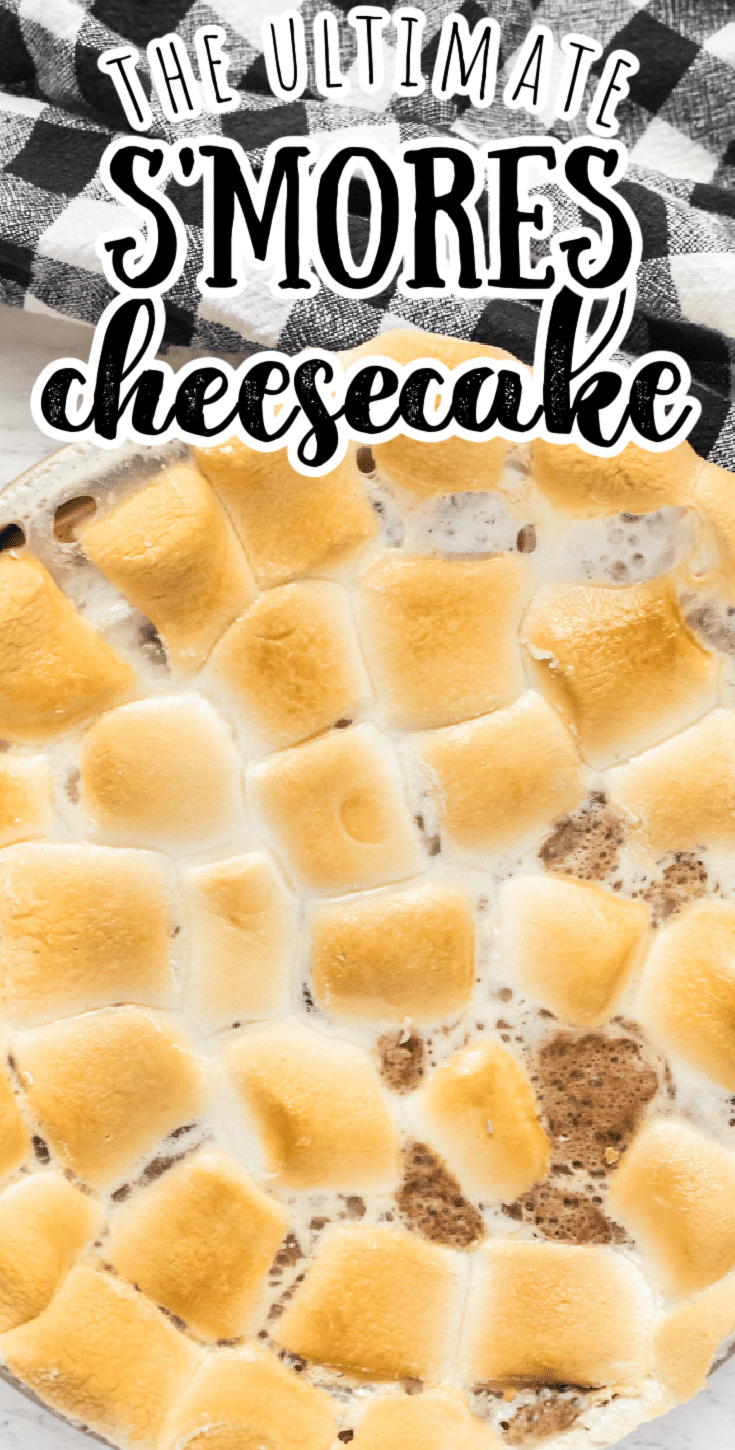
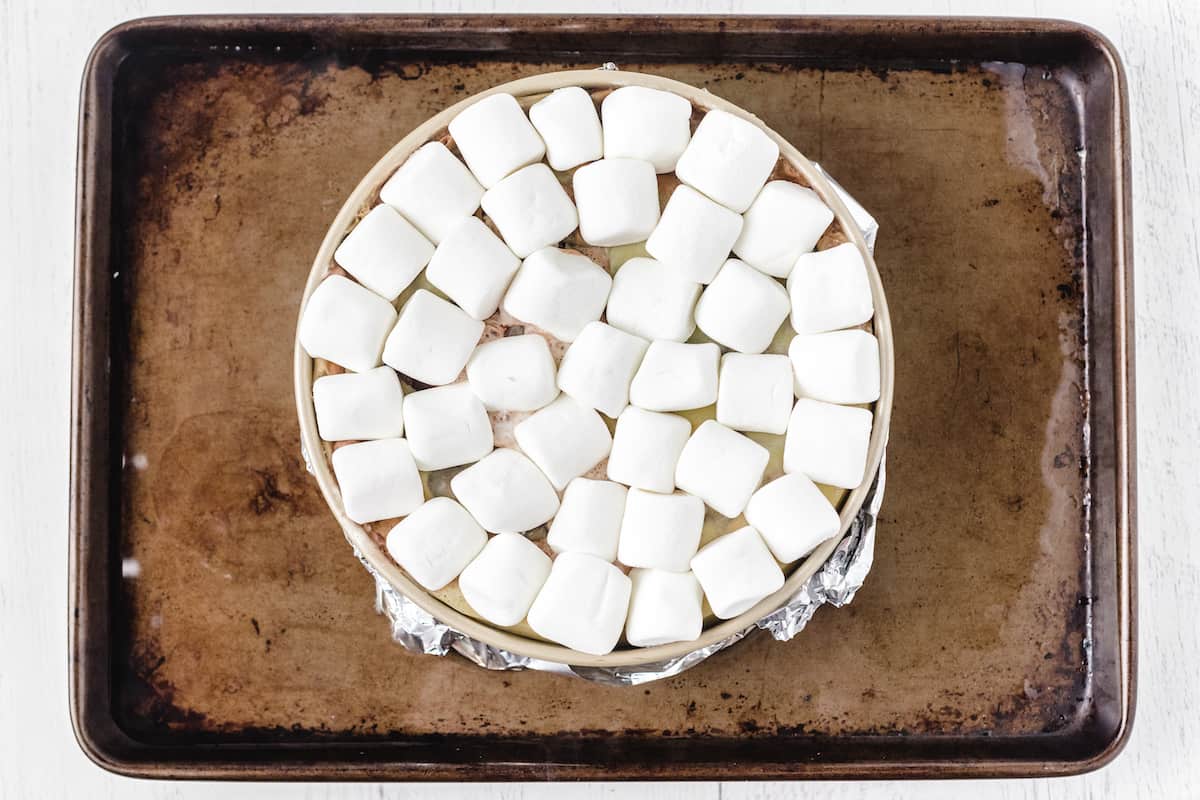
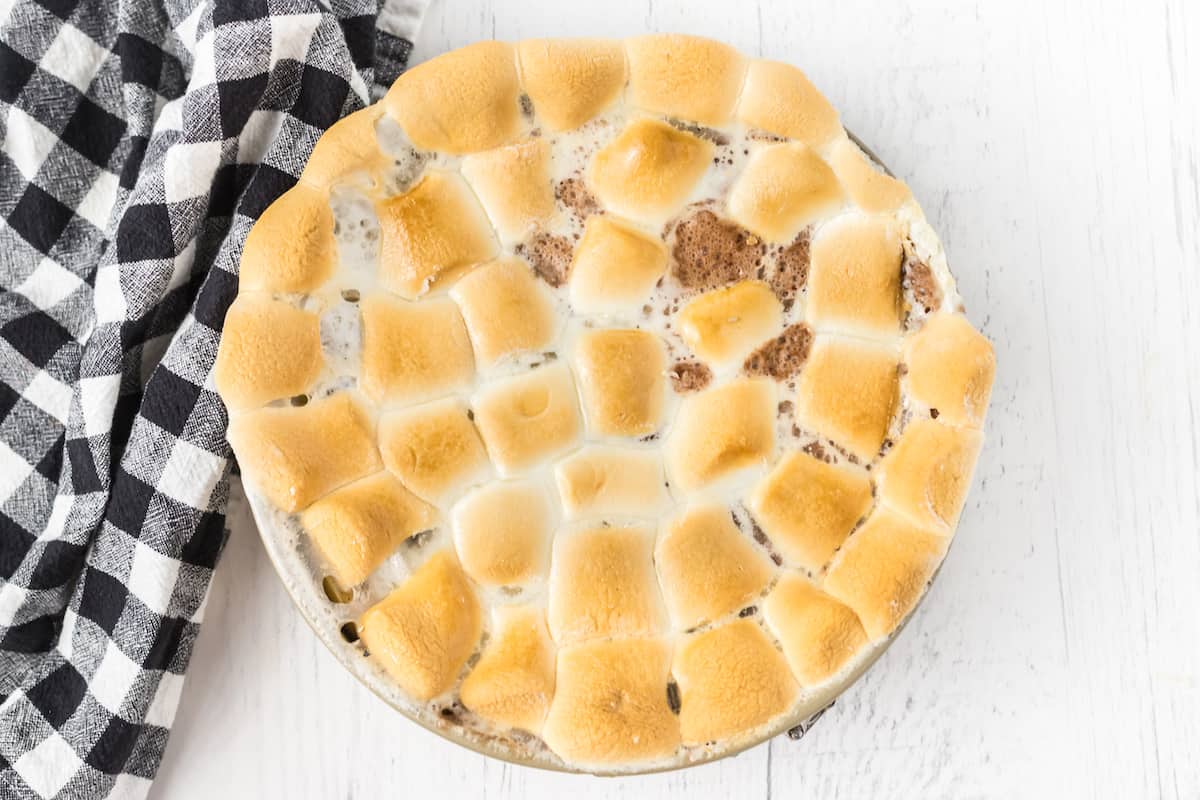
- Remove the cheesecake from the oven and top with full-size marshmallows. Pack them in so that none of the cheesecake shows through.
- Return cheesecake to the oven for 5-10 minutes to toast the marshmallows. Watch carefully as marshmallows go from toasted to burnt in about four seconds.
- Crack the oven door and allow the cheesecake to cook in the oven for 1 hour, then remove to the counter to cool completely to room temperature. Once it has reached room temperature, place the cheesecake in the refrigerator for 4 hours or overnight.
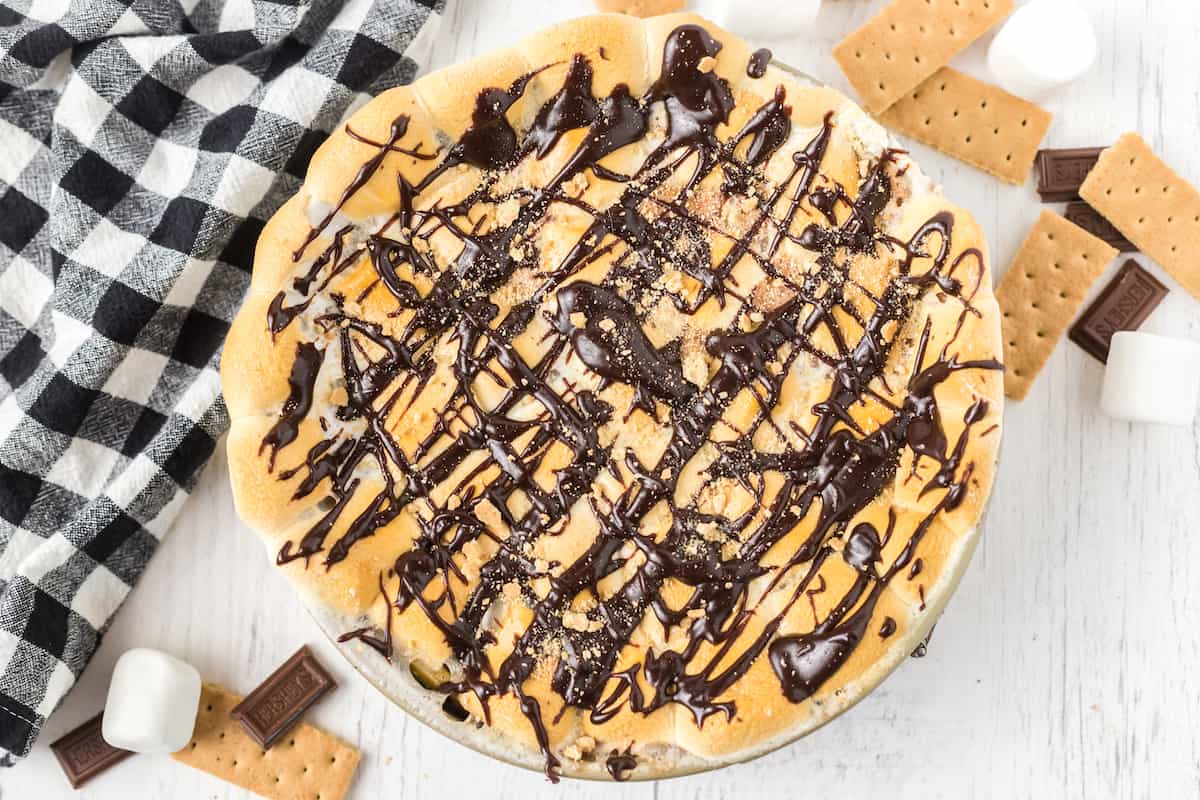
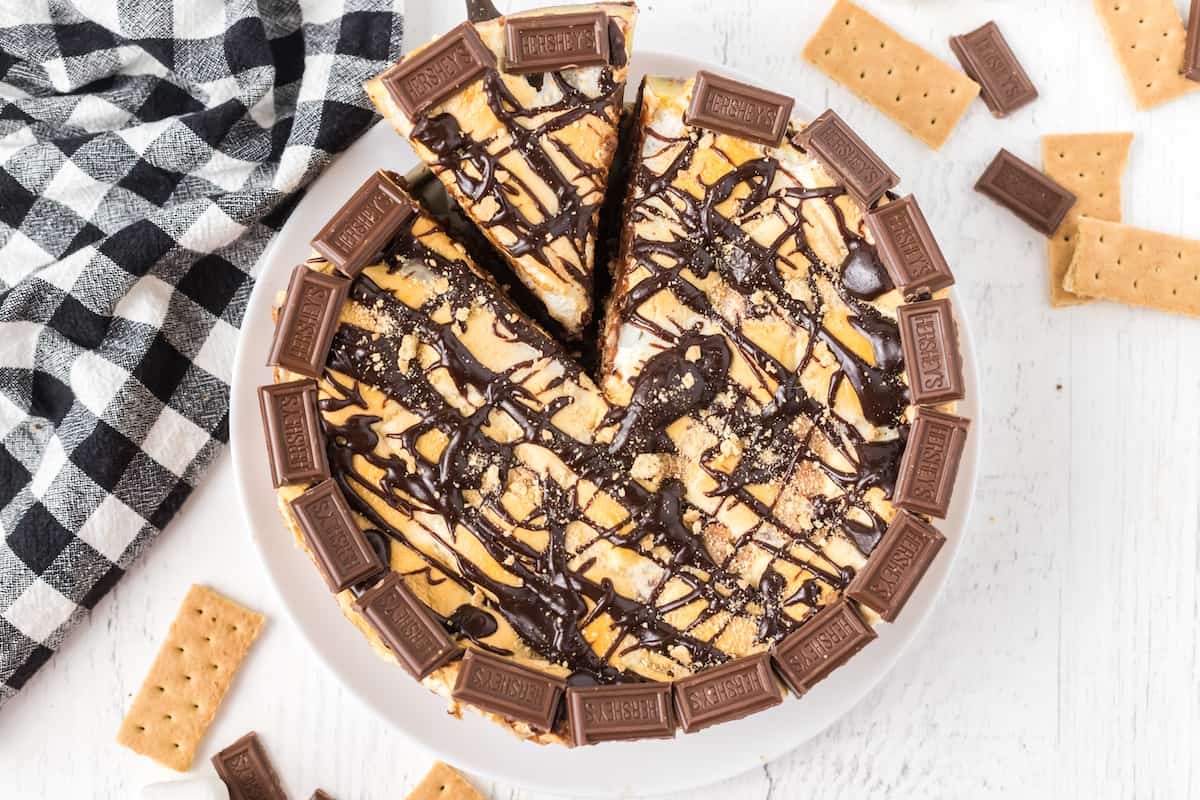
- To serve, remove the sides of the springform pan. If desired, drizzle entire cheesecake with additional hot fudge sauce.
- This step is entirely optional: Crumble additional graham crackers over the top of the toasted marshmallows. Stick chocolate bar segments in the marshmallows.
- Serve cold.
Do I need a springform pan for this cheesecake?
Yes, you need a springform pan if you're going to make a cheesecake. The sides of a springform pan expand and can be removed so that you can slide a slice of the cake out easily. I honestly don't know what you could use if you don't have a springform pan. If you don't use one, you're going to have a huge mess on your hands when you try to cut the cheesecake.
Is a water bath necessary for this cheesecake?
Some recipes will tell you that a water bath is essential for baking a cheesecake. They claim that a cheesecake baked without a water bath will be dry, overly dense, or cracked. I have not found this to be the case with any cheesecake I've ever baked.
I personally think that water baths are risky because, if you don't get the springform pan wrapped tightly enough, the water will leak in and ruin your crust. I had that happen several times in my early cheesecake baking days.
After giving up on the springform-pan-in-the-water water bath, I used to put a pan of water on the rack below the cheesecake, allowing the steam to fill the oven. However, one time I forgot to do it, and guess what! The cheesecake was awesome. So now, I never use one because I have found that it is just not necessary. Why do the extra work if you don't need to?
Why did my cheesecake crack?
The most common reason for a cracked cheesecake is over beating the filling, resulting in an excess air in the batter. Extra air is the enemy of a cheesecake because it makes the filling puff up in the oven, and then it cracks as it cools and sinks.
You should never use a whisk to mix cheesecake filling. Don't use the whisk attachment on your mixer, either. If you're using a stand mixer, use the paddle attachment. If you're using a hand mixer, the beaters are good. And of course, if you're doing it by hand, go for a spatula instead of a whisk.
Even if you use a paddle attachment or the beaters, you could still add too much air if you beat and beat and beat the filling. So, never mix more than is absolutely necessary.
If you aren't sure if you've beaten it long enough, turn off the mixer and use a spatula to turn the filling over a few times and look for pockets of unmixed ingredients. If it's evenly mixed, don't beat any more.
One good thing about this cheesecake is that you're going to cover it with marshmallows, so even if it does crack, no one will know.
More tips for the best S'mores Cheesecake
Use quality ingredients - Try to stick with the name brand ingredients, because the quality of your ingredients will make a huge difference in your finished cheesecake.
Keep the oven door closed - Don't peek at your cheesecake while it's baking. The cold air can shock the cheesecake and make it crack.
Likewise, when the cook time is done, and you've jiggled it to make sure the edges are set, put it back into the hot oven with the door cracked an inch or two, and let it cool in there for an hour. This also helps to prevent cracking.
Don't over bake - Don't over bake your cheesecake. Turn the heat off and crack the door open as soon as the outer edge is set. The center should be jiggly.
Try these other delicious cheesecake recipes while you're here:
- Chocolate Cherry Cheesecake
- Chocolate Peppermint Cheesecake
- Chocolate Orange Cheesecake
- Pecan Crust Cheesecake (Naturally Gluten-Free)
- Candy Cane Swirl Cheesecake
- Peanut Butter Cheesecake Brownies
- No Churn Cheesecake Ice Cream


Comments
No Comments