
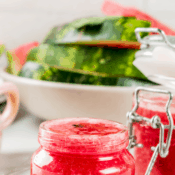
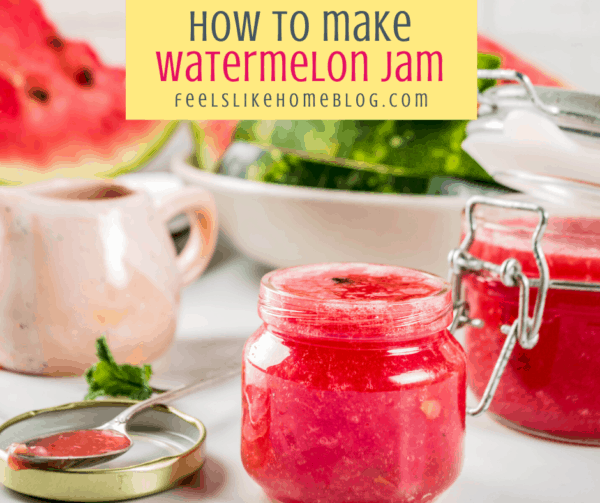
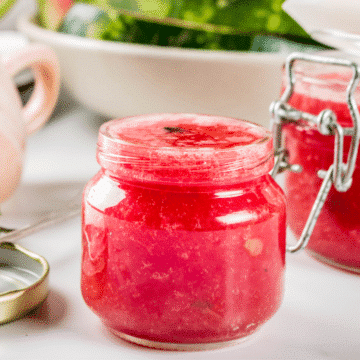
How to make DIY homemade watermelon jam with pectin powder - This simple and easy watermelon jam recipe uses sugar and pectin to cook the best watermelon jelly you've ever eaten!
Since I learned to make jam several years ago, I have always wanted to make watermelon jam.
I've never eaten watermelon jam, mind you, but I have had a twenty-five year love affair with watermelon-flavored Bubblicious (bubble gum), and so I have been thinking that watermelon jam would be simply delightful.
I'm going to give away the ending of my story and say that watermelon jam tastes simply delightful. It has all of the flavor of my beloved gum, and it doesn't irritate my TMJ.
There were no instructions for watermelon jam in the box of pectin, so we made it up as we went along. We had one medium-sized watermelon, and it made two batches of jam with enough actual watermelon chunks leftover for us to have as an after dinner snack.
What you'll need to make the best watermelon jam
Ingredients
See printable recipe card at the bottom of the page for amounts.
- Fresh watermelon - Seedless watermelon is nice, but you can use standard watermelon as well. You'll need to remove any black seeds, separate the red fruit from the from rinds, and cut the red flesh into chunks.
- Fresh lemon juice - Not from a carton or jar.
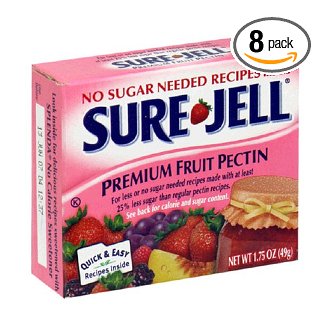
- 2 boxes of No Sugar Needed Pectin - If you only add 1 box of pectin, you will end up with something akin to watermelon syrup. Also, "no sugar needed" is misleading. You still need a lot of sugar, just not as much as traditional pectin.
- White sugar
How to Make Homemade Watermelon Jam

- Puree the watermelon chunks in a blender or food processor. Depending on the size of your blender, you may have to blend in two batches, but the finished amount of puree should be roughly 4 cups. There is no need to strain the watermelon juice because the puree gets very thin. Alternately, you could use an immersion blender inside your large pot.
- Pour the watermelon puree into a large pot. Add lemon juice.
- In a small metal bowl, whisk both packets of pectin together with ½ cup of the sugar. This will prevent the pectin from clumping later on.
- Whisk the pectin/sugar mixture into the watermelon puree.
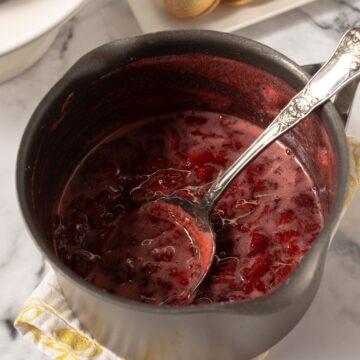
- Bring the mixture to a rolling boil over medium-high heat. Stir almost constantly to prevent the bottom of the mixture from burning.
- You will add the rest of the sugar when the mixture is boiling so hard that you can't stir the bubbles away. Whisk the sugar in.

- Return the mixture to a hard boil, and cook for one minute.
- After one minute, remove the jam from heat.
- If your jam doesn't set up, simmer until it has reached the consistency you want. Alternately, you can start over at step 3 and add additional pectin.

Preserving your watermelon jam
You have three choices:
- Can the jam. This is my favorite option. It's simple, as long as you have the right tools. More on that below.
- Make watermelon freezer jam. You can freeze the jam up to one year. Use containers especially for keeping in the freezer. Cook the jam as directed, and wait to fill the containers until the jam mixture has cooled completely.
- Eat the jam. This is a good option, except that this particular recipe makes a lot of jam. It will only keep a few weeks in the refrigerator, so... unless you're going to give it all away really quickly, this isn't a great option.
Canning Homemade Watermelon Jelly
- Preheat 6 half-pint jars and 6 jar lids. We do this by running the jars through the dishwasher and boiling the lids and seals on the stove.
- Heat a very large pan of water for canning. Use a canner pot if possible. Preferably, this is a 20-quart or bigger pot filled about halfway with water and heated on high til the water boils.
- Get out a jar, make sure it is both clean and dry, and fill it with jam using a ladle and a funnel, leaving about ¼-inch of empty space at the top.
- Wipe the top of the jar with a clean paper towel to make sure it's clean and dry. Place a lid on top of the jar.
- Screw a lid ring on firmly.
- Repeat until all jars are full. If you have a partial jar, you should put it in the refrigerator and eat it in the next couple of weeks. Don't can a partial jar of watermelon jelly (or any jam or jelly for that matter).
- Place all of the jars into the hot water in the big pot. Boil them for 10 minutes. (If you are above sea level, times will vary. Consult the instructions inside the box of pectin to be sure.)
- While the jars are boiling, set a dry towel on the counter (or in some other place where they can sit undisturbed for at least 24 hours). When the time is up, use tongs to remove the jars and set them in the middle of the towel. When all of the jars are out of the water bath, bring the ends of the towel up and lay it over top of the jars. This will help them to cool slowly. Honestly, I don't know why that's important, but my mom told me to do it, so I do it.
- Once the jars are cooled, check to make sure they sealed. Just like the jars in the store, the lids should all be sucked down and shouldn't give when you press on them. You'll most likely hear this happening as the jars cool; I always listen and keep count. Because I'm a canning dork.
When we started canning, I think we spent around $100 at our local grocery store for all of the canning supplies that we needed. I've also seen them at Lowe's and Home Depot for similar prices. At the same time, there's nothing wrong with freezer jam, aside from it being a little less convenient than shelf-stable jam.
Of course, after you've opened a jar of melon jam, you'll want to store it in the fridge until it's been used up. It will stay good for a couple weeks to a month.
Important tips for canning this watermelon jelly recipe
You will need to use the widest and deepest pot you have, like a stockpot or a canning pot. The watermelon puree will climb up the sides of the pot as it cooks, and it will also splatter a lot because you'll be cooking it at a full boil. The bigger and deeper the pot, the better.
You can try to use another type of pectin if you want to, but I can't guarantee your results. I use this exact recipe with no sugar pectin. I do not use liquid pectin, and I do not use regular pectin. My jam sets up perfectly every single time. Some commenters have said that their jam didn't set up at all or that it overset, and I am sorry for that. Elevation, air temperature, and other factors will impact your finished jam. But as I said above, this EXACT recipe has worked for me every single time I've ever tried it.
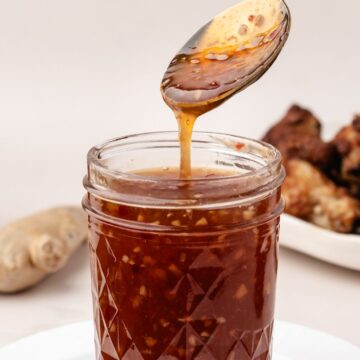
As I said in the recipe below, you can use this same method to make a delicious watermelon syrup. Just reduce the amount of pectin to one box instead of two. The syrup is great on ice cream, waffles, cheesecake, pancakes, and more. Use it the same way you'd use raspberry sauce, strawberry sauce, or even lemon syrup.
Use the plate test when you think your watermelon puree has boiled long enough. To do this test, you will need to put several small plates or bowls in the freezer for 10-15 minutes (put them in before you begin pureeing and cooking). When you think the watermelon juice has cooked enough, drip a very small spoonful onto one of the plates. If the texture starts to solidify and form a skin, it is done. If it stays runny, it needs to cook longer. The reason I say to put several plates in the freezer is that you may have to do this test more than once to get the right consistency.
You will need a set of canning tools and a canning basket. You'll use the the jar lifter, wide mouth funnel, and basket the most. Pouring the boiling hot watermelon puree into the jars is so much easier with a funnel, and you will need the jar lifter to move the jars full of boiling hot jam around. Finally, the basket allows you to lift all of the jars out of the water bath at the end without any trouble.
When filling jars with the water melon jam, pour very slowly and careful. This liquid is over 200º, and it will burn you severely if it splatters. It's also very sticky, so it will be tough to get off your stove or countertop if it spills. And don't forget to wipe rims before you put the lids on the jars.
Once the jars are full, allow them to sit for 2-3 minutes. You will be surprised at how much the jam settles into itself, and you will have space in the jar for a bit more jam. You want to get up to about ½-inch below the top of the jar.
My Last Word on Watermelon Jelly
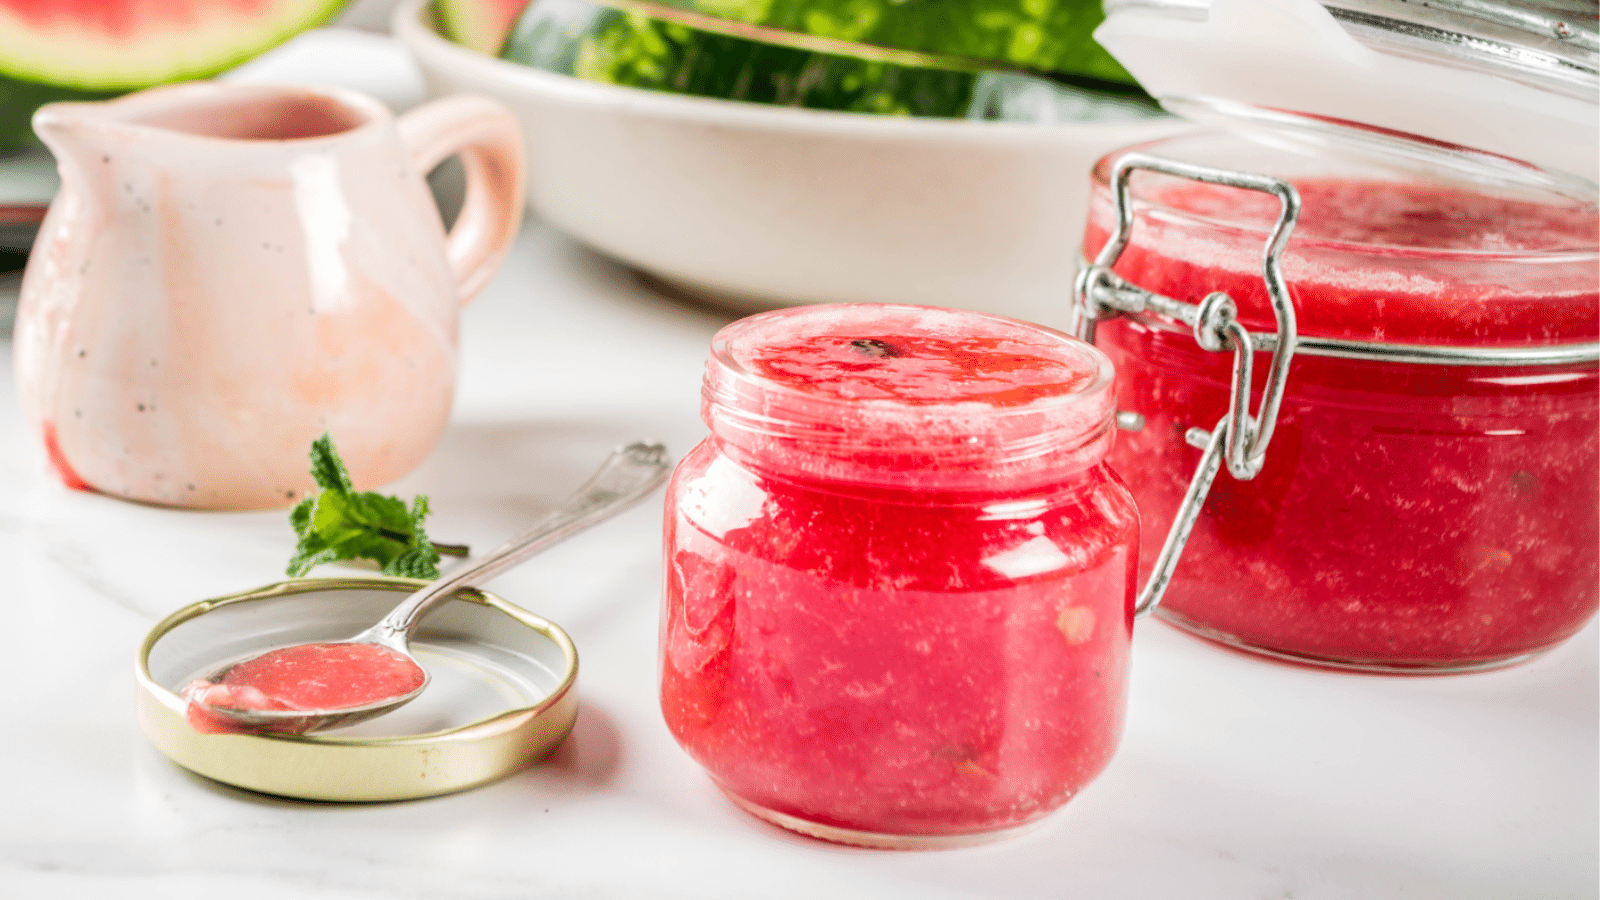
This jam was so good that it will be in our rotation every year from now on. I have eaten it several times since we made it, on toast, on bread, and on crackers. I could eat it every day. It's just that good.
More delicious summer recipes
- A Refreshing Non-Alcoholic Watermelon Drink
- Homemade Root Beer Float Popsicles
- How to Make Oreo Ice Cream Popsicles
- Homemade Sweet Tea Peach Popsicles
- Frozen Chocolate Covered Banana Popsicles
- How to Make Simple & Easy Dirt Pudding Pops
Recipe
How to Make Homemade Watermelon Jam
Equipment
Ingredients
- 8 cups watermelon black seeds removed, separated from rinds, and cut into chunks
- ¼ cup lemon juice
- 2 box No Sugar Needed Pectin if you only add 1 box of pectin, you will end up with something akin to watermelon syrup
- 4 cups sugar
Instructions
- Puree the watermelon chunks in a blender or food processor. Depending on the size of your blender, you may have to work in two batches, but the finished amount of puree should be roughly 4 cups. There is no need to strain the watermelon juice because the puree gets very thin.
- Pour the watermelon puree into a large pot. Add lemon juice.
- In a small metal bowl, whisk both boxes of pectin together with ½ cup of the sugar. This will prevent the pectin from clumping later on.
- Whisk the pectin/sugar mixture into the watermelon puree.
- Bring the mixture to a boil over medium-high heat. Stir almost constantly to prevent the bottom of the mixture from burning.
- Add the rest of the sugar when the mixture is boiling so hard that you can't stir the bubbles away. Whisk the sugar in.
- Return the mixture to a hard boil, and cook for one minute.
- After one minute, remove the jam from heat.
Notes
WHAT NEXT?
- Can the jam. This is my favorite option. It's simple, as long as you have the right tools. More on that below.
- Freeze the jam up to one year. Use containers especially for keeping in the freezer, and wait to fill them until the jam mixture has cooled.
- Eat the jam. This is a good option, except that this particular recipe makes about 6 cups of jam. It will only keep a few weeks in the refrigerator, so… unless you're going to give it all away really quickly, this isn't a great option.
Homemade canning says
Everything that touches the cucumbers must be sterilized. The jars, lids and all utensils used, must be sterilized. This may be accomplished by submerging in a boiling water bath for a minimum of 10 minutes.
Sandra says
I tried this recipe yesterday and it turned out beautifully! It actually tastes like watermelon. Thanks for the recipe!
Brittany says
Just finished making this and it's AMAZING!!! Thank you so much for the recipe. : )
P.S.
I accidentally used regular pectin instead of the 'No Sugar Added'. I don't know if that makes mine more or less sweet, but I'd make it the same way next time.
yasoobalhayat says
Thank you so much.
Chuck says
Question, I already have regular sure-jel on hand, can I use it instead of the no sugar added pectin?
This looks and sounds amazing, gotta try it. I have watermelon in my garden.
Tara Ziegmont says
I don't see why not. You'll just need a lot more sugar.
Rena says
I tried this recipe and it was very thin. Maybe because I didn't have any (store-bought) pectin, but I used orange peels bc I read that the white pith of orange/citrus peels can be used as a substitute. Anyway, I added a bit of cornstarch after while to try and thicken it up at least a little bit. Maybe we can use it as a syrup over ice-cream! But it still needs to cool down so I'll see how it is. I really liked the idea of watermelon jam, though!
Tara Ziegmont says
I think you really need commercial pectin and a lot of it to make this work.
Rena says
My problem is that I can't get it here, I live in Brazil. Today I'm making some pectin from apples and lemon. It might be a no-no but I'm going to try kind of redoing some of my "jam" with this new pectin and see what happens! I love the flavor of my watermelon "syrup" though. It'd be great for ice-cream or pancakes!
Tara Ziegmont says
I'm glad you like it! It does taste amazing, so even if it doesn't work out for your toast, it sounds like it won't go to waste. 🙂
Rena says
My pectin worked out great! I added about 3 Tbl, boiled it quite a bit longer and the consistency was just right. So there you go, make your own pectin if you live where you can't buy any (or don't want to go out to buy).
Helen says
We just bought some watermelon jam from a local farm. Everyone loved it! Funny, the jar looks exactly like the ones pictured here...
Tara Ziegmont says
Maybe they used my recipe!
Beth says
I do not have any more half pint jars on hand. What would be the difference in processing time if I use pint instead? Do you think it would set the same? I'm very new to canning, sorry for the basic question. Also, how much more sugar do you recommend if using regular Sure Jell?
Shelly Becker says
I have made this jam several times now. It's super!! I sell a lot of this jam. Easy recipie and directions.
Tara Ziegmont says
So glad to hear!
Beverly says
Awesome recipe! Thank you so much. I just made it and it came out wonderful. I will defiantly be making this again
Tina says
I made this recipe tonight and it is delicious! It set up a little on the stiff side though. I'm wondering if anyone has tried it using only one box of pectin instead of the two? Would love to hear how it came out if so!
Amanda McConnell says
I just made this this morning. It is still watery. Did I do something wrong? I could I pour it back in the pain and try cooking it longer?
Tara Ziegmont says
You can but I would probably try adding more pectin.
BlingRunner says
I just tried watermelon preserves in Indonesia. Oh my was that good. So I wanted to try at home and found your recipe. The jam is cooling and I'm just about to start the canning process. It is YUMMMMM!!!! Thanks.
Wes says
Just made it this afternoon and followed the recipe to a T. I believe that the pectin called for is too much. The bit that was left and didn't go into a jar set up like mortar!! I used Ball brand pectin and a seedless watermelon. The flavor is great as well as the texture. The next time I make it, I'm going to try using half the pectin. Other than that, thank you for the recipe!!!!
John says
I was wondering if you have ever tested the pH of the watermelon jam. I have recently started looking up information about low sugar pectin recipes and it indicates that acidity is critical in preventing botulism. Your recipe does add a fair amount of lemon juice, but I was wondering if the pH was low enough. Thanks.
Tara Ziegmont says
Nope, never tested it.
Maria S says
I made a watermelon jam with 4c watermelon puree and NO added sugar using the low/no sugar pectin, and it came out fine. Regular watermelon jam turns out fine also when I use regular pectin with the puree/sugar ratio being 1:1.
stan gardner says
how long have you stored this ?
Tara Ziegmont says
We've kept it up to a couple of years, but I don't know how long you could keep it.
Misi says
I tried this and loved it. I also played a little and made Watermelon-Blackberry, which has gotten rave reviews! 🙂 Thank you
Kathryn Hughes says
Made this today. Followed directions. I am disappointed in it. Put some in the frig. It is very thick. Not sweet enough for my taste either. The consistency is too thick for jam.
Tara Ziegmont says
I'm surprised it's too thick. Perhaps you cooked it too long. Most people have the opposite problem, that it is too thin even after boiling.
Kathy Lowrance says
I just made a batch of this jam and it is syrup!!! followed directions and ingredient measurements as written! waste of my time, pectin, sugar unless you can tell me how to make it into jam! should have stayed with the other recipe I found that makes jam a bit hard to spread but at least it set up
Tara Ziegmont says
I'm sorry to hear that it didn't work out for you. If you have syrup, your only option that I know of is to add more pectin and the appropriate amount of sugar. Other people have said that my recipe made their jam too thick, so I think it depends on something beyond the actual recipe. Good luck!
Kwandew says
Made this the other day, turned ot really runny, so we remade it by adding more pectin,sugar and lemonjuice...it is still runny! Should I redoit and add more pectin and all
Tara Ziegmont says
I would add more pectin.
Reed says
Made this yesterday and followed the recipe. Turned out perfectly and it tastes divine.
Tara Ziegmont says
Thanks for letting me know!
DEE says
I poured some of the jam into a cup and showed it was setting up. I proceeded to pour into the jars and process in the water bath. The jam has not set up and is very watery. Can I put them back in the water bath for and hour or two .
Tara Ziegmont says
You can try that, but I think what is more likely to work is to pour the jam back into a pan and cook it longer. Wash the jars and re-can it. Because if you cook it in the jars, the moisture (which is the problem) is going to stay in the jars and reabsorb back into the jam. So I don't think boiling them in the water bath is going to help to set the jam.
Now, having said all that, I'm not 100% sure because I've never had this happen. So the easier thing is to boil them in the water bath, and you may want to try that before going to all the work of unsealing the jars and re-cooking the jam. Let me know what you decide and how it goes.
Phil V says
A few weeks ago, I tried a different recipe. Fail. It never set. Followed this recipe and did exactly what you said. Perfect. Set up just fine. Tastes amazing. Used a juicer to get out all the seeds and it worked wonderfully. Thanks for the recipe. Will try it again soon.
Kwiyoung Baumgarten says
I used Moon & Stars Watermelon to make this jam. This is my 2nd time making it and it is perfect for holiday gifts! It’s important to use the Sure-Jell low sugar pectin brand. I used different pectin brands the first time and it didn’t turn out.
Laura says
How long does it take to set up?
Tara Ziegmont says
It should set up during cooking, or shortly after as it cools. If it doesn't get thick enough within a few minutes, you may need to add more pectin.
Maria S says
My watermelon Jam turned out quite darker than your picture when heat was applied (not at all burned)...not pink but sort of a dark red. Wish it were pink!
Carey says
I lovelovelove that you provide such detailed direction! I plan to try it but wonder if I could use less sugar? I don’t much like really sweet jams. Thanks so much.
Tara Gerner says
Thank you! You can try using less sugar, but I think you will have trouble getting the jam to set properly. I've already reduced the amount of sugar significantly from a typical jam recipe.
Sandy says
Can you give them a water bath to seal the jars? How long for the water bath
If it’s possible
Tara Gerner says
Generally 5-10 minutes for jams and jellies. You can get away with 5 if your jars are sterilized but it's usually safer to go 7-10 if you're not sure.
Jan says
Why can you not waterbath can the Watermelon Jam?
Tara Gerner says
You can. That's how I did it.
Scarlett says
The ingredients list has 8 cups. Instructions have 4 cups. How many cups of watermelon purée?
Thanks
Tara Gerner says
8 cups of watermelon chunks makes about 4 cups of watermelon purée. You need 4 cups of purée.
Scarlett says
Perfectly set every time! I actually was able to use only one box of pectin. This recipe is so easy!! It is absolutely now my favorite for the summer. I’ve tried a few batches with apple cider vinegar I stead of lemon juice. Both versions are great. Thank you