


This is the best yeast donut recipe ever! You will get perfect doughnuts every time with this easy step by step recipe. Includes instructions for how to make baked yeast donuts and yeast donuts that are fried in oil.
I am so excited to be continuing my donut series with perhaps the most ubiquitous donut of all: the yeast donut.
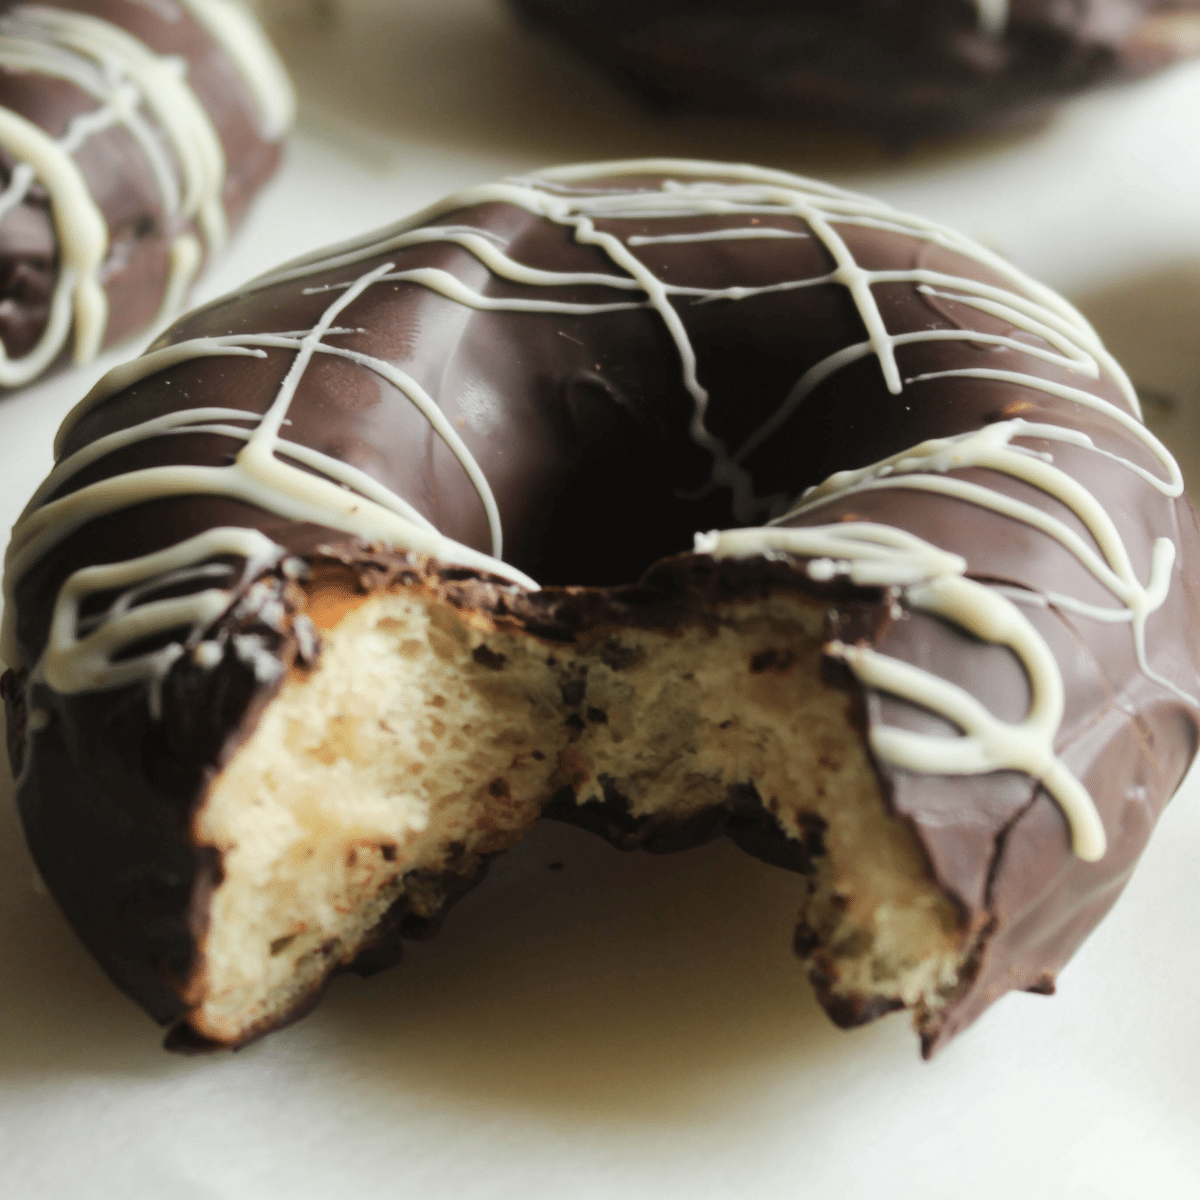
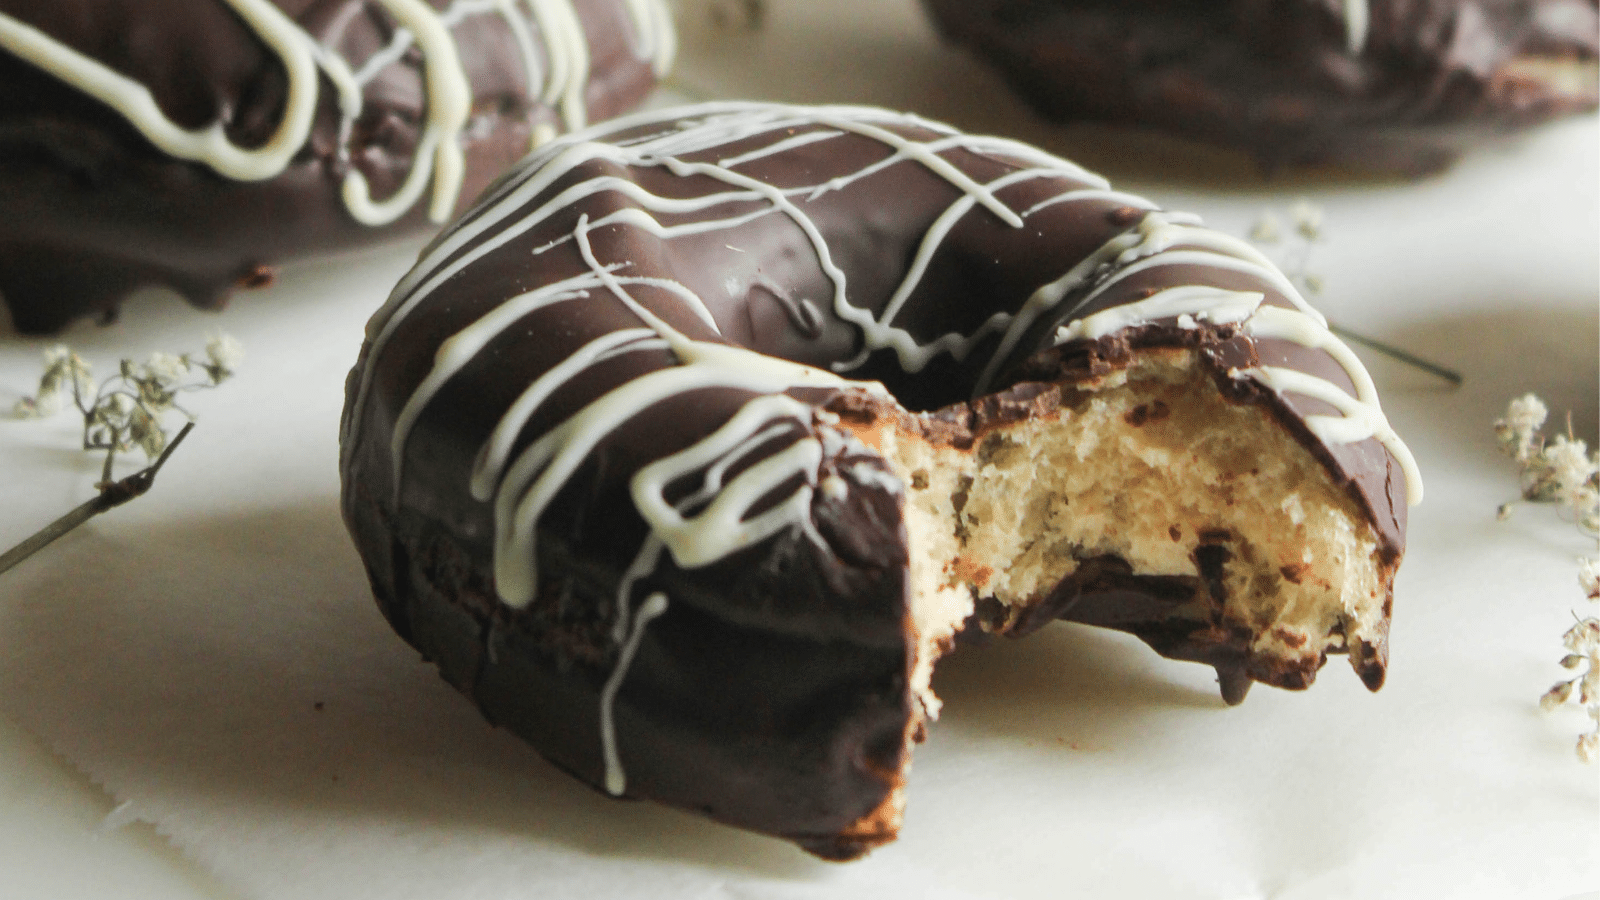
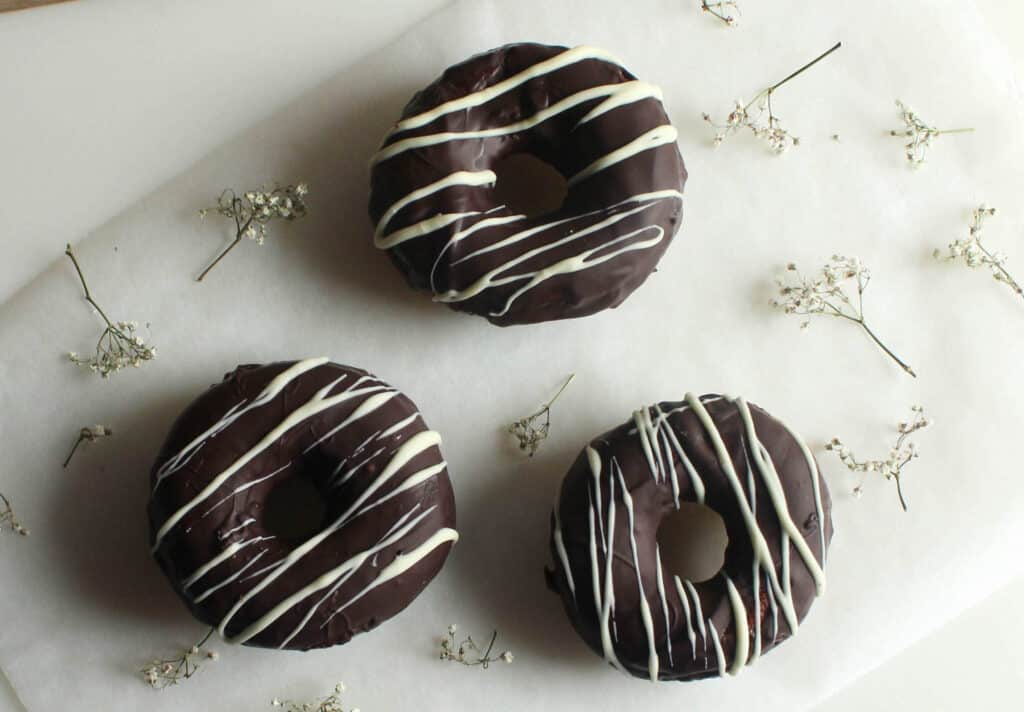
This is the base donut that is often glazed with a sugar glaze and served plain, but I kicked it up a notch and dipped it in chocolate for a giant version of the Tastycake chocolate covered donuts we have in our grocery stores in central Pennsylvania. (Are Tastycake donuts available outside of this area? I'm not sure.)
Anyway, zebra donuts are apparently a thing, so I went ahead and added some white chocolate strips to the donuts to make them a little fancier. But they are completely optional, and the donuts would be just as good without them (although not quite as pretty).
What you'll need to make yeast donuts
This recipe is pretty easy, so don't be intimidated by all the steps. You can do it!
Equipment
- Stand mixer - You can technically make this recipe without a stand mixer, but if you do, you will have to knead the dough for a full 10 minutes (maybe longer), and that would be a huge pain in the neck. With the stand mixer, you can attach the dough hook, turn it on, and let it run for 10 minutes. It's that easy.
- Rolling Pin - This is a must as you have to roll out the dough to a ½-inch thickness.
- Round biscuit cutter set (2" to 6") - I suppose you could get away without these if you had a 3-inch glass and a 1-inch milk jug lid or some similar round cutter. I really like the biscuit cutter set though, and we do use it pretty often for things like hand pies and pumpkin pasties (which are from the Harry Potter books and pronounced with a short a sound like the a in apple. Pasties with a long a like in take are something completely different. Don't google it!).
- Parchment paper - You could go without this, but you will have to thoroughly flour your work surface and spray your baking sheet with cooking spray if you don't use it. Parchment paper is my best friend in the kitchen, and I use it daily for everything from cookies to pizza.
- Baking sheet - If you are frying your donuts in oil, you can skip this, but if you are baking them, this is a must.
- Piping bags - This is just for drizzling the melted white chocolate, so if you aren't doing that step, you can skip it. If you are doing that step, and you want to drizzle with a spoon, it will be messier and not look as nice, but it will taste just the same.
Ingredients
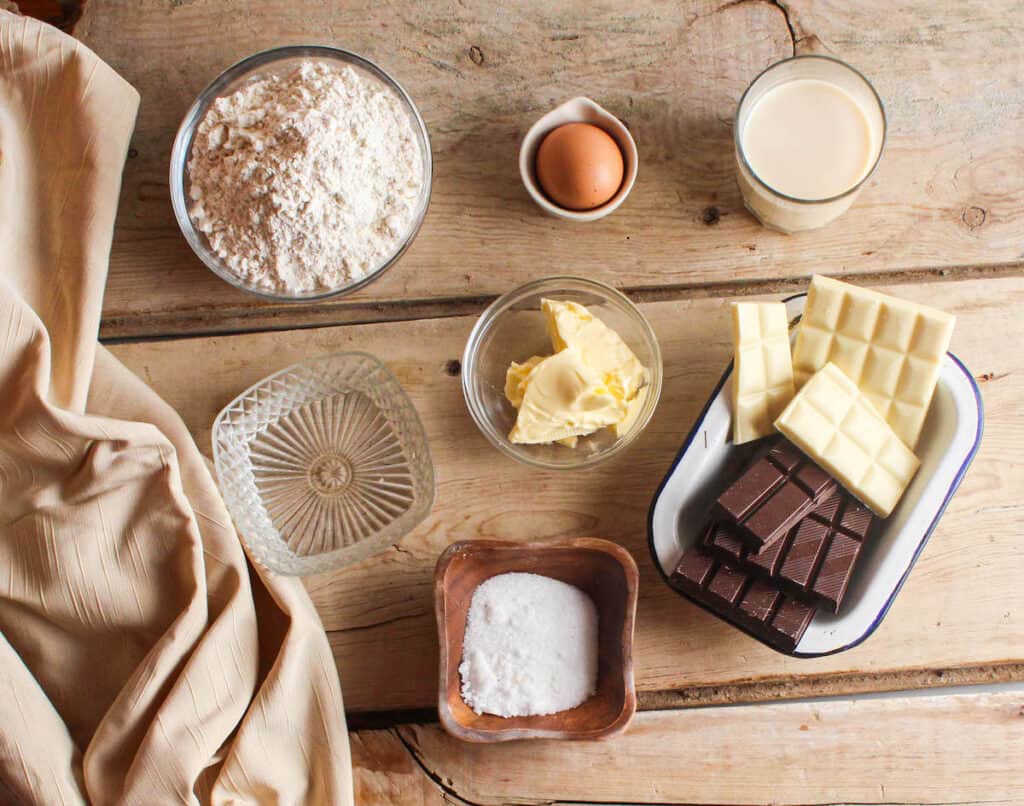
See the printable recipe card at the bottom of the page for all measurements and nutritional information.
For the donuts
- Flour - All purpose flour is fine.
- White sugar
- Instant dry yeast - This is more than 1 packet, but less than 2 packets. You'll have to measure.
- Butter - It doesn't matter whether it's salted or unsalted.
- Large egg
- Milk or non-dairy milk as desired - This is ½ cup + 2 tablespoons.
- Water
- Salt
For the chocolate glaze
- Dark chocolate - Chocolate chips are best, but you could also use chocolate wafers or almond bark. If you're using a block or brick of chocolate, be sure to break or cut it into 1-inch chunks. Otherwise, it will burn before it melts.
- White chocolate - Same as above.
How to make the donuts
For the donuts
- Measure & mix the dry ingredients. Add the flour, sugar, and dry yeast to a medium bowl and whisk together by hand.
- Measure & mix the wet ingredients. Add the butter, egg, milk, water, and salt to the bowl of a stand mixer and combine using the paddle attachment.
- Add the dry ingredients to the wet ingredients and mix well with the paddle.
- Knead the dough until it is no longer sticky. Using the dough hook attachment, knead the dough for 10 minutes.If you don't have a stand mixer with a dough hook, knead by hand until the dough is firm and no longer sticky. This will take at least 10 minutes, possibly longer. To knead by hand, you should flour the surface, your hands, and the dough, then push the dough down and away from you then fold it in half. Repeat this process over and over, adding flour as needed to prevent sticking, until the dough is firm and no longer needs flour to prevent stickiness.
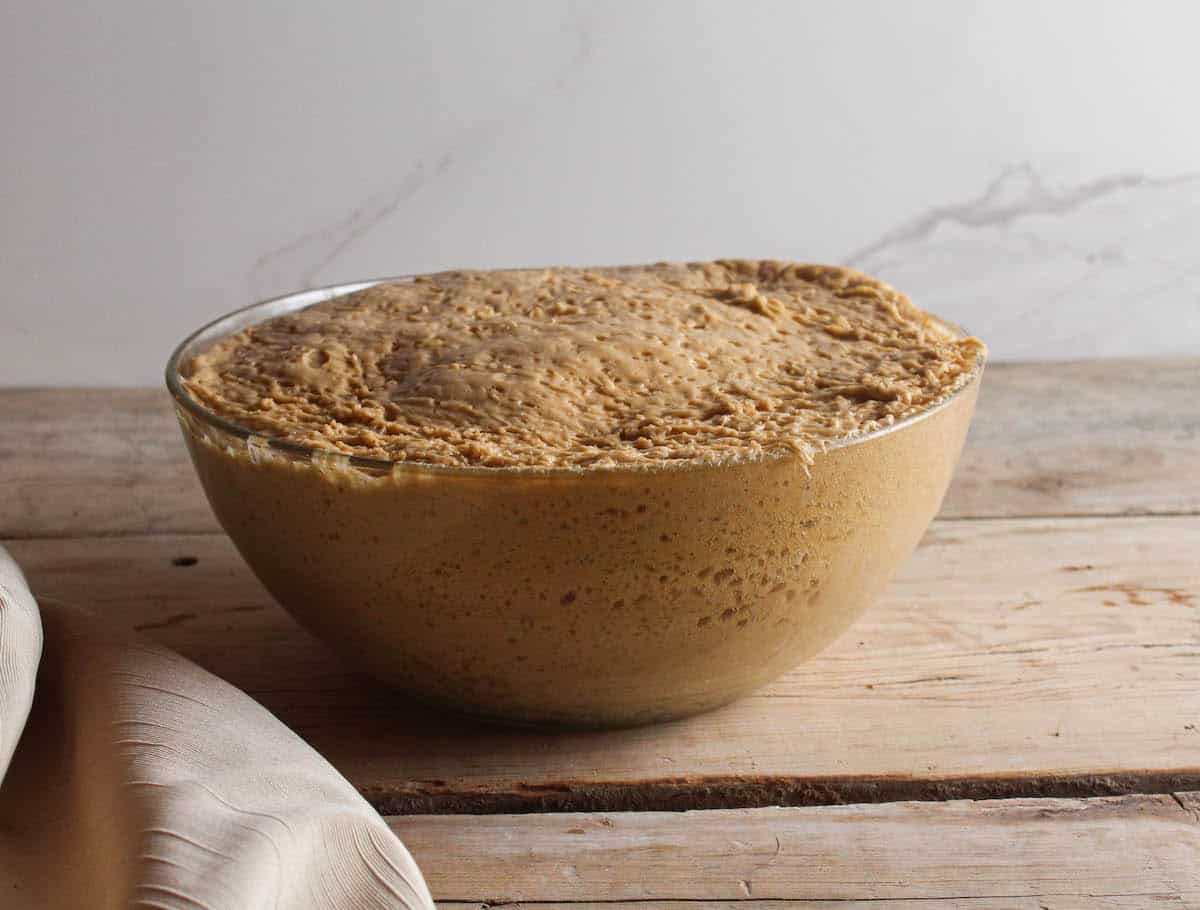
- Proof the dough. As soon as the dough is ready, shape it into a ball and place it in a bowl at least twice its size (it will double in size during the next two hours). Cover the dough with plastic wrap or a damp, clean kitchen towel. (Covering is very important so that the dough doesn't dry out.)

- Roll the dough into a thin sheet. After the dough has doubled in size, turn it out on a floured surface and roll with a rolling pin until it is ½-inch thick.
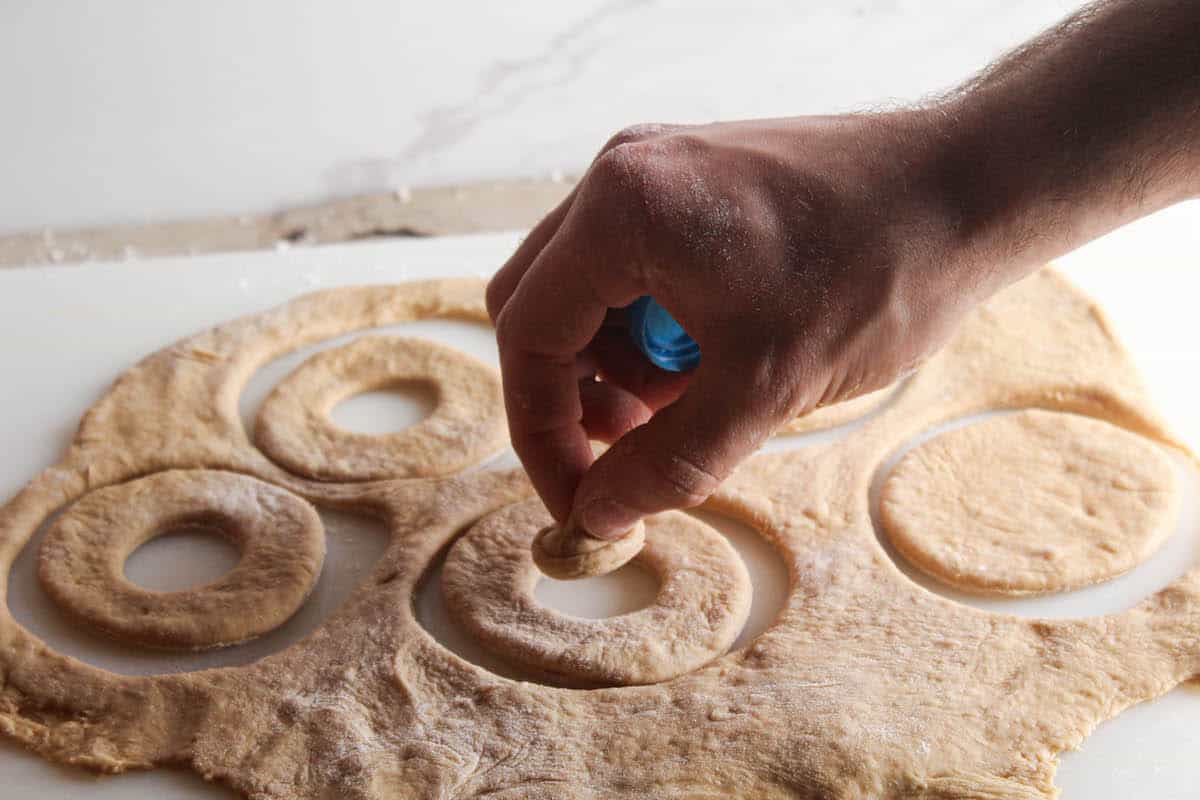
- Cut out the donuts. Use a 3-inch round biscuit cutter to cut as many donuts as possible from the dough. Use a 1-inch cutter to remove the center hole from the middle of each donut.

- Use the dough scraps. Smash the remaining dough and donut holes together and re-roll to a ½-inch thickness. Continue cutting donuts from the scraps until all the dough has been used.
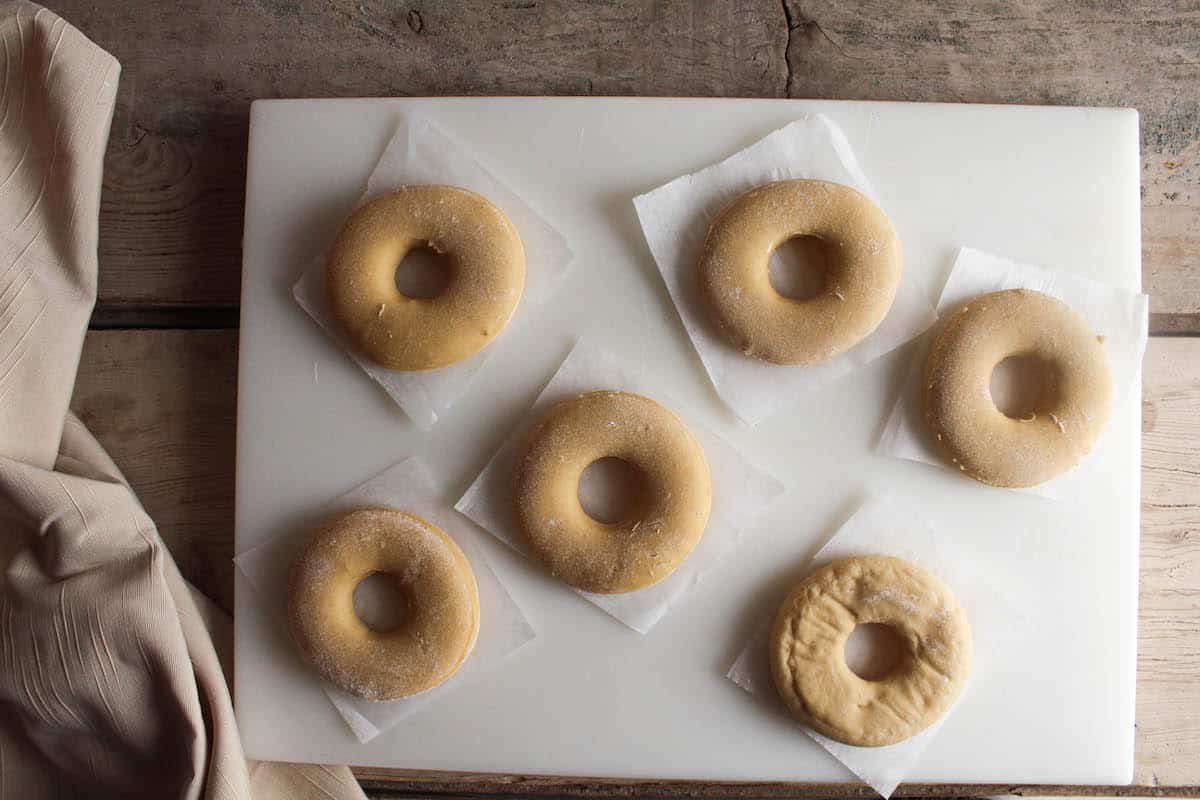
- Let the dough rest & rise again. Once you have cut all the donuts, lay them on parchment paper and cover with plastic wrap or a damp kitchen towel. Leave them to rise for 30 minutes to an hour. After they have doubled in size again, they are ready to cook. Don't let them sit for longer than an hour because they will start to dry out and won't rise properly during cooking.
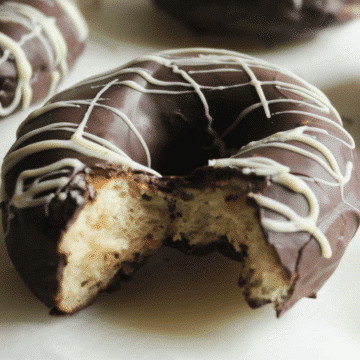
- Cook the donuts. At this point, you can either bake or fry the donuts. Frying in hot oil will make the donuts light and fluffy, similar to donuts you would buy in a donut shop or bakery. Baking will make the donuts a little more dense and cake-like, and they will be more like sweet rolls in texture and flavor. Both are delicious, but there are definitely differences.

To fry the donuts
- Heat 2 cups of oil heat in a medium skillet over medium-low. There should be enough room in the skillet for 2 donuts to fry at the same time, taking into account that the donuts will grow in the oil.
- Test the oil by dropping a pea-sized bit of dough in. If it immediately bubbles, the oil is ready.
- Fry the donuts for 1-2 minutes on each side or until evenly golden brown.
To bake the donuts
- For a healthier version of the donut, bake in the oven instead of frying.
- Pre-heat the oven to 400ºF.
- Line a baking sheet with parchment paper and place the donuts in rows, remembering that they will double in size while baking.
- Bake for 10 to 15 minutes, turning halfway through, until they are evenly golden brown.
After the donuts have cooked, you will have to let them cool to room temperature.
You can glaze the donuts with a traditional clear sugar glaze if you want, but they are also delicious with a chocolate glaze.
For the chocolate glaze
- If using a block of chocolate, break or cut it up into 1-inch pieces. Place the dark chocolate in a microwave-safe bowl larger than the donuts. Heat in the microwave in 20-second increments, stirring for at least 30 seconds after each time. When the chocolate is completely smooth, you are ready to move on to the next step.
- Dip each donut in the melted chocolate. Place donut on parchment paper to cool and harden. If you're in a hurry, you can line a wire rack or baking sheet with parchment and then transfer the donuts to the fridge to harden the chocolate faster.
- If desired, after the chocolate on the tops has hardened, you can dip the bottoms of the donut in the chocolate glaze as well. If the chocolate in the bowl has become too thick, you may need to reheat it in 20 second increments to get it liquid again. Don't forget to stir very well in between heating bursts.
- Melt the white chocolate in the same way you melted the dark chocolate. Add melted white chocolate to a piping bag, cut off the tip, and drizzle over the hardened dark chocolate donuts. Allow to cool and harden before serving. (Again, this can be done on the counter or in the refrigerator.)
More donut goodness
- Glazed Pumpkin Spice Donuts
- Baked Vegan Double Chocolate Donuts
- Coffee Cake Crumb Donuts
- Baked Gluten Free Glazed Donut Recipe with Almond Flour
- Baked Vanilla Cake Donut Recipe
- Baked Double Chocolate Donut Recipe
- Chocolate Frosted Candy-Filled Donuts
Recipe
Easy Baked or Fried Yeast Zebra Donuts
Equipment
Ingredients
For the donuts
- 4 cups all-purpose flour
- 5 tablespoons sugar
- 1 tablespoons instant dry yeast
- 3 tablespoons butter
- 1 large egg
- 10 tablespoons milk or non-dairy milk as desired (This is ½ cup + 2 tablespoons.)
- ½ cup water
- ½ teaspoon salt
For the chocolate glaze
- 14 ounces dark chocolate
- 3 ounces white chocolate
Instructions
For the donuts
- Add the flour, sugar, and dry yeast to a medium bowl and whisk together by hand.
- Add the butter, egg, milk, water, and salt to the bowl of a stand mixer and combine using the paddle attachment.
- Add the dry ingredients to the wet ingredients and mix well with the paddle.
- Using the dough hook attachment, knead the dough for 10 minutes. If you don't have a stand mixer with a dough hook, knead by hand until the dough is firm and no longer sticky. This will take at least 10 minutes, possibly longer. To knead by hand, you should flour the surface, your hands, and the dough, then push the dough down and away from you then fold it in half. Repeat this process over and over, adding flour as needed to prevent sticking, until the dough is firm and no longer needs flour to prevent stickiness.
- As soon as the dough is ready, shape it into a ball and place it in a bowl at least twice its size (it will double in size during the next two hours). Cover the dough with plastic wrap or a damp, clean kitchen towel. (Covering is very important so that the dough doesn't dry out.)
- After the dough has doubled in size, turn it out on a floured surface and roll with a rolling pin until it is ½-inch thick.
- Use a 3-inch round biscuit cutter to cut as many donuts as possible from the dough. Use a 1-inch cutter to remove the center hole from the middle of each donut.
- Smash the remaining dough and donut holes together and re-roll to a ½-inch thickness. Continue cutting donuts from the scraps until all the dough has been used.
- Once you have cut all the donuts, lay them on parchment paper and cover with plastic wrap or a damp kitchen towel. Leave them to rise for 30 minutes to an hour. After they have doubled in size again, they are ready to cook. Don't let them sit for longer than an hour because they will start to dry out and won't rise during cooking.
To fry the donuts
- Heat 2 cups of oil over medium-low heat in a medium skillet. There should be enough room in the skillet for 2 donuts to fry at the same time, taking into account that the donuts will grow in the oil. Test the oil by dropping a pea-sized bit of dough in. If it immediately bubbles, the oil is ready.Fry the donuts for 1-2 minutes on each side or until evenly golden brown.
To bake the donuts
- For a healthier version of the donut, bake in the oven instead of frying. Pre-heat the oven to 400ºF. Line a baking sheet with parchment paper and place the donuts in rows, remembering that they will double in size while baking.Bake for 10 to 15 minutes, turning halfway through, until they are golden brown.
For the chocolate glaze
- If using a block of chocolate, break it up into 1-inch pieces. Place the dark chocolate in a microwave-safe bowl larger than the donuts. Heat in the microwave in 20-second increments, stirring for at least 30 seconds after each time. When the chocolate is completely smooth, you are ready to move on to the next step.
- Dip each donut in the melted chocolate. Place donut on parchment paper to cool and harden. If desired, you can line a wire rack or baking sheet with parchment and then transfer the donuts to the fridge to harden the chocolate faster.
- If desired, after the chocolate on the tops has hardened, you can dip the bottoms of the donut in the chocolate glaze as well. If the chocolate in the bowl has become too thick, you may need to reheat it in 20 second increments to get it liquid again. Don't forget to stir very well in between heating bursts.
- Melt the white chocolate in the same way you melted the dark chocolate. Add melted white chocolate to a piping bag, cut off the tip, and drizzle over the hardened dark chocolate donuts. Allow to cool and harden before serving. (Again, this can be done on the counter or in the refrigerator.)
Comments
No Comments