I think I have written about this before, but Grace is obsessed with unicorns. She had a unicorn birthday party this year, and about ¾ of her clothing has at least one unicorn on it. She is even getting unicorn leggings and a Pusheen unicorn for Christmas.
I have seen this super cute unicorn DIY ornaments all over Pinterest this year, and I knew we had to try them. All of the ones I've seen have glitter inside and a horn made of clay and ears, but Grace wanted to change ours up a bit.
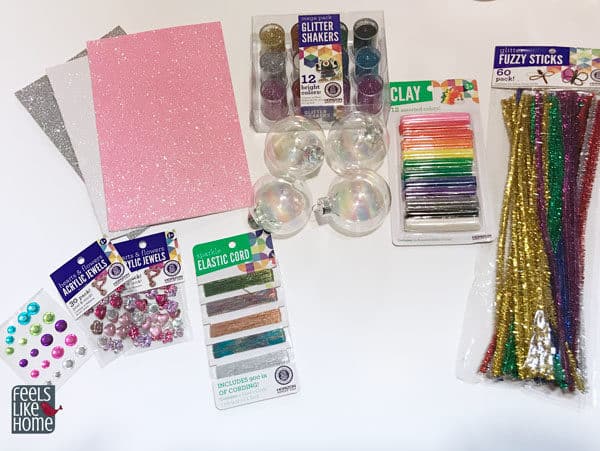
I reached out to my friends at craftprojectideas.com for some help and materials to make the ornaments, and they thoughtfully supplied the following:
Materials:
- Sparkly craft foam in pink, white, and silver
- Fine glitter in many colors
- Clay - we ended up not using this because it is modeling clay that never dries out. It would have still been malleable when we put the ornaments away. Next year when we take out the ornaments, the horns most likely would have become blobs.
- Glass ornaments - we also used plastic ones from the Dollar Tree store (2 for a buck!)
- Sparkly pipe cleaners
- Metallic elastic cord
- Acrylic jewels in a bunch of shapes and colors
I also used:
DIY unicorn ornament instructions:
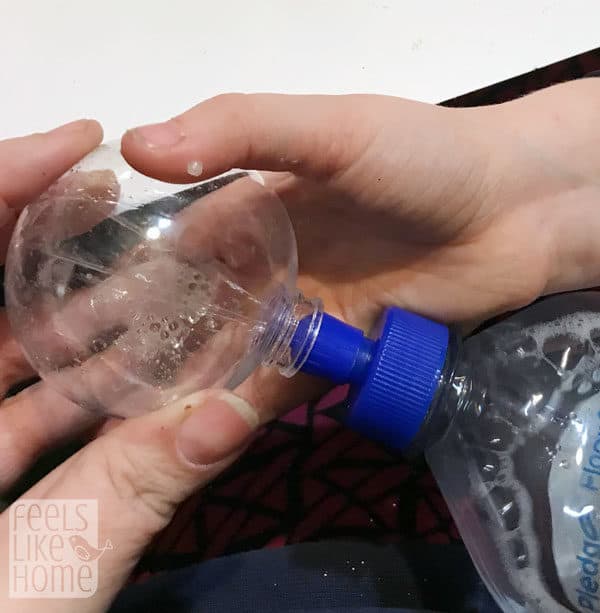
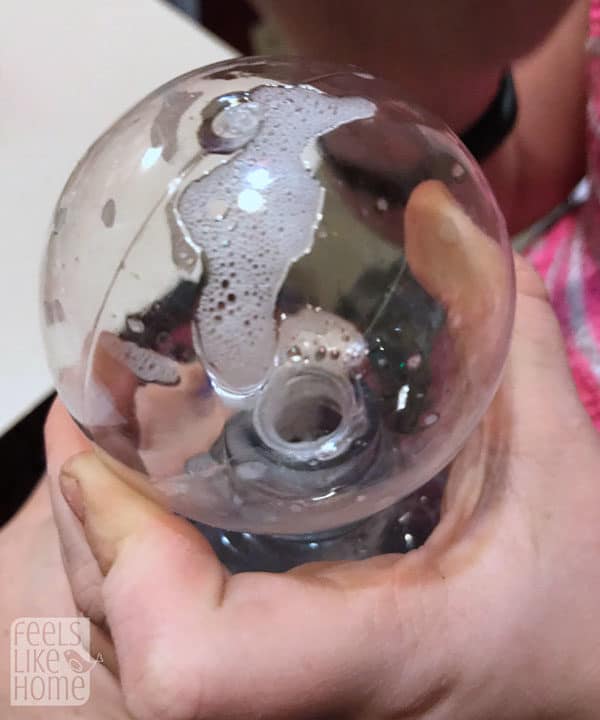
- Take the top off your ornaments and squirt a few tablespoons of floor cleaner inside. Swirl it around so that the entire ornament is covered.
If you shake the ornament like crazy (as Allie did below), the floor cleaner will foam and make clumps after you put the glitter in. This isn't a big deal as you can't see it from the outside, but it does waste glitter.
2. Pour the excess floor cleaner back into the bottle. Use a funnel to pour about ½ of the glitter into the ball. This time, put your thumb over the hole in the ornament and shake it like crazy to get glitter all over the whole ornament. When you are satisfied with the coverage, pour the excess glitter back into the glitter container.
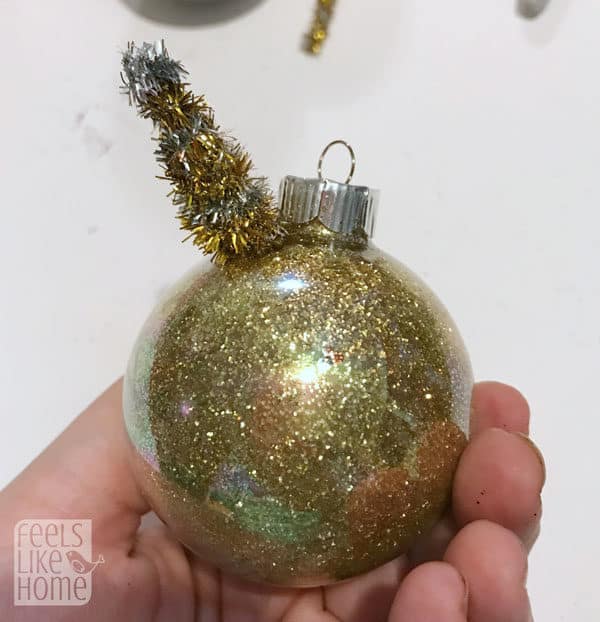
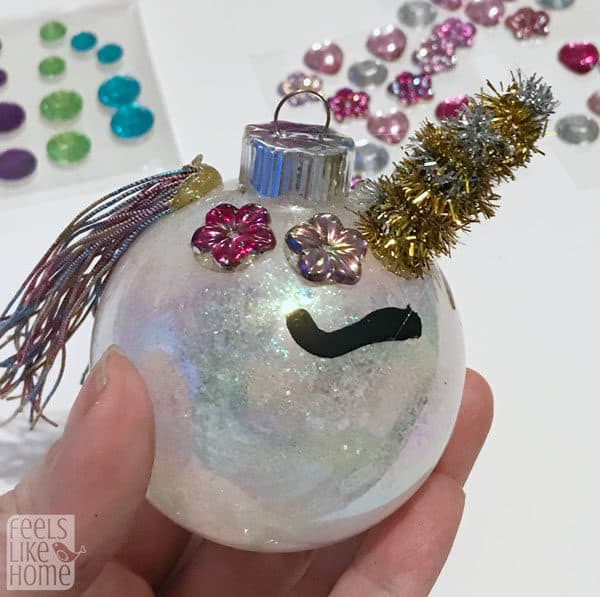
(Ignore the horn in the photo below. I initially put the horn on first and did the eyes second, but found that my horns were all off-center. So do the eyes first.)
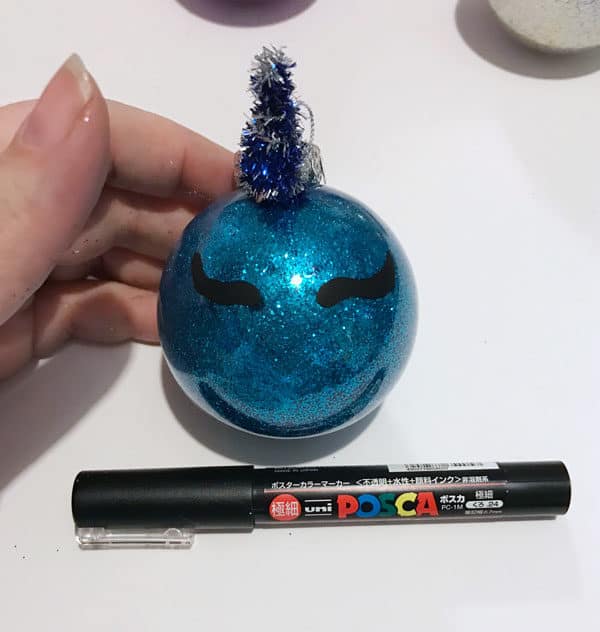
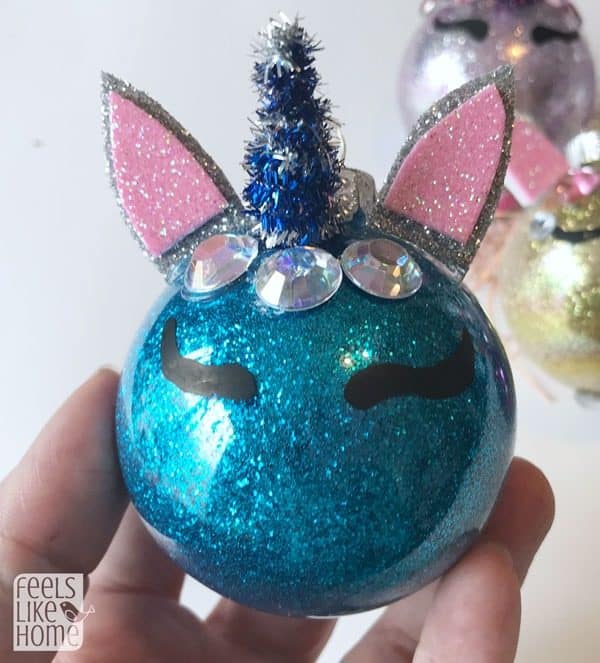
3. Using a paint pen, draw eyes on the ornament. You can put on eyelashes if you want to.
I love how the pen made a reflection on the ball below to look like a smile. I did not draw on a smile.
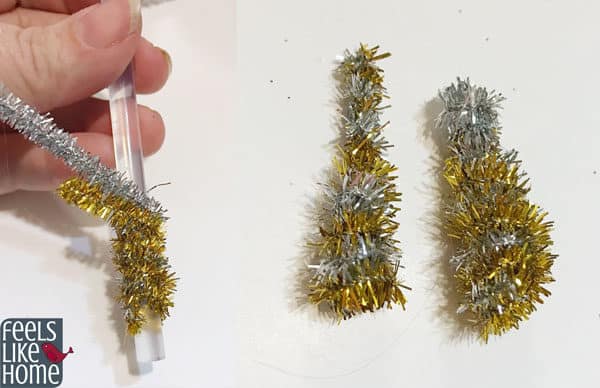
4. Make the horn by wrapping 2 pipe cleaners around a glue stick from your glue gun. Wrap them around a few times, squish them down a bit, and then wrap another time or two. Pull the horn off the glue stick and twist the pipe cleaners around another time or two but in a tighter spiral, to make the top of the horn tapered a bit. See photos below.
5. Use the hot glue gun to glue the horn onto the ornament, hopefully centered between the eyes.
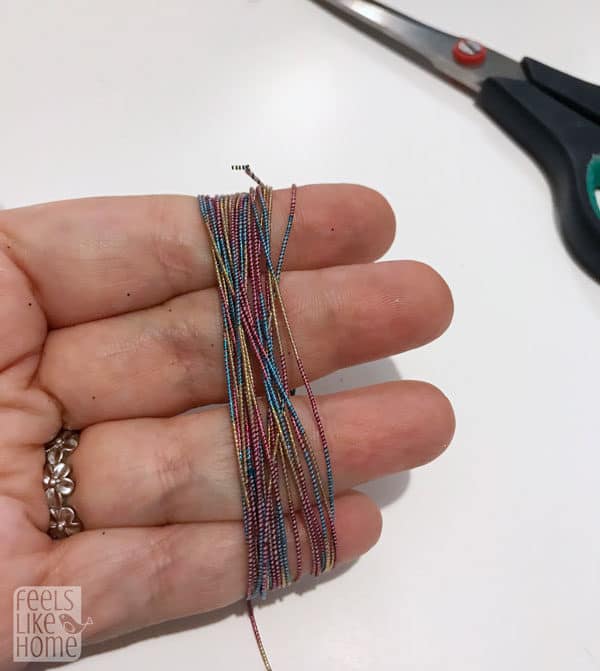
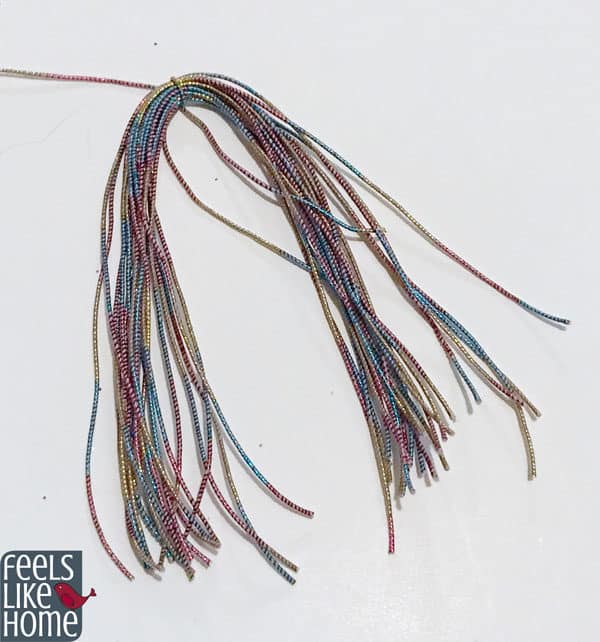
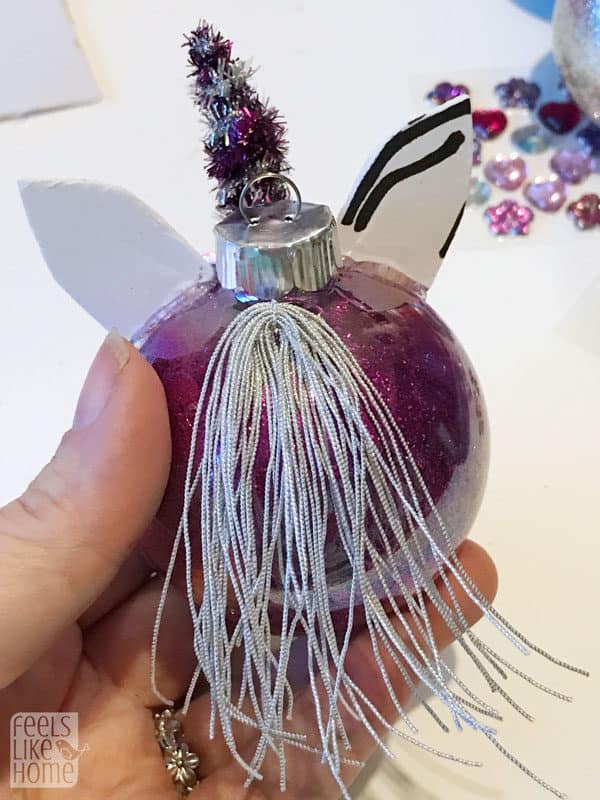
6. Wrap the elastic cord around your fingers 20 times. You could also use yarn for this, but because it is a lot bulkier, you would want to wrap fewer than 20 times.
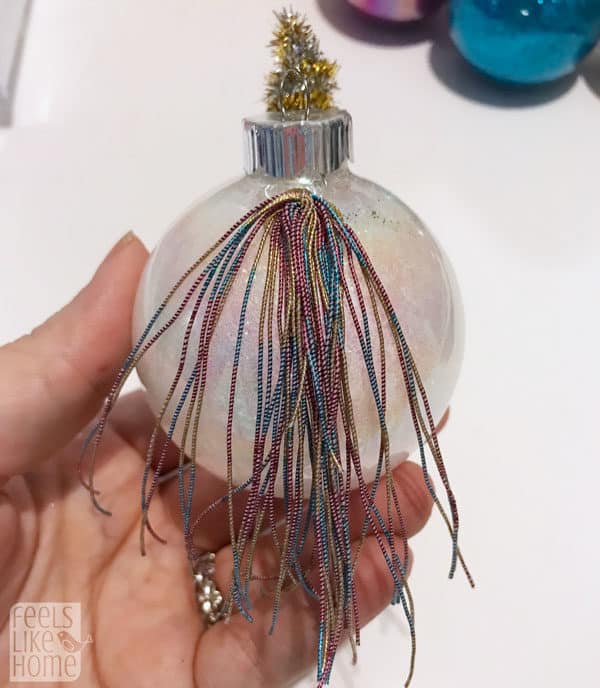
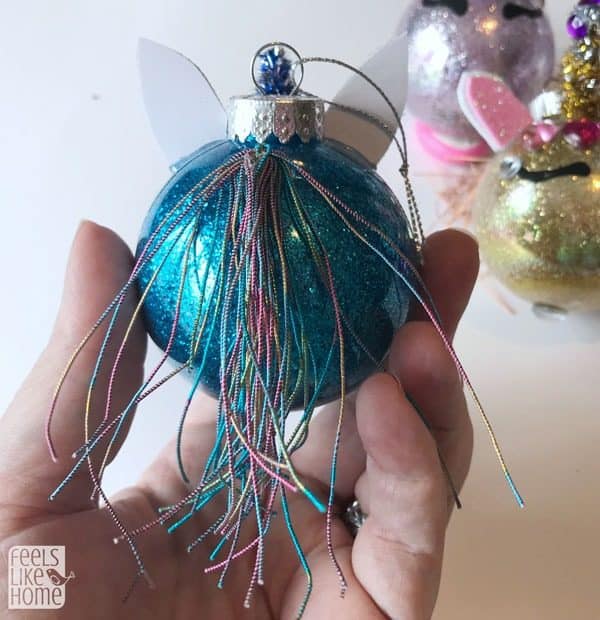
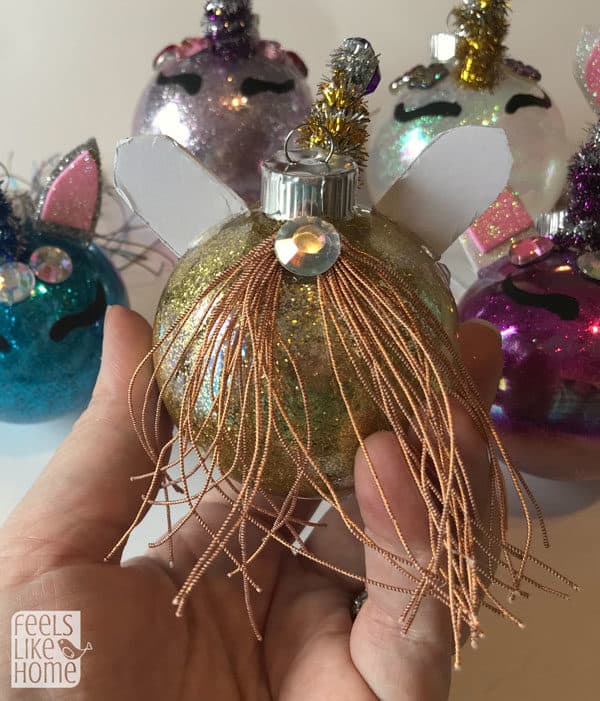
7. Take the cord off your fingers, tie a length of cord around the middle three times, and then cut the bottom of the cord to make a tail (or mane, depending on how you look at it).
8. Hot glue the tail onto the back of the ornament, pinching slightly as the glue sets so that the two sides of the tail lay together as one piece instead of apart as in the picture below.
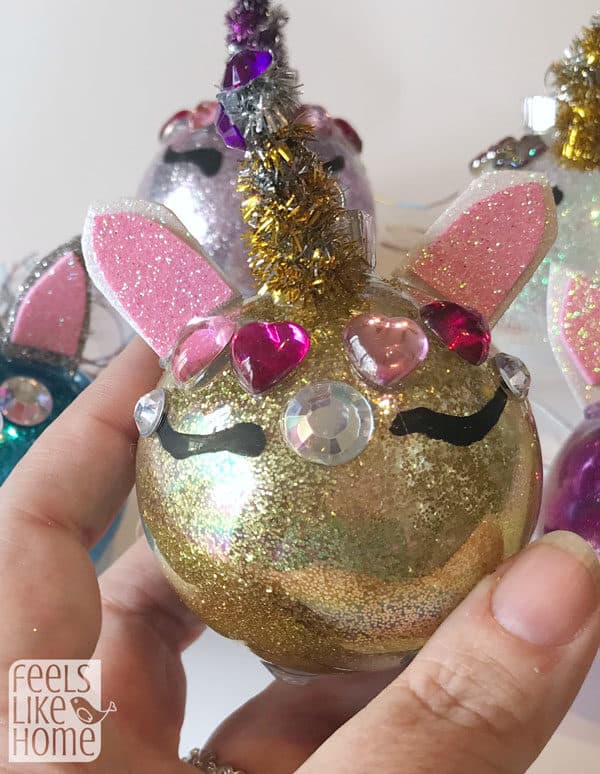
9. The jewels I used for this craft were self stick, but I have had a lot of trouble with self stick gems falling off when attached to plastic, so I hot glued them on as well. You can decorate your ornament with whatever you want. I have seen some on Pinterest with paper flowers that were really cute, but I didn't have any, so we just used jewels.
Grace ended there with her ornaments. She didn't want ears. Allie and I did want ears, so we added a couple of steps.
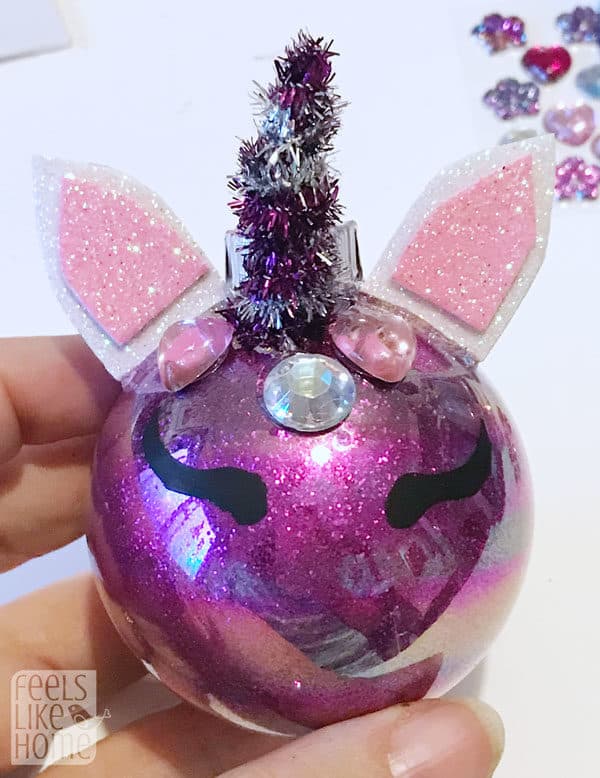
10. To get symmetrical ears, draw a template on cardstock first. Cut out a small rectangle of cardstock and fold it in half the tall way. Cut out half of the ear and unfold to have a nice pattern to trace for the rest of the ears. If you look closely, you will see that I didn't do this right away and a bunch of my ears are lopsided.
Trace your ear template on the back of the white or silver foam. Cut out 2 ears for each ornament.
Trim your ear template in both length and width. I took off about ⅛ inch the whole way around. Trace this smaller ear template on the back of the pink foam to make the inside of the ears.
This craft foam is sticky backed, so I peeled the backing off the pink and stuck them to the white foam, the glued the whole ear piece onto the ornament with hot glue.
Grace said my ears were too big and my ornaments looked like donkeys with horns instead of unicorns, but I like the size just fine.
That's it! Your unicorn ornaments are finished!
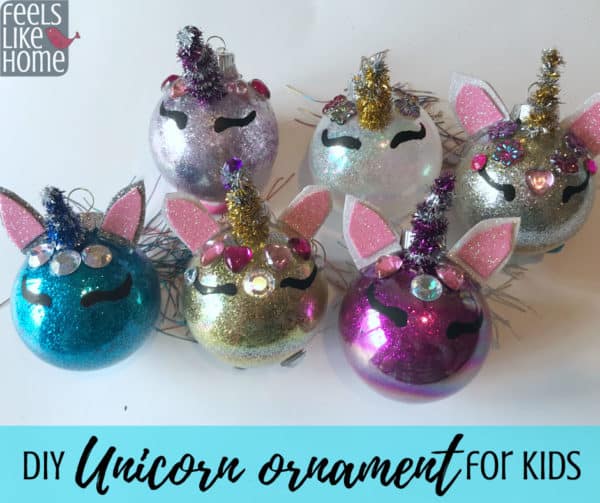
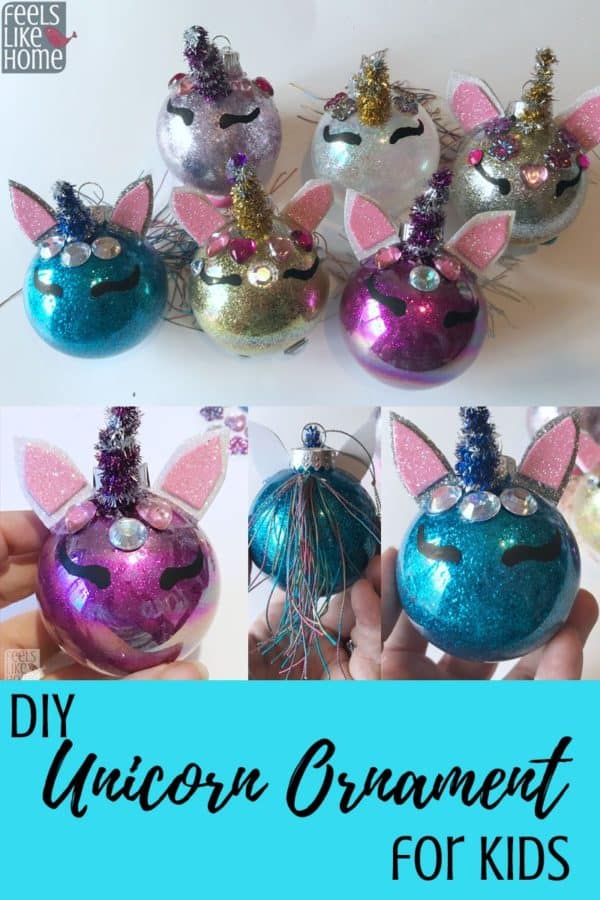
I made this purple ornament.
I also made this blue ornament.
Allie made this gold ornament.
I like how she added a jewel to the top of the tail.
Allie also made the silver ornament below. It is actually silver and gold; she swirled silver glitter around so that it was partly covered, dumped it, then swirled gold glitter around. You can't tell in the photos, but it is really pretty.
Grace made the white and light purple ornaments (the ones without my donkey ears).
CraftProjectIdeas.com
As I said above, the materials for this project came from craftprojectideas.com. I have been a member of their blog network for years and always enjoy the supplies they send. This post is part of their 12 Days of Crafts series. Check out their site for other great crafts using simple and inexpensive materials.





Lynne Harrington says
Thank you for sharing this adorable idea!! I helped two of my granddaughters complete them this weekend. They LOVED them and were so excited to put them on their Christmas trees! 🙂