
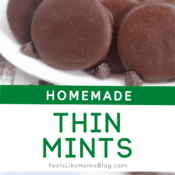
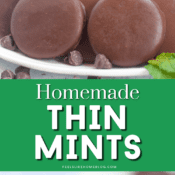
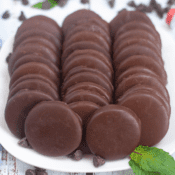

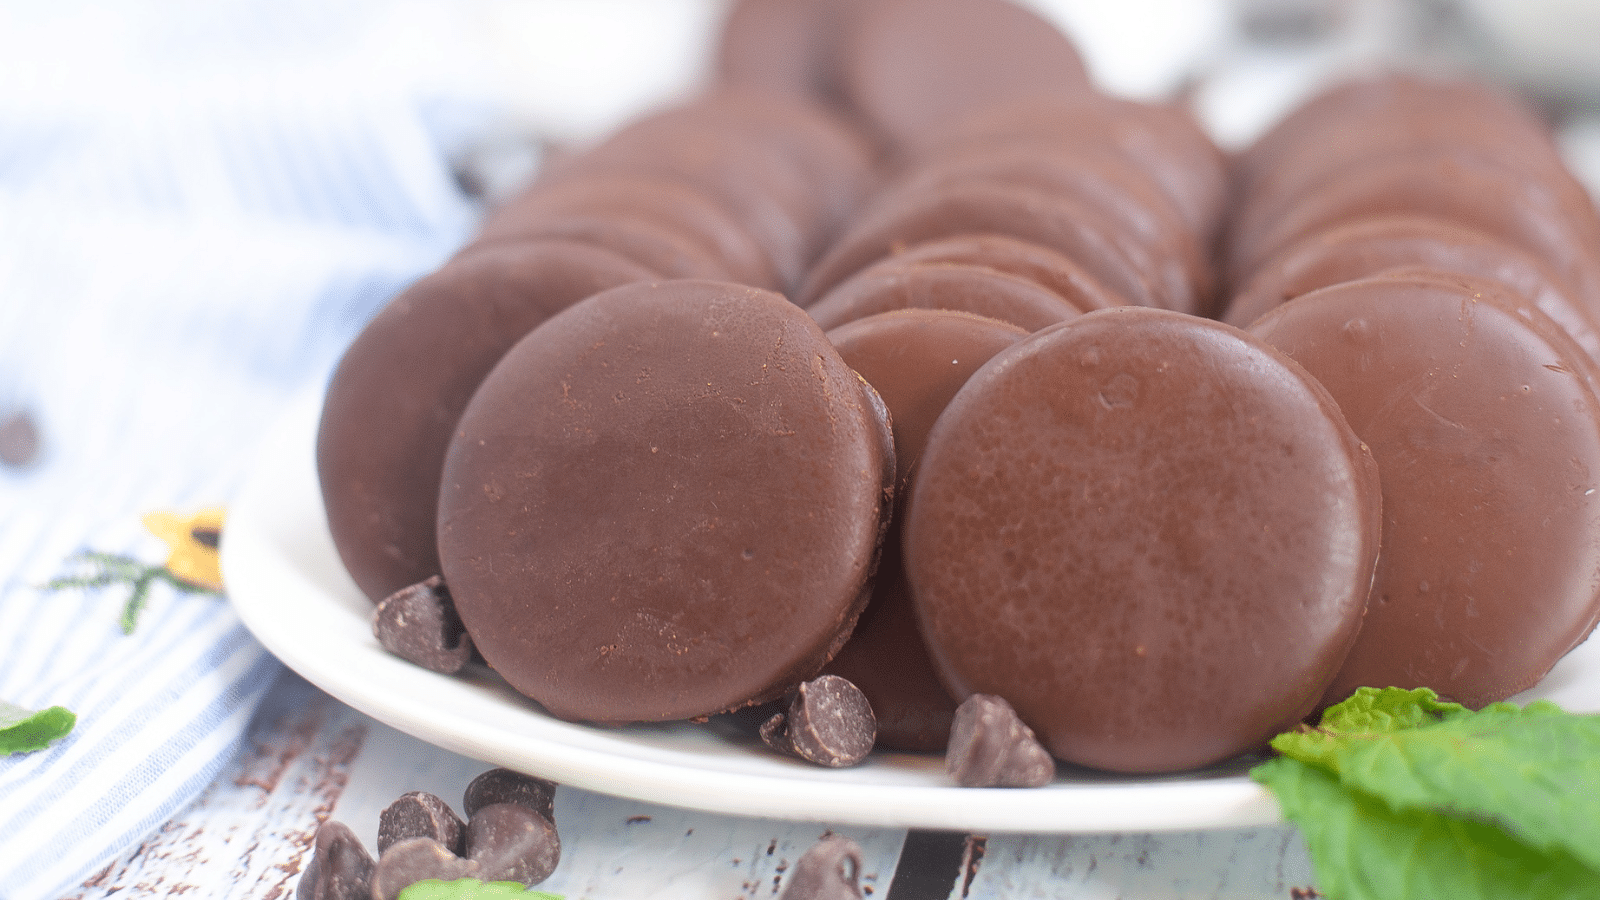
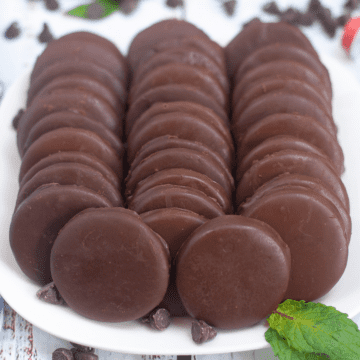
Homemade Thin Mints Girl Scout Cookies! This is the perfect copycat Girl Scout Thin Mint Cookie that is even better than the original! Perfect for cookie exchanges, picnics, and holiday parties!

I was a Girl Scout for more than ten years, and both of my kids have been Girl Scouts since their earliest opportunity, so we've eaten more than our fair share of Girl Scout cookies.
Girl Scout cookies are awesome, and I'm all for buying them from actual Girl Scouts, but they are only available for a few weeks every year. What's a chocolate mint lover to do when there are no cookies to be had?
She makes her own Thin Mints, that's what.
Why this is the best homemade Thin Mints recipe
This recipe is super easy with a few basic ingredients that you already have in your pantry.
These cookies taste just like the original Thin Mints, but there are no preservatives or fillers. When I say they're just like the original, I mean it. You won't know the difference between this recipe and authentic Thin Mints.
The dough can be made ahead and frozen, or the baked cookies can be baked and then frozen. They stay good in the freezer for several months.
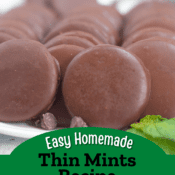
The cookies are crispy but not hard, and they have the perfect mixture of chocolate and mint flavors.
What you'll need to make the best homemade Thin Mint recipe
Equipment
You'll need two large mixing bowls as well as a smaller microwave-safe bowl, plus some measuring cups and spoons and a whisk. You'll also need a handheld electric mixer or stand mixer, a sifter or strainer, parchment paper, a 2-inch round cookie cutter, and a cookie sheet (or a couple of them).
Ingredients
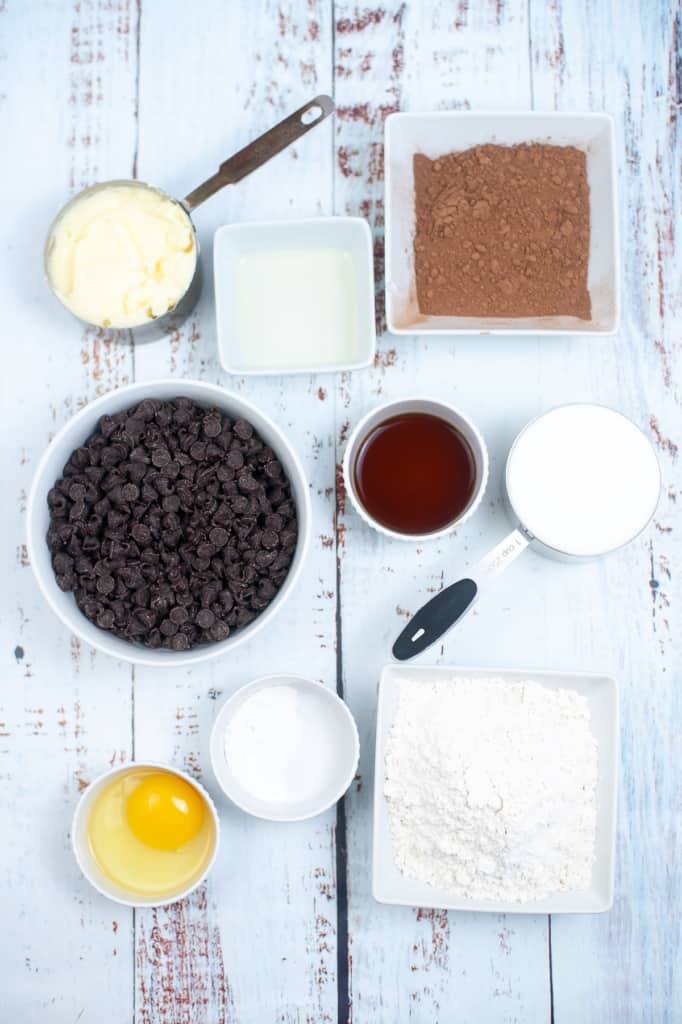
Chocolate Mint Cookie Dough
- Unsalted butter, room temperature - If you only have salted butter, go ahead and use it. You probably won't notice a difference.
- White sugar
- 1 large egg
- Vanilla extract - You can also use vanilla bean paste if you have it.
- Peppermint extract - Some Thin Mint recipes call for pure mint extract, but I prefer peppermint extract. Peppermint will give you the authentic Thin Mint flavor you're looking for.
- All-purpose flour
- Cocoa powder - I used Hersheys cocoa powder, but any dark cocoa powder will work.
- Baking powder
- Salt
Chocolate Coating
- Semi-sweet chocolate chips - Semi-sweet chocolate chips will give you the most authentic Thin Mint flavor, but if you prefer, you can substitute milk chocolate chips or dark chocolate chips.
- Vegetable oil - You can substitute with coconut oil if you'd rather.
- Peppermint extract - See note above.
How to make homemade Thin Mint cookies
- Preheat the oven to 350°F. Line your cookie sheets with parchment paper.
- In a large bowl, beat the room temperature butter and sugar together with an electric mixer until they mixture is creamy and light. You can't beat it too much.
- Add the egg, vanilla extract, and peppermint extract and stir until combined.
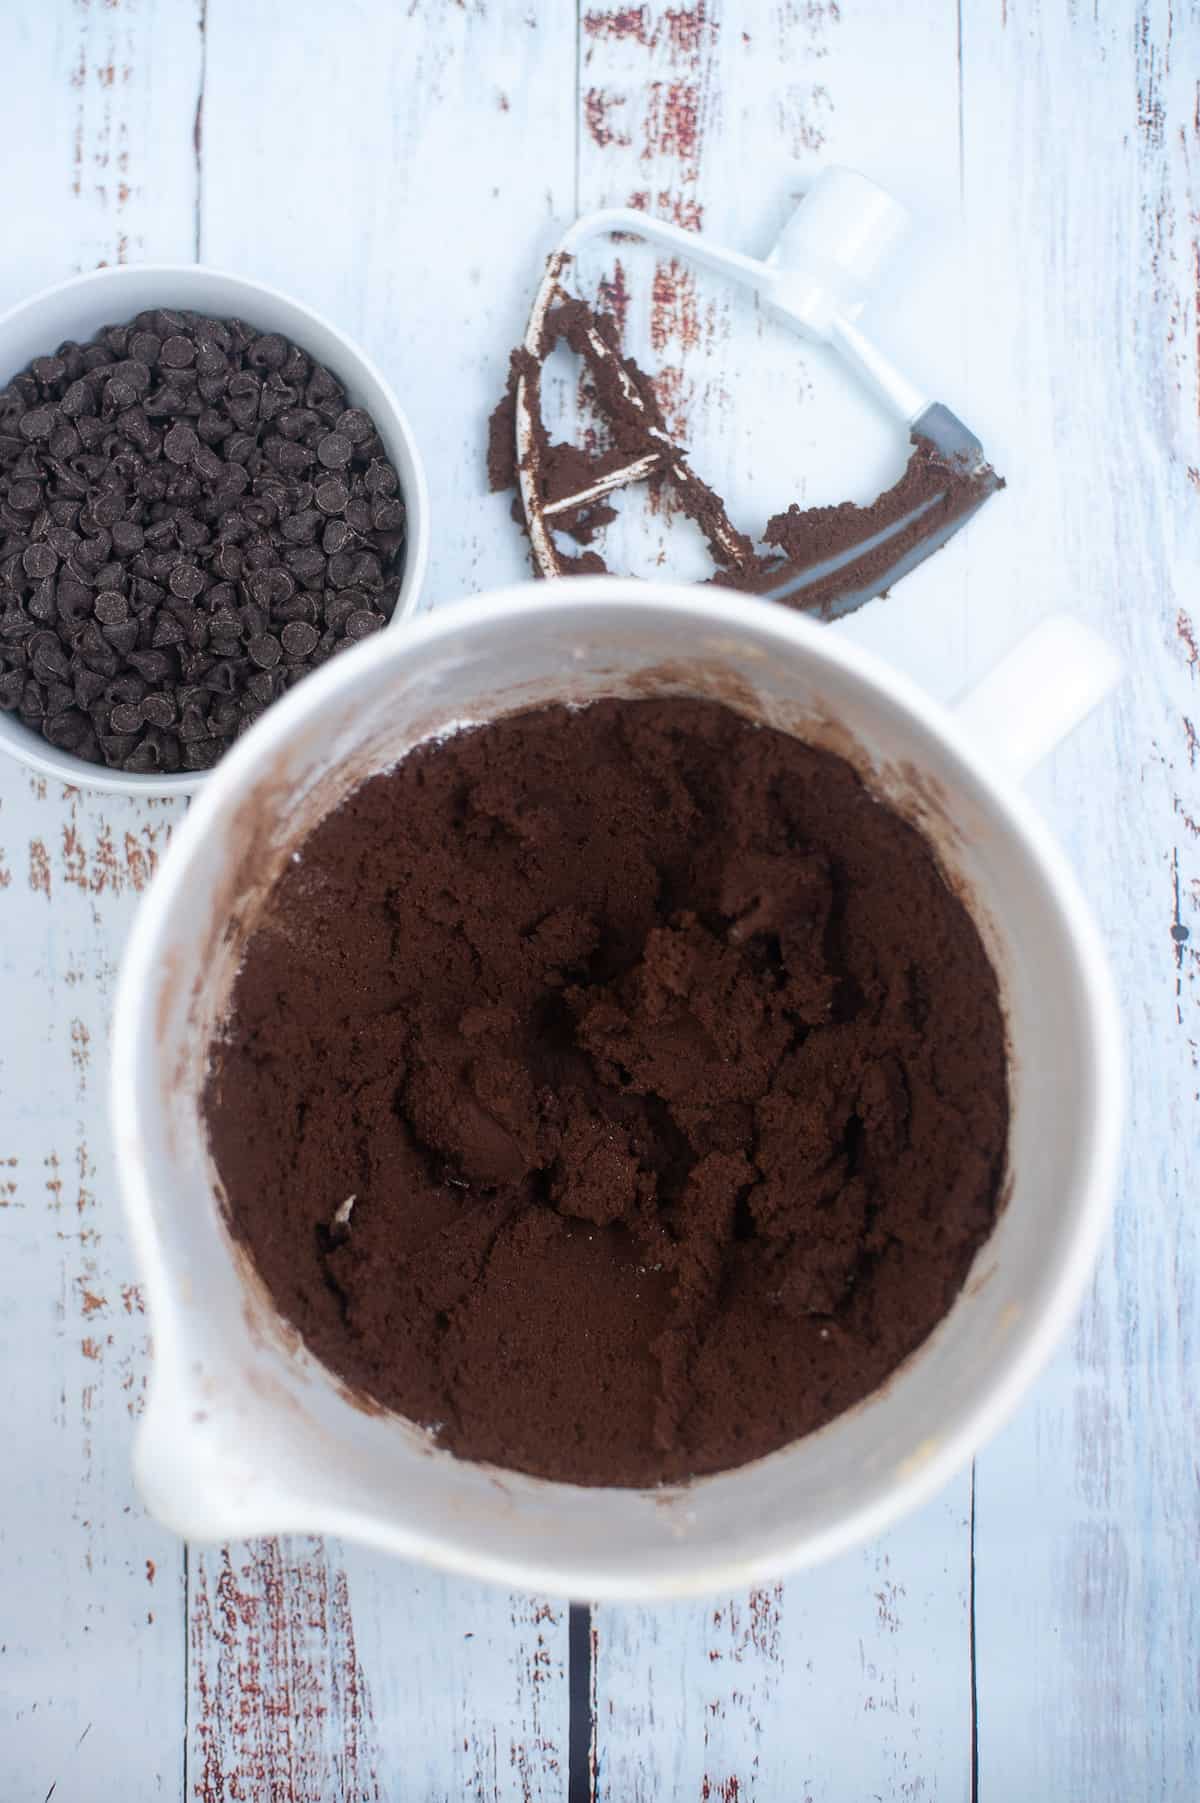
- In a separate large bowl, sift together the flour, cocoa powder, baking powder, and salt. Whisk together to fully combine.
- Add the flour mixture to the wet ingredients, a little at a time, beating with the mixer until well blended.

- Cover a large flat surface with a sheet of parchment paper or wax paper. Divide the cookie dough in half and place half on the parchment paper.
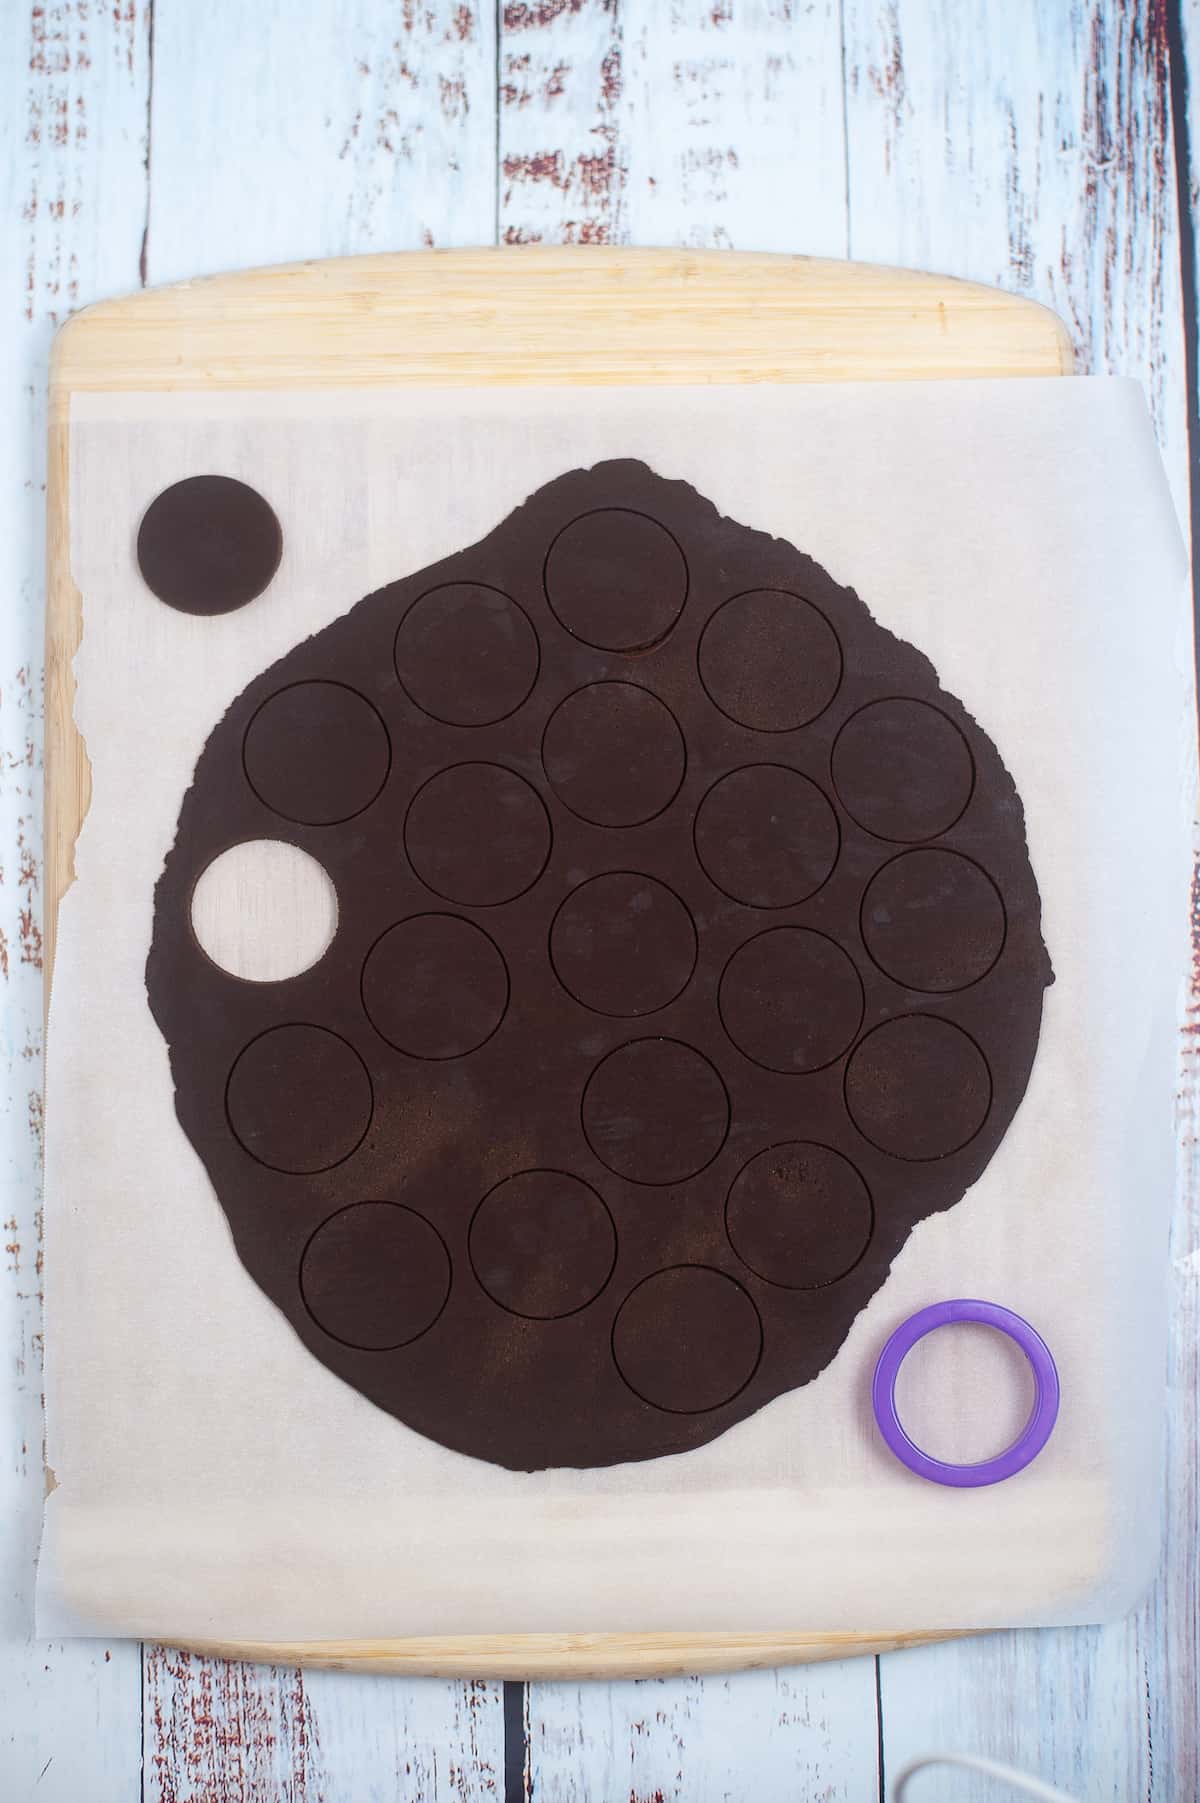
- Place another piece of parchment paper on top of the dough and roll it out with a rolling pin until it's ¼-inch thin. Repeat with the other half of the dough.
- Keeping the rolled dough between the sheets of parchment, place in the refrigerator for at least two hours or the freezer for one.
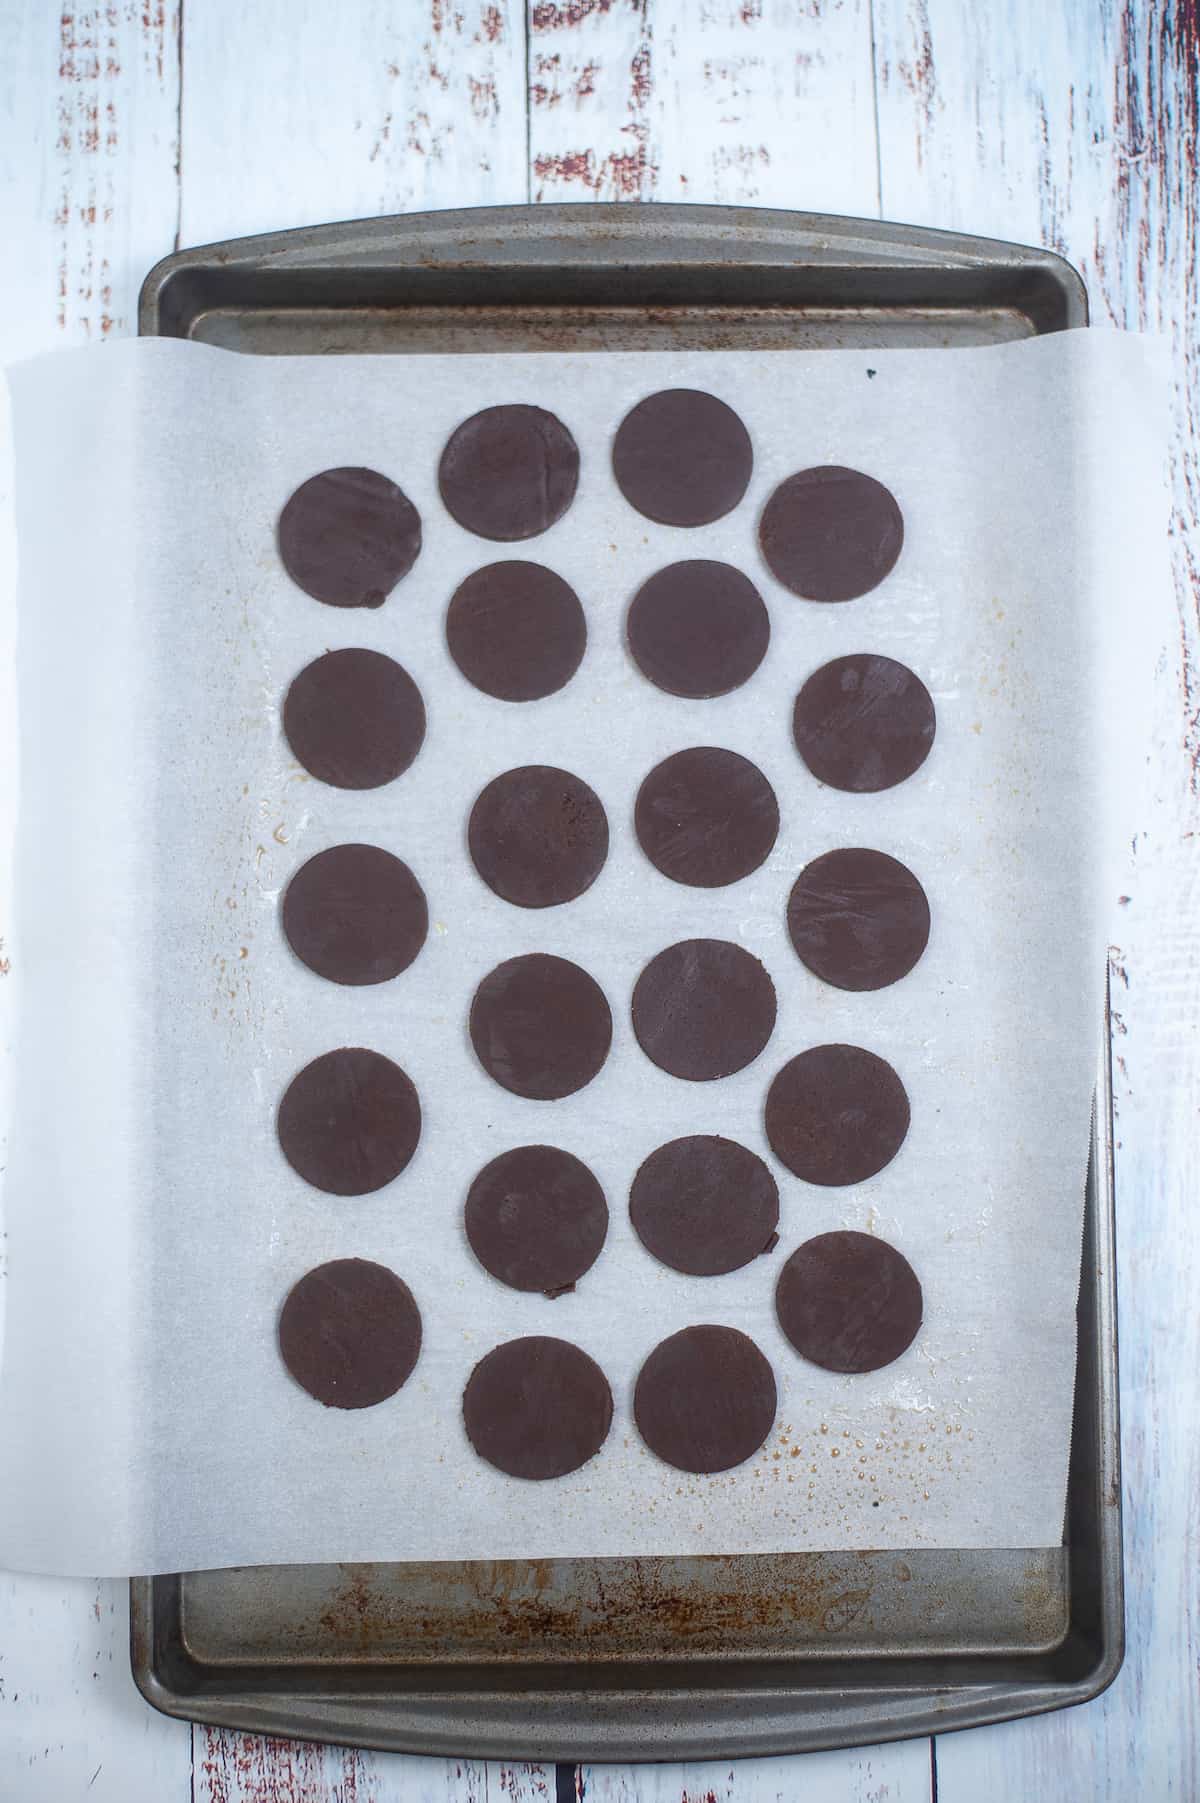
- After the dough has chilled, remove one half at a time and use a 2-inch round cookie cutter to cut 28 circles from each half, re-rolling the scraps as necessary to use all the dough. As you cut the disks, transfer them to the prepared baking sheets. Because the cookies are so small, and they don't expand much in the oven, you can place them close together on the baking sheet. Give each cookie just a little bit of room to expand.
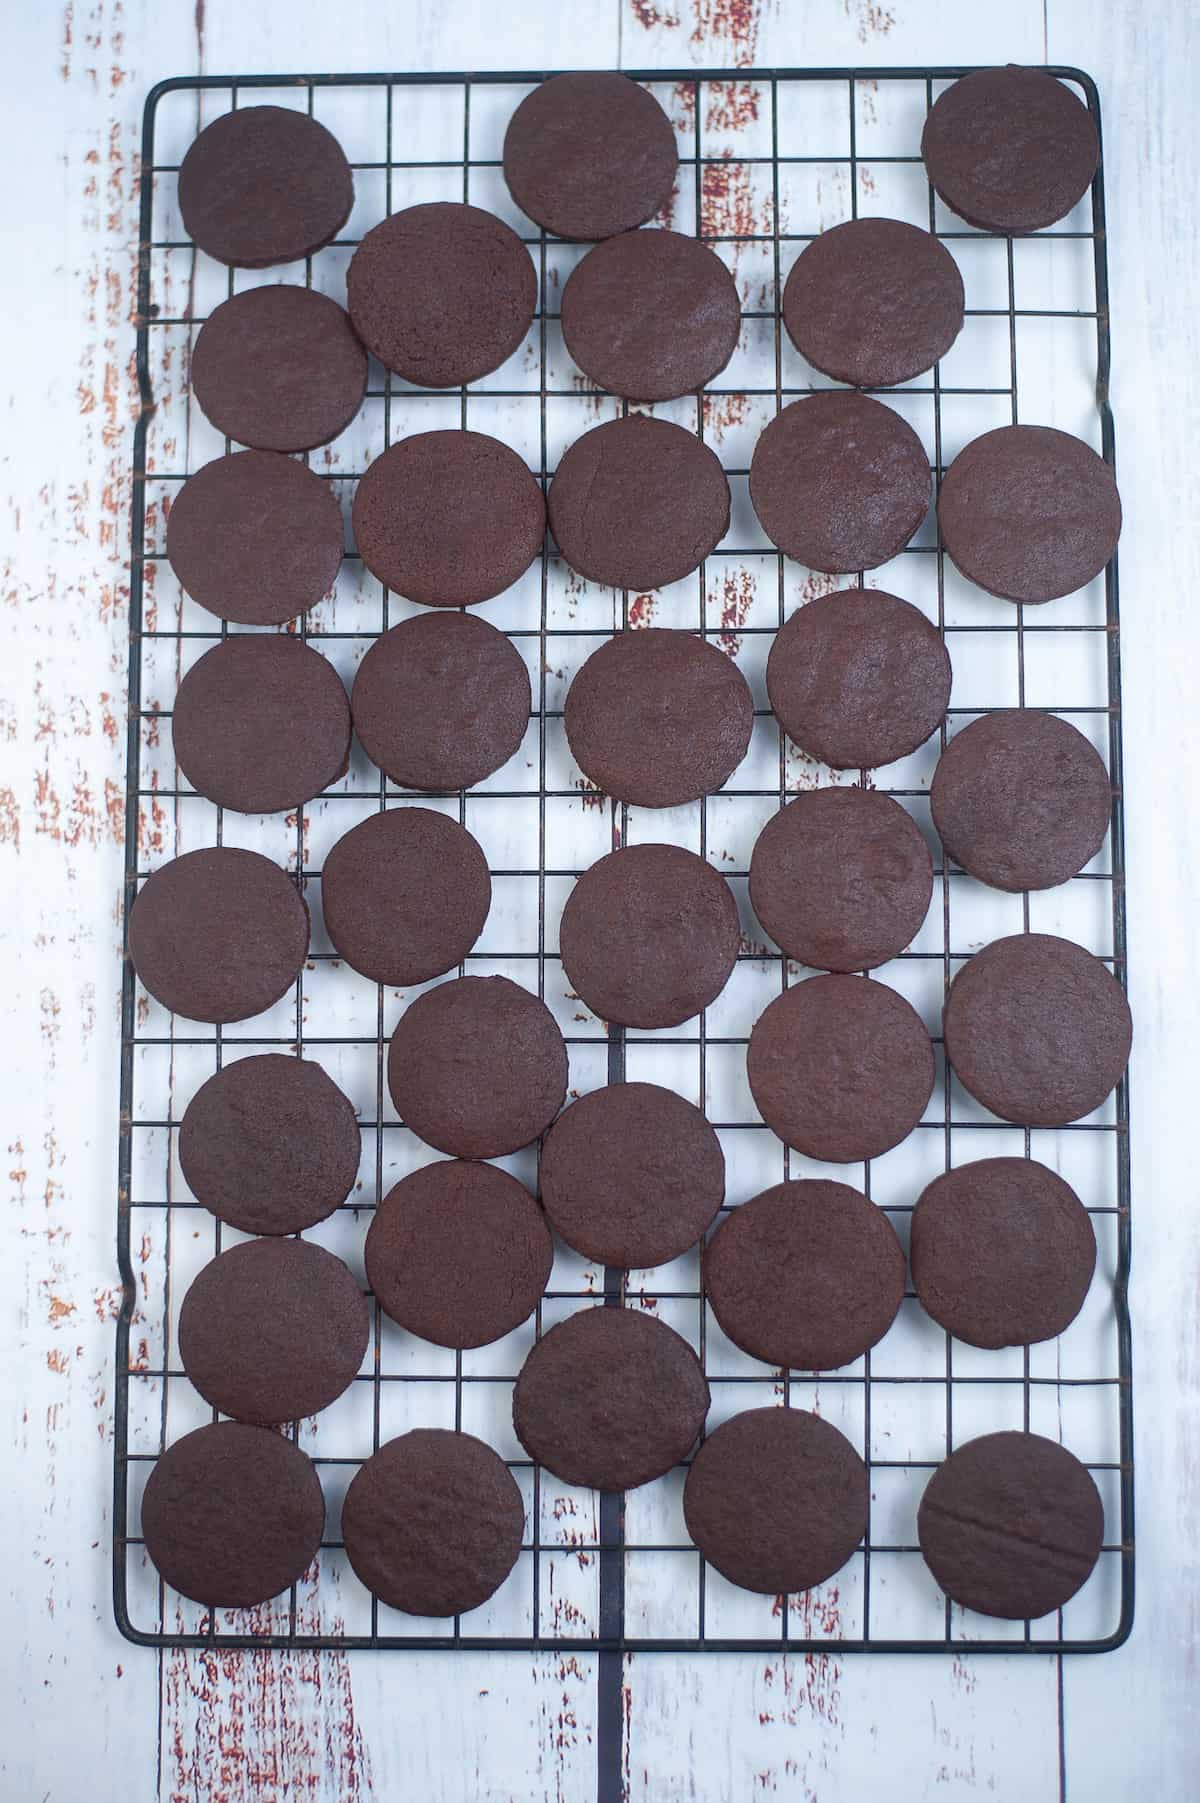
- Bake each sheet of cookies at 350ºF for eight minutes or until fully cooked.
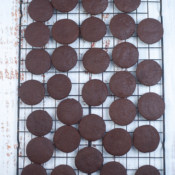
- Remove cookies from the oven, allow to cool on the sheet for 5 minutes, then transfer to a cooling rack and fully cool to room temperature.
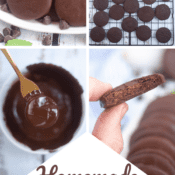
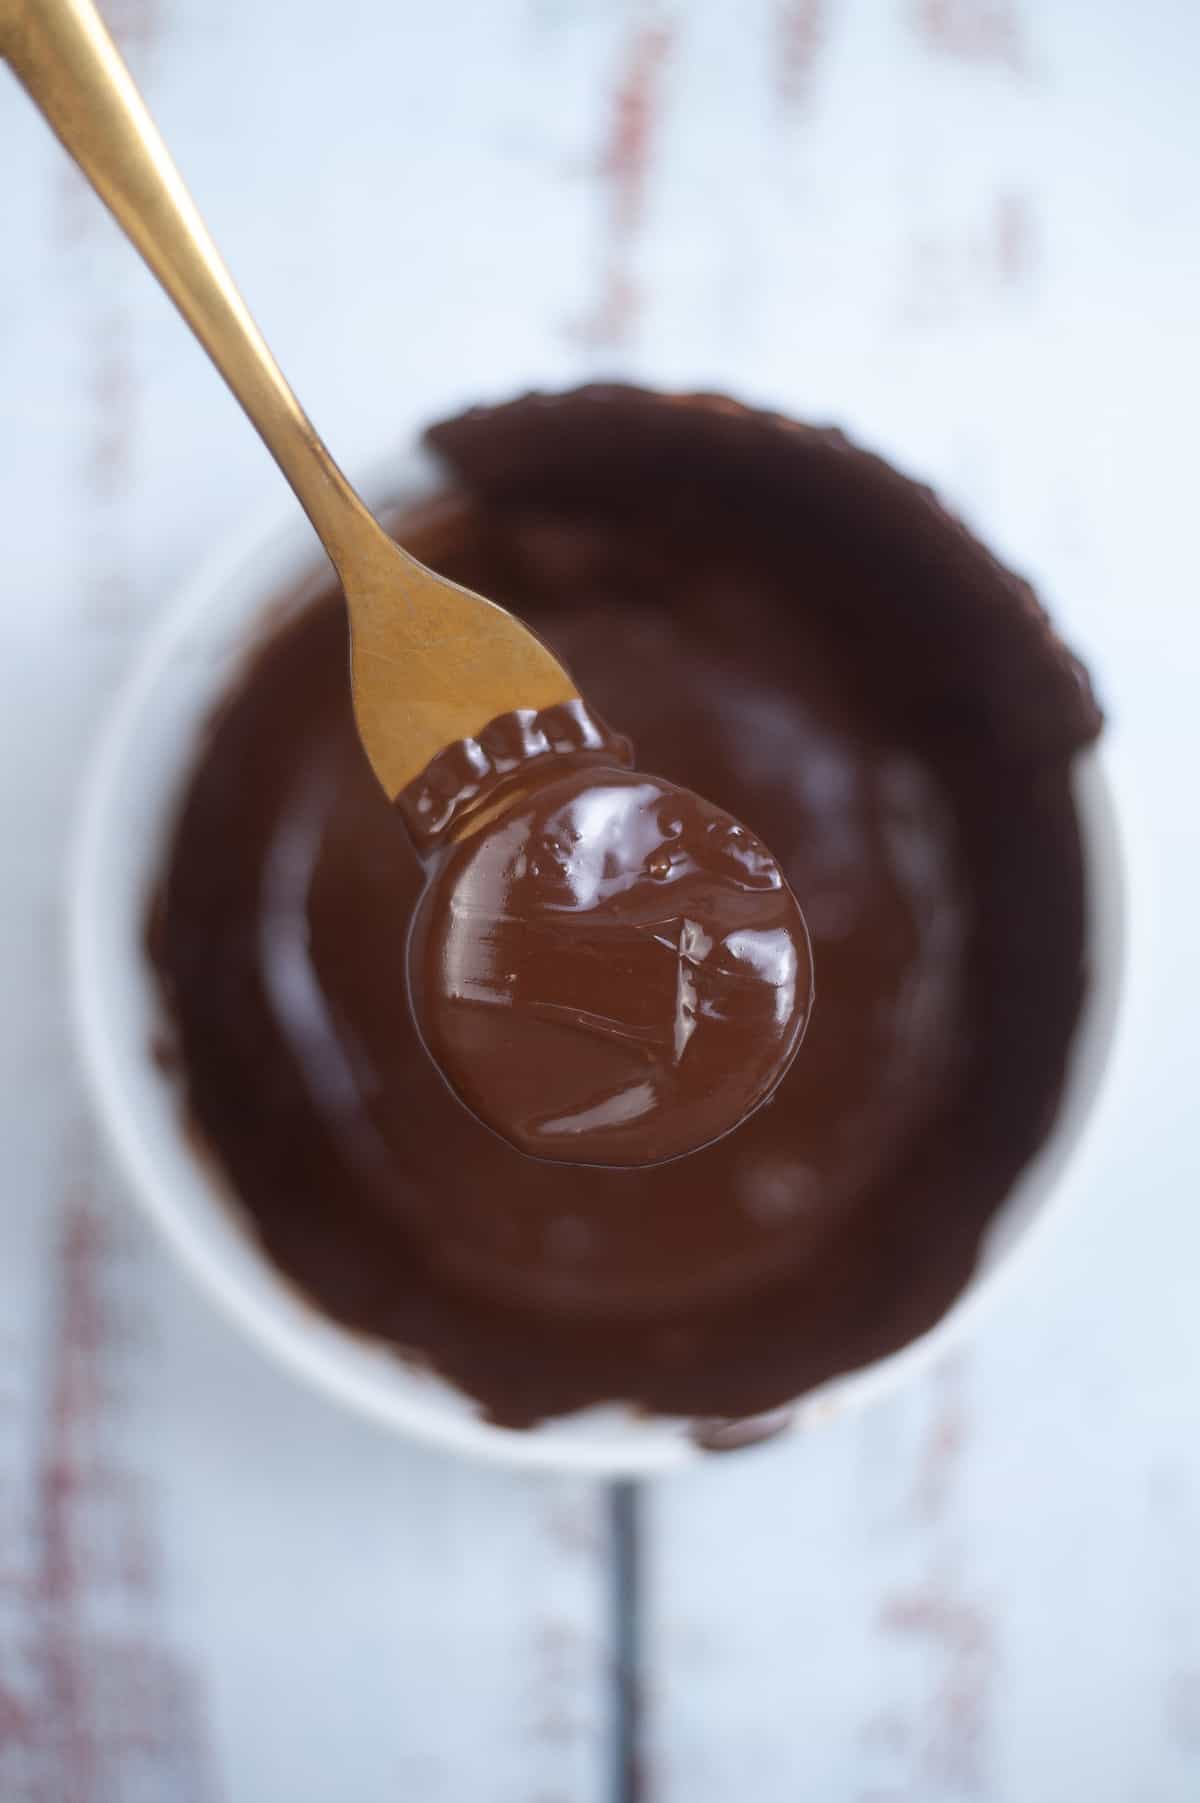
- Once the cookies have cooled, add chocolate chips to a medium-size microwave-safe bowl. Microwave at 30-second intervals until fully melted, stirring thoroughly at the end of each interval.
- Add peppermint extract and vegetable oil to the melted chocolate and mix well.
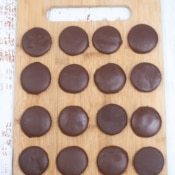
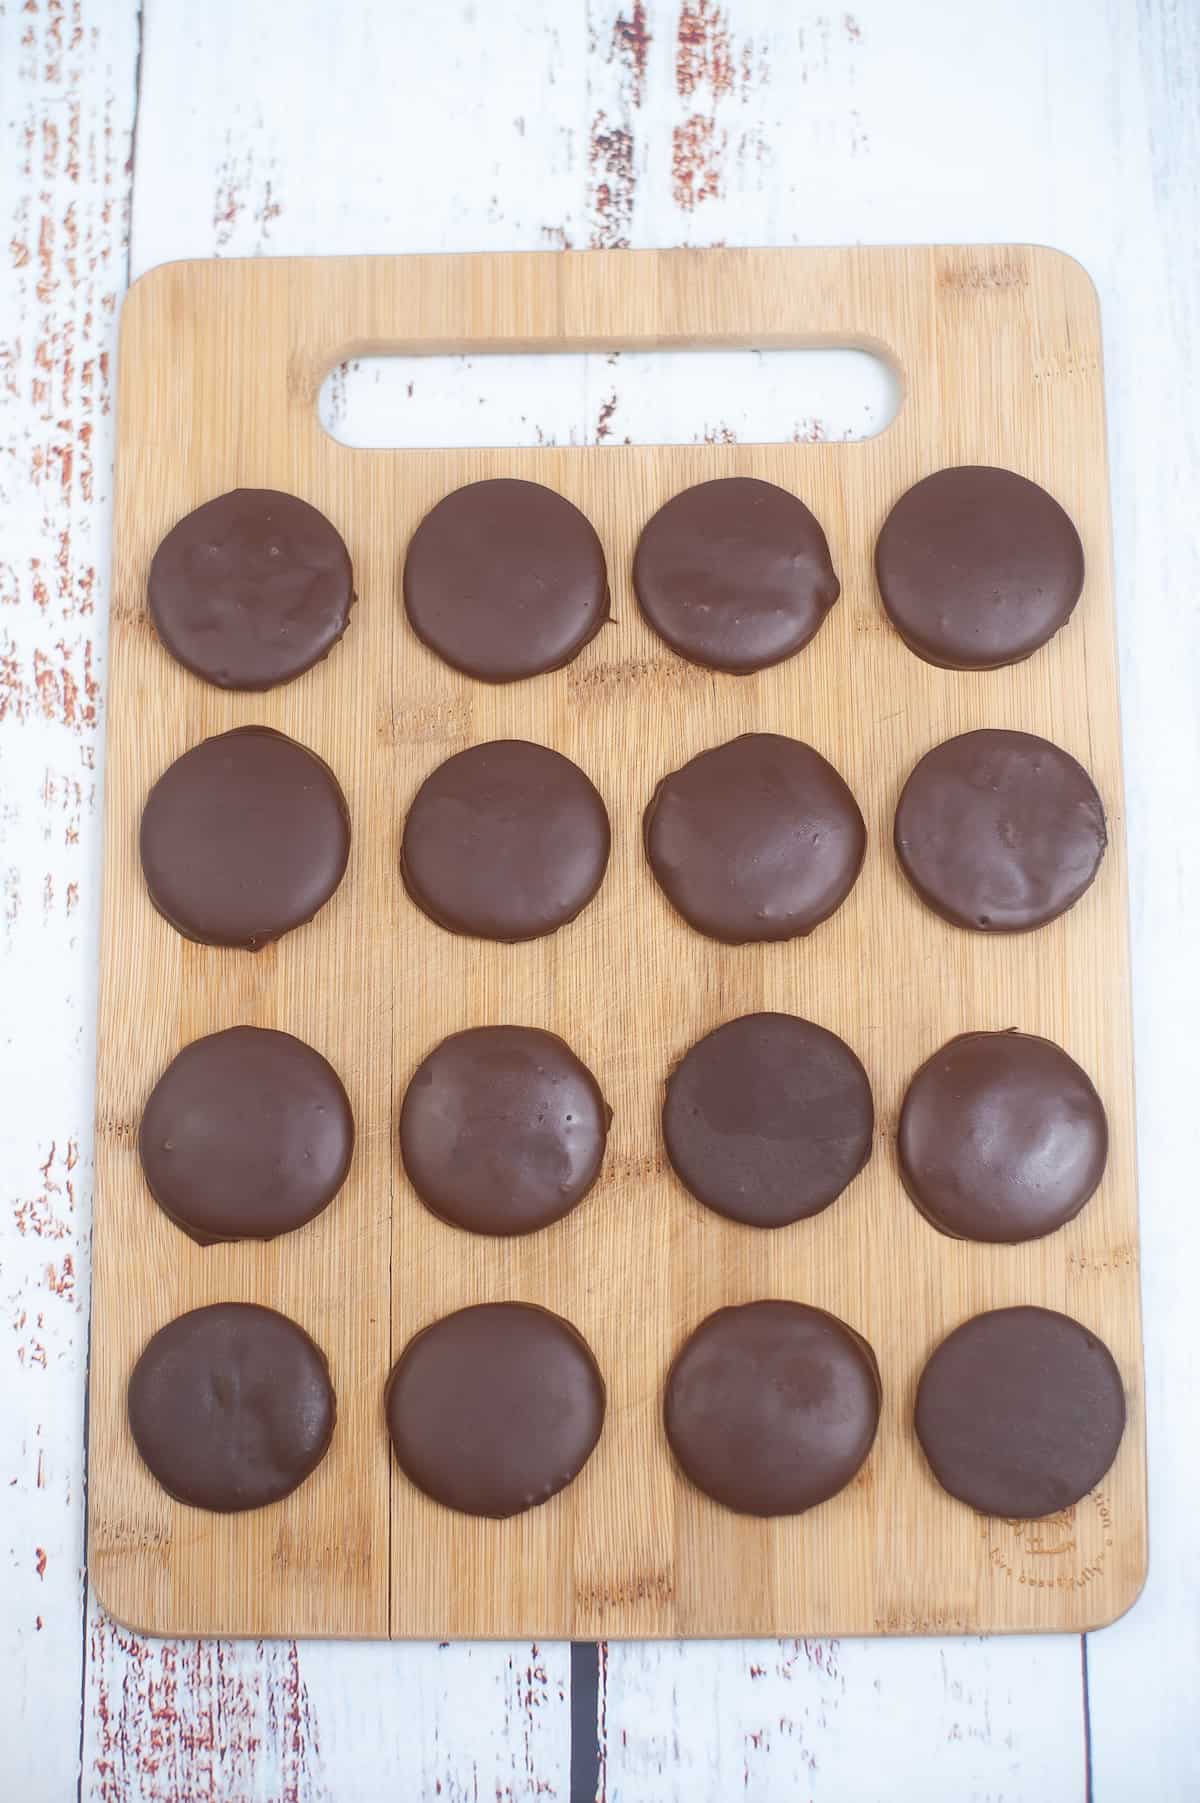
- Dipping the cooled cookies into the melted chocolate, remove any excess chocolate on the edge of the bowl. Transfer the coated cookies to a clean piece of parchment paper to harden and cool.

Tips for the best homemade Thin Mints
Cream the butter and sugar very well. This means that you'll beat them until the mixture is very light and fluffy. It needs to have a lot of air in it for the dough to have the correct consistency.
Some people prefer the flavor of pure mint extract in their cookies. Peppermint extract is the flavor of the classic Thin Mints, but pure mint is also really nice in this recipe. Different but nice.
You have to chill the dough before baking. This hardens the butter and prevents the cookies from spreading out too much while they bake.
The cookies cannot be warm when you coat them in chocolate. When they are warm, these cookies are fragile and will crumble easily. Wait until they are room temperature or, if you're in a hurry, refrigerate or even freeze them until they're cool.
Make sure you add the oil to the chocolate coating. If you don't, the chocolate will be too thick to dip the cookies into. Also, the oil gives the finished cookies a tiny bit of shine. If you don't add oil, the coating will harden with more of a matte finish.
Don't overheat your chocolate. It is easy to ruin chocolate when you're melting it in the microwave. Make sure you stir, stir, stir, stir after every heating interval. Chocolate chips hold their shape even after they're melted, so you have to stir really well in order to make the chocolate mixture smooth. If you overheat the chocolate, it will turn grainy, gritty, or clumpy. If that happens, it is ruined. There's no way to save it. You'll have to throw it out and start over.
The best way to dunk the cookies into the chocolate coating is on a fork (as pictured). Don't pierce the cookie though; just lay it on top of the fork. Let the excess chocolate drip off the cookie through the tines.
How to store homemade Thin Mints
You can keep the unbaked dough in the refrigerator up to 2 days. 2 hours is the minimum.
You can store the cookies (after they're baked) at room temperature in an airtight container for a week or so or 2 weeks in an airtight container in the refrigerator.
A lot of people love their Thin Mints straight out of the freezer. You can store the baked cookies in the freezer in an airtight container for up to 6 months.
You can also store the unbaked Thin Mint dough in the freezer. Wrap it tightly in plastic wrap, drop the wrapped dough into a zippered freezer bag, and store it for up to 3 months. To bake, allow to defrost in the refrigerator overnight, then warm for an hour at room temperature. Then you can roll and bake as directed.
More delicious mint recipes
- No Churn Mint Chocolate Chip Ice Cream
- Homemade Shamrock Shake Recipe
- Homemade Chocolate Peppermint Cheesecake
- Peppermint Hot Chocolate
Recipe
Homemade Thin Mints Girl Scout Cookies
Equipment
- Sifter or strainer
Ingredients
Chocolate Mint Cookie Dough
- ¾ cup butter unsalted, room temperature
- 1 cup sugar
- 1 large egg
- 1 teaspoon vanilla bean paste
- ¼ teaspoon Peppermint extract
- 1½ cups all-purpose flour
- ¾ cup cocoa powder
- 1 teaspoon baking powder
- ⅛ teaspoon salt
Chocolate Coating
- 14 ounces semi-sweet chocolate chips
- 1 tablespoons vegetable oil
- ½ teaspoon Peppermint extract
Instructions
For the chocolate mint cookies
- Preheat the oven to 350°F.
- In a large bowl, beat the room temperature butter and sugar together with an electric mixer until they mixture is creamy and light. You can't beat it too much.
- Add the egg, vanilla extract, and peppermint extract and beat until combined.
- In a separate large bowl, sift together the flour, cocoa powder, baking powder, and salt. Whisk together to fully combine.
- Add the flour and cocoa powder mixture to the wet ingredients, a little at a time, beating with the mixer until well blended.
- Cover a large flat surface with a sheet of parchment paper. Divide the cookie dough in half and place half on the parchment paper.
- Place another piece of parchment paper on top of the dough and roll it out until it's ¼-inch thin. Repeat with the other half of the dough.
- Keeping the rolled dough between the sheets of parchment, refrigerate for at least two hours.
- After the dough has chilled, remove one half at a time and use a 2-inch round cookie cutter to cut 28 circles from each half, re-rolling the scraps as necessary to use all the dough. As you cut the cookies, transfer them to a cookie sheet lined with parchment paper. Because the cookies are so small, and they don't expand much in the oven, you can place them close together on the cookie sheet. Give each cookie just a little bit of room to expand.
- Bake each sheet of cookies at 350ºF for eight minutes or until fully cooked.
- Remove cookies from the oven, allow to cool on the sheet for 5 minutes, then transfer to a cooling rack and fully cool to room temperature.
For the chocolate mint coating
- Once the cookies have cooled completely, add chocolate chips to a medium-size microwave-safe bowl. Microwave at 30-second intervals until fully melted, stirring thoroughly at the end of each interval.
- Add peppermint extract and vegetable oil to the melted chocolate and mix well.
- Fully submerge the cooled cookies into the melted chocolate. Transfer the coated cookies to a clean piece of parchment paper to harden and cool.


Louise says
It says to bake for 8 min to dine. But what does done mean? At 8 min mine are still super soft even when cooled. I’m doing the next batch for 11 minutes and that seems a little closer to what it should be.
Tara Gerner says
Every oven is different, so you may need to cook them longer. They should be firm when cooled.
Diana says
Is vanilla paste necessary or would extract work? I noticed in description it states vanilla extract
Tara Gerner says
I prefer paste but extract will work just fine.
Anonymous says
Really tasty! Flavor is on point. The only thing is they weren't as crisp as Girl Scout Thin Mints. Still very good!! Probably the best recipe out there that I've seen so far.