Welcome to pine cone craft day on Feels Like Home! What a silly thing to have a day for, but I knew I wanted to share a whole bunch of pine cone crafts and, to avoid flooding my dear readers' inboxes day after day with pine cone craft posts, I decided to try to post them all at once, within an hour, so that only one email would go out to readers containing all the crafts at once.
These cute pine cone Christmas trees are the first of five quick little crafty projects that can be completed by kids or adults. This one in particular is probably better for kids than adults, but there's no reason that adults couldn't whip a bunch of them up to use as decorations on wrapped gifts or gift bags. I think that would be awesome.
Some of the supplies for this craft were provided by CraftProjectIdeas.com.
Easy Pine Cone Christmas Tree Ornament Craft for Kids
Materials
- Pine cones
- Dark green spray paint - This is the exact one that I used. Alternately, you could get some dark green acrylic paint and use a brush, but the spray paint made it go so quickly that I would highly recommend that method.
- Green friendship thread or embroidery floss
- Hot glue or craft glue
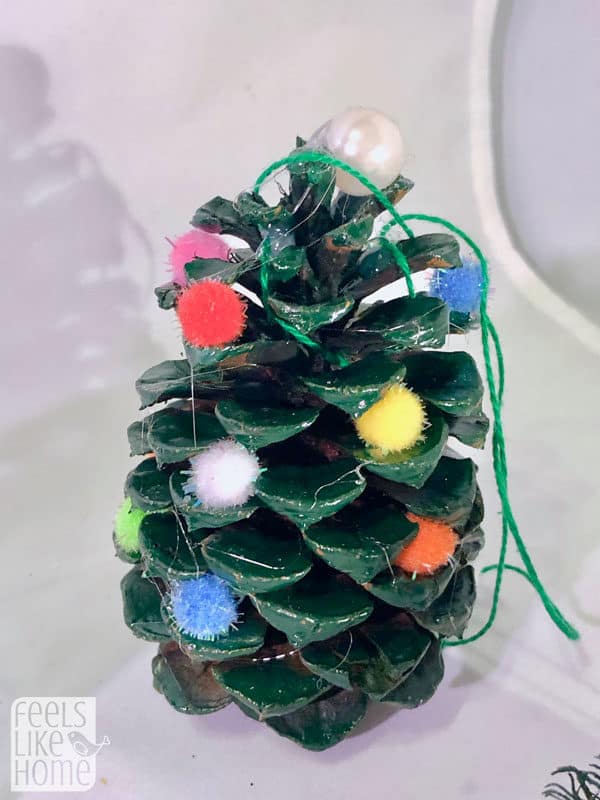
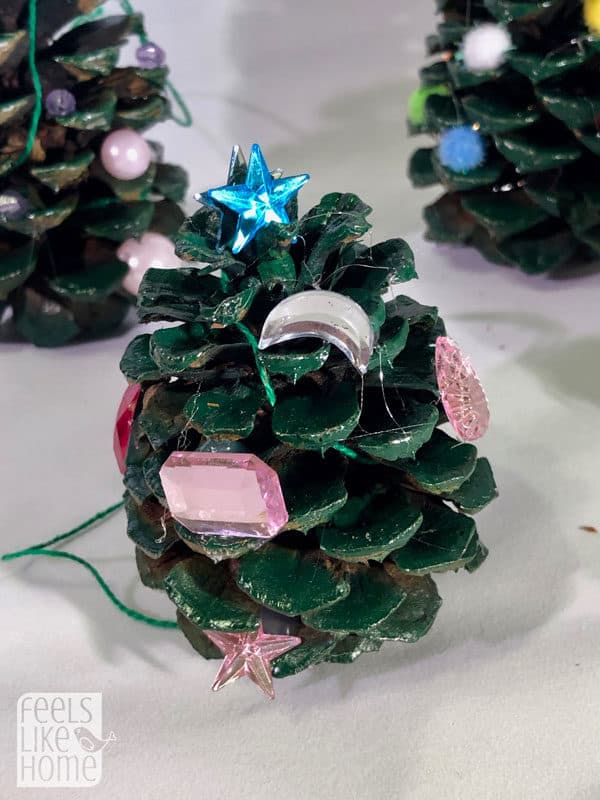
- Various embellishments - We used mini sparkle pompoms, beads, and assorted jewels as well as glittered foam star stickers.
Instructions
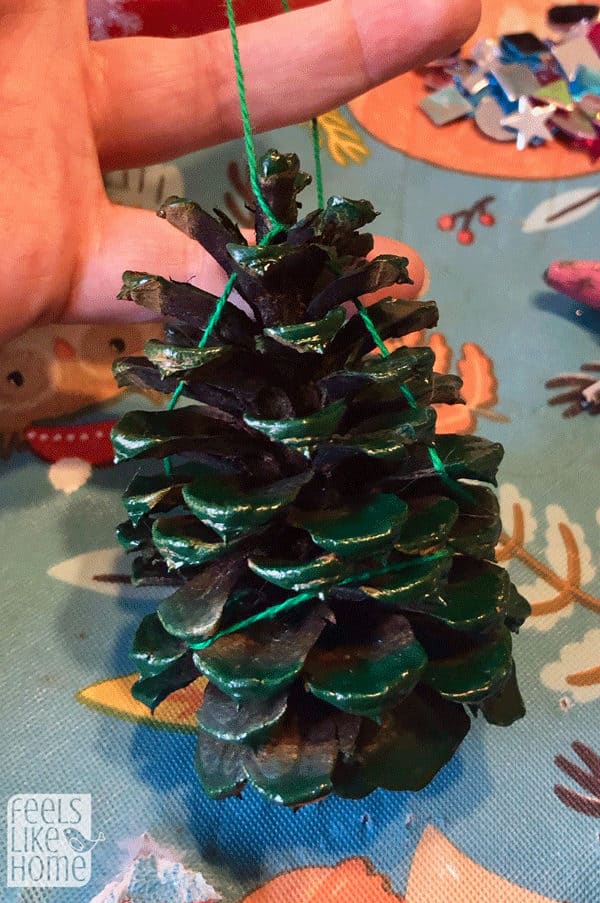
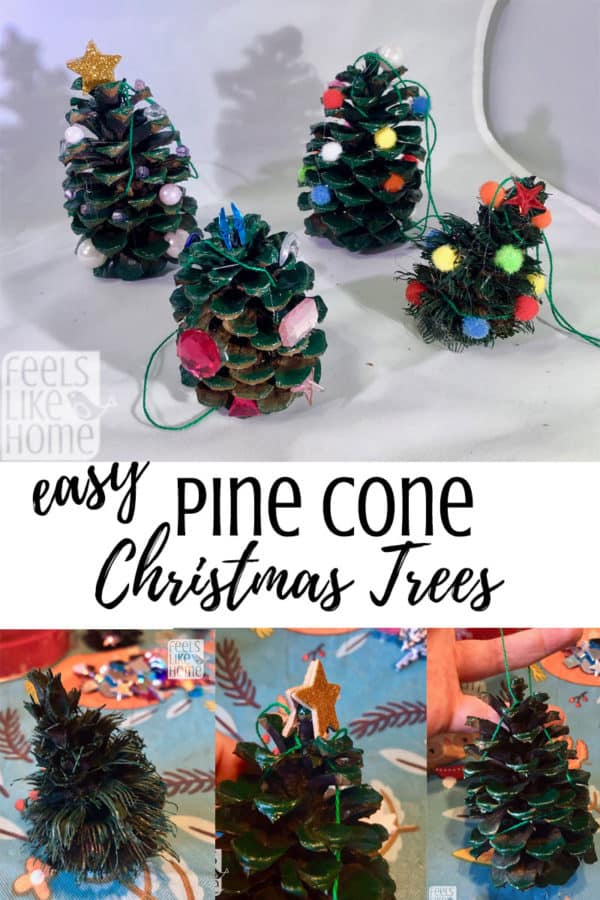
- To start, select pine cones and paint them dark green. As I mentioned above, I put all of my selected pine cones into a cardboard box and spray painted them from above and from the sides, fully coating the top and sides deep into the crevices of the scales. As you can see below, I didn't paint 100% of all the surfaces, and I didn't even worry about the bottoms of the scales, but I don't think this matters even one little bit.
- Next, cut a length of friendship thread that's about four times the length of the pine cone. Wrap the thread around the pine cone near the fat bottom, taking care to tuck the thread in among the scales as much as possible. Wrap the thread around the pine cone and up to the top, where you should wrap it around again and tie a shoelaces type knot, just one. It doesn't need to hold anything except the string itself. If you don't do this, the finished tree won't hang straight. Perhaps there's a better way to get it to hang straight, but this method works and is very simple, so I went with it.
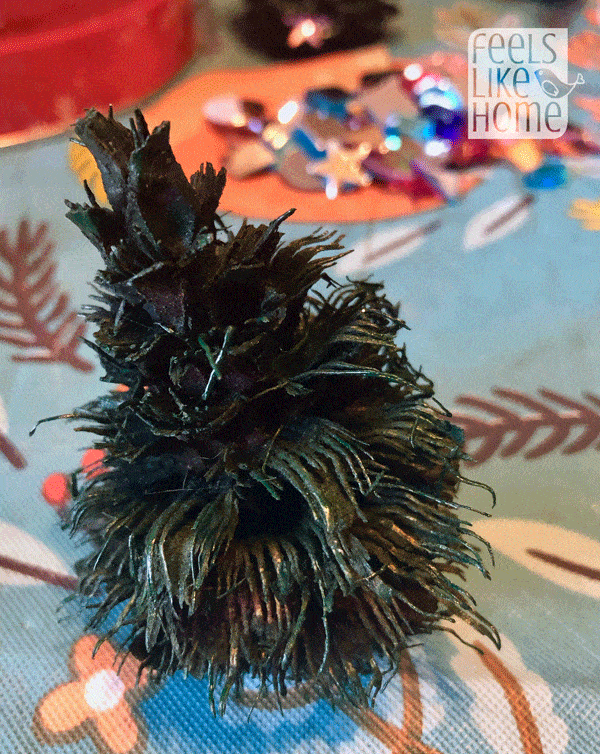
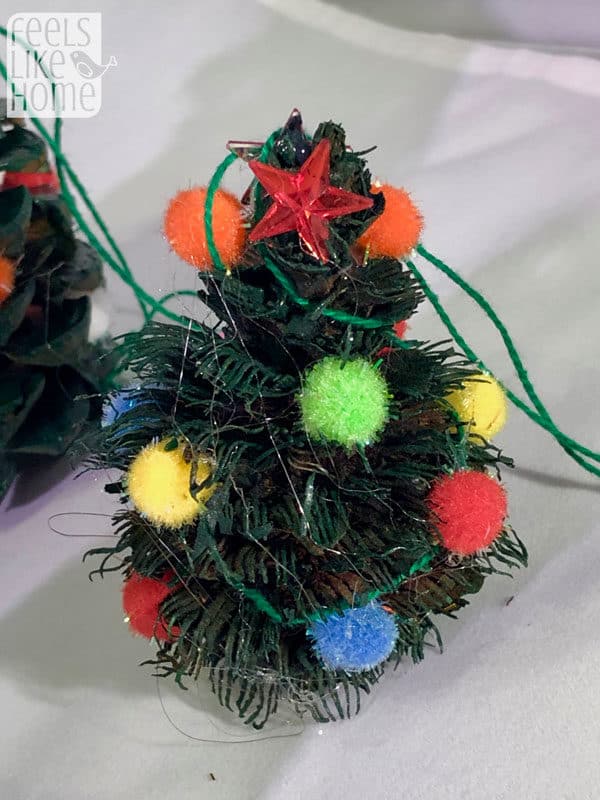
So this next little pine cone is very special. When I took the pine cones I bought out of the bags, there was one that was missing nearly all its scales. All that was left behind were these short little fringe structures that normally hold the scales in place.
When I saw these fringes, I knew that a pine cone covered in them would look just like a real tree, and I set to work peeling off the rest of the scales, leaving only fringes behind. It took quite a while, maybe fifteen minutes or so, but I successfully got all the scales off, allowing me to paint the fringy tree remnants and use it as I used the intact pine cones.
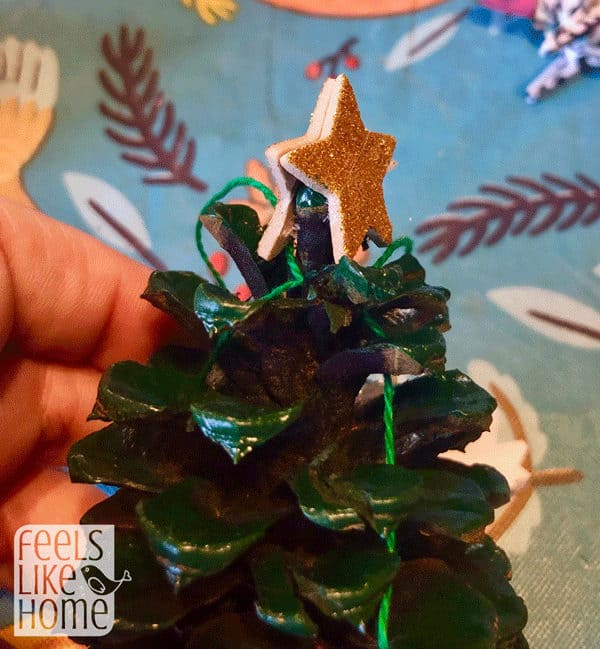
3. Attach a star or topper to the top of each pine cone. I personally like stars, so on the trees I made, I used glitter star stickers and star-shaped jewels. Grace used a big pearl bead on hers which I thought was interesting.
Whatever you decide to use as a topper should be glued in place, even if it has a sticker backing. The star below is a sticker, but given that the pine cone is not a flat, uniform surface, I don't trust the sticker's adhesive to keep the star attached permanently. Do yourself a favor and use some glue.
4. Using the embellishment of your choice, decorate your Christmas trees. I paid special attention to areas where the string showed, gluing embellishments overtop of the string to cover and hide it a little.
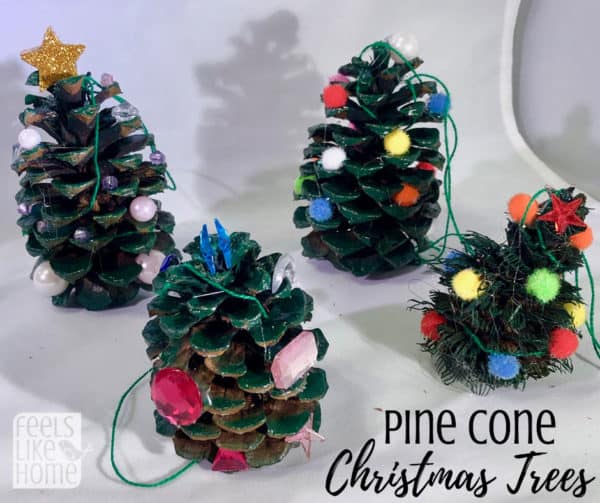
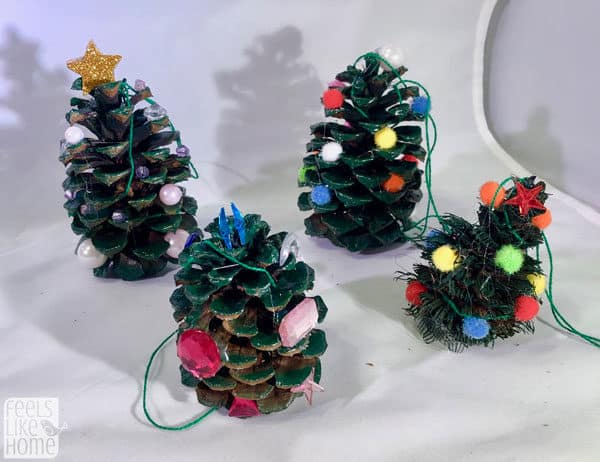
My 11-year-old made most of the trees below using our hot glue gun, hence the glue strings all over. I don't ever fix or rework her projects; what you see is exactly what she made.
I think these little pine cone Christmas trees are super cute, and as you can see above, they are super easy for kids as young as preschoolers.
If you're up for the mess, allow kids to paint the pine cones with acrylic or even washable paint, wait for the paint to dry, and then glue the embellishments on. Older kids can use hot glue (as it is a lot more convenient), but you'll probably want to stick to craft glue for younger ones. It's less convenient but a lot safer for small fingers.
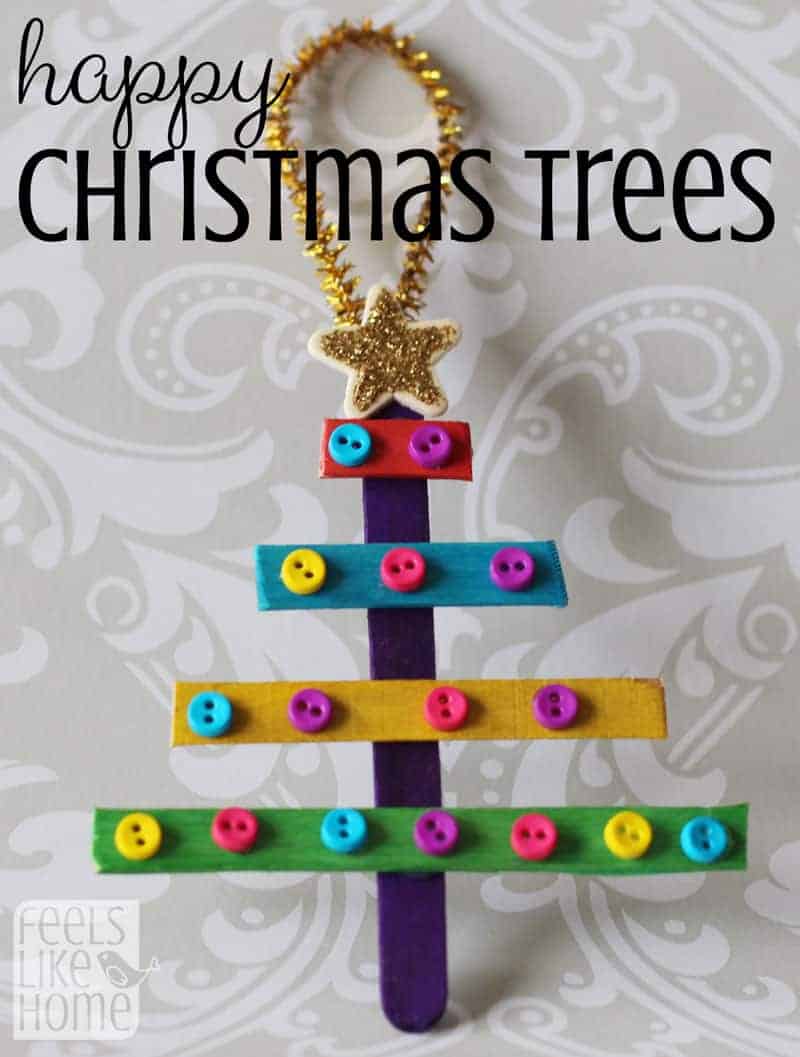
Be sure to check out the other 4 simple and easy Christmas pine cone craft projects that I shared today!




NRMR says
Thanks for this craft! 9 y o and I enjoyed this. I got an assortment of plastic beads from the dollar store and had pinecones lying around at home. It worked well as a multi-day process with just a few minutes each evening. Day 1: Green acrylic. Day 2: Green glitter glue on top for shine. Day 3: Tying strings on. Days 4 and 5: Gluing on beads. Lovely ornaments to share with family and lots of fun.