


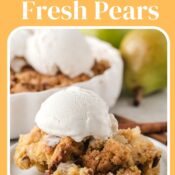

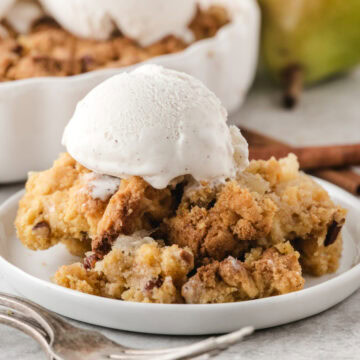
This pear crisp recipe, featuring fresh pears, is the easiest way to make your kitchen smell amazing! Juicy pears, a buttery, crunchy, cake mix topping, and zero fuss. It's cozy, simple, and perfect with a scoop of vanilla ice cream on top! Pin this recipe if you're looking for something that comes together quickly, is homemade, warm, and inviting!
Why is this the best pear crisp with fresh pears recipe
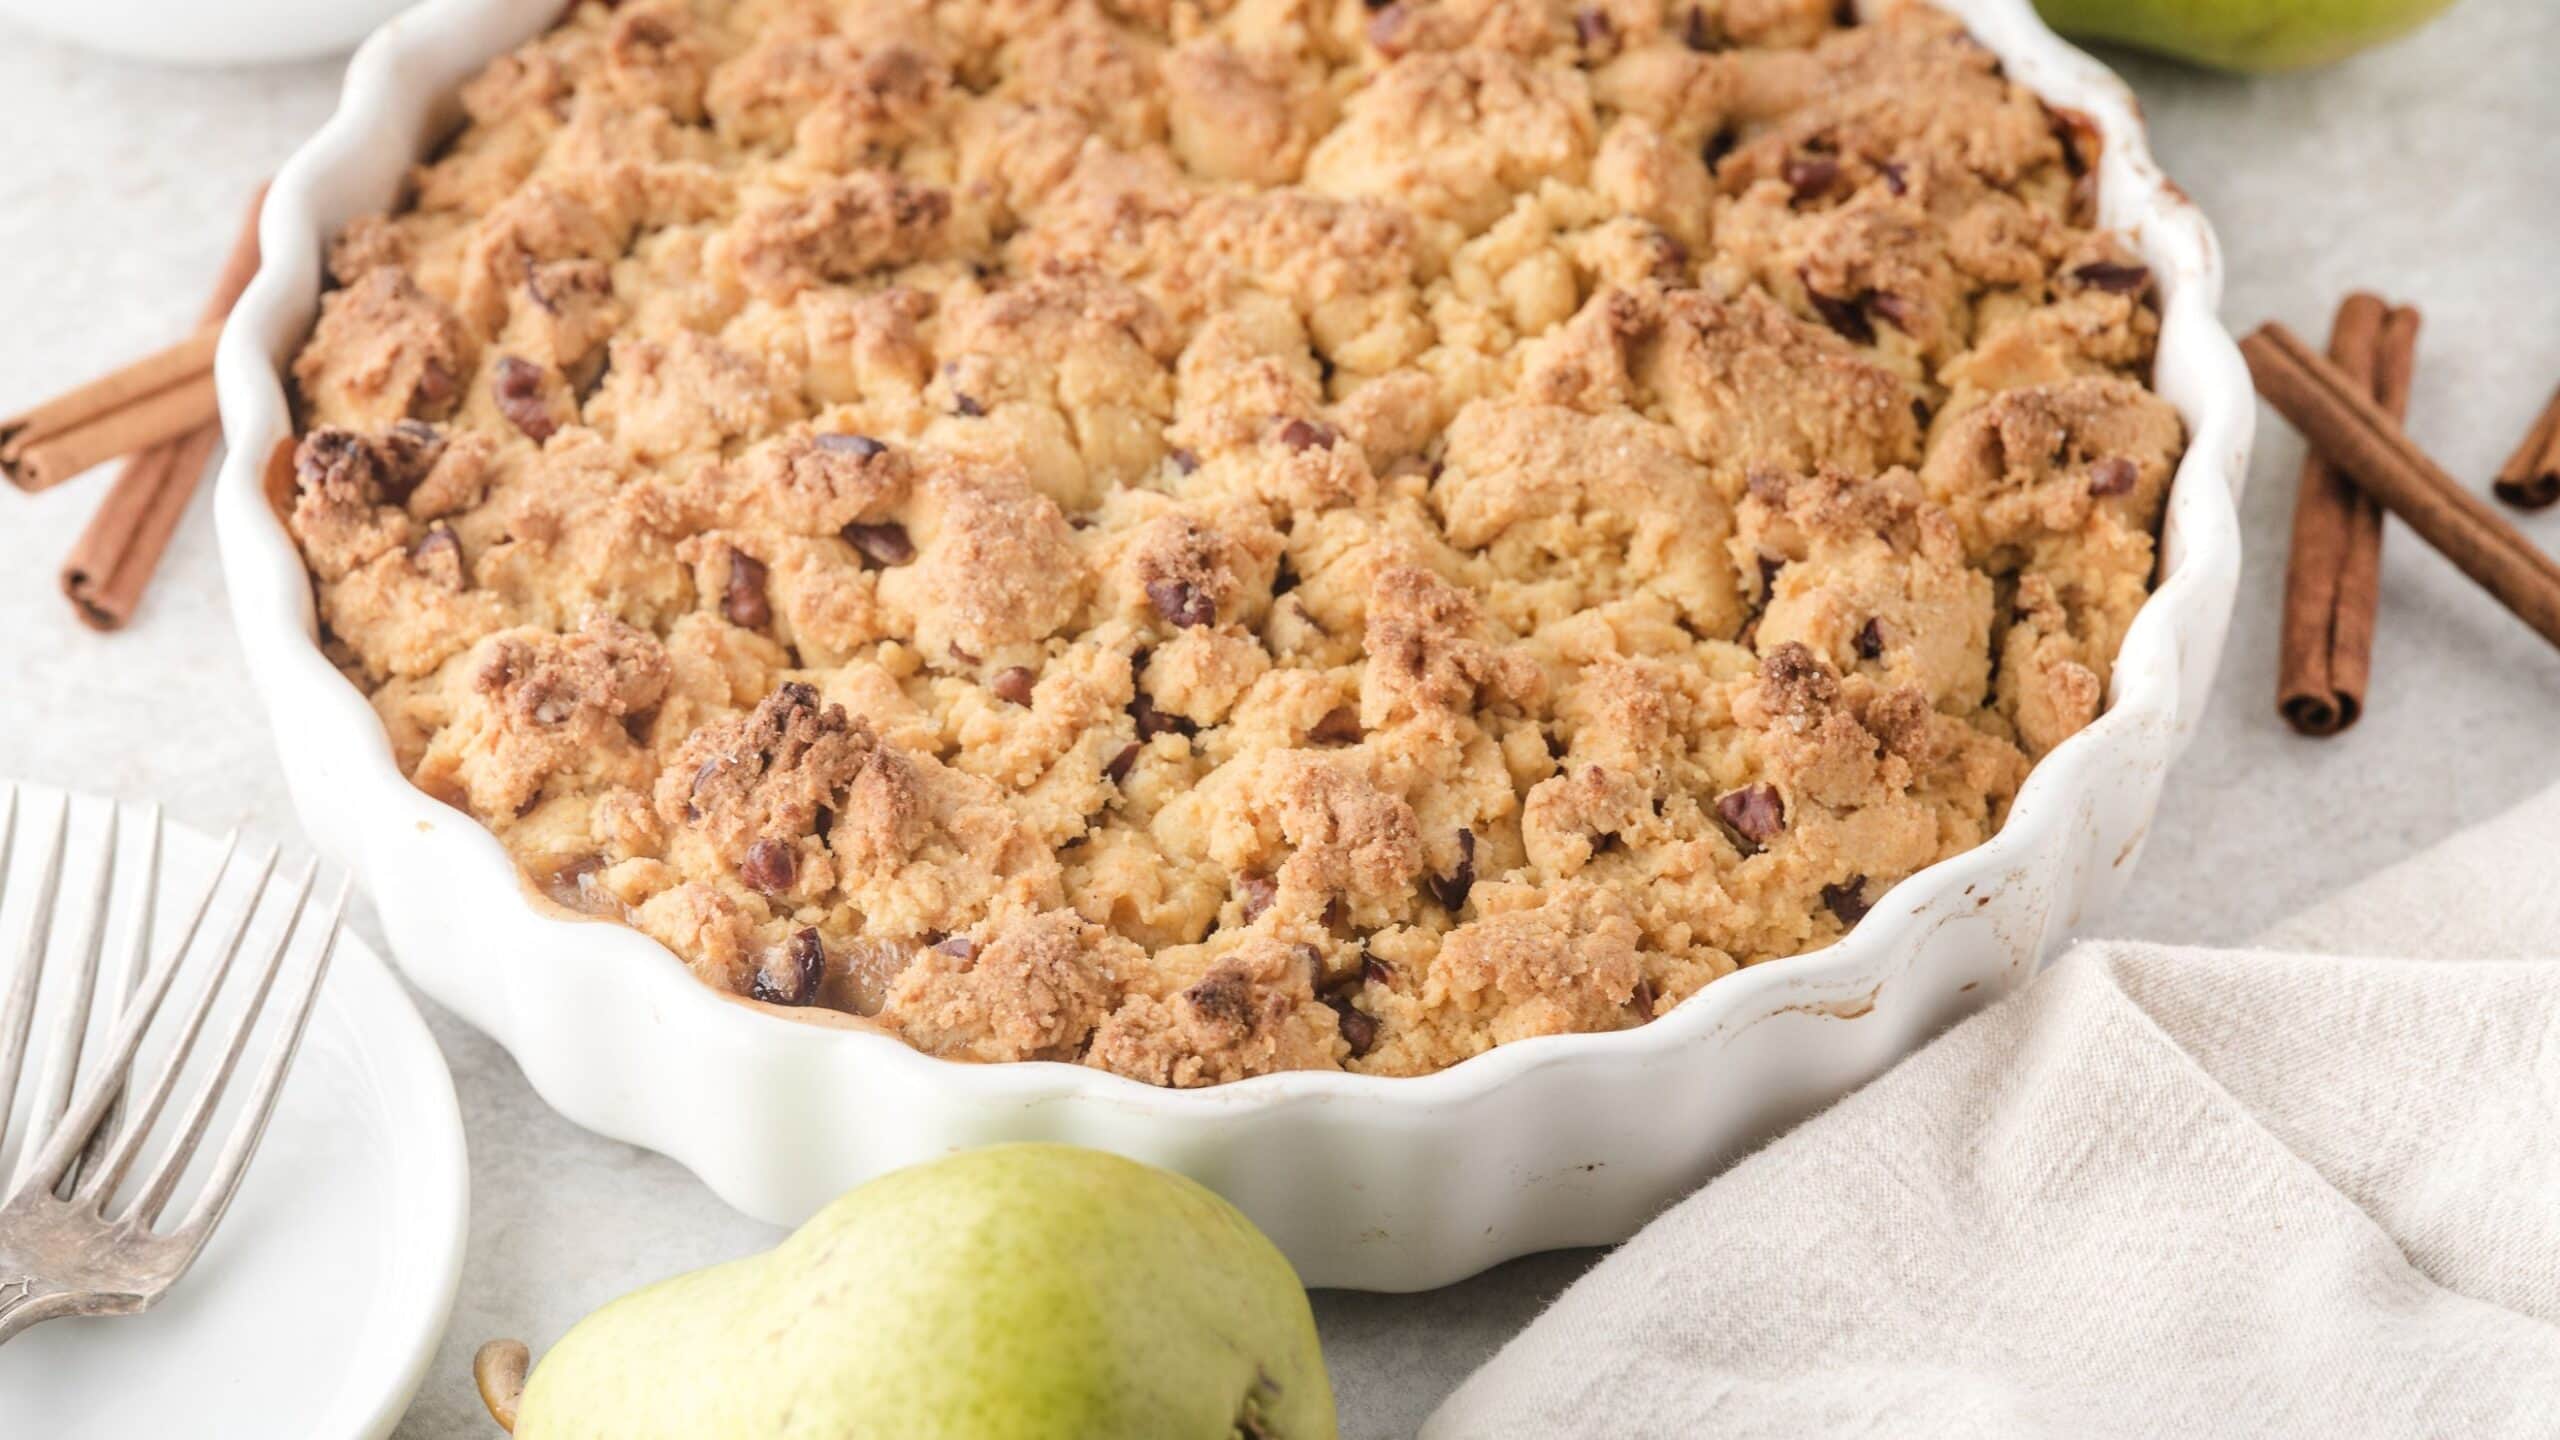
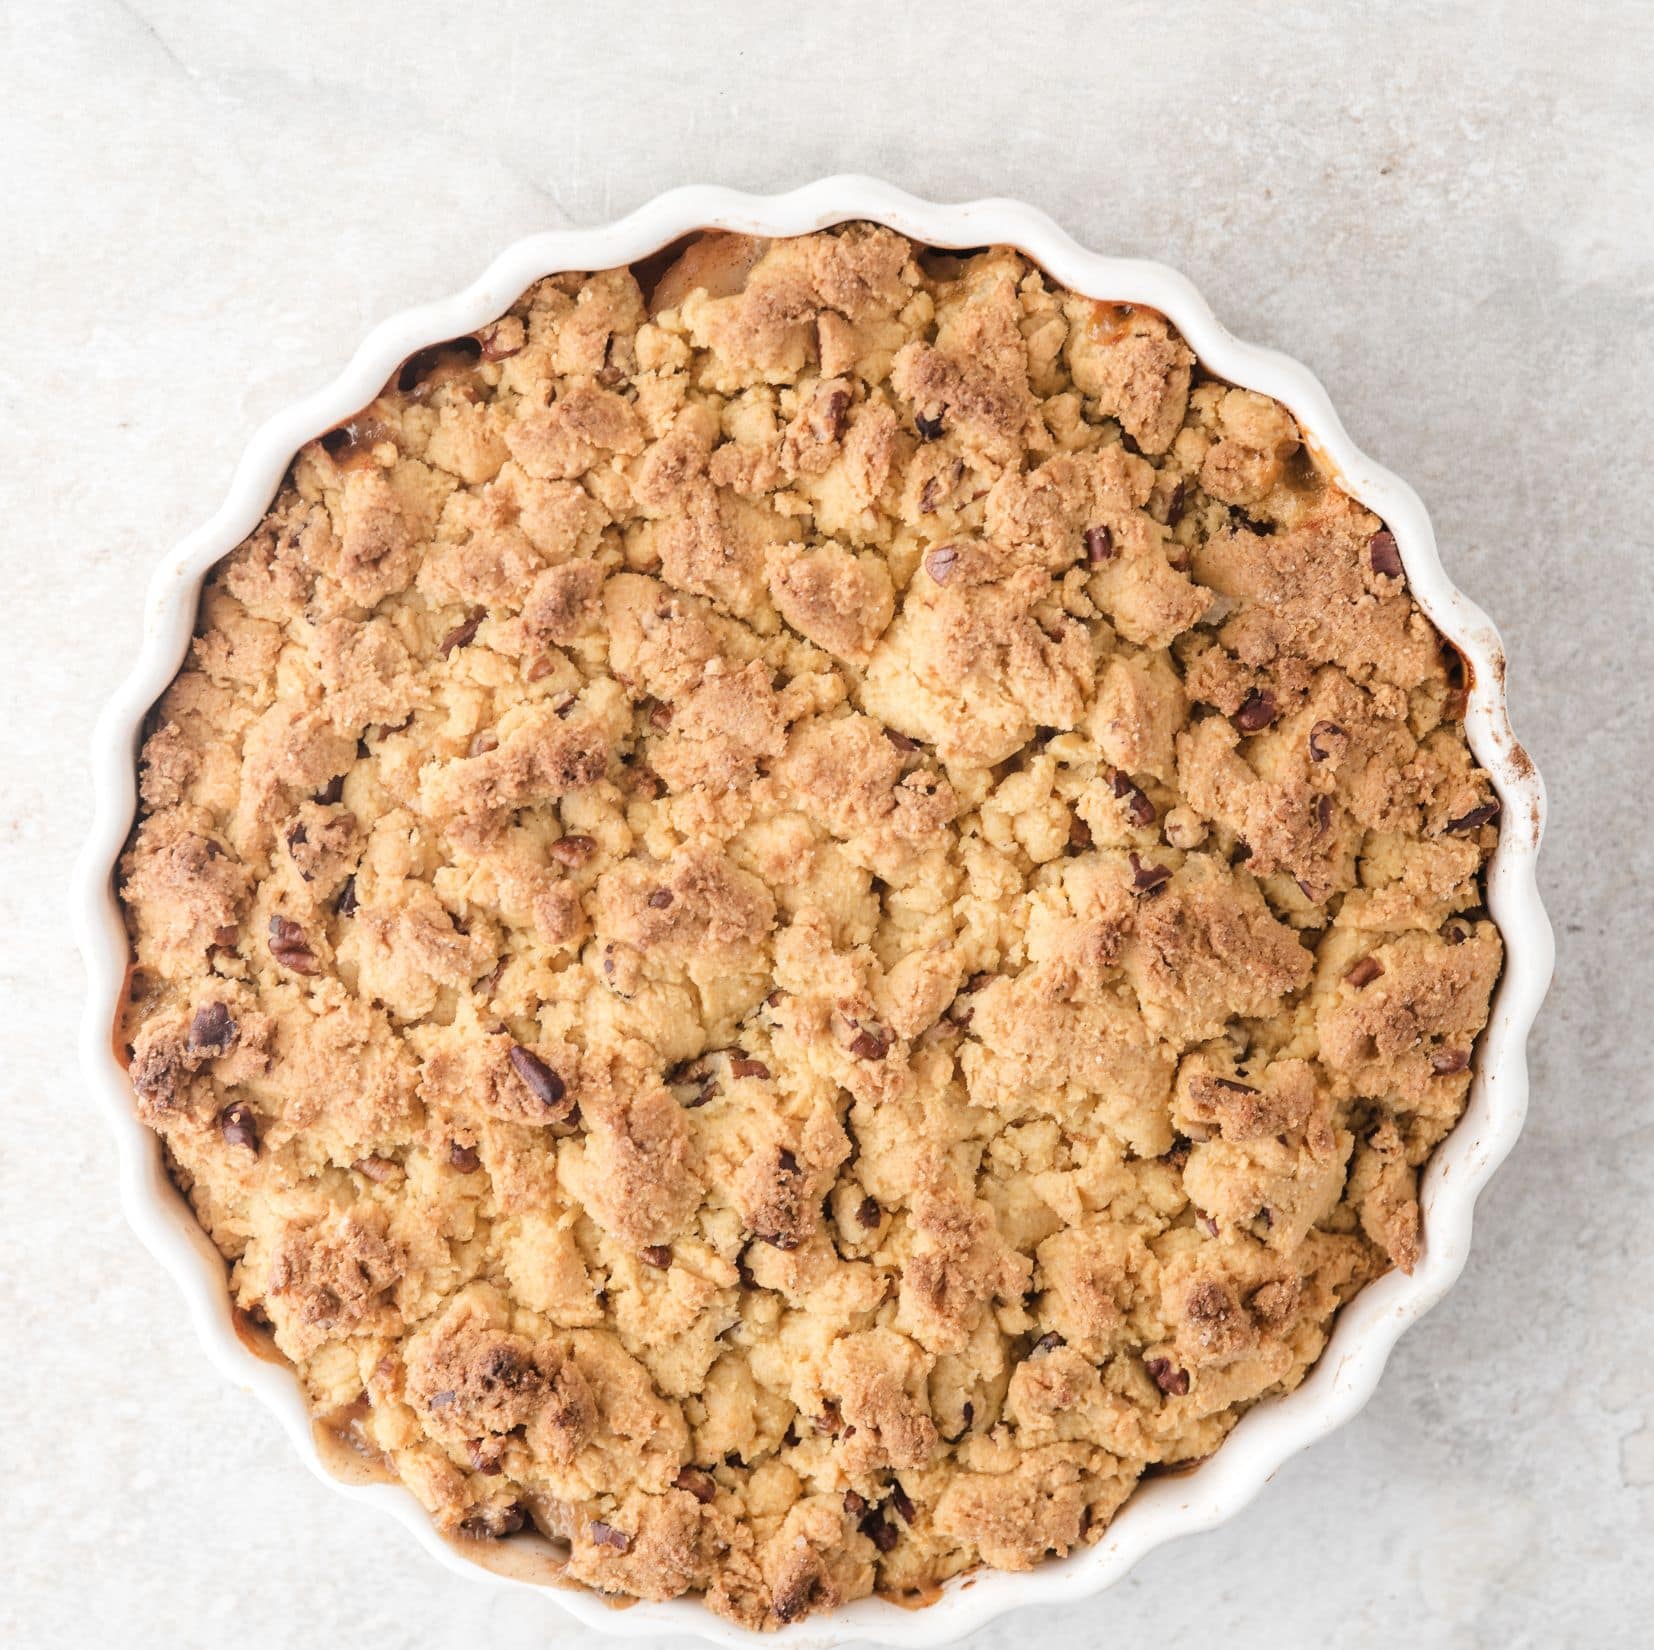
Healthy pear crisp with fresh pears is delicious! Warm, bubbling pears and cinnamon with a golden brown cake-like topping. It's the ultimate cozy dessert.
This is truly a simple pear crisp recipe. A few ingredients, straightforward steps, but it looks and tastes like you spent hours on it.
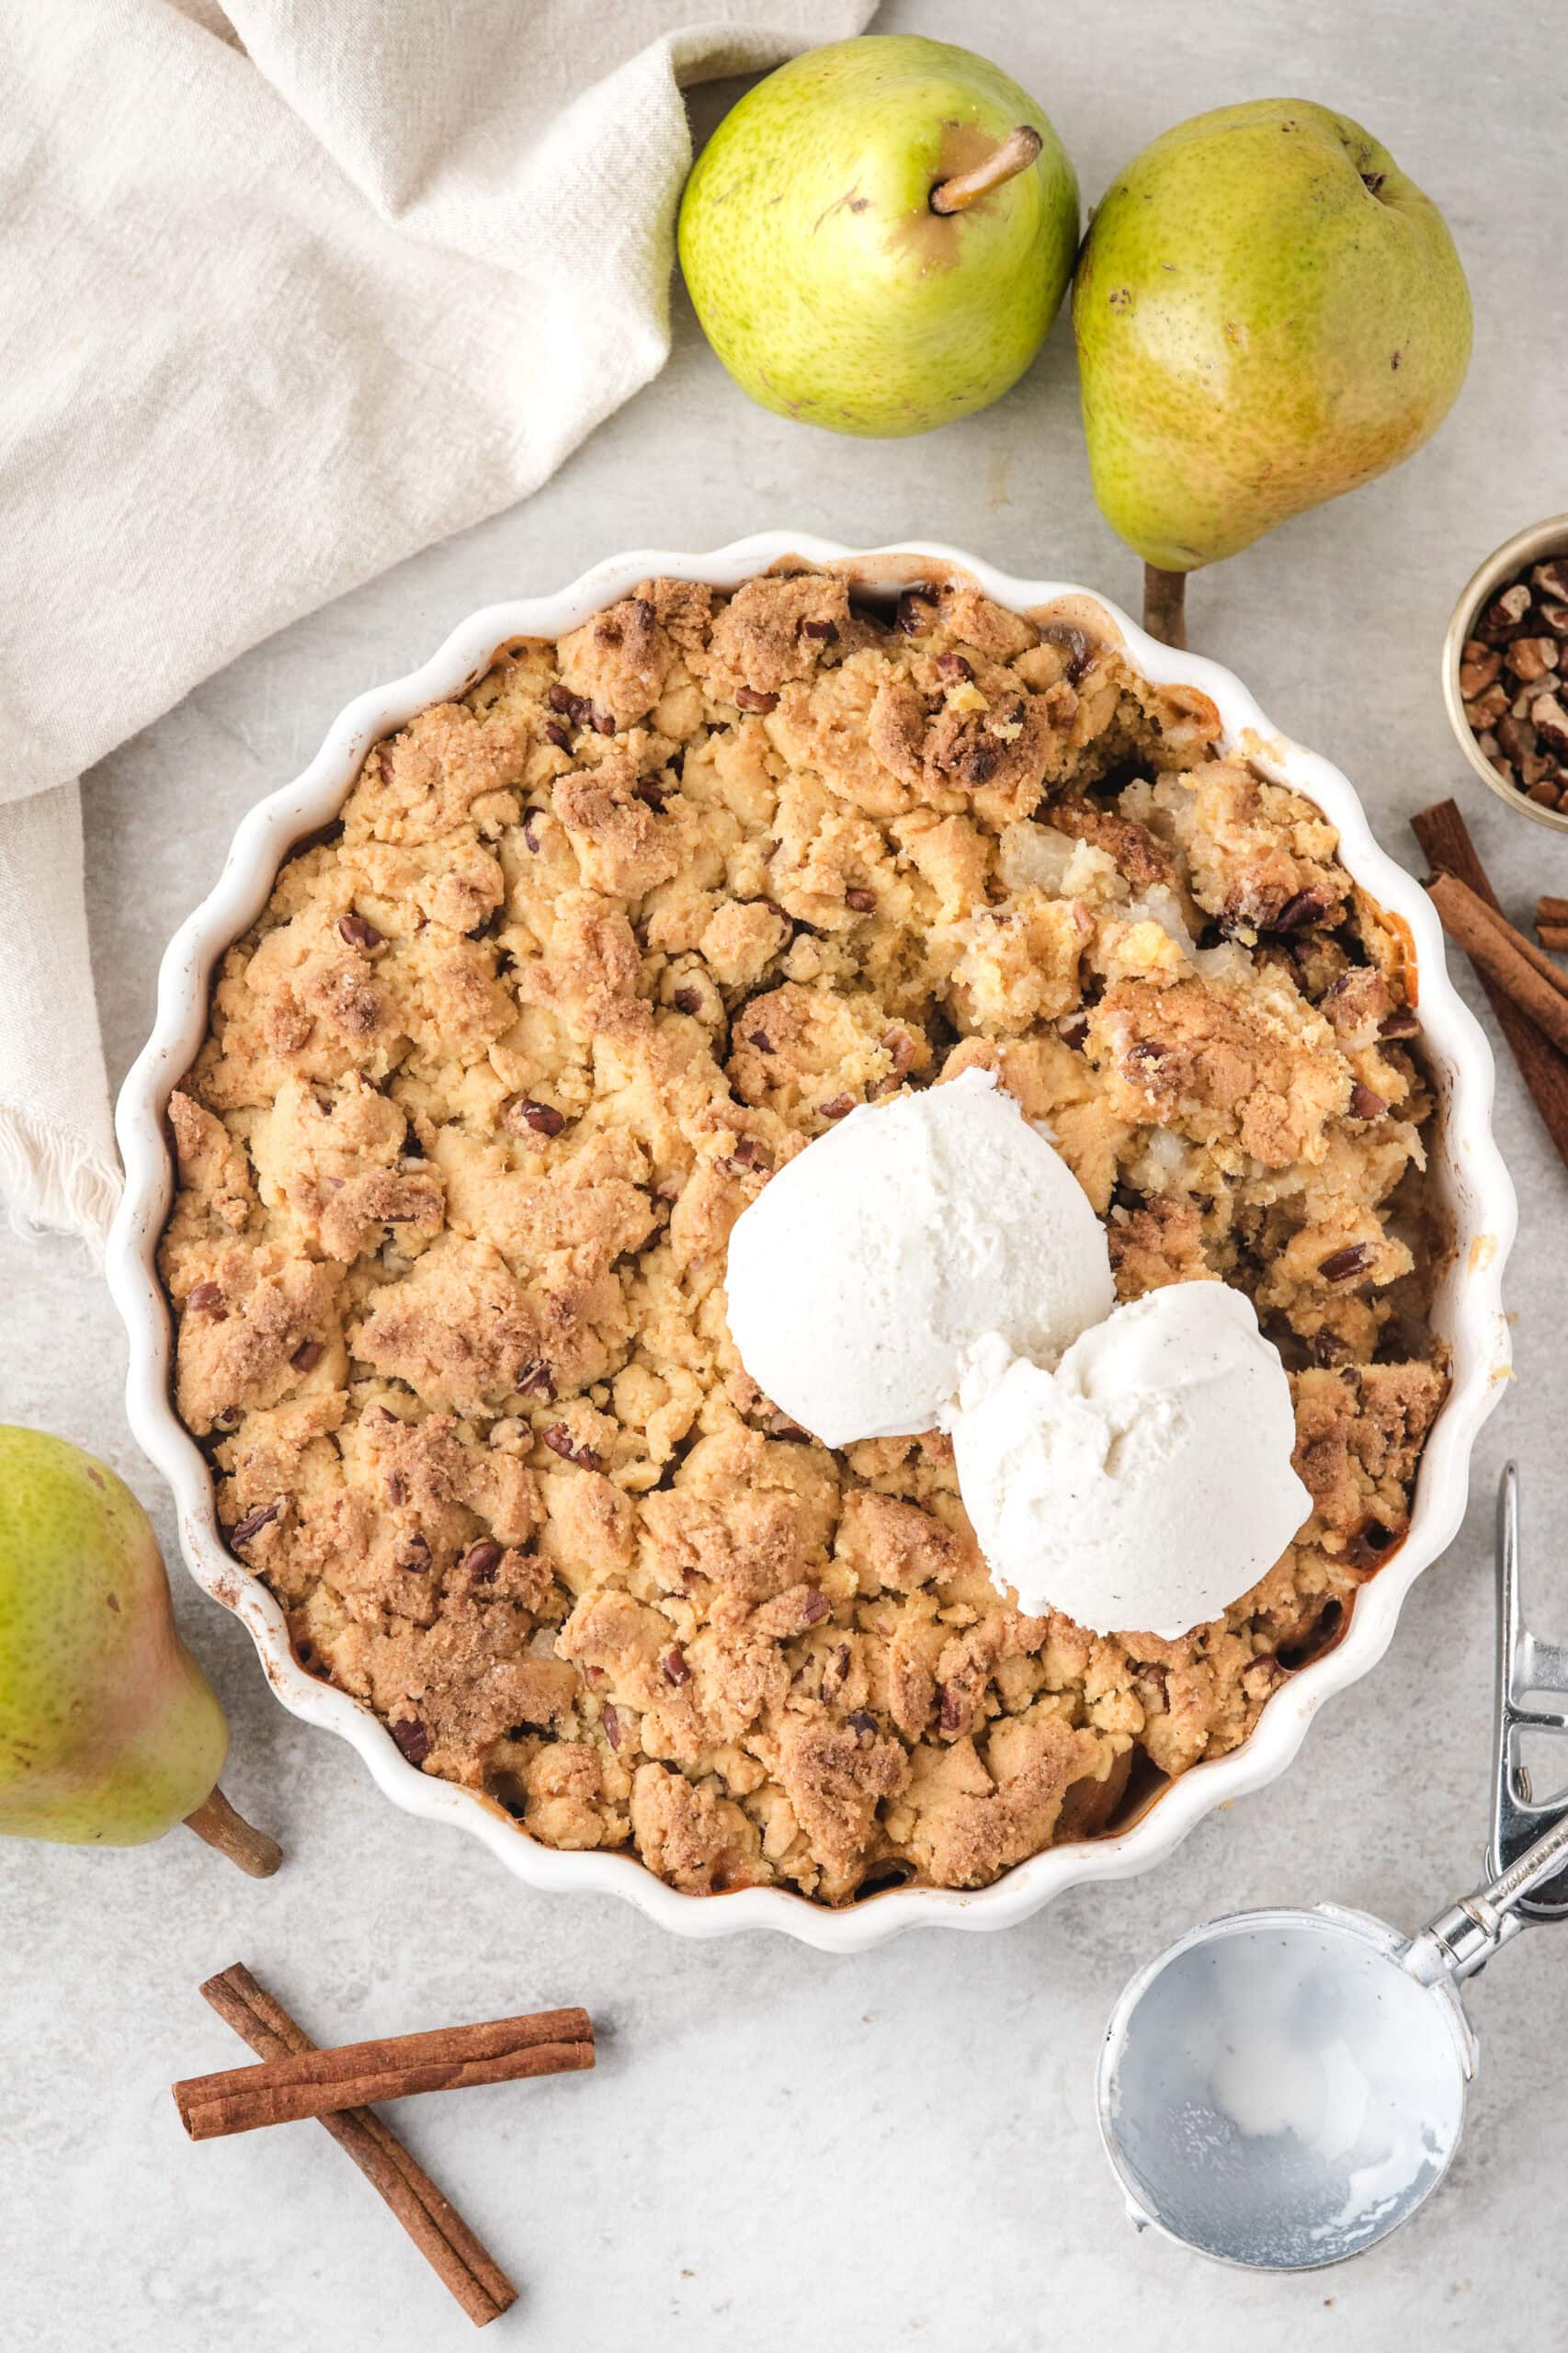
Warm pear crisp with cold vanilla ice cream = culinary magic. The contrast in temperature and texture is irresistible.
It's a crowd-pleaser, whether it is at a casual family dinner or a holiday gathering; people rarely say no to a healthy, fresh pear crisp.
Just like an old-fashioned pear crisp that Grandma used to make, this recipe features straightforward and honest ingredients. Made from scratch, the filling is topped with a mixture of melted butter, nuts, and a yellow cake mix. The slow, hands-on approach is what gives it heart and soul.

What you'll need to make this fresh pear crisp recipe
EQUIPMENT
- Vegetable peeler - a peeler removes just the skin, not the fruit flesh, so you don't waste any of the juicy pear. It can be tough to peel ripe pears because they get soft pretty quickly, and a paring knife can be tough to maneuver with the slick, juicy flesh. (I've tried it with and without the skins and vastly prefer to peel them).
- Apple wedger or a sharp knife - Or maybe both. You will want to cut the pears into uniform wedges or slices so they bake at the same rate.
INGREDIENTS
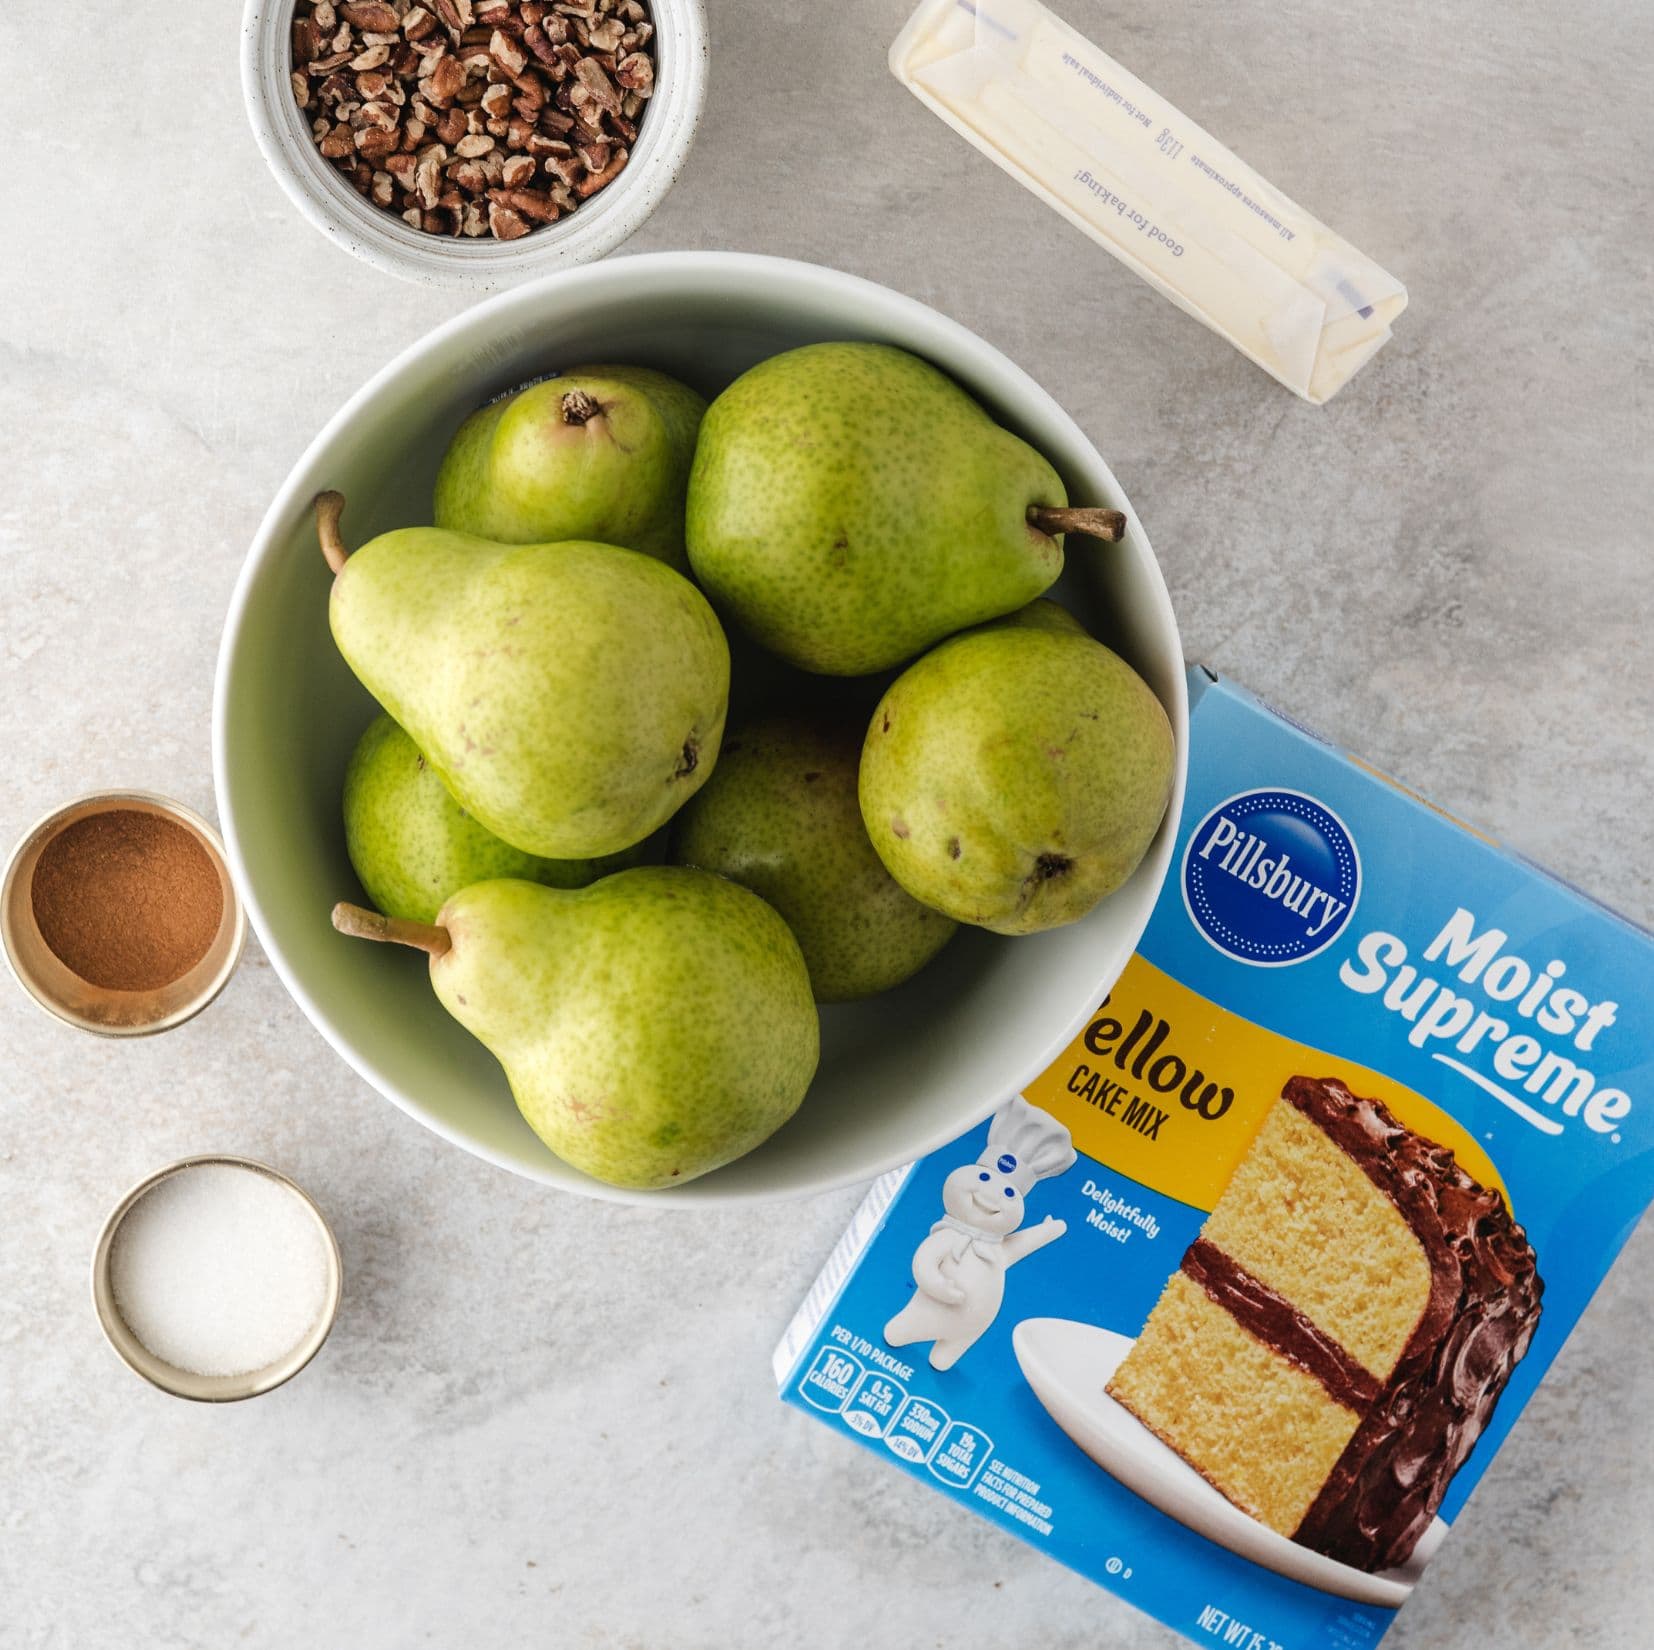
See printable recipe card at the bottom of the page for all measurements and more information.
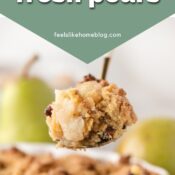
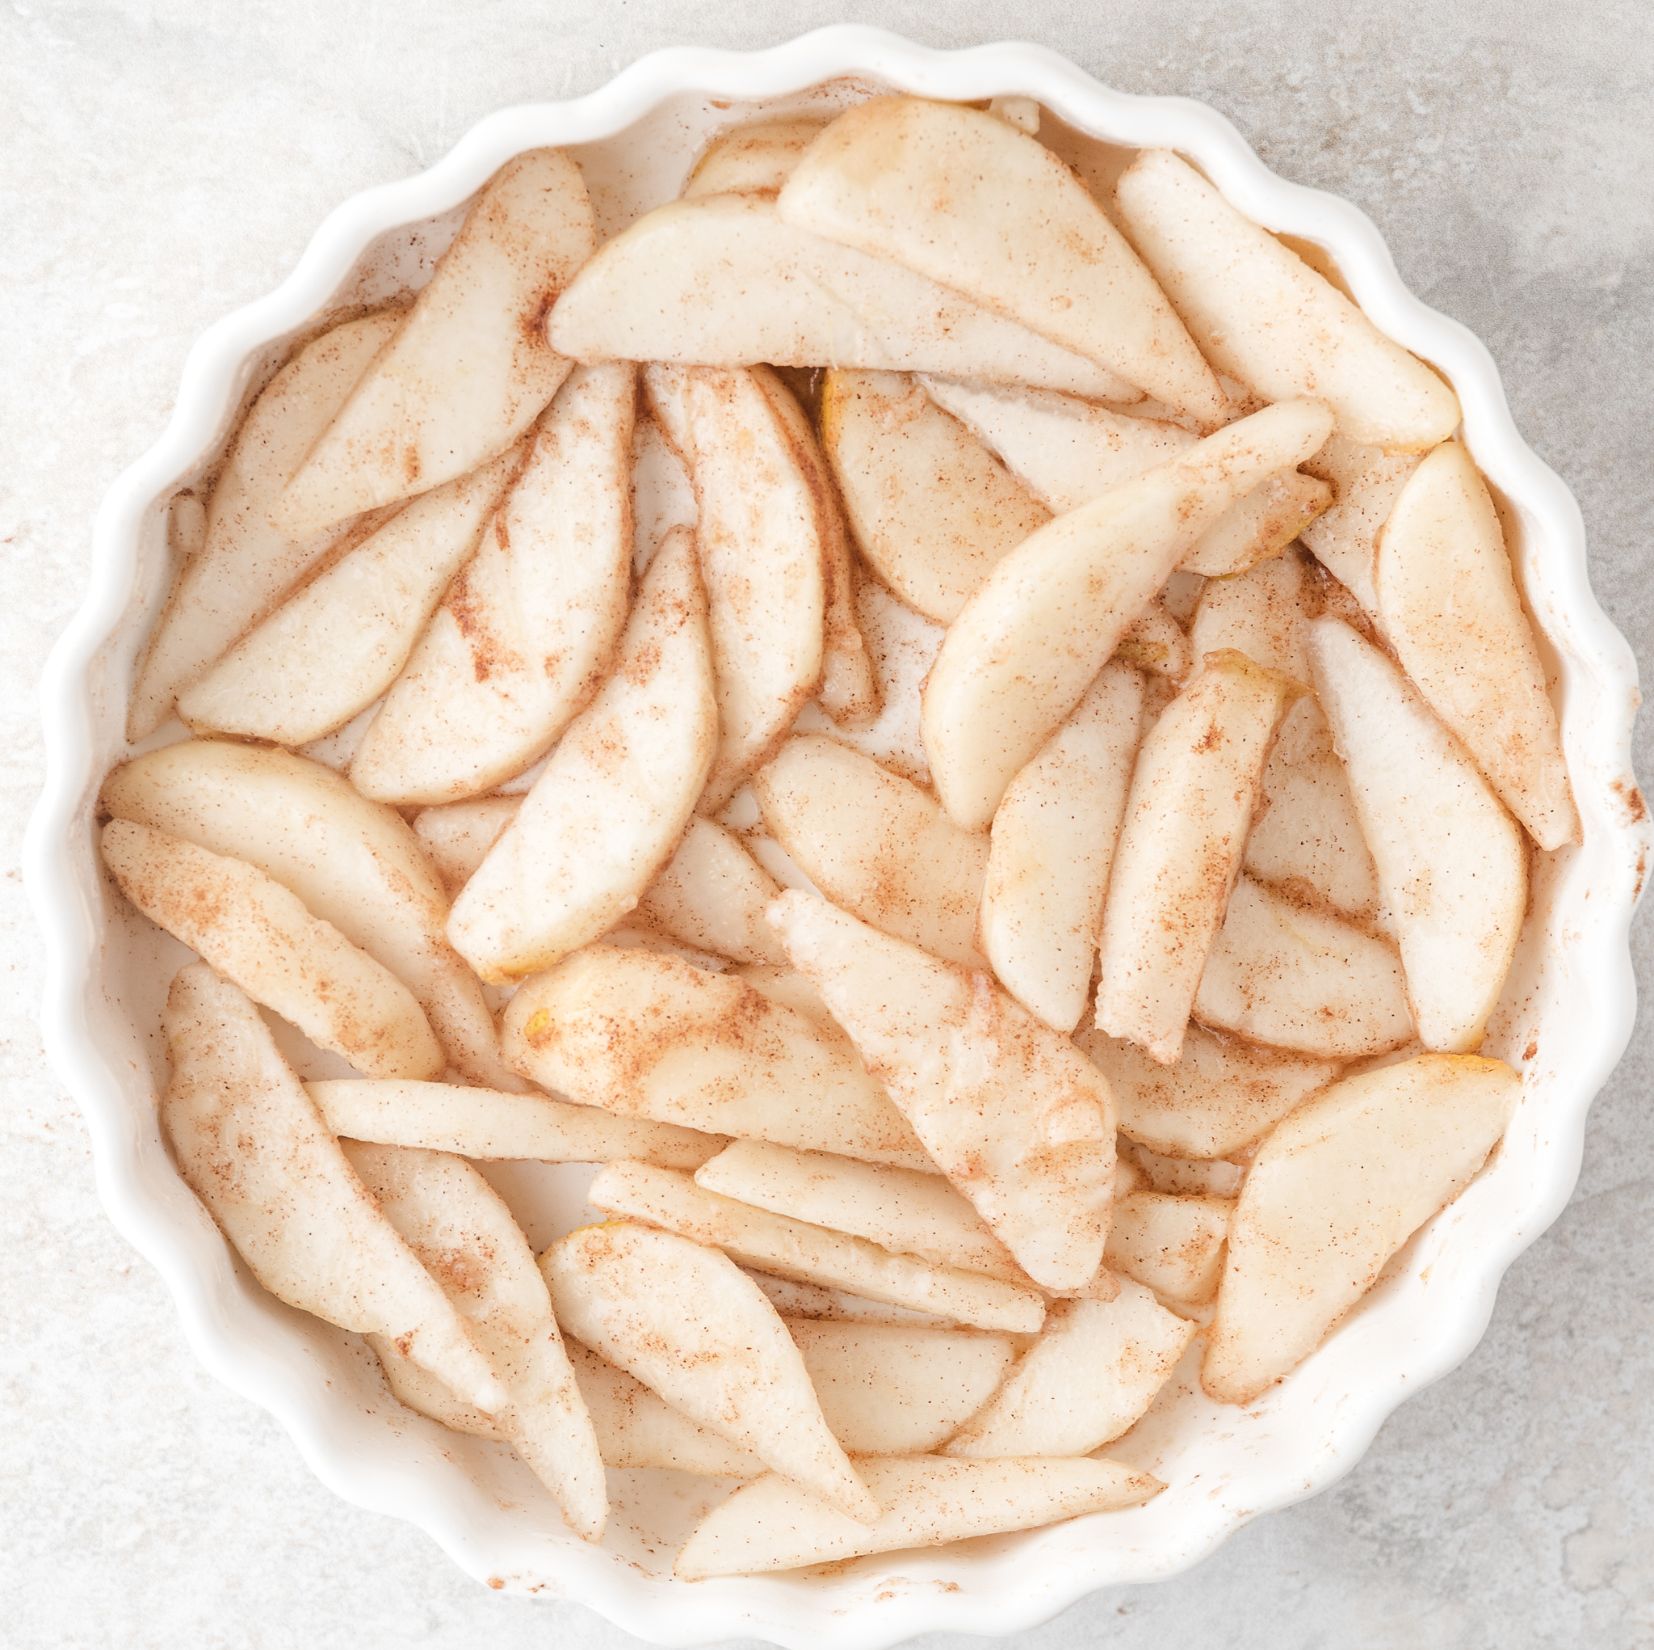
- Large pears - These will need to be peeled, cored, and sliced into ½-1" thick slices. My favorites are Bosc or Bartlett pears, but any firm variety will work. If you need to peel and slice the pears in advance, toss them with a small amount of lemon juice to prevent browning. Large pears have thicker, firmer flesh, which holds up better during baking, instead of turning mushy.
- Melted butter - You need melted butter here, not soft. It should be fully liquid.
- Chopped pecans or walnuts - These are optional, but they give a satisfying crunch that contrasts nicely with the baked pears.
- Yellow cake mix - Together with the melted butter, this is the foundation of the streusel topping. No need to measure out flour or sugar; the mix is ready to go and tastes perfect every time.
- White sugar - This helps the topping caramelize slightly, resulting in a light, golden, and crisp texture.
- Cinnamon or pumpkin pie spice - Spices heighten the natural flavors of the pears. You can also use apple pie spice if you prefer.
How to make this simple pear crisp recipe
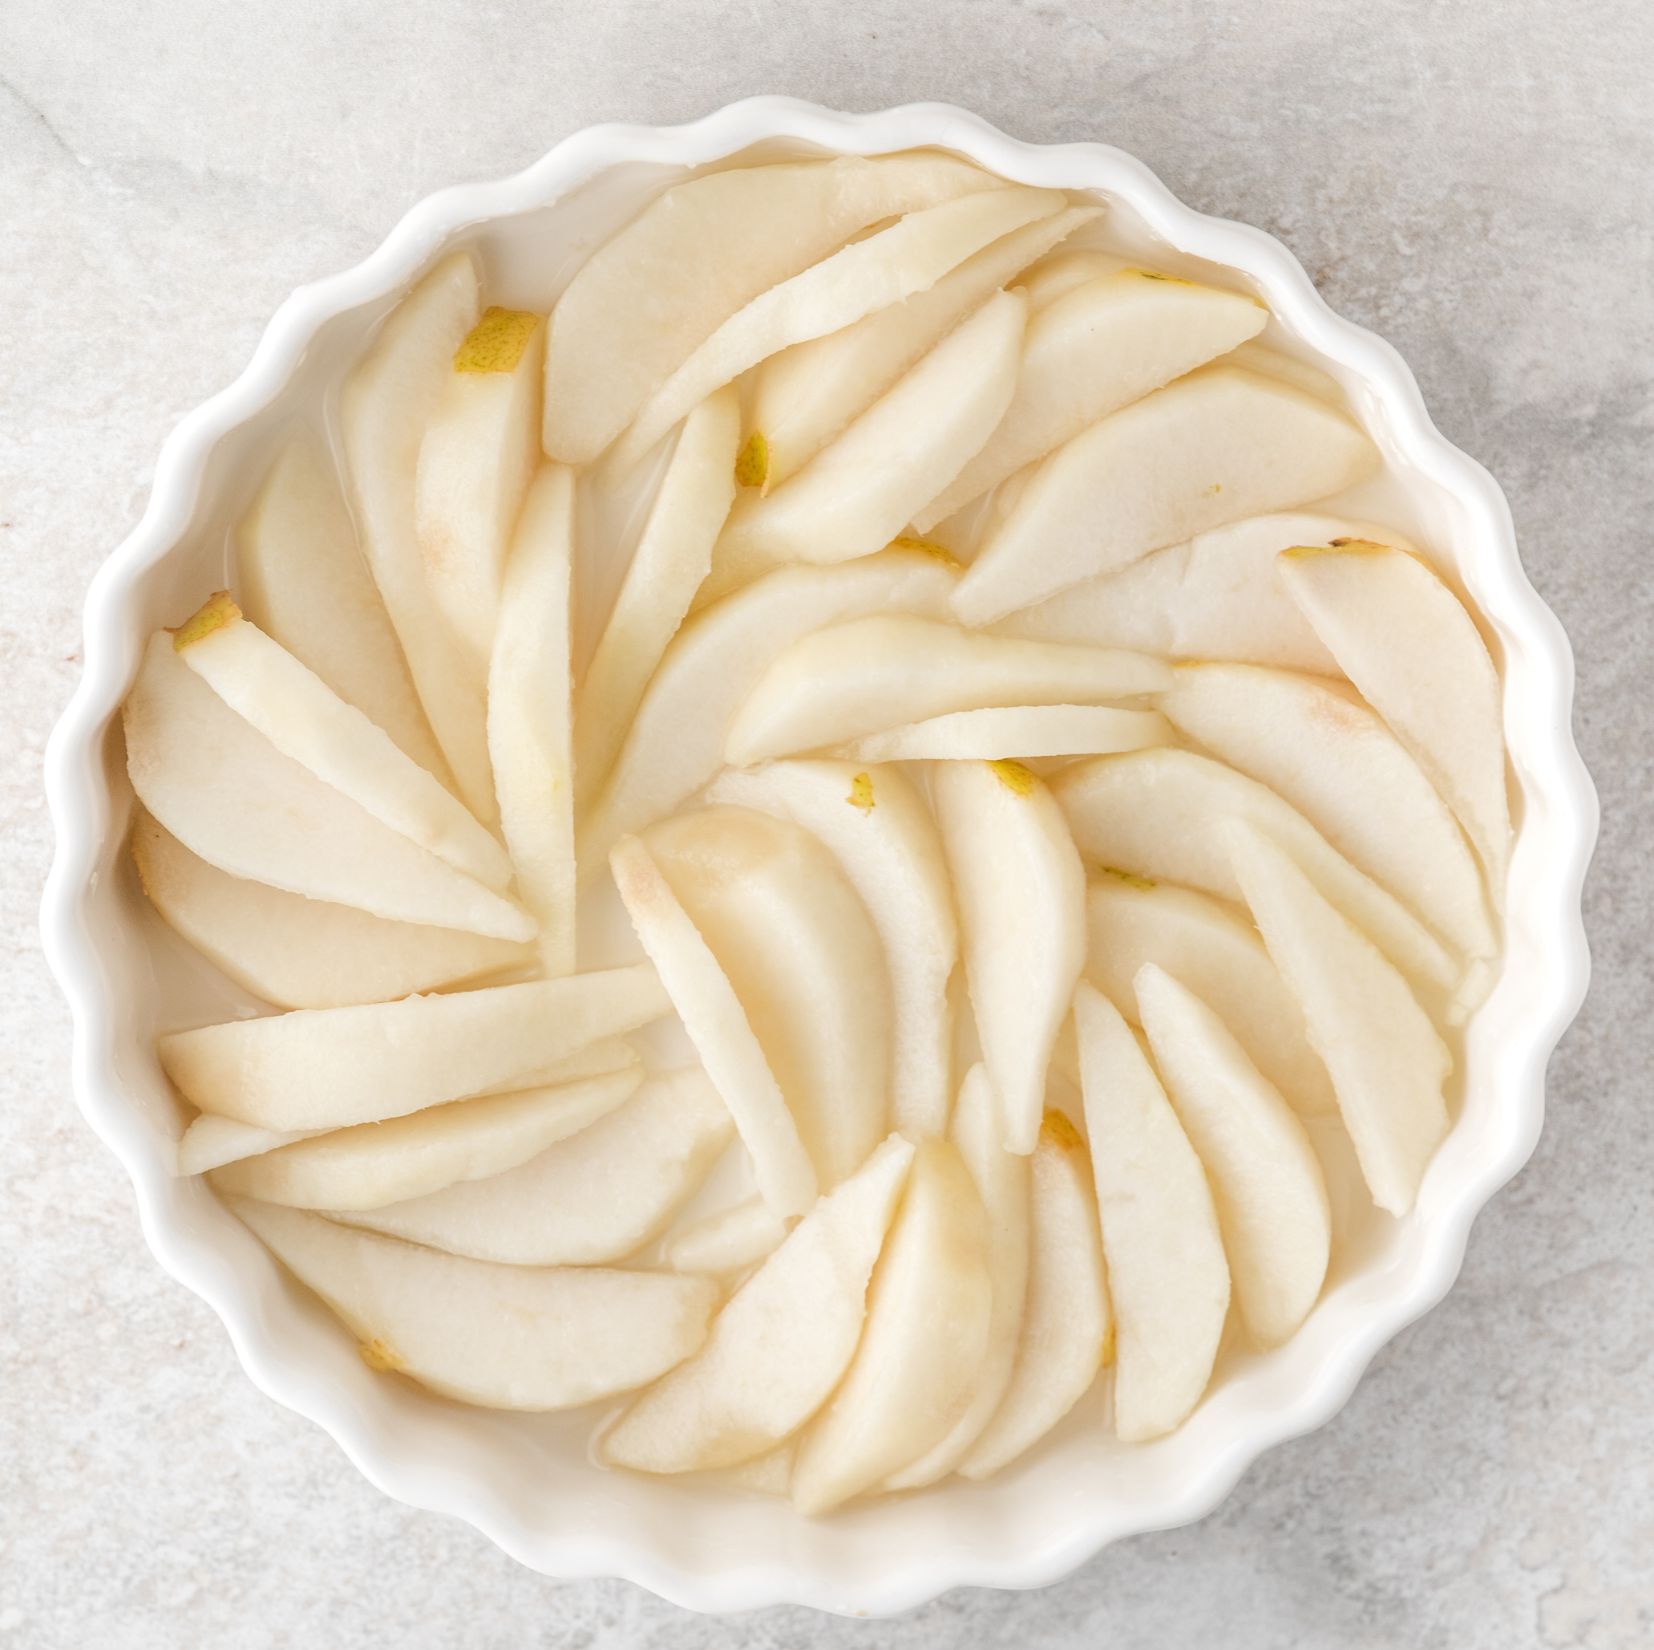
- Arrange pear slices in a baking dish. Depending on the number of pears you've used, a 9x9 or 9x13 round or oval dish will work, or even a similarly sized cast-iron skillet.

- Sprinkle 1 teaspoon of pumpkin pie spice over the pears and toss to coat.
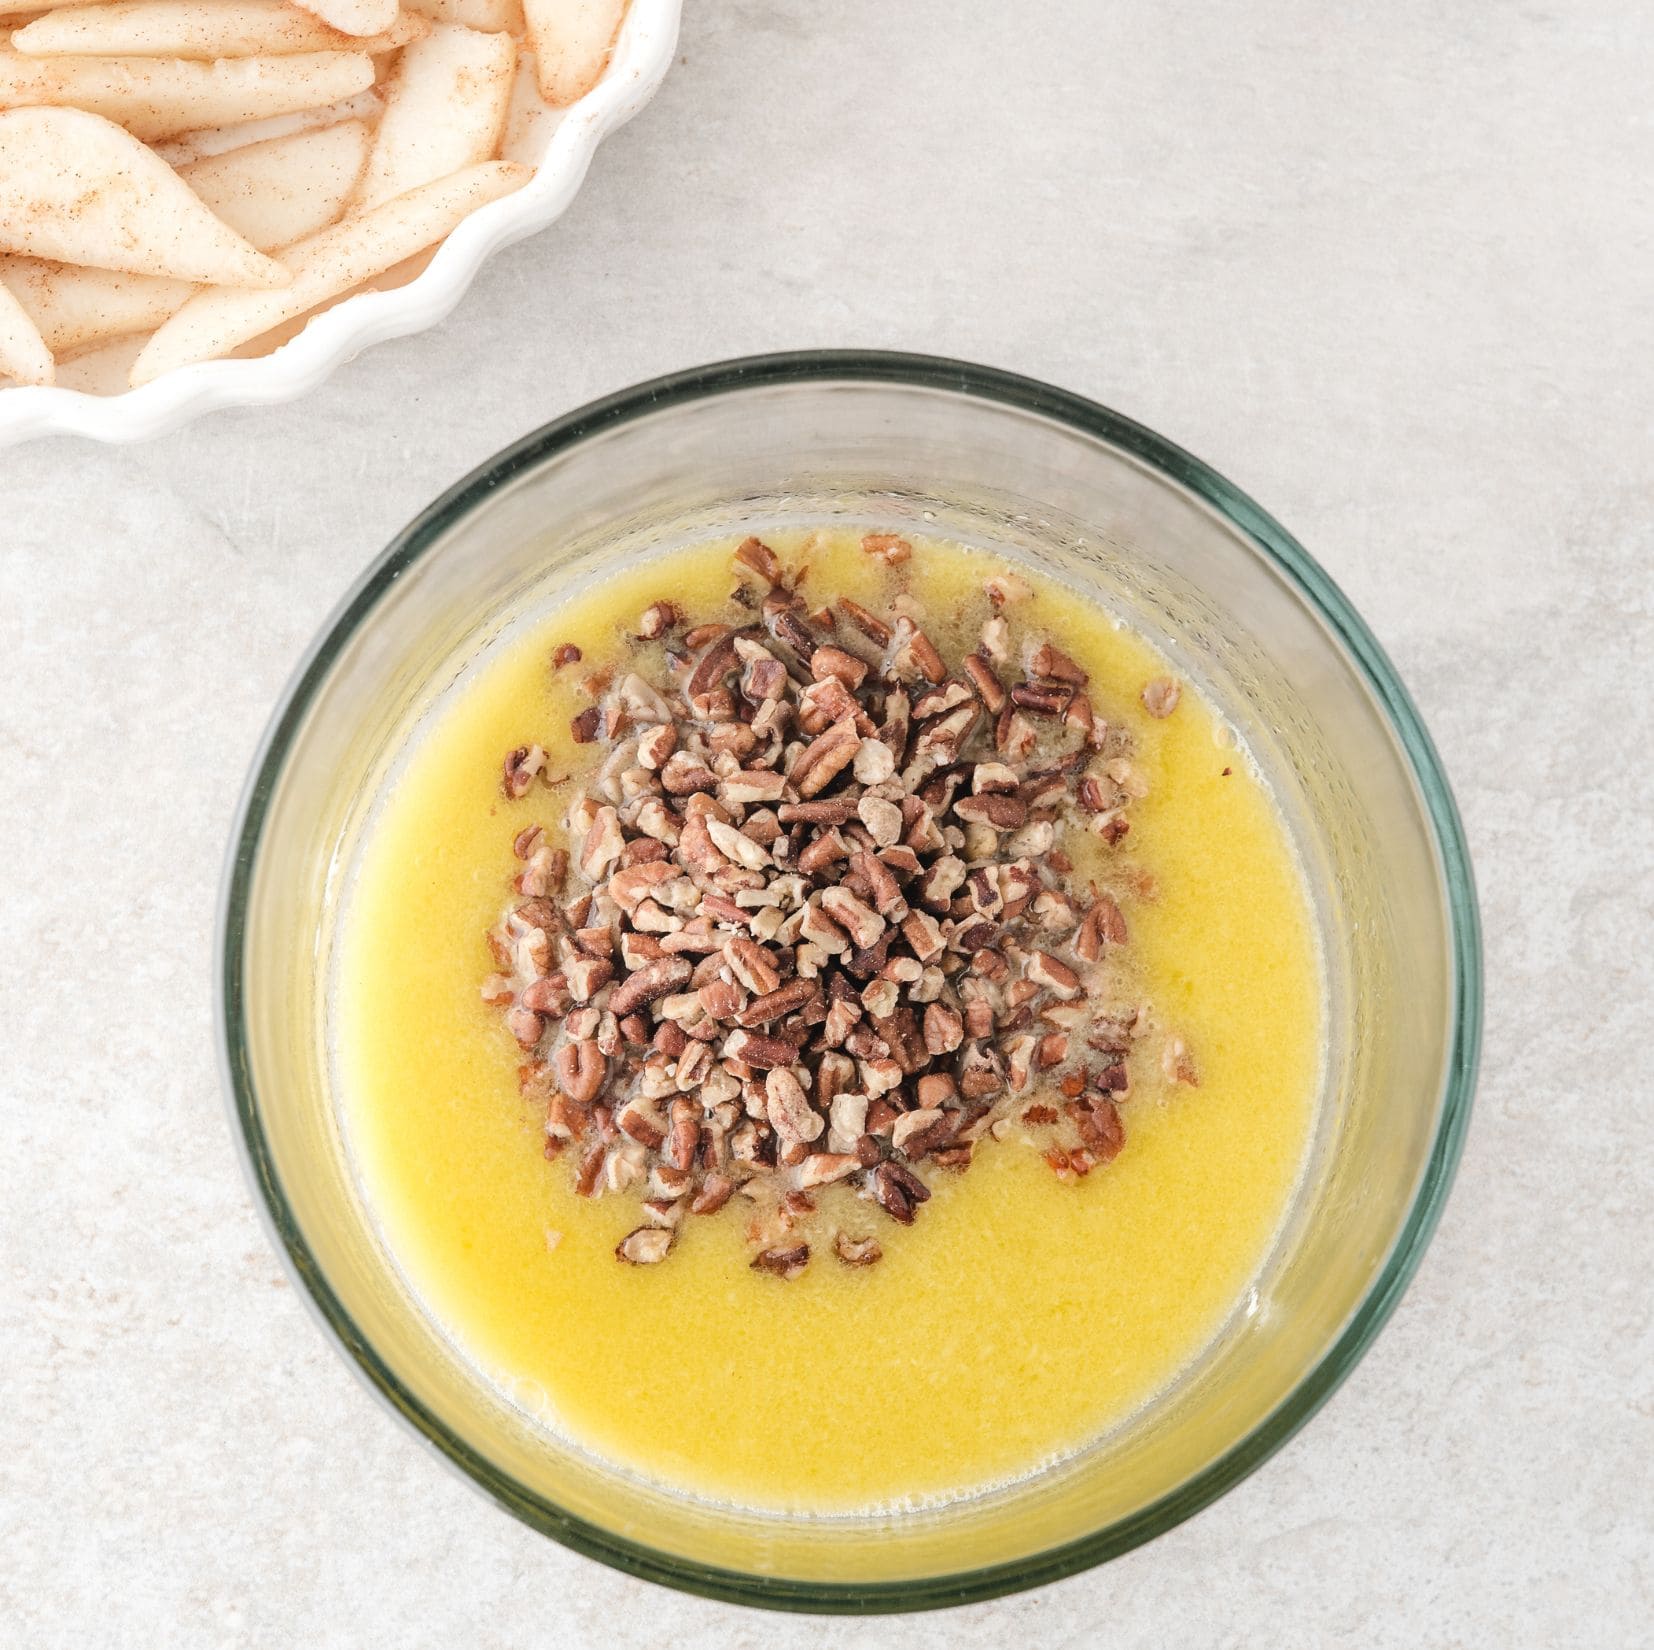
- In a medium bowl, combine chopped nuts, cake mix, sugar, and remaining cinnamon. Then, pour in the melted butter and stir.
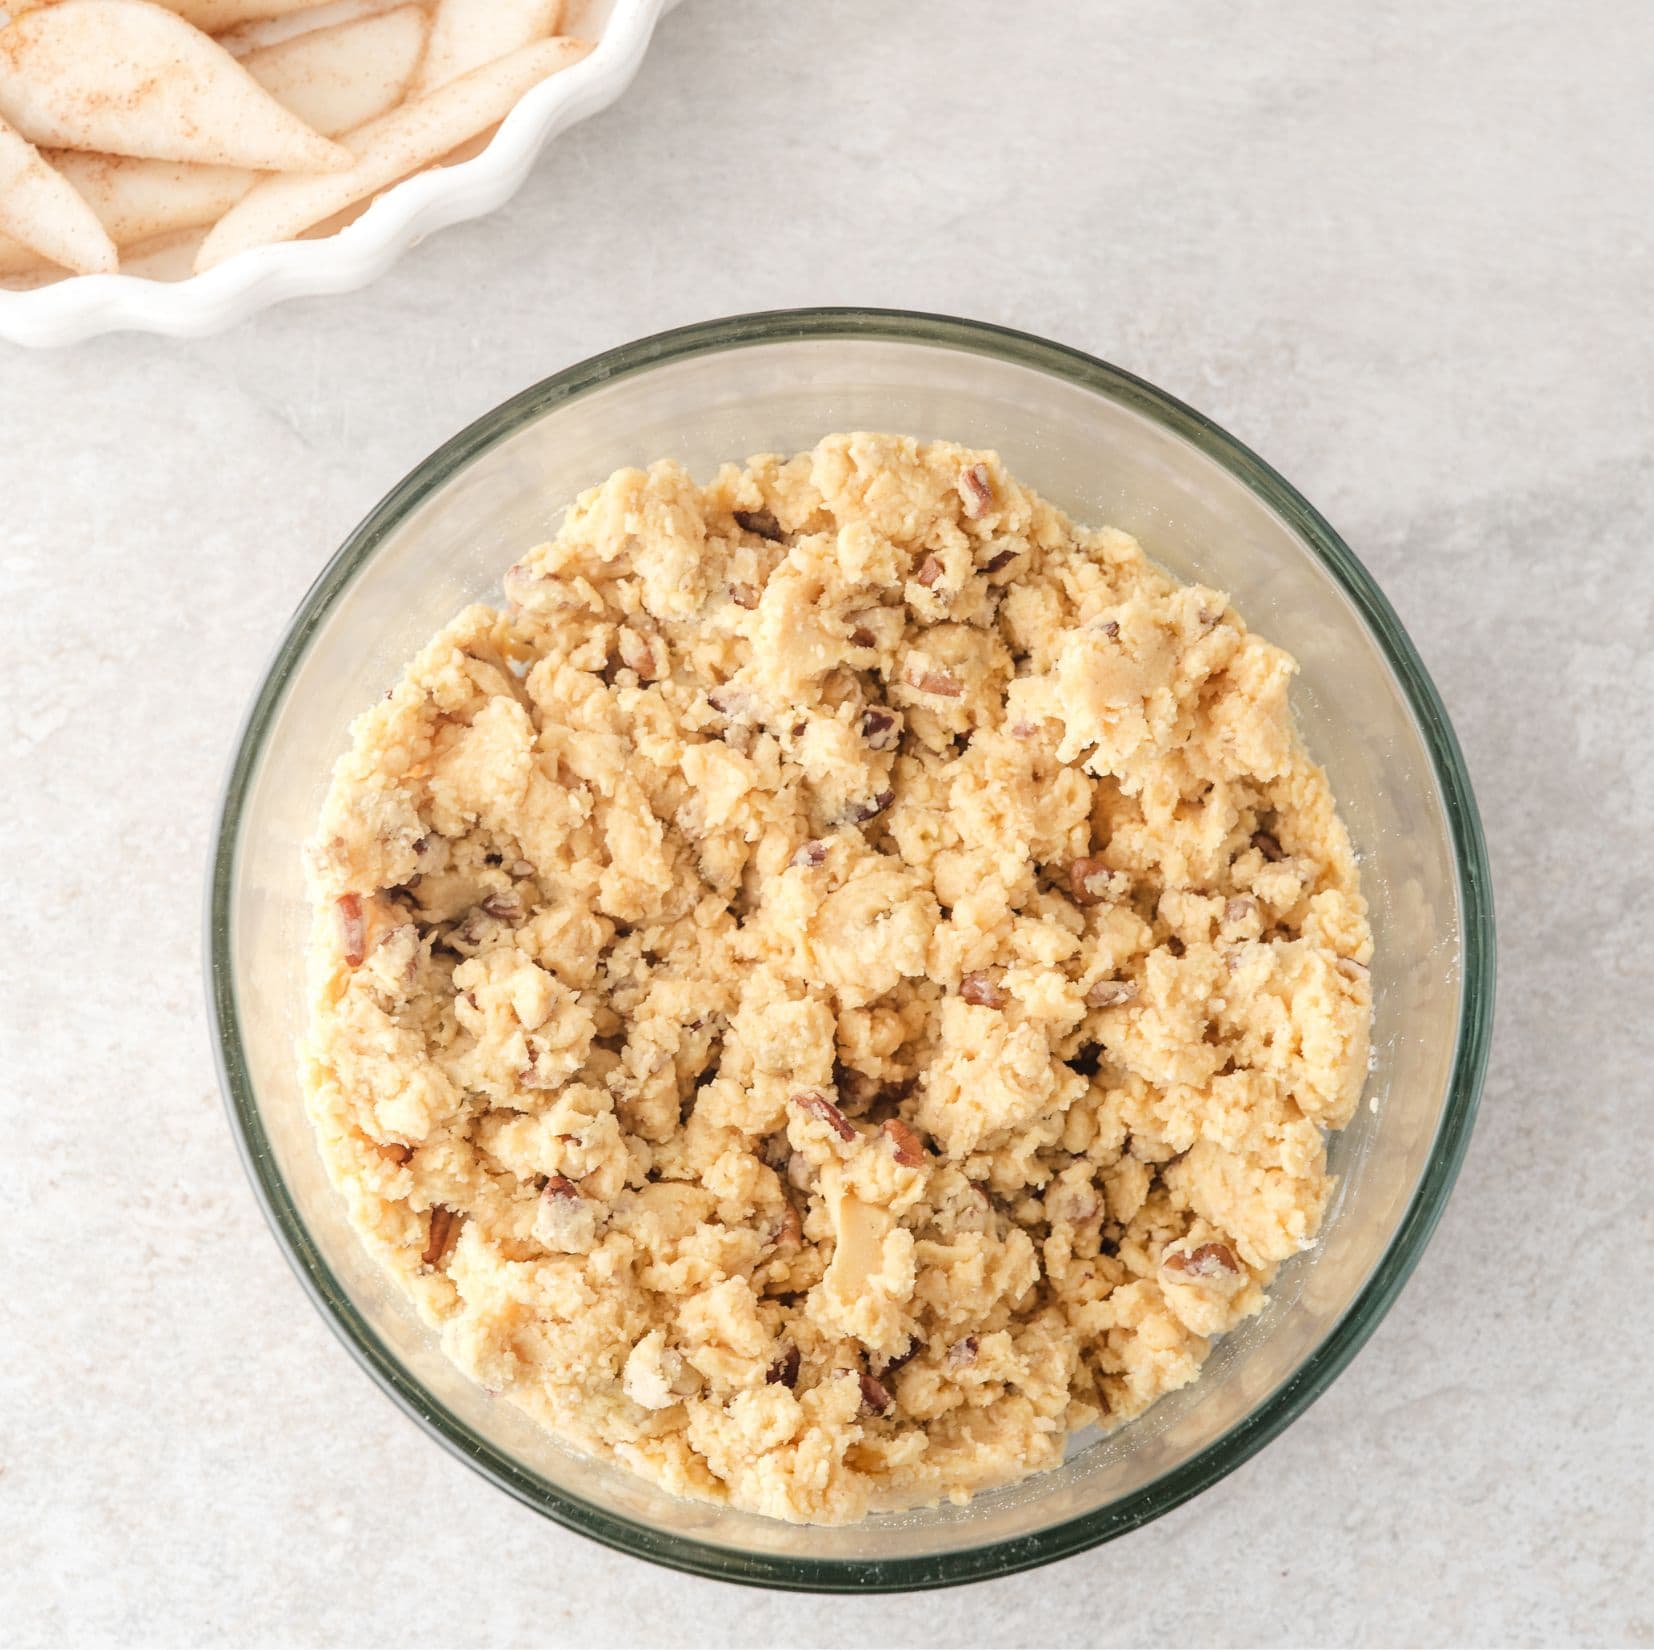
- Mix well until it's crumbly.
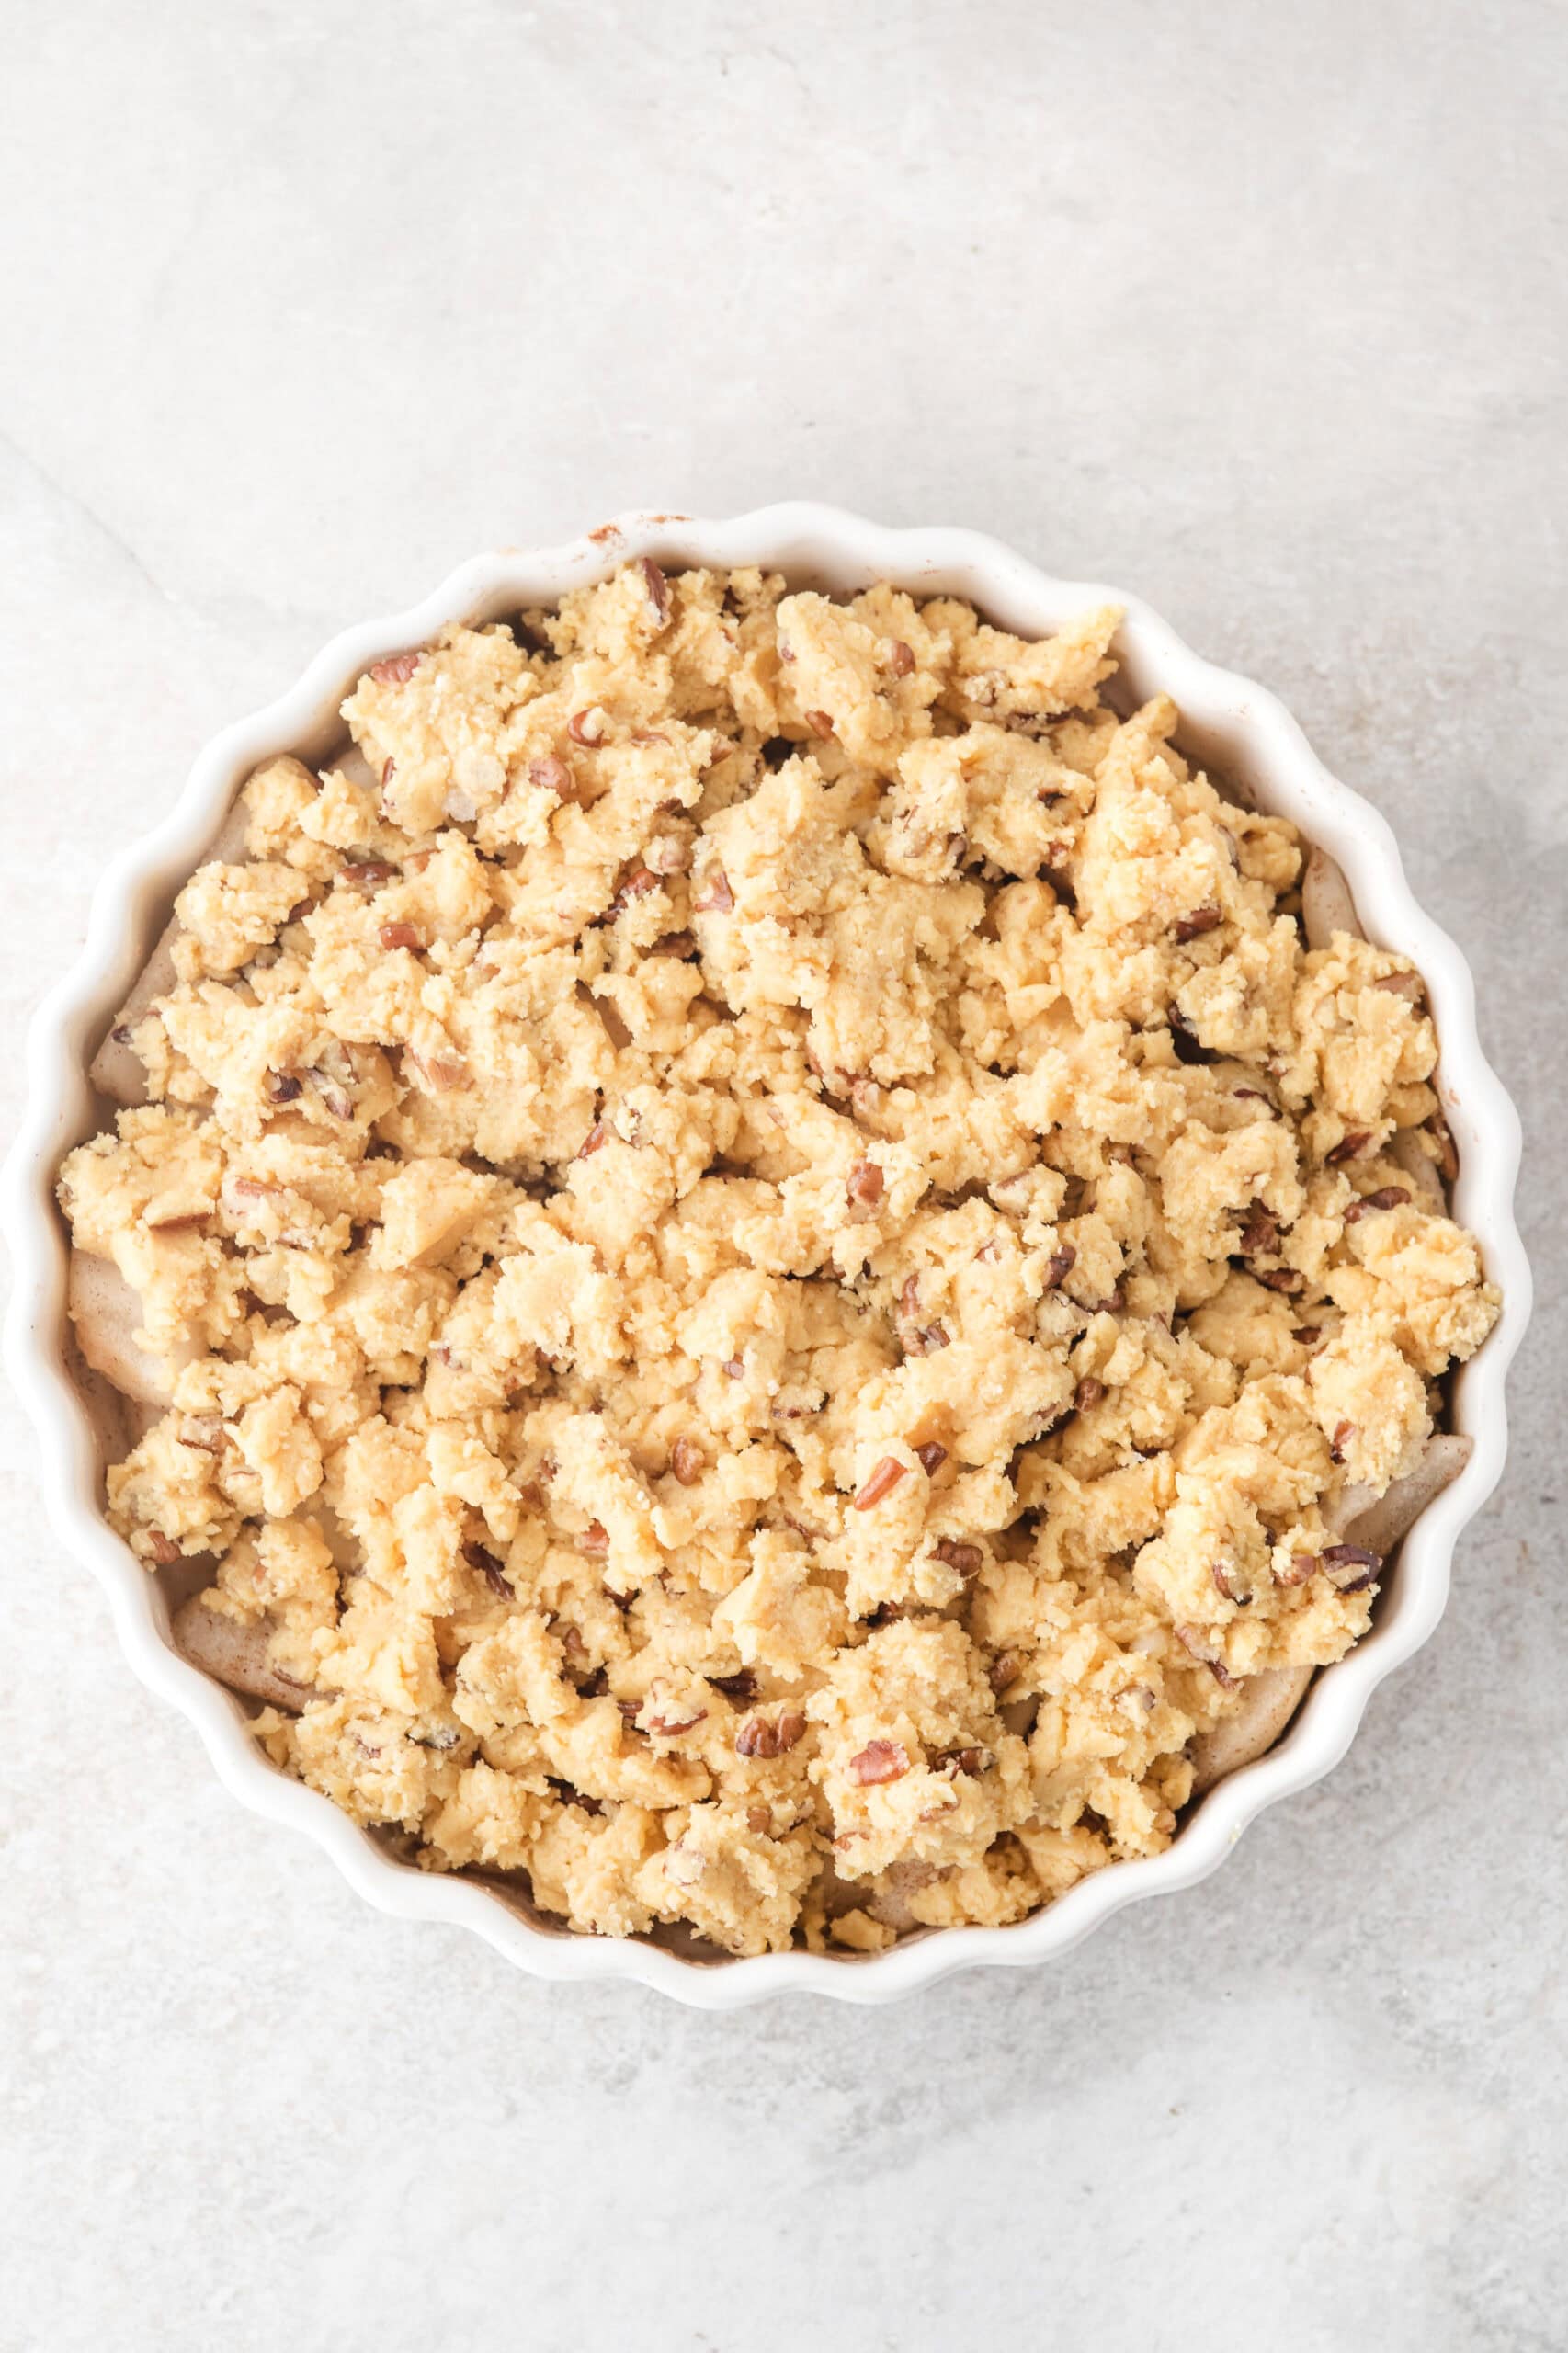
- Sprinkle the crust mixture evenly over the pears.

- Bake in the oven at 350°F for 40 minutes or until the crumble is toasty and golden brown.
- Serve hot with a scoop of vanilla ice cream.
Substitutions & variations
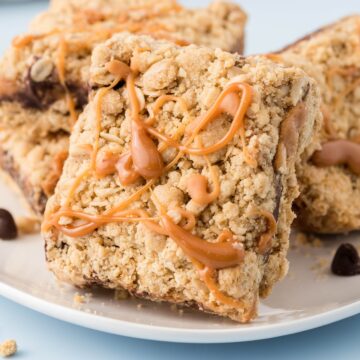
- I love this crumble topping, but if you would prefer not to use a cake mix, you can find easy crisp recipes here (no oats), here (with oats), and here (with oats and graham cracker crumbs).
- Apples and pears are interchangeable in a crisp recipe, or you can use a combination of both for an easy apple pear crisp.
- If you need a gluten-free recipe, you can use a gluten-free cake mix.
- Pumpkin seeds or sliced almonds can add crunch if you'd like to substitute for pecans or walnuts.
- You can use other fruits. Apples, peaches, and plums are great substitutes, especially if pears are not in season.
Storing leftovers
Always cool pear crisp completely before storing. This prevents the topping from becoming soggy from trapped condensation. Cover the dish tightly with plastic wrap or aluminum foil, or trasnfer it to an airtight container. Pear crisp will be fine on the counter for a day or two. Eat at room temperature or reheat in a 325ºF oven for best results. You can reheat individual servings in the microwave, but the topping will get soggy.
Pear crisp can be stored in the fridge for up to 4-5 days. Again, cover tightly with plastic wrap or aluminum foil or transfer to an airtight container. The topping will get soggy in the fridge, so reheat the dish in a 325°F oven for 15 minutes or until heated through to restore the crispness of the topping. If you reheat in the microwave, the topping will stay soggy.
If you want to keep your pear crisp longer than a few days, freeze it in an airtight container for up to 2 months. Thaw in the fridge overnight and reheat in a 325ºF oven to revive the crispy crust.

Check out more delicious fall dessert recipes
- Apple Strudel with Puff Pastry - You can use pears.
- Pineapple Upside Down Pancakes From Scratch
- Apple Crisp Without Oats - You can swap apples for pears.
- Easy Apple Crisp with Oats - Also can use pears.
- Healthy Apple Crisp with Oats & Graham Crackers - Again, you can use pears.
- 35+ Easy Fall Baking Recipes
- 18+ Easy Apple Recipes for Fall - swap for pears or do half apple, half pear
- Fresh Fruit Tart - Perfect Dessert for Memorial Day and July 4th
Recipe
Pear Crisp Recipe with Fresh Pears
Ingredients
- 8-10 large pears peeled, cored, and sliced
- ½ cups butter melted
- ½ cups chopped pecans or walnuts
- 1 box yellow cake mix
- 2 tablespoons sugar
- 4 teaspoons pumpkin pie spice or cinnamon, divided
Instructions
- Preheat oven to 350ºF.
- Arrange pear slices in a baking dish. Depending on how many pears you've used, anything from a 9x9 square to 9x13 rectagle, 9-inch round, or 2-quart oval dish will work or even a similarly sized cast iron skillet.
- Sprinkle 1 teaspoon of pumpkin pie spice over pears and toss to coat.
- In a medium bowl, combine butter, nuts, cake mix, sugar, and remaining pumpkin pie spice.
- Mix well until crumbly. Sprinkle evenly over the pear mixture in the baking dish.
- Bake at 350ºF for 40 minutes or until the crumble is toasty and golden brown.
- Serve hot with vanilla ice cream.

Mark Anthony Morales says
All I can say is mmmmmmmmmmmmmmmmmmmmmm....... 🙂
kitty says
Is it pears or apples? You reference both.
Feels Like Home Blog┞¢ says
I used pears this time, but it's exactly the same as my apple crisp recipe. There might be a typo. I'll go back and check. 🙂
Dakota says
Making in advance for Thanksgiving. For reheating should the foil remain on or off to crisp and heat in oven? Thanks!
Tara Gerner says
Foil on for sure so the crust doesn’t burn… but why are you reheating it? The filling will be runny if it’s too warm.