• Skip to primary navigation
  • Skip to main content
  • Skip to primary sidebar

Feels Like Home™ logo

  • Shop
    • Christianity Downloads
    • Family Downloads
    • Food & Cooking Downloads
    • Hobbies & Crafts Downloads
    • Learning Downloads
  • Blog
  • Family
    • Parenting
    • Holidays & Celebrations
    • Kids activities
      • Kids Crafts
      • Christmas Crafts for Toddlers & Preschoolers
      • Christmas Crafts for Kids
      • Christmas Crafts for Tweens & Teens
    • Learning
      • Reading & Writing
      • STEM
  • Faith
    • Bible Study
    • Encouragement
  • Recipes
    • Comfort Food
    • Eating after Bariatric Surgery
    • Gluten-Free
    • Recipes for Foodie Kids
    • Quick & Easy Weeknight Meals
  • Health
    • Mental Health
      • Hobbies & Crafts
      • Self-Care
    • Physical Health
      • Bariatric Surgery
  • Subscribe
menu icon
go to homepage
subscribe
search icon
Homepage link
  • SHOP
  • RECIPES
  • FAMILY
  • FAITH
  • HEALTH
    • Facebook
    • Pinterest
    • Twitter
  • ×
    See More:   Desserts Gluten-Free Holiday Meals Raising Foodie Kids Recipes for Beginners Snacks

    Last Modified: Aug 9, 2022 by Tara Ziegmont Leave a Comment

    How to Make Layered Red White and Blue Jello for July 4th

    2FacebookMessenger74PinterestTwitterWhatsAppEmail
    76
    SHARES
    Jump to Recipe Print Recipe

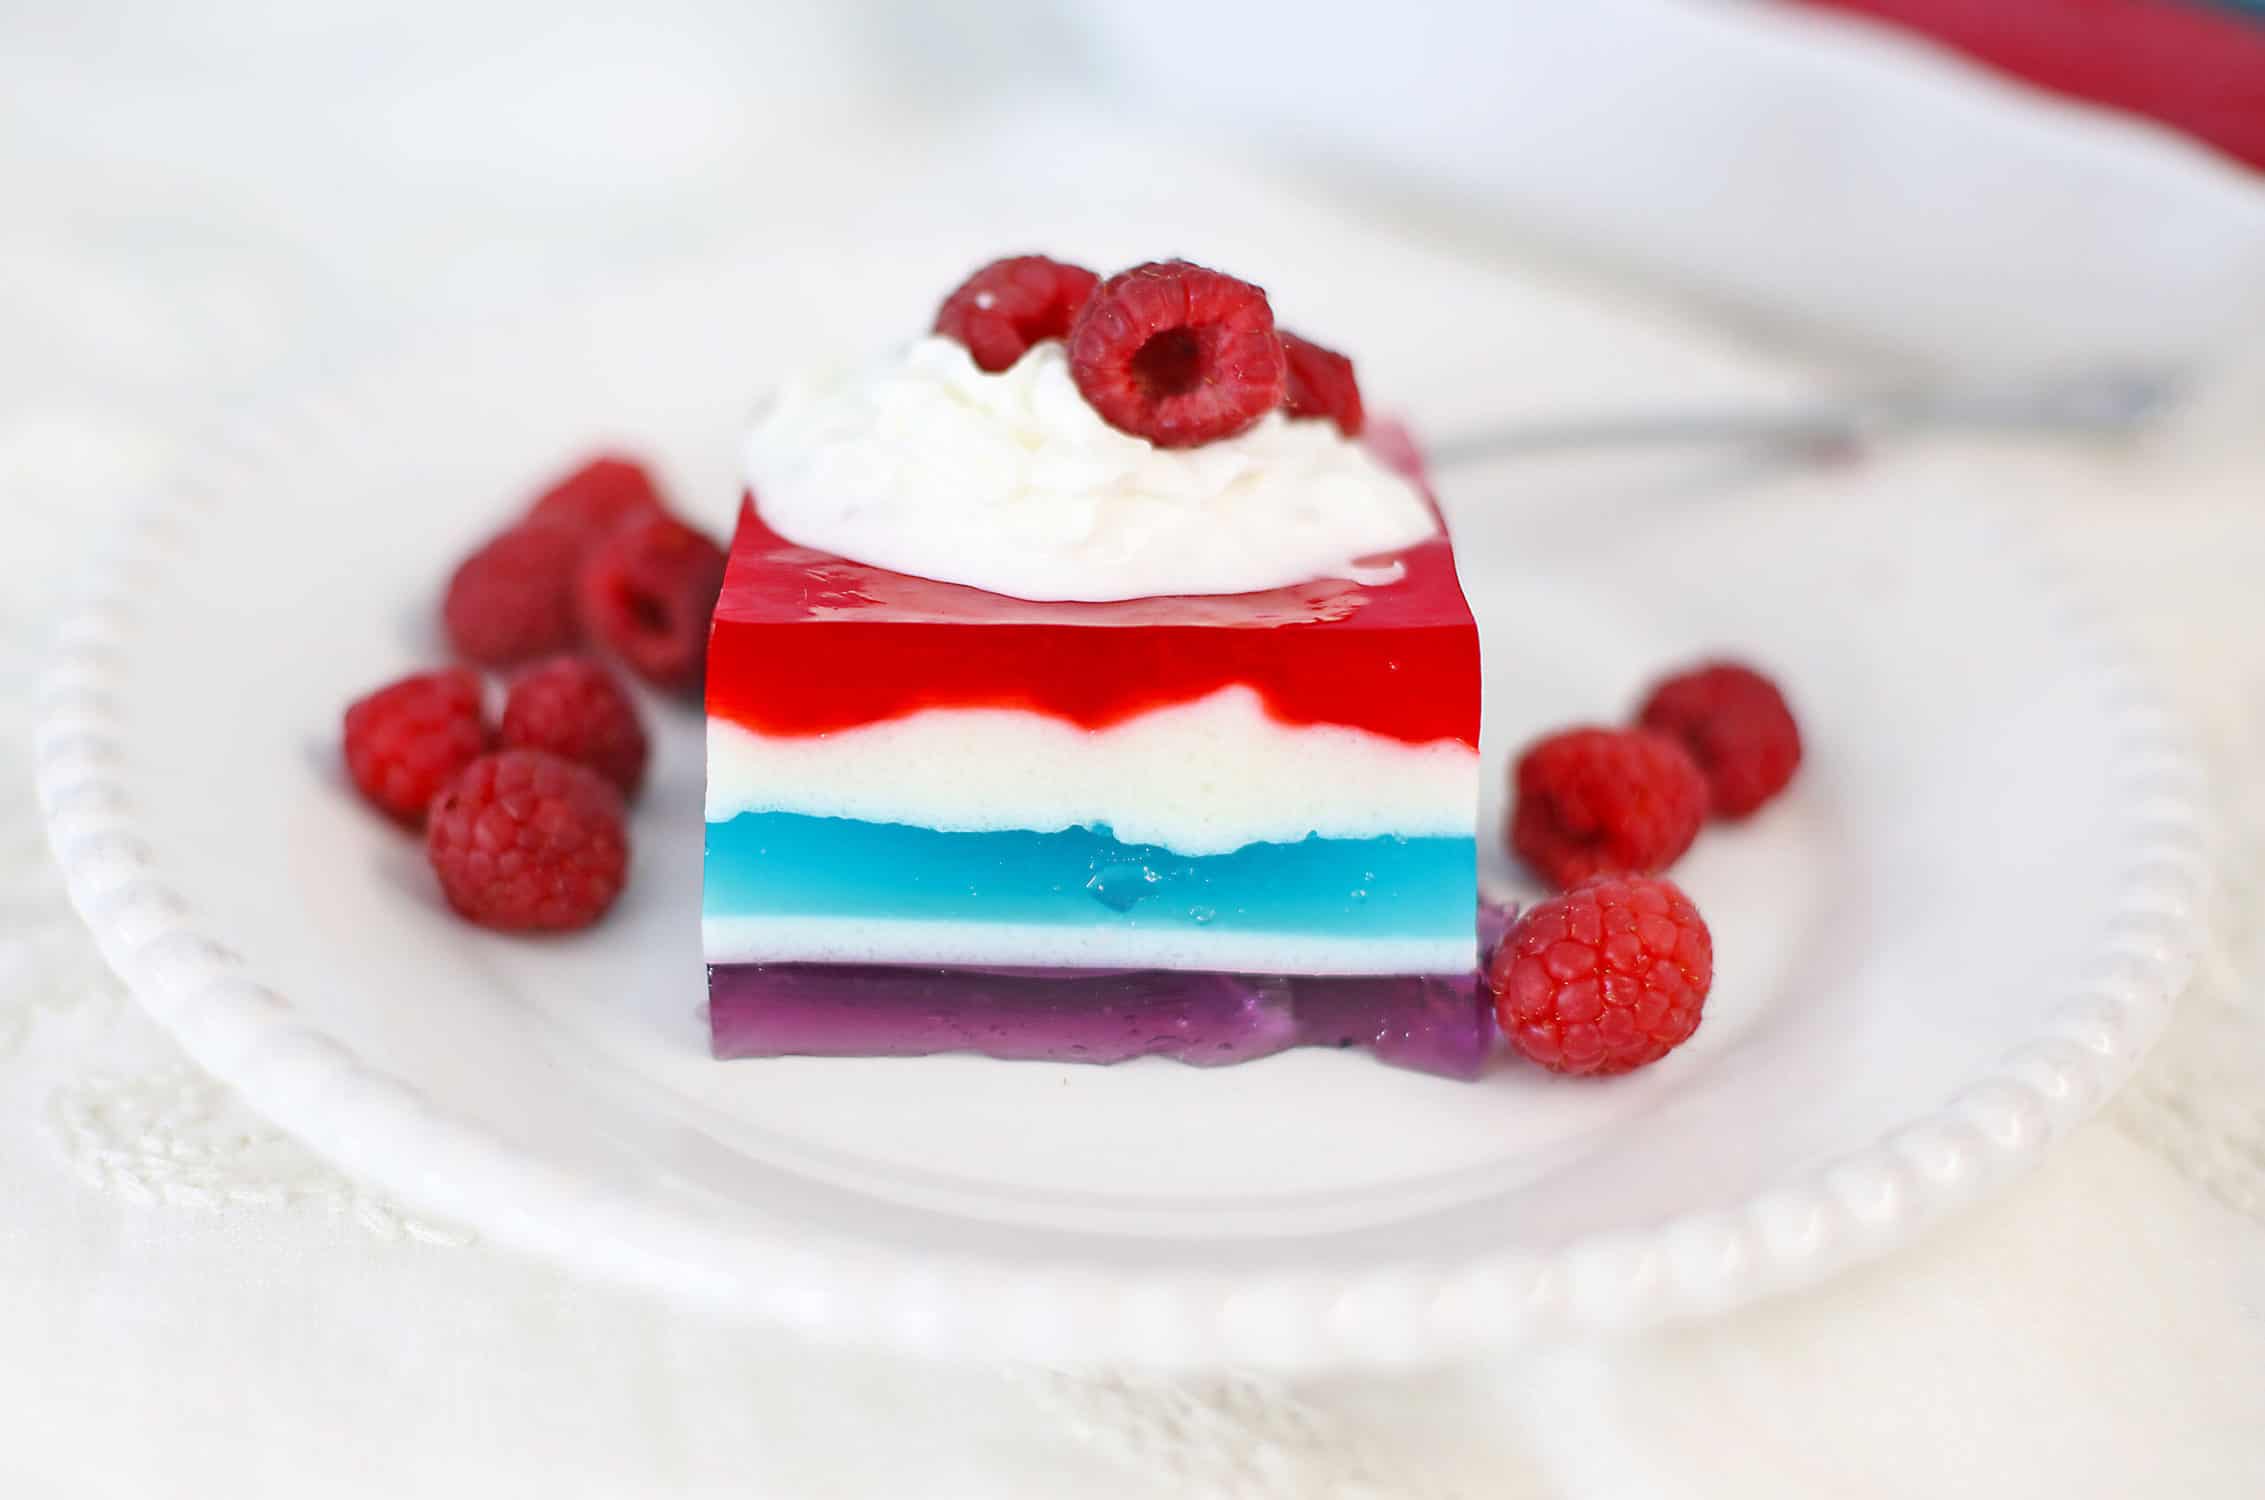
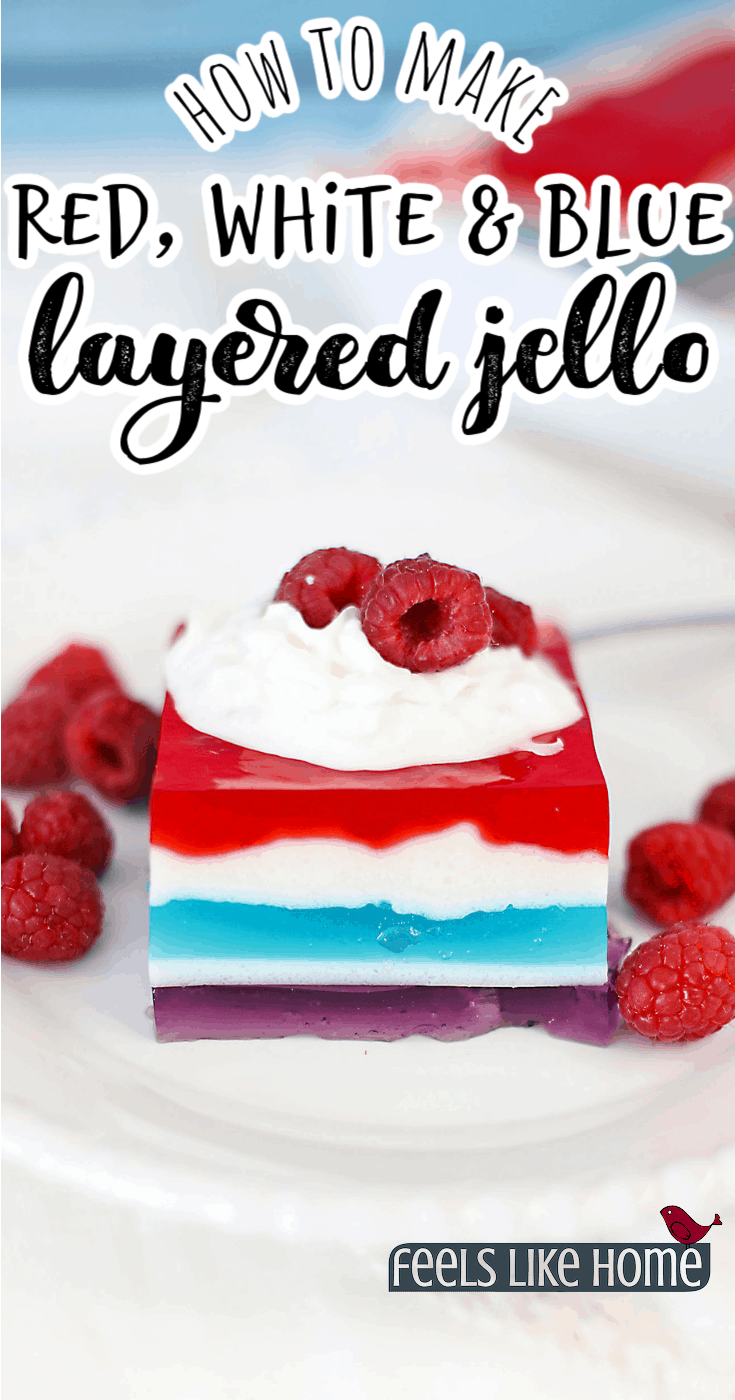
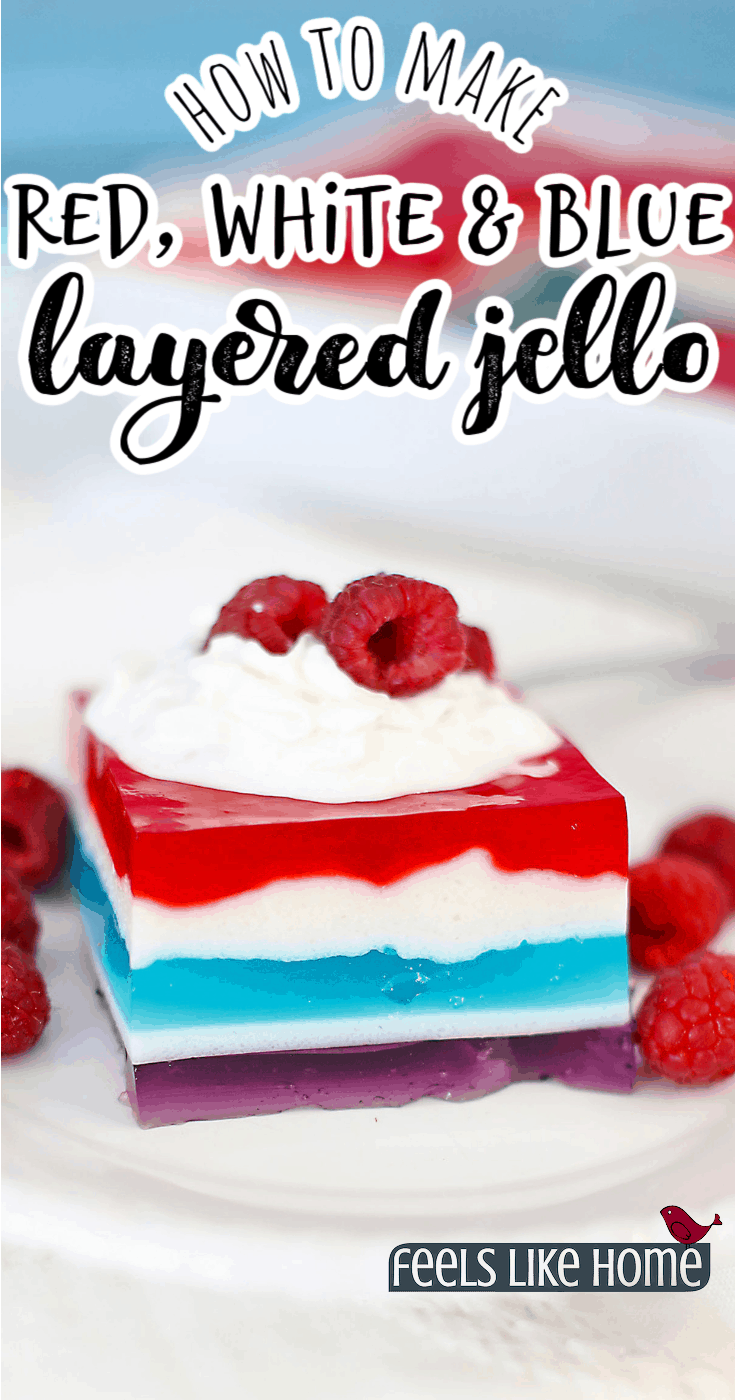
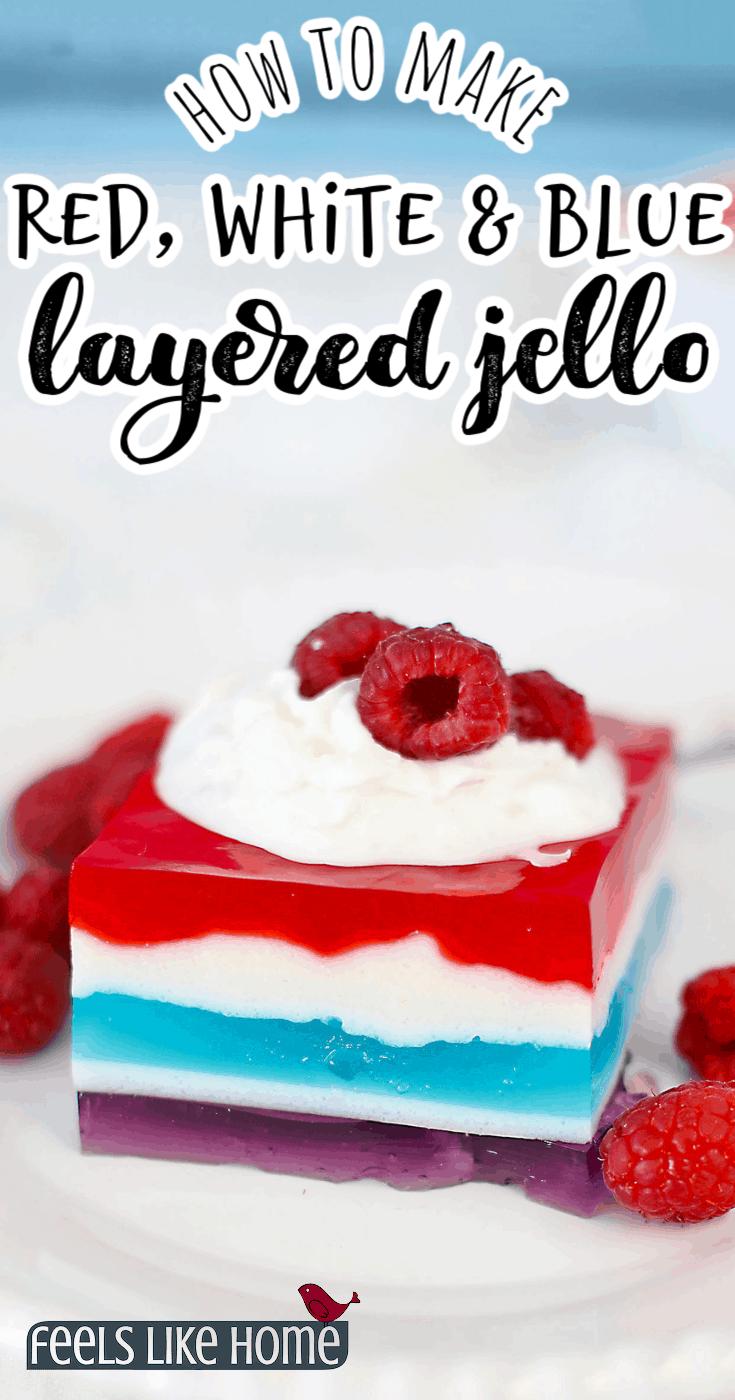
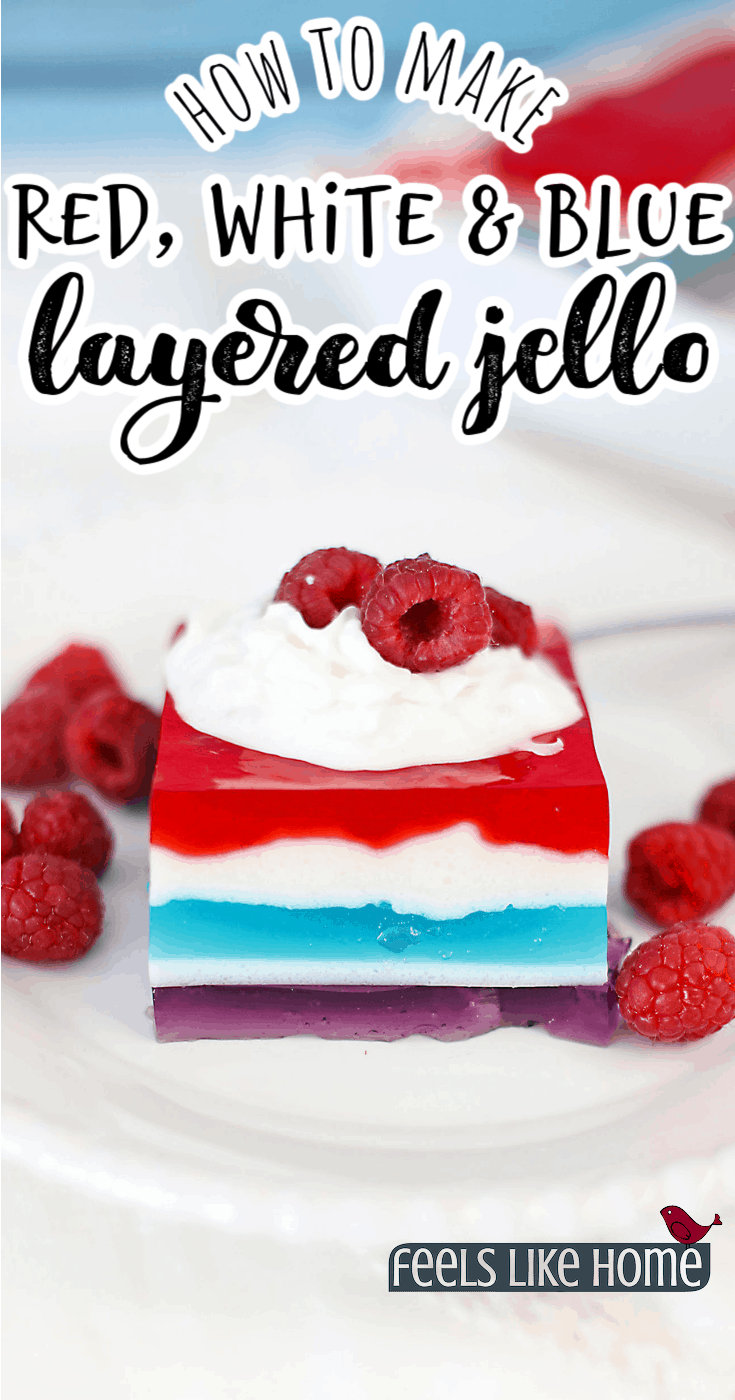
    How to make layered red, white, and blue Jello for July 4th. This colorful, fun, and impressive gelatin dessert is perfect to serve at all the patriotic holidays including Memorial Day and Independence Day.
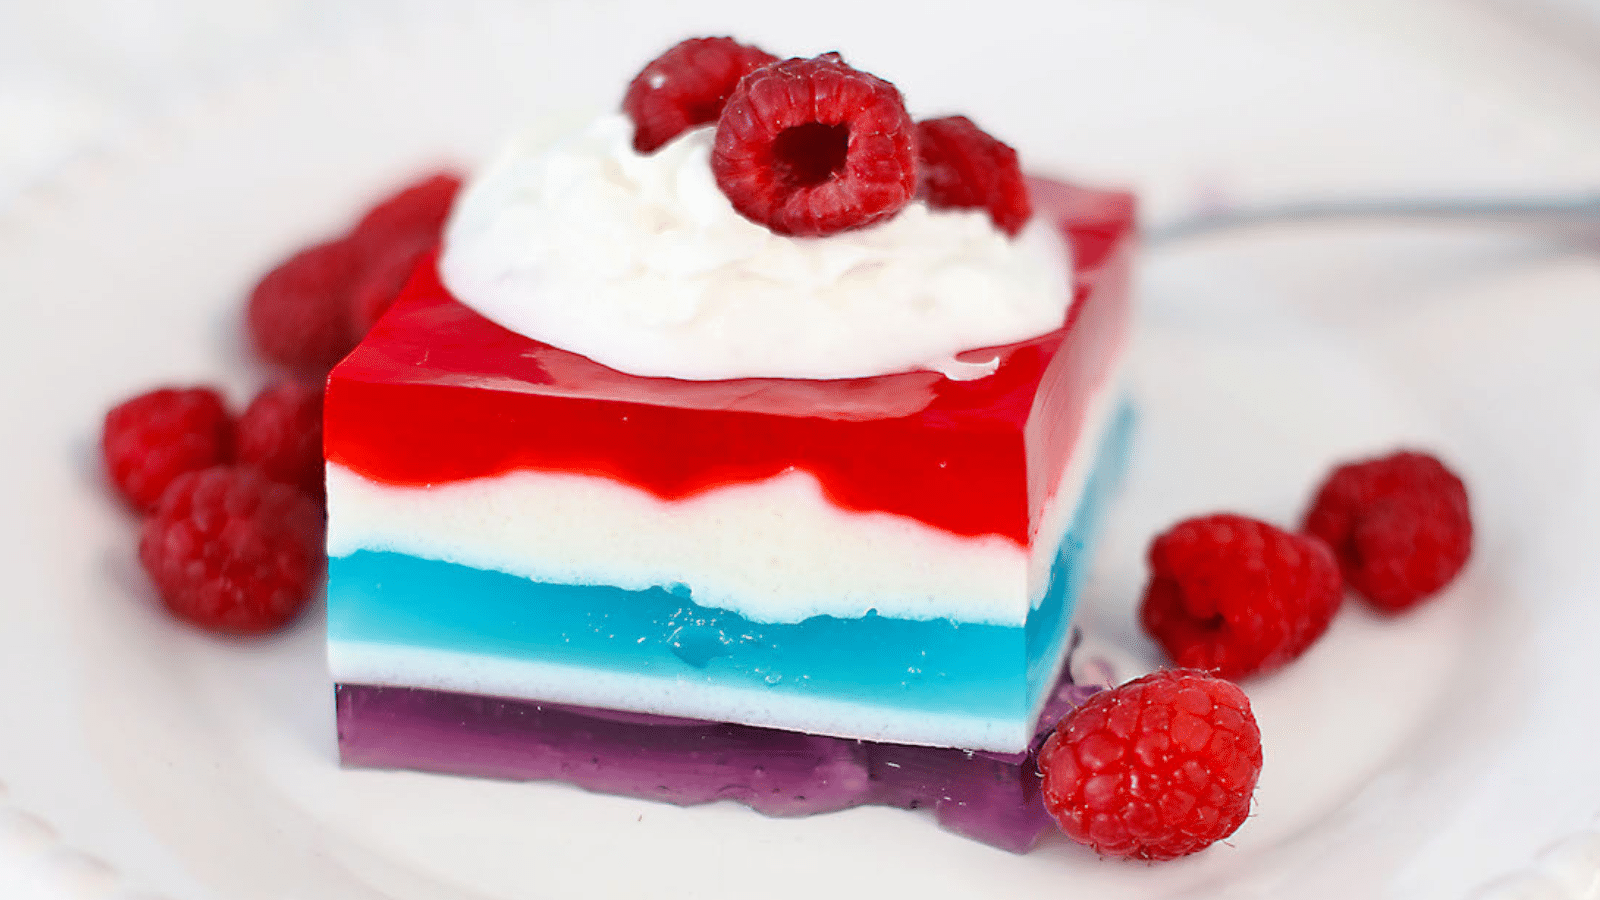
    layered jello for july 4thPin

    I've been on a major red, white, and blue kick lately, having made red, white, and blue berry trifle; red, white, and blue fruit salad; and red, white, and blue fruit tart.

    Is making layered Jello hard?

    No way! It's not hard at all, but there are tricks that make it come out better, and it is time consuming. You will be working on it on and off for a couple of hours, as you have to allow each layer to set completely in the fridge before adding the next layer. Look below in the tips section for my tricks to getting nicer layers when you're all done.

    How to Make Layered Red White and Blue Jello for July 4th

    Layered Jello ingredients

    • 1 box of grape Jello (3.4 ounces)
    • 2 boxes of blue raspberry Jello (3.4 ounces each)
    • 2 boxes of  raspberry Jello (3.4 ounces each) - Okay to use any red flavor like strawberry, cherry, or watermelon
    • 4 boxes of unflavored gelatin (sixteen 0.25 ounce packets)
    • 21 ounces sweetened condensed milk (about 1.5 cans)
    • Boiling water
    • Cold water

    To serve layered Jello

    There are two ways to serve this jello. The first way is to make finger Jello (which was called Jello Jigglers in my day). To do that, just cut 1-inch squares and don't garnish.

    The second way to serve layered Jello is to make rectangles that are about 3 inches by 3 inches or 1/12 of the 9x13 pan. If you cut it like that, you should plan on having some real whipped cream and fresh berries (or whatever fruit flavor you used for the red jello - cherries, strawberries, watermelon, etc).

    Layered Jello instructions

    For the layered Jello

    1. Spray a 9x13 pan generously with cooking spray. You could use a smaller 9x9 pan if you needed to, but then you would have to cut out 3 of the layers. I recommend cutting out the bottom 3 - grape, milk, and blue raspberry. In that case, you would start and end with red.
    2. In a small bowl, whisk together the box of grape Jello with 1 teaspoon of the unflavored gelatin and 1 cup of boiling water until you are certain that all the powder is dissolved. Pour into the prepared pan, set in the fridge ensuring it is completely flat, and chill in the refrigerator to set (about 30 minutes).
    3. As soon as the grape Jello goes into the fridge, do this step. In a medium bowl, whisk the sweetened condensed milk with 2 cups of boiling water. In a smaller bowl, sprinkle 1 ounce (4 envelopes) of unflavored gelatin over 1 cups cold water and whisk to dissolve. Allow the mixture to rest for 5 minutes so that the gelatin can absorb as much water as possible.
    4. After 5 minutes, pour 1 cup boiling water into the unflavored gelatin mixture and stir, then pour the gelatin mixture into the sweetened condensed milk mixture and stir again.
    5. Mix up the rest of the jello. Pour both boxes of red jello into a bowl with 1 full packet of unflavored gelatin and 2 cups of boiling water. Stir well until all the powder is dissolved. Repeat with the blue jello. Allow to cool on the counter but do not add ice or any more water.
    6. Once the grape layer is completely set, remove it from the fridge and pour 1 cup of the sweetened condensed milk mixture over the top. (If you want precise, even layers, make sure the milk mixture is room temperature before adding to the grape layer. If you like wavy, uneven layers, it's okay to pour it on hot.) Return to the refrigerator for at least 15-20 minutes to set.
    7. Repeat the layer process, with 1 cup of blue jello first, alternating with 1 cup of white gelatin between each colored layer. (It will be purple, white, blue, white, red, white, blue, white, red.) Remember, if you want precise, even layers, you must make sure that all of the Jello mixtures cool to room temperature before pouring over the previously set layer.
    8. Once all the layers have been set, cover with plastic wrap and refrigerate at least 4 hours to set completely.
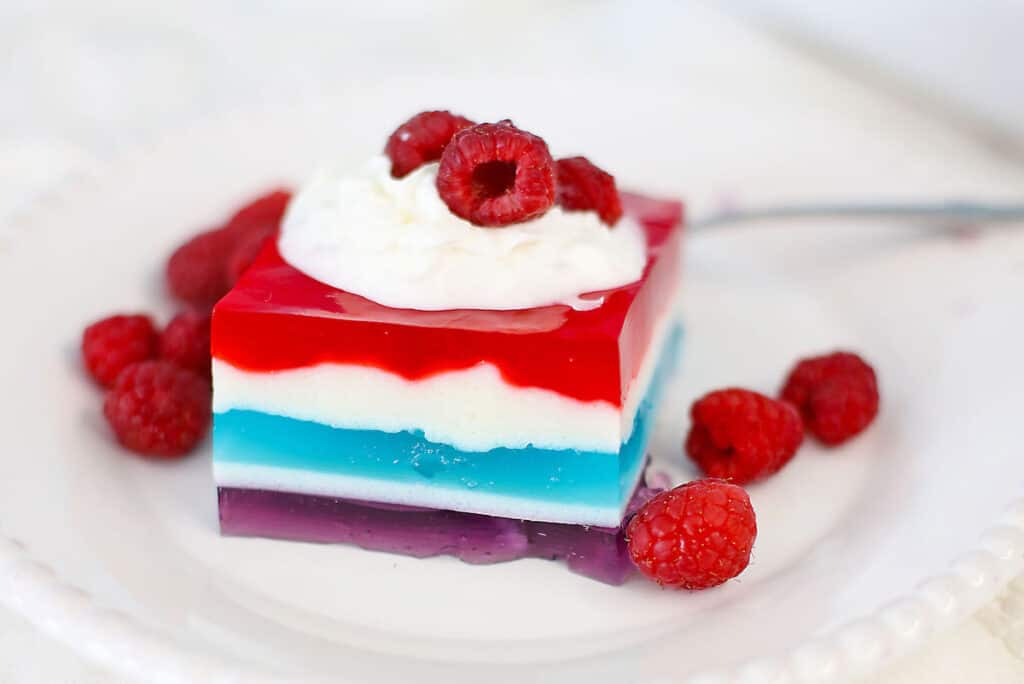
    one square of layered jello on a plate with fresh raspberriesPin

    Tips for making the best layered finger Jello

    Use unflavored gelatin in each layer

    I suggest using a ½ packet of unflavored gelatin in each colored layer. Strictly speaking, it is not necessary to use this but if you don't, you will have to wait an hour or more in between layers so that the colored layers will set well enough to pour in the next layer evenly. Also, the extra gelatin in the colored layers helps this set harder and work better for finger jello.

    Working with the white milk layer

    Because it has so much gelatin in it, the white milk layer often sets up at room temperature. If you find that yours is getting too solid in between pouring, just put the bowl into a slightly larger bowl with a couple of inches of hot water in the bottom. You don't want so much water that it spills in to the gelatin of course, but enough to keep the white stuff warm and liquid.

    Chilling the liquid Jello

    You CANNOT add ice to the jello to cool it quicker. This will dilute the jello, and it won't set properly. You can however pop it into the fridge for a few minute. That will cool it more quickly, but don't leave it in there for more than 5 minutes because it will set, and then you will have to reheat it and start all over.

    The secret to even layers

    If you prefer very flat, very even layers, allow the liquid to cool to room temperature before pouring over the previously chilled layer. If you want the wavy look, you can pour warm liquid over the top of the set layers. This will soften and slightly melt the layer that you just hardened and give an irregular appearance to the layers. You can never pour boiling liquid on top of the hardened jello because then the set layer will melt, and they will mix. You will have no layers, and you will be sad. Let it cool.

    The secret to perfect finger Jello

    It is best to cut Jello (any Jello) with a sharp flat-edged knife such as a paring knife. If you use a serrated knife, you will not get nice, crisp, clean edges because the Jello will tear and crumble.
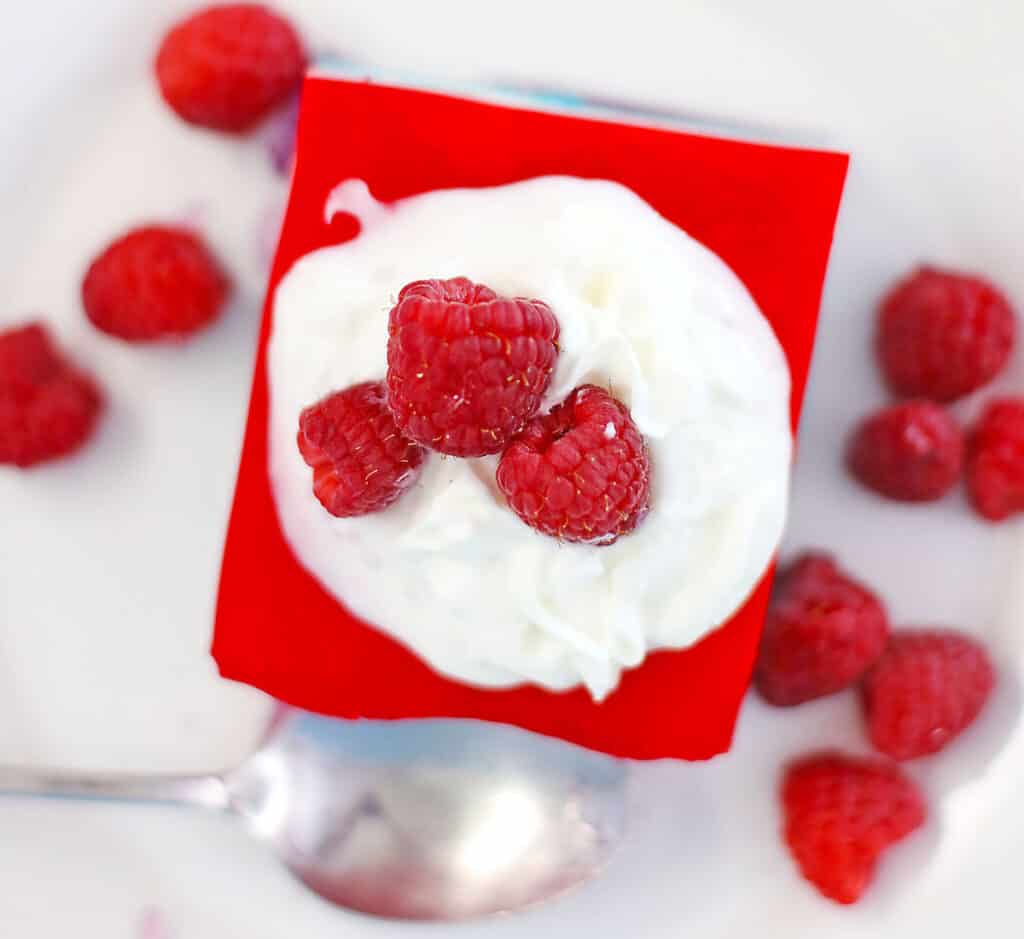
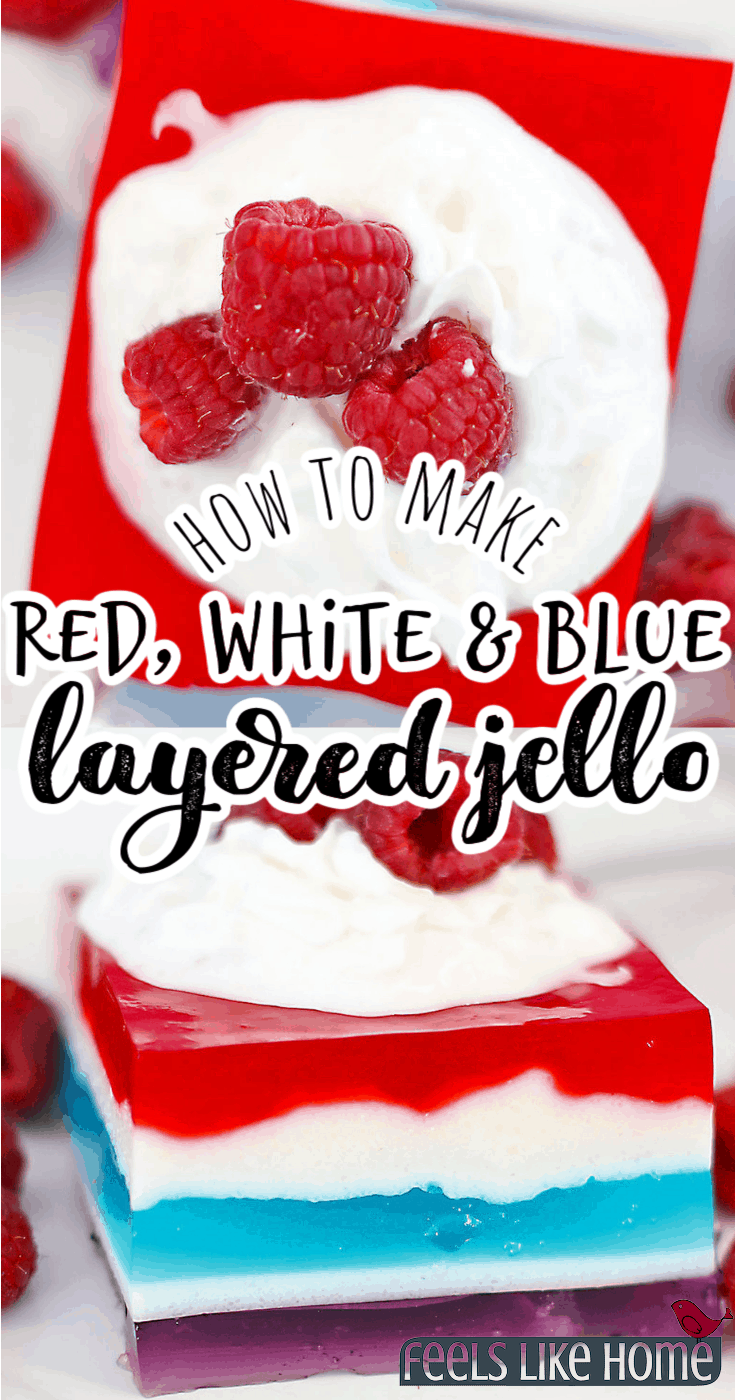
    layered jello from the top with whipped cream and raspberriesPin

    Layered Jello variations

    I think this Jello is so much fun, and I think it would be really cool to make it with different colors for different holidays and occasions:

    • Valentine's Day jello - Alternate pink (watermelon) and red (cherry, strawberry, or raspberry) with white layers in between
    • St. Patrick's Day jello - Use one box each of red (cherry, strawberry, or raspberry), orange, yellow (lemon), green (lime), blue (blue raspberry), and purple (grape) with white layers in between
    • Halloween jello - Alternate orange with either grape or black cherry that has been mixed with a bit of black gel food color. You can't use liquid food color unless you reduce the amount of water in the layer by an equal amount.
    • Christmas jello - Alternate green (lime) with red (cherry, strawberry, or raspberry) and pink (watermelon)
    • Snowstorm jello - Alternate just blue (blue raspberry) with white layers
    layered jello for july 4th

    How to Make Layered Red White and Blue Jello for July 4th

    How to make layered red, white, and blue Jello for July 4th. This colorful, fun, and impressive gelatin dessert is perfect to serve at all the patriotic holidays including Memorial Day and Independence Day.
    5 from 6 votes
    Print Recipe Pin Recipe
    Prep Time 1 hr 30 mins
    Total Time 1 hr 30 mins
    Course Dessert
    Cuisine American
    Servings 12 squares
    Calories 346 kcal

    Equipment

    • Kitchen scale

    Ingredients
      

    For the layered Jello

    • 3.4 ounces Grape Jello
    • 6.8 ounces Blue raspberry Jello
    • 6.8 ounces Raspberry Jello Or any red flavor (strawberry, cherry, etc.)
    • 4 ounces unflavored gelatin Sixteen 0.25 oz packets
    • 21 ounces sweetened condensed milk
    • Boiling water
    • Cold water

    To serve

    • 1 can Whipped cream
    • ½ cups raspberries or other fresh fruit to match red layer

    Instructions
     

    For the layered Jello

    • Spray a 9x13 pan generously with cooking spray. You could use a smaller 9x9 pan if you needed to, but then you would have to cut out 3 of the layers. I recommend cutting out the bottom 3 - grape, milk, and blue raspberry. In that case, you would start and end with red.
    • In a small bowl, whisk together the box of grape Jello with 1 teaspoon of the unflavored gelatin and 1 cup of boiling water until you are certain that all the powder is dissolved. Pour into the prepared pan, set in the fridge ensuring it is completely flat, and chill in the refrigerator to set (about 30 minutes).
    • As soon as the grape Jello goes into the fridge, do this step. In a medium bowl, whisk the sweetened condensed milk with 2 cups of boiling water. In a smaller bowl, sprinkle 1 ounce (4 envelopes) of unflavored gelatin over 1 cups cold water and whisk to dissolve. Allow the mixture to rest for 5 minutes so that the gelatin can absorb as much water as possible. After 5 minutes, pour 1 cup boiling water into the unflavored gelatin mixture and stir, then pour the gelatin mixture into the sweetened condensed milk mixture and stir again.
    • Mix up the rest of the jello. Pour both boxes of red jello into a bowl with 1 full packet of unflavored gelatin and 2 cups of boiling water. Stir well until all the powder is dissolved. Repeat with the blue jello. Allow to cool on the counter but do not add ice or any more water.
    • Once the grape layer is completely set, remove it from the fridge and pour 1 cup of the sweetened condensed milk mixture over the top. (If you want precise, even layers, make sure the milk mixture is room temperature before adding to the grape layer. If you like wavy, uneven layers, it's okay to pour it on hot.) Return to the refrigerator for at least 15-20 minutes to set.
    • Repeat the layer process, with 1 cup of blue jello first, alternating with 1 cup of white gelatin between each colored layer. (It will be purple, white, blue, white, red, white, blue, white, red.) Remember, if you want precise, even layers, you must make sure that all of the Jello mixtures cool to room temperature before pouring over the previously set layer.
    • Once all the layers have been set, cover with plastic wrap and refrigerate at least 4 hours to set completely.

    To serve

    • Just before serving, run a sharp paring knife all around the edges of the pan and turn the layered Jello out onto a cutting board.
    • To serve as finger Jello, cut into 1-inch squares. To serve as Jello on a plate, cut into 2 to 3 inch squares and top each square with whipped cream and fresh raspberries (or strawberries if you used strawberry Jello for the red layers).

    Notes

    Nutritional information assumes a 3-inch square with whipped cream and raspberries on top. If cutting 1-inch finger Jello squares, the nutritional information is 1/9 of the total above or 39 calories per cube.
    Strictly speaking, it is not necessary to use the unflavored gelatin in the colored layers. However, if you don't use it, you will have to wait an hour or more in between layers so that the colored layers will set well enough to pour in the next layer evenly. Also, the extra gelatin in the colored layers helps this work better for finger jello.
    Because it has so much gelatin in it, the white milk layer often sets up at room temperature. If you find that yours is getting too solid in between pouring, just put the bowl into a slightly larger bowl with a couple of inches of hot water in the bottom. You don't want so much water that it spills in to the gelatin of course, but enough to keep the white stuff warm and liquid.
    You CANNOT add ice to the jello to cool it quicker. This will dilute the jello, and it won't set properly. You can however pop it into the fridge for a few minute. That will cool it more quickly, but don't leave it in there for more than 5 minutes because it will set, and then you will have to reheat it and start all over.
    If you prefer very flat, very even layers, allow the liquid to cool to room temperature before pouring over the previously chilled layer. If you want the wavy look, you can pour warm liquid over the top of the set layers. This will soften and slightly melt the layer that you just hardened and give an irregular appearance to the layers. You can never pour boiling liquid on top of the hardened jello because then the set layer will melt, and they will mix. You will have no layers, and you will be sad. Let it cool.
    It is best to cut Jello with a sharp flat-edged knife such as a paring knife. If you use a serrated knife, you will not get nice, crisp, clean edges.

    Nutrition

    Serving: 1square | Calories: 346kcal | Carbohydrates: 65g | Protein: 11g | Fat: 6g | Saturated Fat: 4g | Cholesterol: 21mg | Sodium: 260mg | Potassium: 204mg | Fiber: 1g | Sugar: 62g | Vitamin A: 175IU | Vitamin C: 3mg | Calcium: 152mg | Iron: 1mg
    Keyword jello
    Tried this recipe? Pin it for later!Follow @FeelsLikeHome or tag #FeelsLikeHomeBlog!
    2FacebookMessenger74PinterestTwitterWhatsAppEmail
    76
    SHARES

    Reader Interactions

    Leave a Reply Cancel reply

    Your email address will not be published. Required fields are marked *

    Recipe Rating


    Primary Sidebar

    Hi, I'm Tara.

    Harrisburg PA mom blogger Tara Ziegmont
    I'm passionate about helping women to care for themselves and their families by offering a combination of easy & delicious recipes, family fun ideas, and Christian inspiration. If you're tired of feeling so weary and uninspired, you're in good company.

    If you don’t like cooking or don’t think you can cook, you're in the right place. Feels Like Home is all about simple recipes, and I promise you, ANYONE can make them! No one will ever question your cooking ability again.

    I'm so glad you're here!

    Read more about me...

    Facebook Twitter Pinterest Instagram LinkedIn email me subscribe

    Recent posts:

    Buffalo Chicken Zucchini Boats with blue cheese crumbles, diced celery, and homemade ranch dressing

    Buffalo Chicken Zucchini Boats

    homemade Cracker Jacks copycat caramel corn with peanuts

    Homemade Cracker Jacks - Copycat Caramel Corn with Peanuts Recipe

    a close up of the best pear crisp recipe

    The Very Best Pear Crisp Recipe

    the best keto salad dressing - creamy lemon dressing

    The Best Keto Salad Dressing - Creamy Lemon Dressing

    AS SEEN ON

    a list of the websites where Tara Ziegmont has been featured

    Popular Recipes


    OVERNIGHT FRENCH TOAST CASSEROLE


    WORLD'S BEST CHILI WITH BACON


    COULDN'T BE EASIER CHERRY PIE


    BLT SALAD WITH LEMON MAYO DRESSING


    CHEESEBURGER SOUP FROM TASTE OF HOME

    Food with an Instant Pot in the background

    Footer

    ↑ back to top

    About

    • Privacy Policy
    • Disclaimer
    • Terms & Conditions

    As seen on

    a list of the websites where Tara Ziegmont has been featured

    Contact Tara


    As an Amazon Associate, I earn from qualifying purchases. Read my full disclosure policy.

    Copyright © 2022 Feels Like Home Blog

    We use cookies on our website to give you the most relevant experience by remembering your preferences and repeat visits. By clicking “Accept”, you consent to the use of ALL the cookies.
    Do not sell my personal information.
    SettingsAccept
    Privacy & Cookies Policy

    Privacy Overview

    This website uses cookies to improve your experience while you navigate through the website. Out of these, the cookies that are categorized as necessary are stored on your browser as they are essential for the working of basic functionalities of the website. We also use third-party cookies that help us analyze and understand how you use this website. These cookies will be stored in your browser only with your consent. You also have the option to opt-out of these cookies. But opting out of some of these cookies may affect your browsing experience.
    Necessary
    Always Enabled
    Necessary cookies are absolutely essential for the website to function properly. This category only includes cookies that ensures basic functionalities and security features of the website. These cookies do not store any personal information.
    Non-necessary
    Any cookies that may not be particularly necessary for the website to function and is used specifically to collect user personal data via analytics, ads, other embedded contents are termed as non-necessary cookies. It is mandatory to procure user consent prior to running these cookies on your website.
    SAVE & ACCEPT