


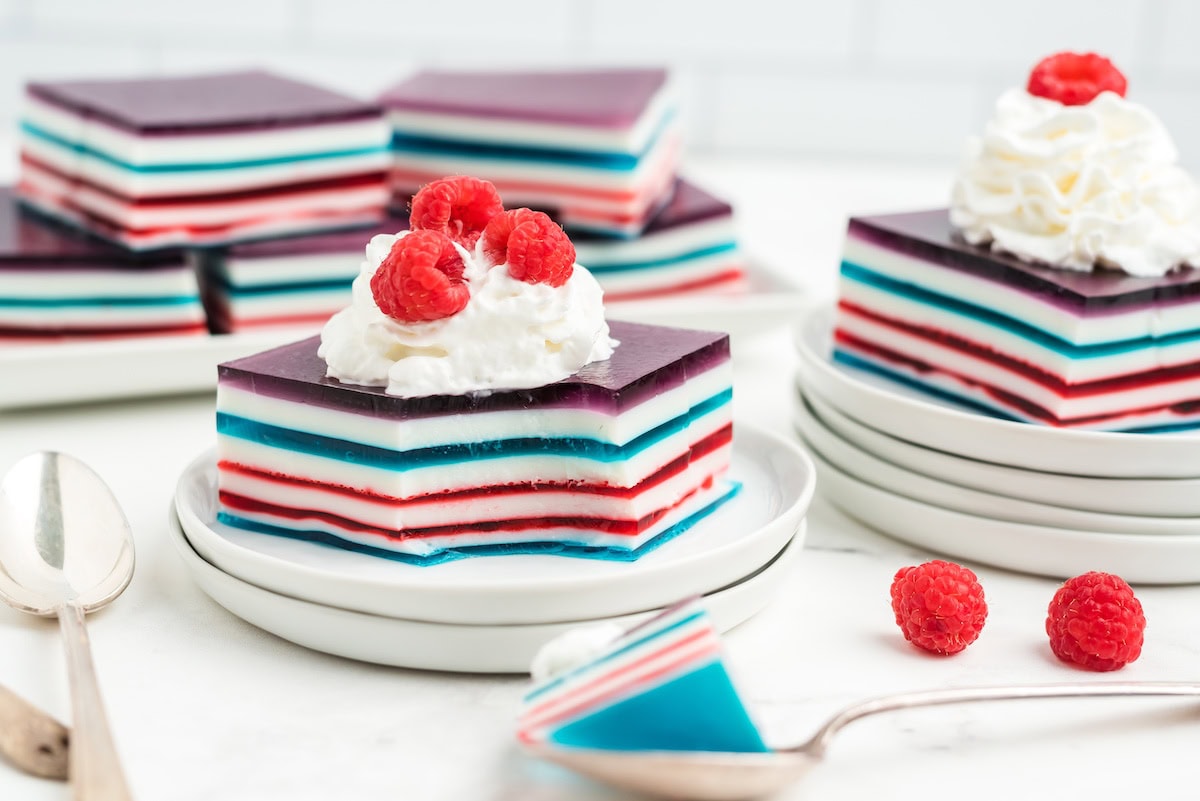
This red white and blue finger jello is made with layered jello, creamy condensed milk, and bright white jello for a fun, festive look. It's the easiest patriotic dessert for your 4th of July, Memorial Day, Veteran's Day, or summer holiday party. Serve as jello jigglers or bite-sized treats for a no-mess 1776 party idea. Pin this now so you're ready with a colorful fourth of July dessert everyone will love!
I've been on a major red, white, and blue kick lately, having made red, white, and blue berry trifle; red, white, and blue fruit salad; and red, white, and blue fruit tart.
Is making layered Jello hard?
No way! It's not hard at all, but there are tricks that make it come out better, and it is time consuming. You will be working on it on and off for a couple of hours, as you have to allow each layer to set completely in the fridge before adding the next layer. Look below in the tips section for my tricks to getting nicer layers when you're all done.
Can I make fewer layers?
Of course! You can make each color a single layer if you want and just split the white in between them.
How to Make Layered Red White and Blue Jello
See the printable recipe card at the bottom of the page for all measurements and nutritional information.
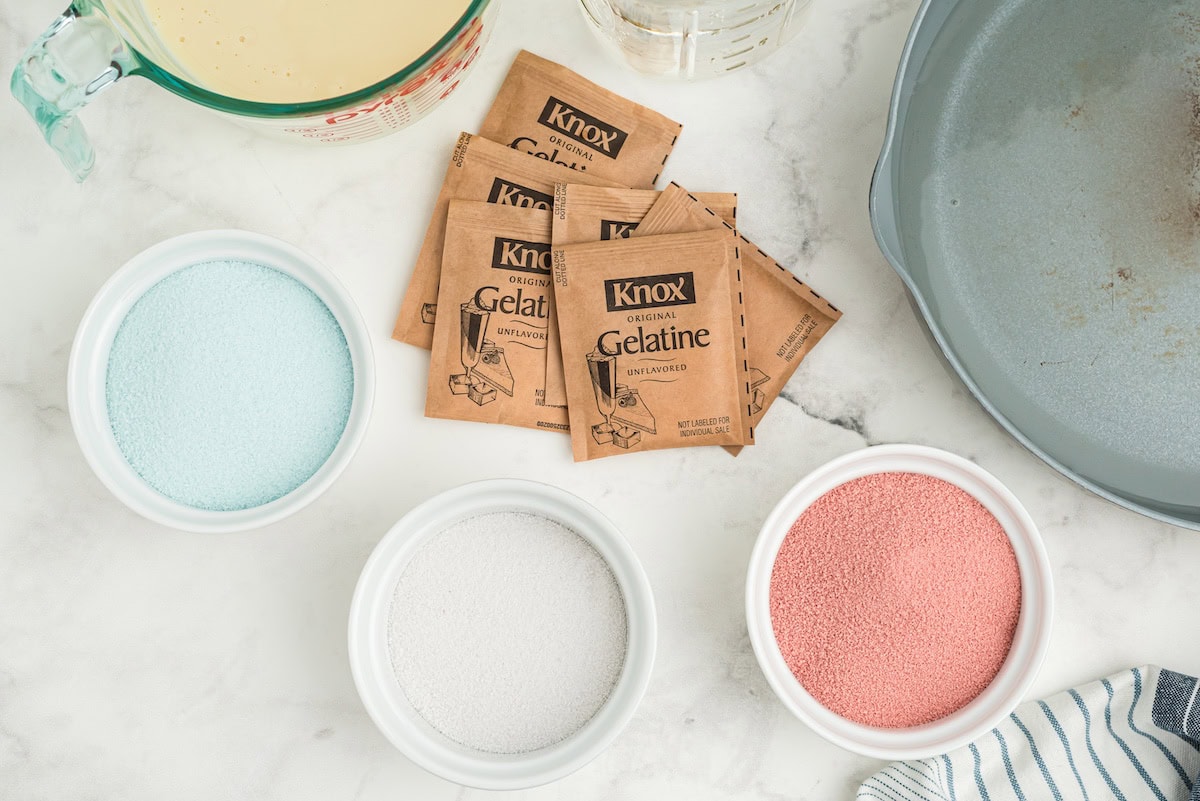
Layered Jello ingredients
- Grape Jello - If you don't like the look of the purple, you can add an extra box of blue or red, or just leave it out.
- Blue raspberry Jello - If you're making red white and blue jello, you need a blue layer.
- Raspberry Jello - It's okay to use any red flavor like strawberry, cherry, or watermelon.
- Unflavored gelatin - You need this to set the white layers and make the colored layers more firm.
- Sweetened condensed milk - This is what makes the opaque white layers. You will mix it with unflavored gelatin.
- Boiling water - This is required to make jello.
- Cold water - This is also required to make jello.
How to serve layered Jello
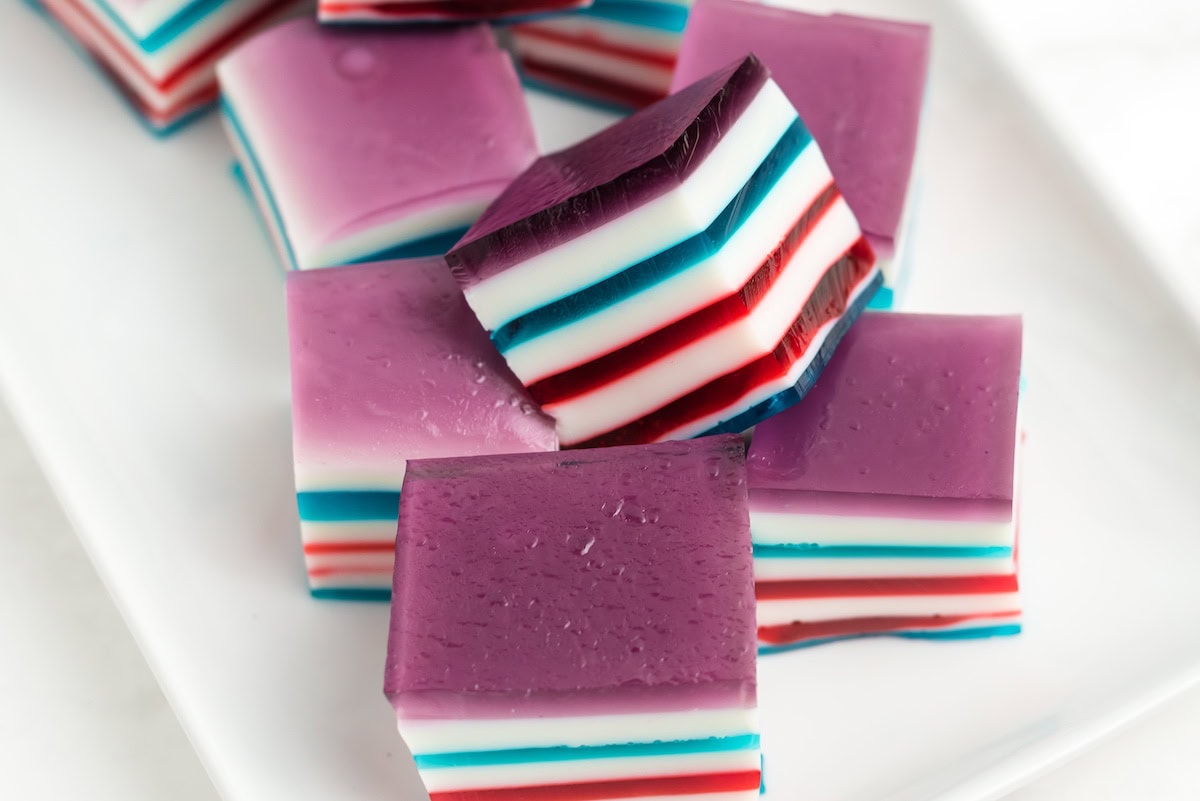
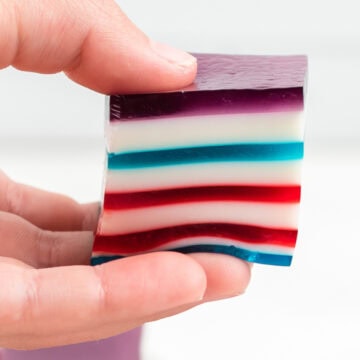
There are two ways to serve this jello. The first way is to make finger Jello (which was called Jello Jigglers in my day). To do that, just cut 1-inch squares and don't garnish.
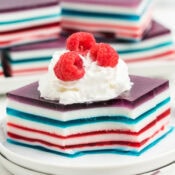
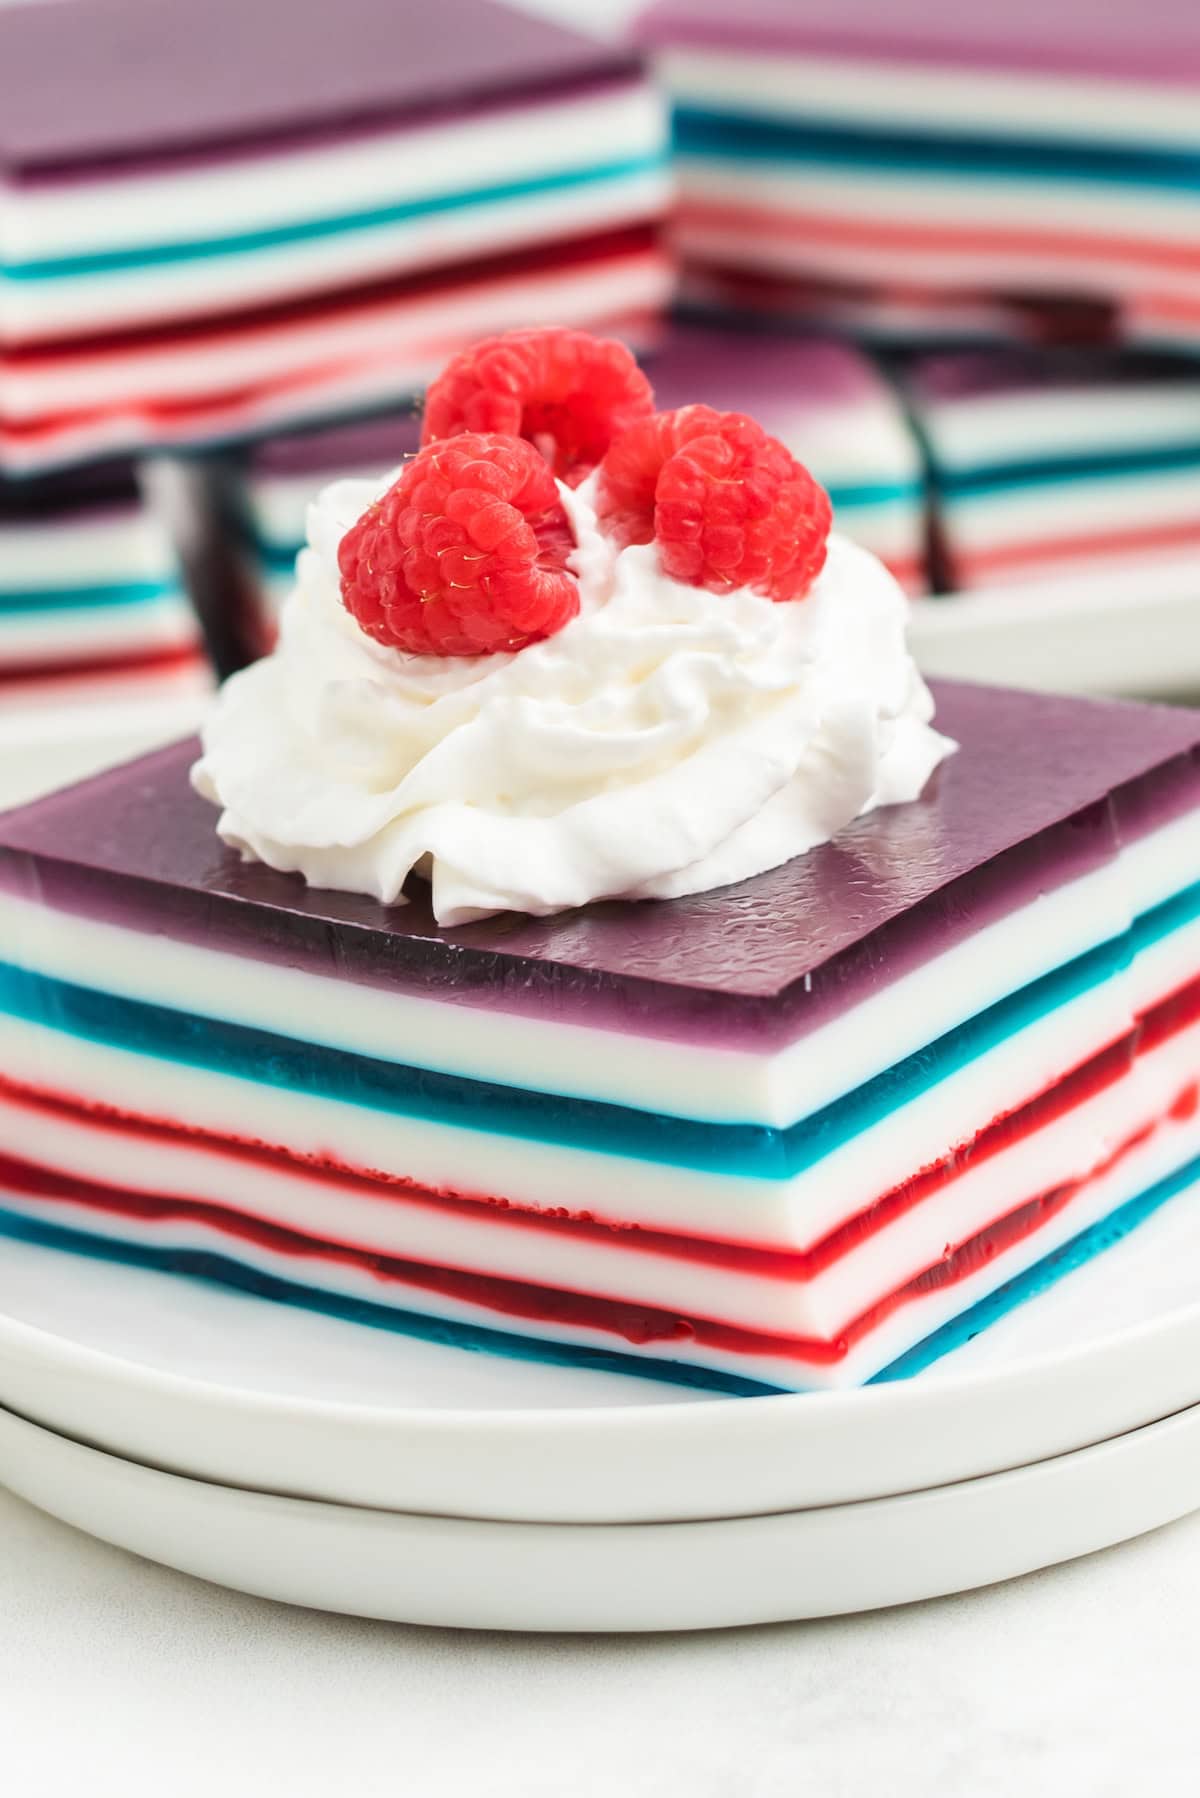
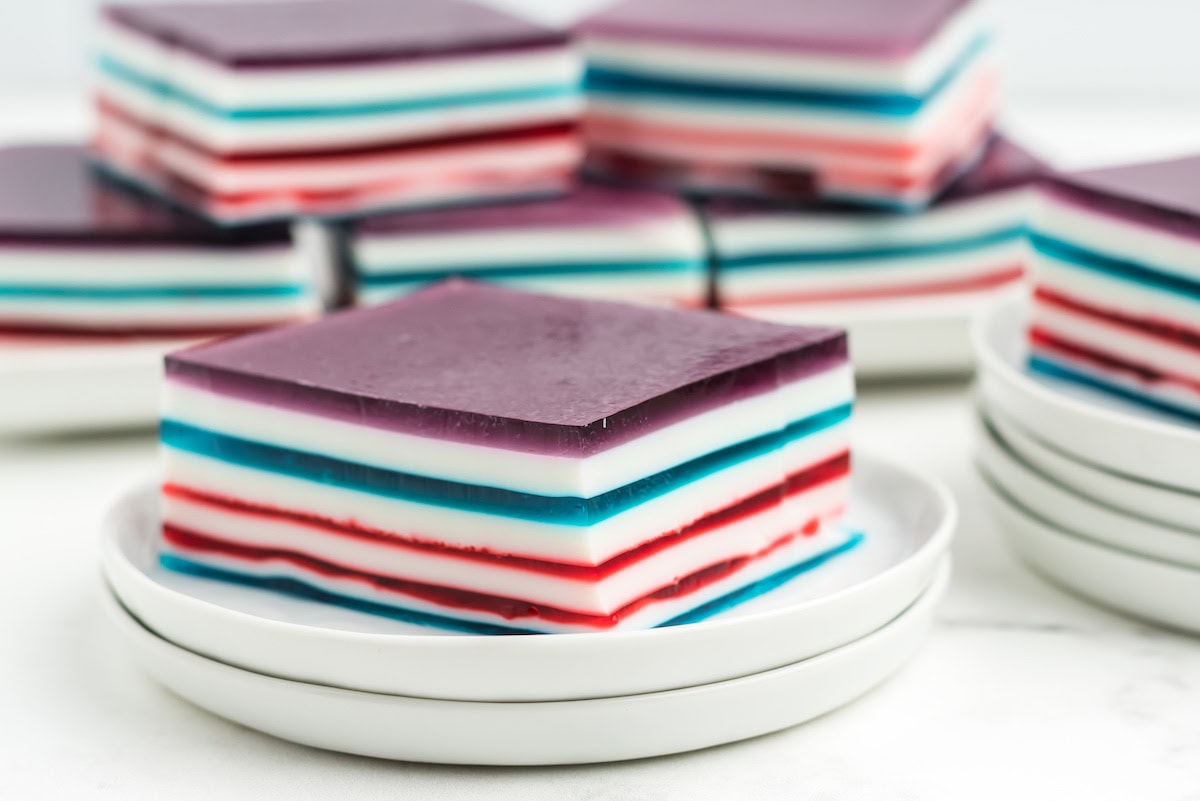
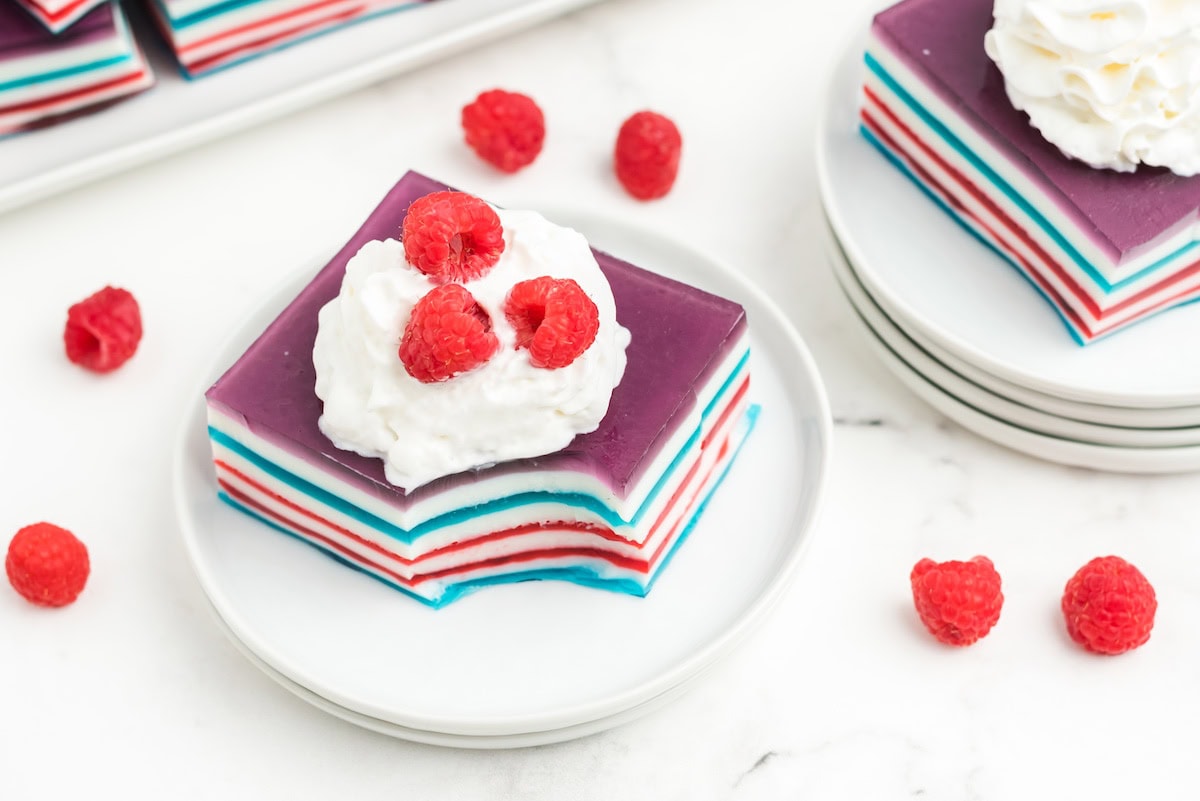
The second way to serve layered Jello is to make rectangles that are about 3 inches by 3 inches or 1/12 of the 9x13 pan. If you cut it like that, you should plan on having some real whipped cream and fresh berries (or whatever fruit flavor you used for the red jello - cherries, strawberries, watermelon, etc).
How to make layered Jello
- Spray a 9x13 pan generously with cooking spray. You could use a smaller 9x9 pan if you needed to, but then you would have to cut out 3 of the layers. I recommend cutting out the bottom 3 - grape, milk, and blue raspberry. In that case, you would start and end with red.
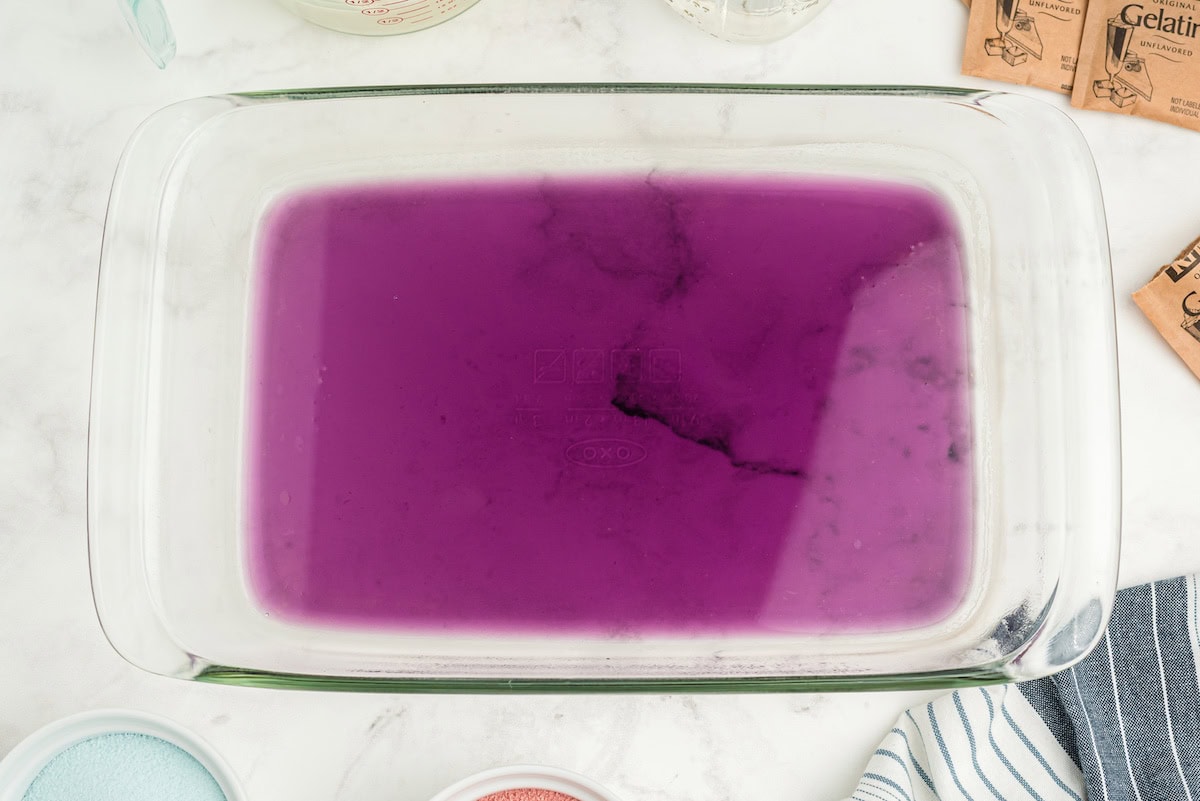
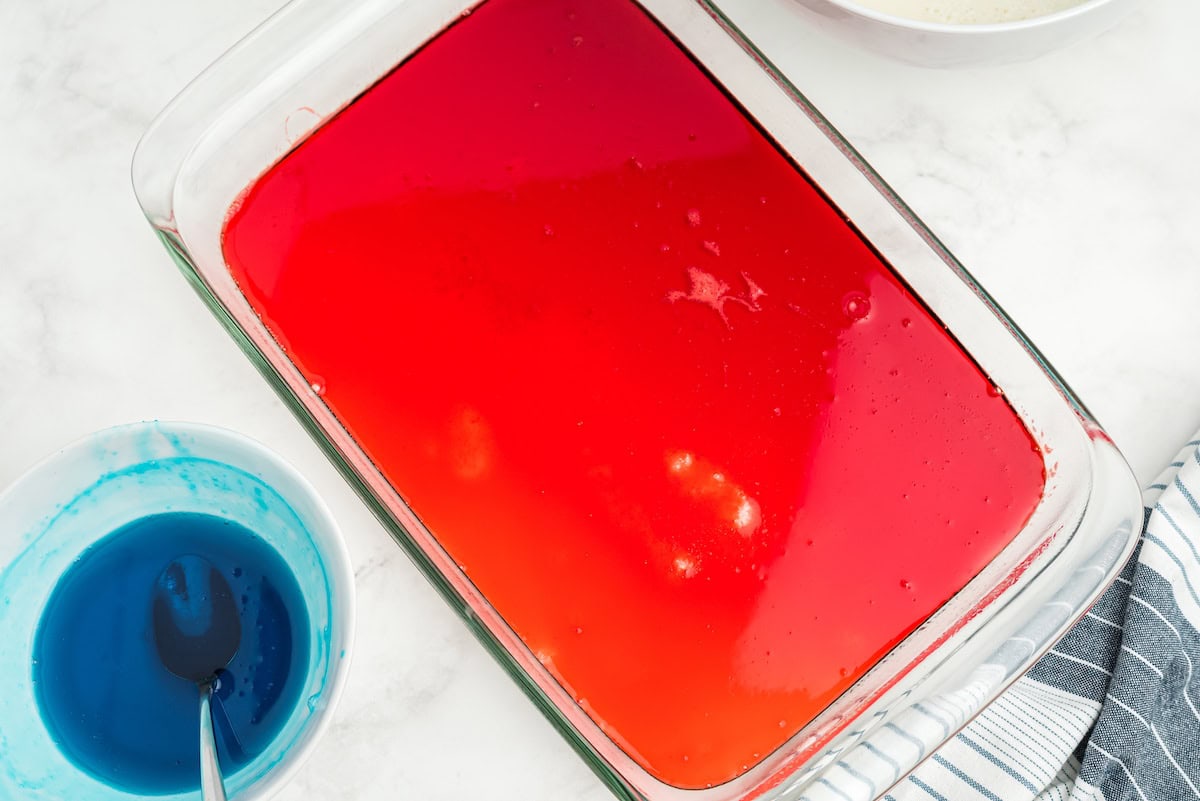
- In a small bowl, whisk together the box of grape Jello with 1 teaspoon of the unflavored gelatin and 1 cup of boiling water until you are certain that all the powder is dissolved. Pour into the prepared pan, set in the fridge ensuring it is completely flat, and chill in the refrigerator to set (about 30 minutes).

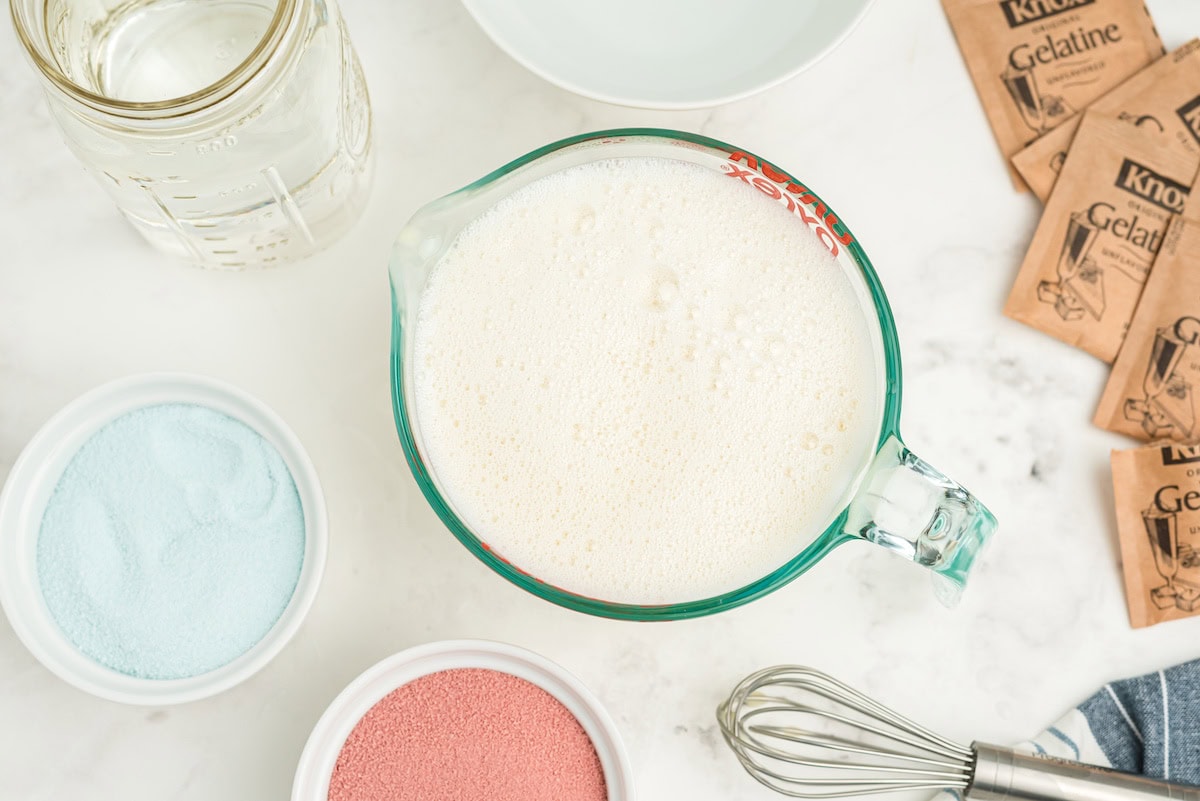
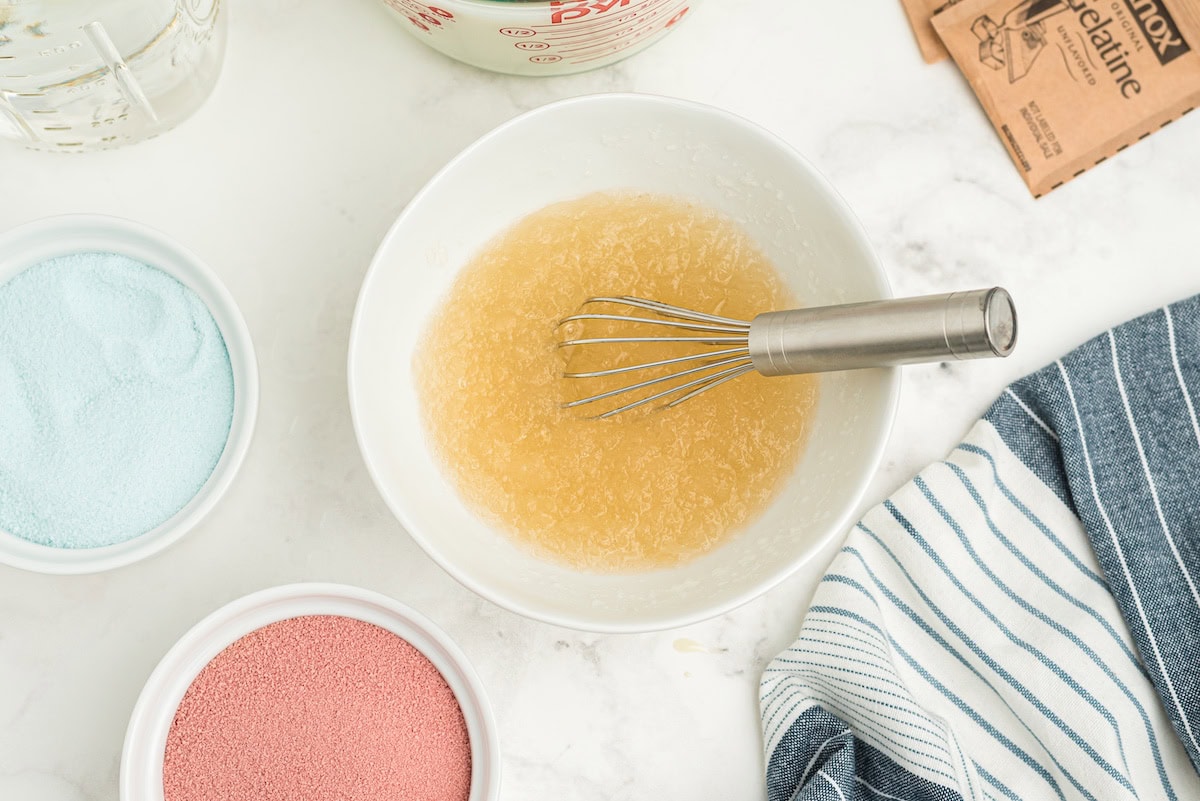
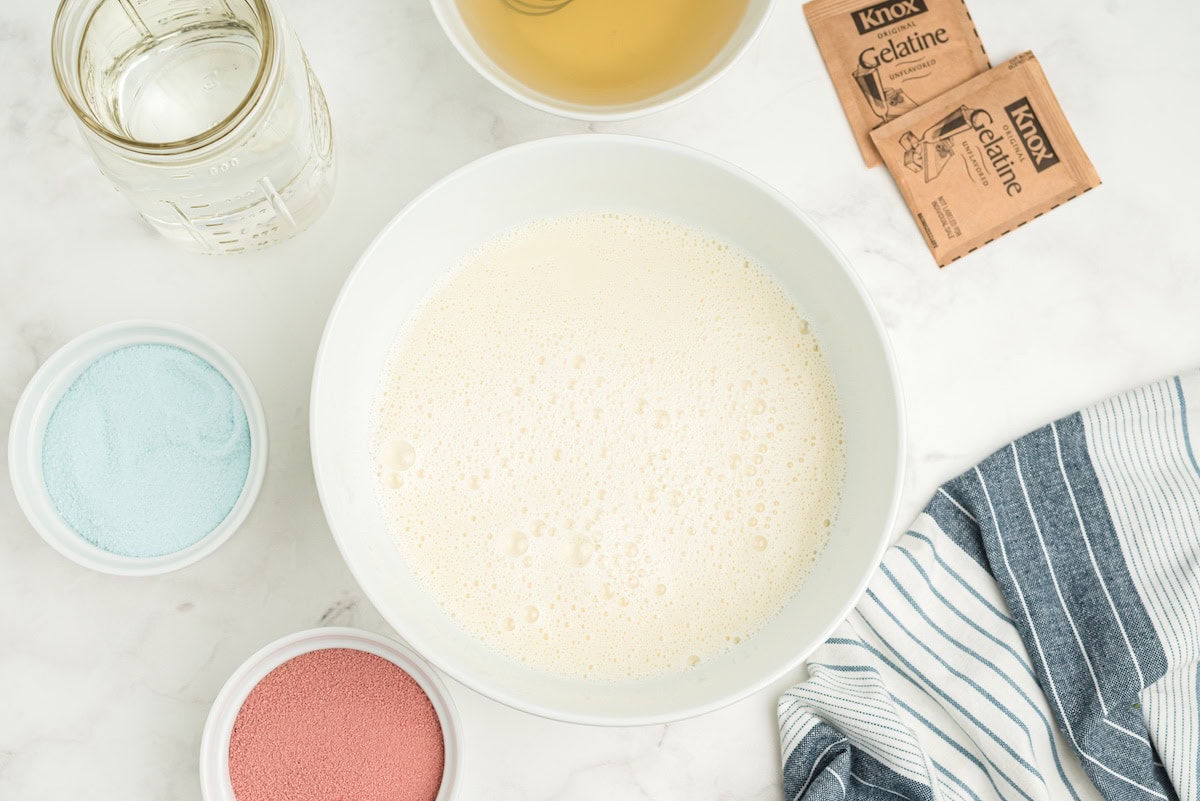
- As soon as the grape Jello goes into the fridge, do this step. In a medium bowl, whisk the sweetened condensed milk with 2 cups of boiling water. In a smaller bowl, sprinkle 1 ounce (4 envelopes) of unflavored gelatin over 1 cups cold water and whisk to dissolve. Allow the mixture to rest for 5 minutes so that the gelatin can absorb as much water as possible.
- After 5 minutes, pour 1 cup boiling water into the unflavored gelatin mixture and stir.
- Pour the gelatin mixture into the sweetened condensed milk mixture and stir again.
- Mix up the rest of the jello. Pour both boxes of red jello into a bowl with 1 full packet of unflavored gelatin and 2 cups of boiling water. Stir well until all the powder is dissolved. Repeat with the blue jello. Allow to cool on the counter but do not add ice or any more water.
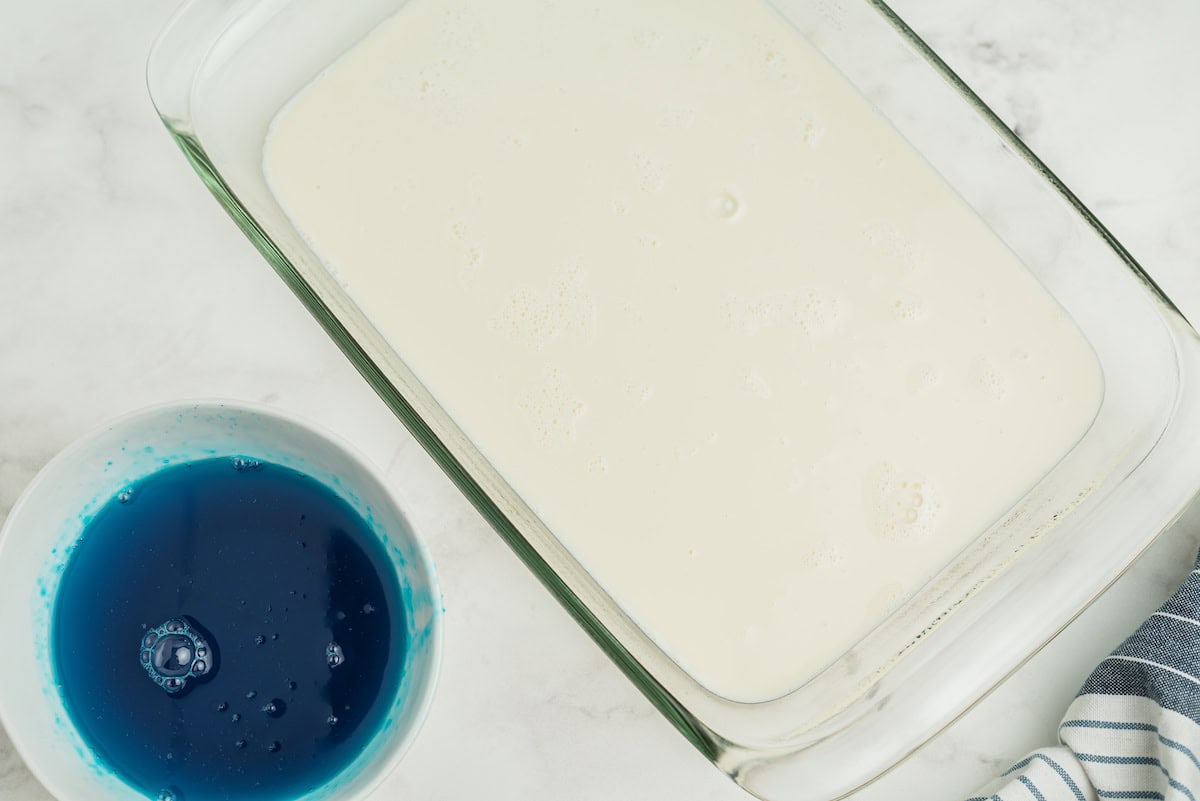
- Once the grape layer is completely set, remove it from the fridge and pour 1 cup of the sweetened condensed milk mixture over the top. (If you want precise, even layers, make sure the milk mixture is room temperature or even cool before adding to the grape layer. If you like wavy, uneven layers, it's okay to pour it on hot.) Return to the refrigerator for at least 15-20 minutes to set.
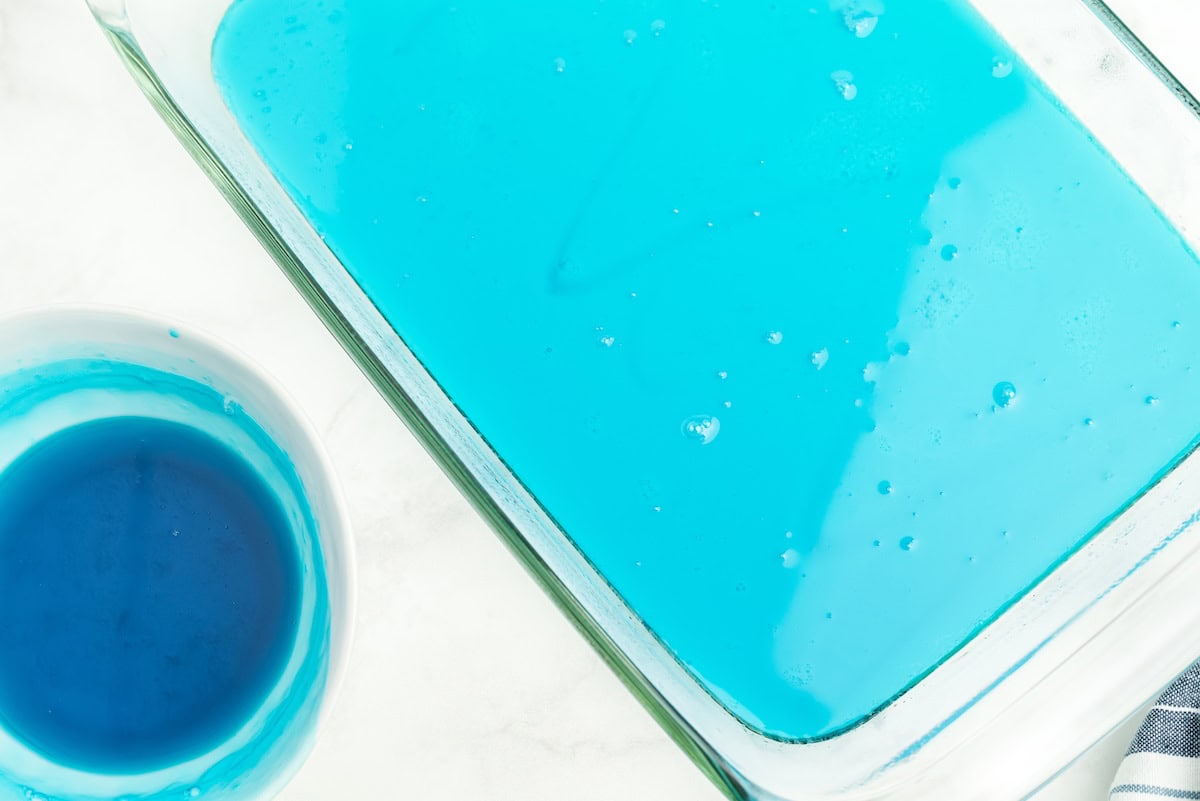
- Repeat the layer process, with 1 cup of blue jello first, alternating with 1 cup of white gelatin between each colored layer.
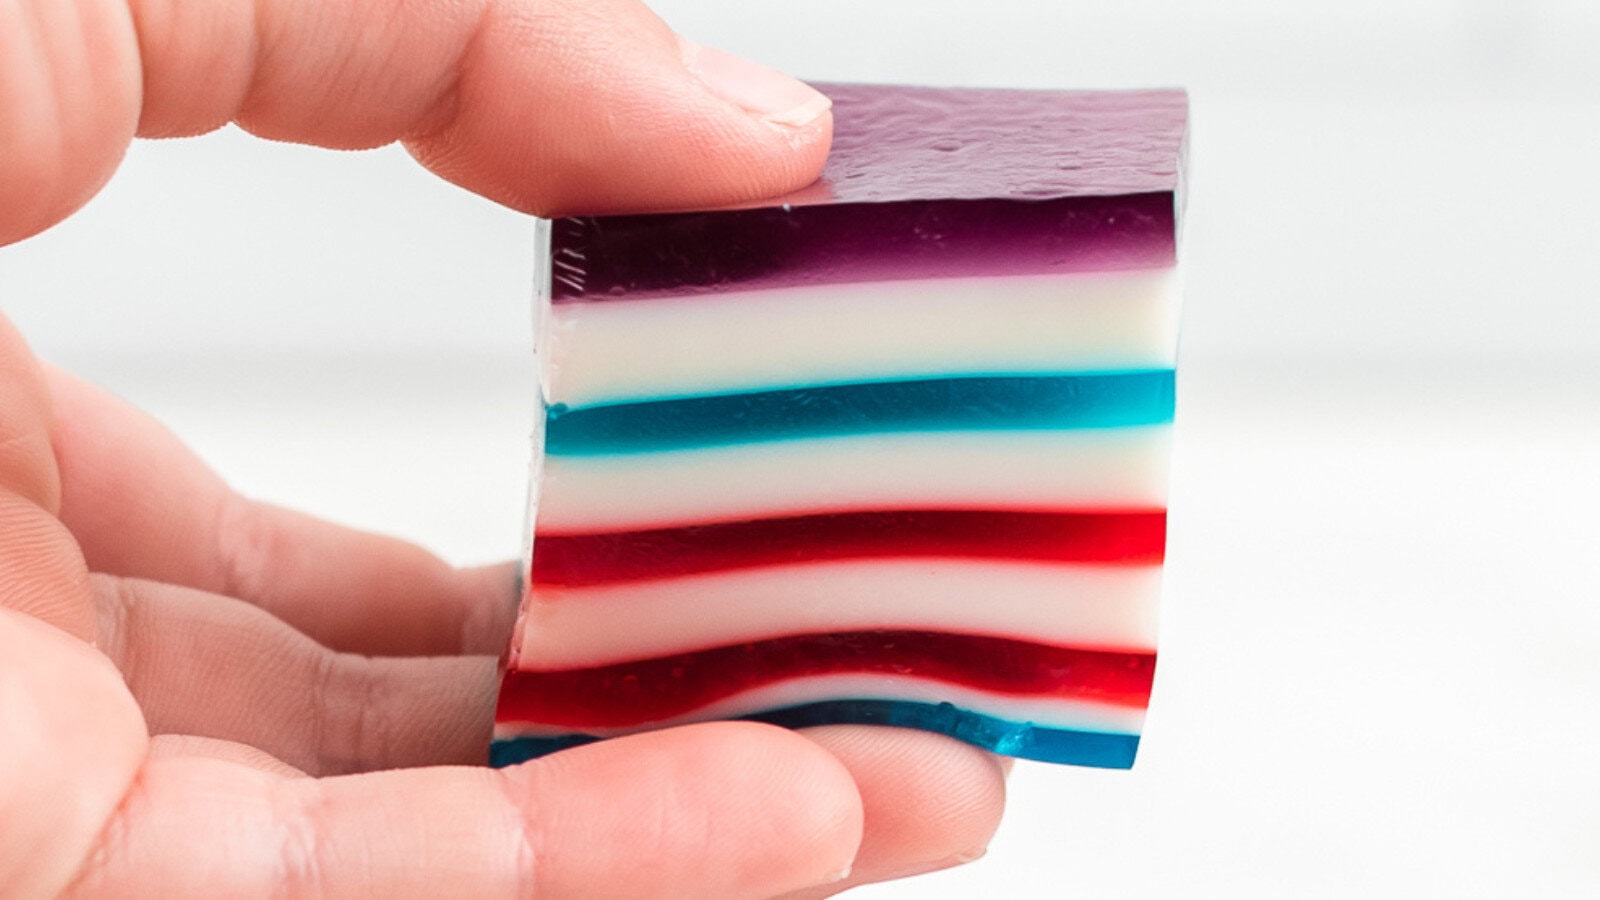
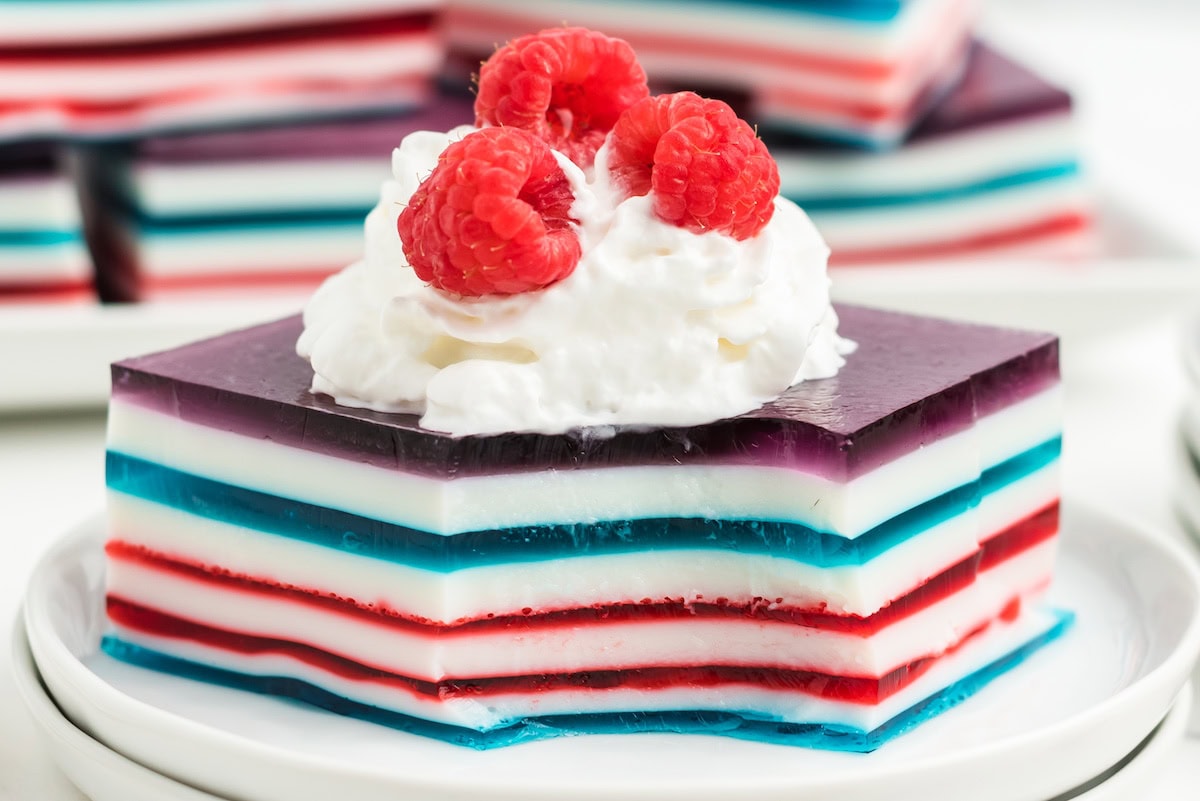
- It should be purple, white, blue, white, red, white, blue, white, red.
- Remember, if you want precise, even layers, you must make sure that all of the Jello mixtures are cool before pouring over the previously set layer.
- Once all the layers have been set, cover with plastic wrap and refrigerate at least 4 hours to set completely.

Tips for making the best layered finger Jello
Use unflavored gelatin in each layer
I suggest using a ½ packet of unflavored gelatin in each colored layer. Strictly speaking, it is not necessary to use this but if you don't, you will have to wait an hour or more in between layers so that the colored layers will set well enough to pour in the next layer evenly. Also, the extra gelatin in the colored layers helps this set harder and work better for finger jello.
Working with the white milk layer
Because it has so much gelatin in it, the white milk layer often sets up at room temperature. If you find that yours is getting too solid in between pouring, just put the bowl into a slightly larger bowl with a couple of inches of hot water in the bottom. You don't want so much water that it spills in to the gelatin of course, but enough to keep the white stuff warm and liquid.
Chilling the liquid Jello
You CANNOT add ice to the jello to cool it quicker. This will dilute the jello, and it won't set properly. You can however pop it into the fridge for a few minute. That will cool it more quickly, but don't leave it in there for more than 5 minutes because it will start to set, and then you will have to reheat it and start all over.
The secret to even layers
If you prefer very flat, very even layers, allow the liquid to cool to room temperature before pouring over the previously chilled layer. If you want the wavy look, you can pour warm liquid over the top of the set layers. This will soften and slightly melt the layer that you just hardened and give an irregular appearance to the layers. You can never pour boiling liquid on top of the hardened jello because then the set layer will melt, and they will mix. You will have no layers, and you will be sad. Let it cool.

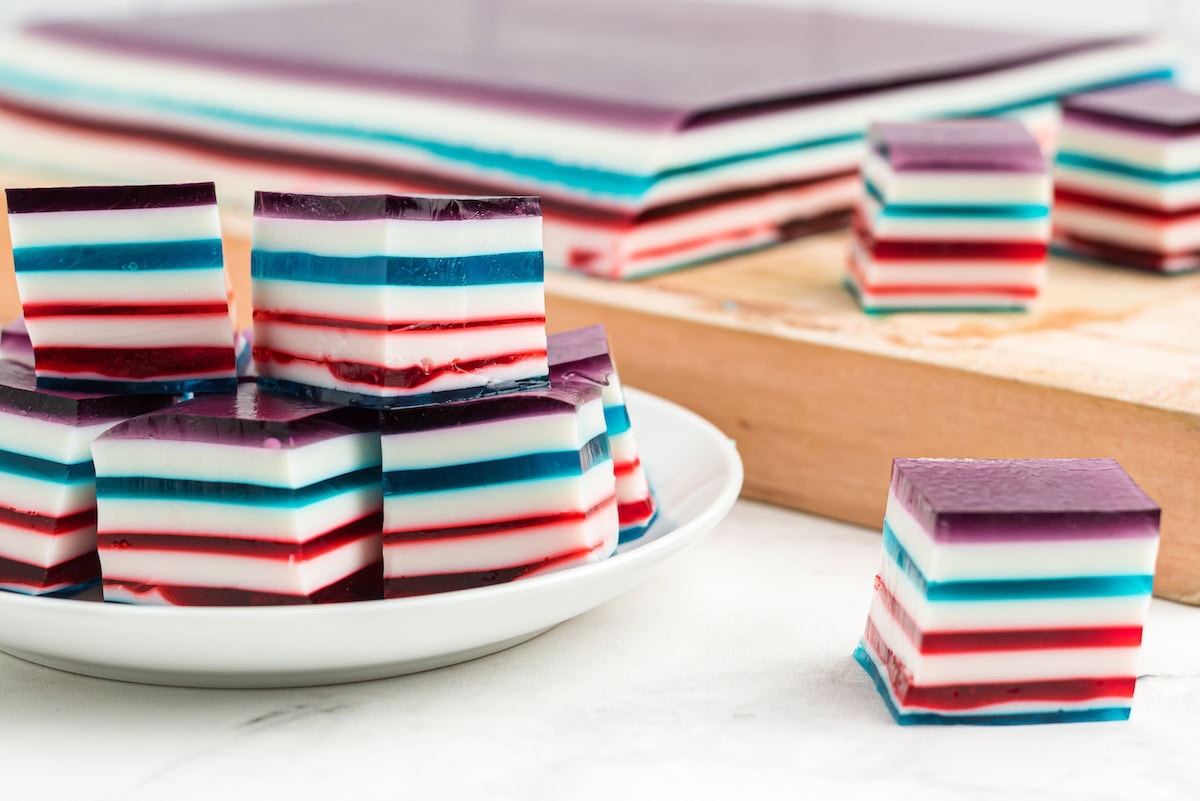
The secret to perfect finger Jello
It is best to cut Jello (any Jello) with a sharp flat-edged knife such as a paring knife. If you use a serrated knife, you will not get nice, crisp, clean edges because the Jello will tear and crumble.
Layered Jello variations
I think this Jello is so much fun, and I think it would be really cool to make it with different colors for different holidays and occasions:
- Valentine's Day jello - Alternate pink (watermelon) and red (cherry, strawberry, or raspberry) with white layers in between
- St. Patrick's Day jello - Use one box each of red (cherry, strawberry, or raspberry), orange, yellow (lemon), green (lime), blue (blue raspberry), and purple (grape) with white layers in between
- Halloween jello - Alternate orange with either grape or black cherry that has been mixed with a bit of black gel food color. You can't use liquid food color unless you reduce the amount of water in the layer by an equal amount.
- Christmas jello - Alternate green (lime) with red (cherry, strawberry, or raspberry) and pink (watermelon)
- Snowstorm jello - Alternate just blue (blue raspberry) with white layers
Try these other patriotic desserts:
- Red White and Blue Fruit Salad
- Red White and Blue Fruit Tart
- No Bake Red White and Blue Berry Trifle
Recipe
How to Make Red White and Blue Layered Jello
Equipment
Ingredients
For the layered Jello
- 3.4 ounces Grape Jello
- 6.8 ounces Blue raspberry Jello
- 6.8 ounces Raspberry Jello Or any red flavor (strawberry, cherry, etc.)
- 4 ounces unflavored gelatin Sixteen 0.25 oz packets
- 21 ounces sweetened condensed milk
- Boiling water
- Cold water
To serve
- 1 can Whipped cream
- ½ cups raspberries or other fresh fruit to match red layer
Instructions
For the layered Jello
- Spray a 9x13 pan generously with cooking spray. You could use a smaller 9x9 pan if you needed to, but then you would have to cut out 3 of the layers. I recommend cutting out the bottom 3 - grape, milk, and blue raspberry. In that case, you would start and end with red.
- In a small bowl, whisk together the box of grape Jello with 1 teaspoon of the unflavored gelatin and 1 cup of boiling water until you are certain that all the powder is dissolved. Pour into the prepared pan, set in the fridge ensuring it is completely flat, and chill in the refrigerator to set (about 30 minutes).
- As soon as the grape Jello goes into the fridge, do this step. In a medium bowl, whisk the sweetened condensed milk with 2 cups of boiling water. In a smaller bowl, sprinkle 1 ounce (4 envelopes) of unflavored gelatin over 1 cups cold water and whisk to dissolve. Allow the mixture to rest for 5 minutes so that the gelatin can absorb as much water as possible. After 5 minutes, pour 1 cup boiling water into the unflavored gelatin mixture and stir, then pour the gelatin mixture into the sweetened condensed milk mixture and stir again.
- Mix up the rest of the jello. Pour both boxes of red jello into a bowl with 1 full packet of unflavored gelatin and 2 cups of boiling water. Stir well until all the powder is dissolved. Repeat with the blue jello. Allow to cool on the counter but do not add ice or any more water.
- Once the grape layer is completely set, remove it from the fridge and pour 1 cup of the sweetened condensed milk mixture over the top. (If you want precise, even layers, make sure the milk mixture is room temperature before adding to the grape layer. If you like wavy, uneven layers, it's okay to pour it on hot.) Return to the refrigerator for at least 15-20 minutes to set.
- Repeat the layer process, with 1 cup of blue jello first, alternating with 1 cup of white gelatin between each colored layer. (It will be purple, white, blue, white, red, white, blue, white, red.) Remember, if you want precise, even layers, you must make sure that all of the Jello mixtures cool to room temperature before pouring over the previously set layer.
- Once all the layers have been set, cover with plastic wrap and refrigerate at least 4 hours to set completely.
To serve
- Just before serving, run a sharp paring knife all around the edges of the pan and turn the layered Jello out onto a cutting board.
- To serve as finger Jello, cut into 1-inch squares. To serve as Jello on a plate, cut into 2 to 3 inch squares and top each square with whipped cream and fresh raspberries (or strawberries if you used strawberry Jello for the red layers).

Comments
No Comments