Today, we are answering the question, What insects live in my yard?
This particular project posed a few problems where my own children were concerned:
- They were away for the weekend, camping with my sister.
- They hate bugs.
- They hate anything that might be related to bugs.
- Did I mention that they are not at all interested in small things that have 6 and 8 legs? No, not at all.
So I knew I wanted to do a project dealing with creepy crawly things, because some kids are interested in those, and I thought this was the perfect opportunity. Joe and I did the project without our kids, and we left it in place for a couple of days until they came home. Then we showed it to them, and they both said, "Okay," and walked away. They didn't even look inside, and that was a bummer even for me who hates bugs more than pretty much anybody.
Anyway, I digress. Some kids will like this even though my kids didn't, and that's why I'm posting it here.
Pitfall Bug Trap Materials
- A margarine container or any plastic container that's rectangular and about 3" deep (a takeout container might work)
- A block of wood or heavy cardboard about the same size as the footprint of the margarine container
- 4 small rocks
- 2 medium-large rocks
- Shovel or trowel
- A piece of too old fruit or a vegetable scrap
- Some dead leaves
Instructions
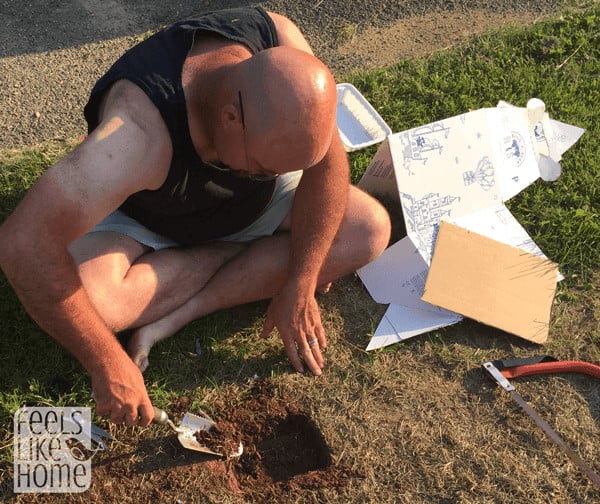
- Find an out of the way spot in your yard where you will not mourn the death of a small patch of grass. Joe's car has been parked in our yard for a while (because he had a company vehicle until it was in a crash), and the grass all died in that spot. So after he moved his car back to the driveway, we dug up that spot. Well, a little piece of that spot. So anyway, select a spot where your kids can dig up a couple of square inches.
- Dig a hole that is just slightly deeper than the plastic container but no wider and no longer. You want the container to just fit into the hole and sink down the slightest bit. If the bugs have to crawl up and over the lip to get in, they probably won't go in, so you want the edge to be a bit lower than the grass or soil around it.
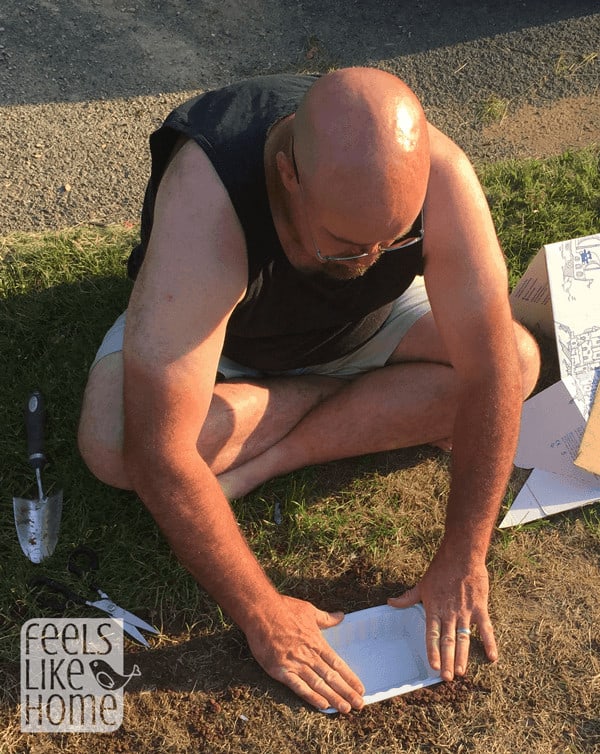
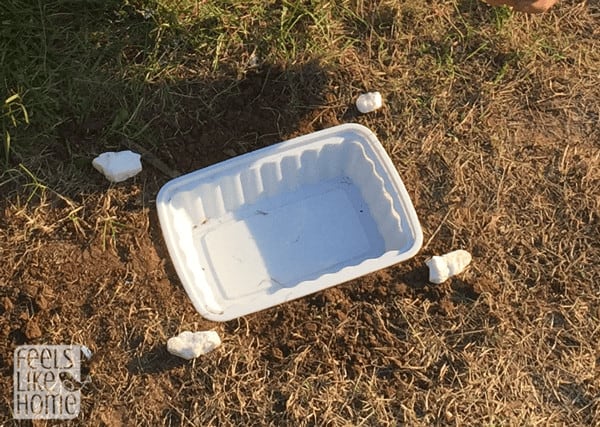
- Settle the container into the hole. Again, make sure it is a little below the area around it.
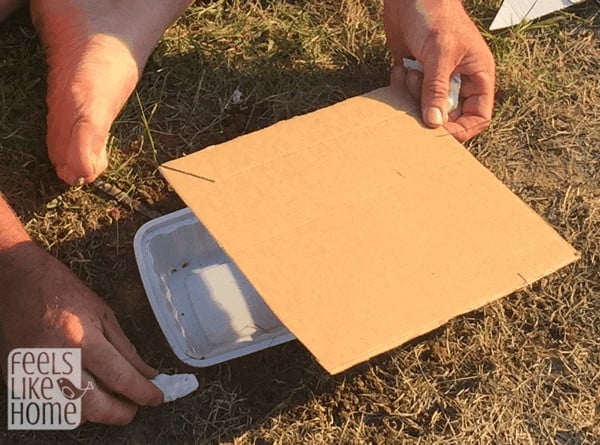
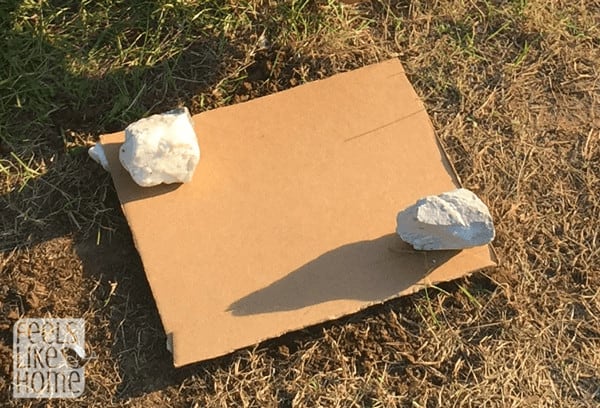
- Place 4 small rocks at the corners of the container, to hold the lid up off the ground a bit.
- Put some lures in the trap. A scrap of fruit or veggie will work well. You want to draw in the insects from the yard. (Don't use meat because that will just grow maggots. Gross. Even just typing the word maggots makes me shiver.)
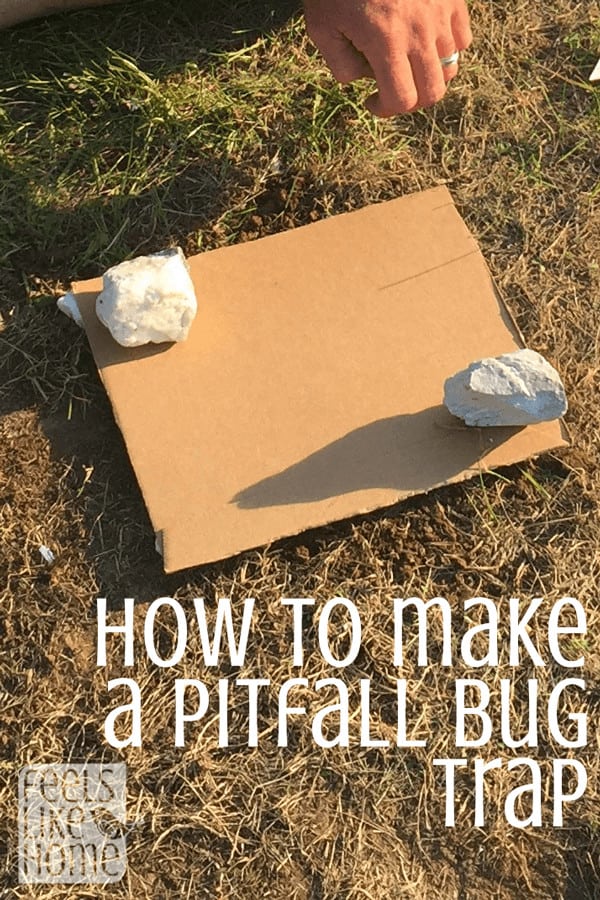
- Put the lid on the container and weigh it down with the 2 larger rocks. You don't want it to blow away here. Your bugs won't want to hang out if it's not a dark and protected spot.
- Wait. Check on your bugs every day, maybe even more often than that. See what creatures you've trapped and let them go. You don't want them to die in there; you just want to check them out for a bit.
The Science
There's not much to say here for science, is there? We normally think of wildlife as the creatures that are in state parks and national forests. Actually though, your yard is teeming with all kinds of diverse wildlife, and almost all of it is so small you wouldn't notice it normally. Creating a little trap with some attractive bait inside is a good way to see a little of your local wildlife for a short time. Just make sure you take your trap back inside and fill the hole back up in a couple of days.
Extend the Experiment
Have your child keep a journal of all the bugs you catch in your trap. Draw each one, write a short description, and try to identify it using the Peterson First Guide to Insects of North America or the Audubon Guide to North American Insects and Spiders.
Invest in a pocket magnifying glass or loupe to look more closely at your creatures. Sketch them in full or in part.
Check out some insect nature study printables at Homeschool Creations.
Check out insect story starter cards at 1+1+1=1.




Comments
No Comments