We signed up to offer a craft at our December 4H meeting. Our club's theme is wildlife, so I wanted something that had something to do with animals. I scoured Pinterest for a Christmas ornament craft that was easy enough to be done by 6-year-olds but interesting enough for teens (as that is the age span of our club). It wasn't easy, and I ended up finding exactly nothing that would work.
If you follow me on Instagram, you saw a picture of the Christmas tree our club decorated at Christmas Magic in York this year. It had a bird theme. The ornaments were all handmade by the club members and included toilet paper roll binoculars and birds made of painted clothespins with googly eyes and feathers hot glued on. The tree was adorable, and totally inspired the craft I ended up creating for our December meeting.
I was also inspired by the ornaments I found at the Dollar Tree store. They have simple, clear plastic ball ornaments in two sizes. The smaller size are 2 for $1 and the larger size is $1 each.
Between the bird tree above and the $45 worth of ornaments I bought, I decided on this painted DIY bird ornament. I think they look totally hokey, and maybe the oldest kids won't appreciate them, but my own kids love them and that's what matters to me.
DIY Bird Christmas Ornament Craft
Materials
- Clear plastic ball ornaments with removable tops
- Paint in your choice of colors (see below for types of birds to paint)
- Googly eyes (The ones I linked are self adhesive, but you will need some hot glue for the foam anyway, so I went ahead and glued them on.)
- Orange craft foam
- Feathers - I ordered natural colored feathers, blue feathers, white feathers, red feathers, and multi colored feathers from Amazon because I was not thrilled with the selection at my local craft stores.
- Hot glue gun with glue sticks
Instructions
I didn't take pictures of the individual steps here because the birds came together so easily - this really is a craft for kids, even young ones, with a little glue gun assistance.
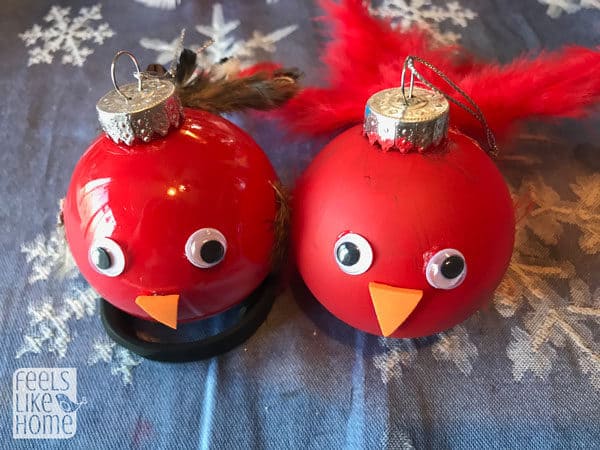
- Paint the ornaments. We experimented with rolling paint around the inside of the ornament (the bird on the left below) and painting the outside of the ornament (the bird on the right below).
As you can see, the bird with the painted inside stayed shiny while the bird with the painted outside is matte. You can also see the brush strokes on the bird that's painted outside which may bother some little painters. Joe made a bird (so there is proof that it's an okay craft for older kids - he asked to make one!), and he put three coats of paint on his bird to get the opacity and lack of brush strokes that he wanted.
I recommend dripping the paint on the inside of the ball and rolling it around until the whole thing is coated. Then turn it upside down over the paint bottle to let the remaining paint drip back out. Easy peasy.Types of birds (for photos visit All About Birds which is a site I have loved and subscribed to for years)
- Cardinal - red with a black face (we left off the black face)
- Blue bird - blue with an orange belly - Belly will have to be painted on the outside of the ornament.
- Robin - brown with an orange belly - Belly will have to be painted on the outside of the ornament.
- Dove - white or gray
- Goldfinch - yellow with black and gray wings
- Chickadee - white, gray, and black
- Junco - dark gray with white belly - Belly will have to be painted on the outside of the ornament.
- Wren - brown with yellow or white belly - Belly will have to be painted on the outside of the ornament.
- Tufted titmouse - mostly gray
- Put the top back on the ornament. Cut a small triangle beak out of craft foam and glue that and the eyes on.
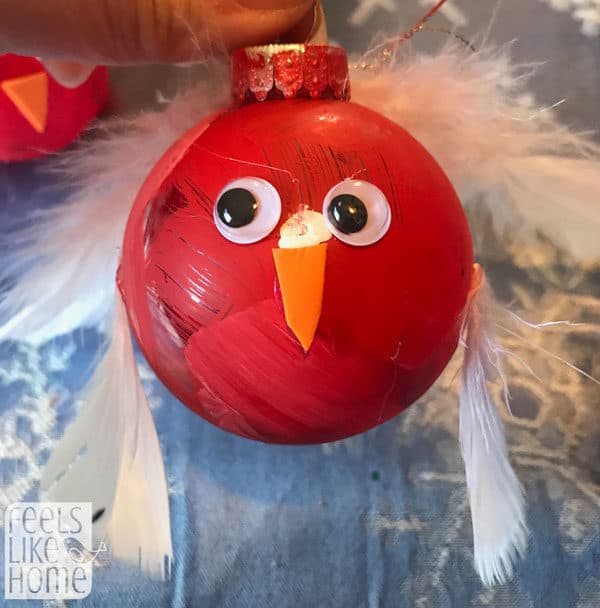
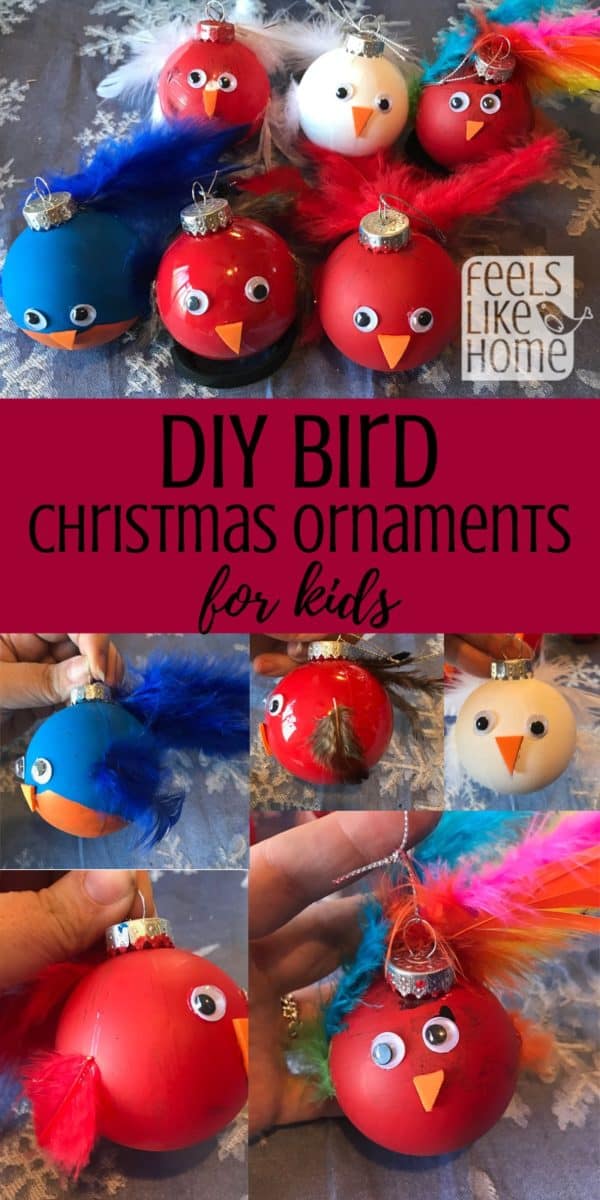
- Pick 2 smaller feathers for the wings. Glue them on behind and below the eyes. I found after our first couple of birds that you need to angle the wings slightly or they look like the bird is wearing dangly earrings, as below.
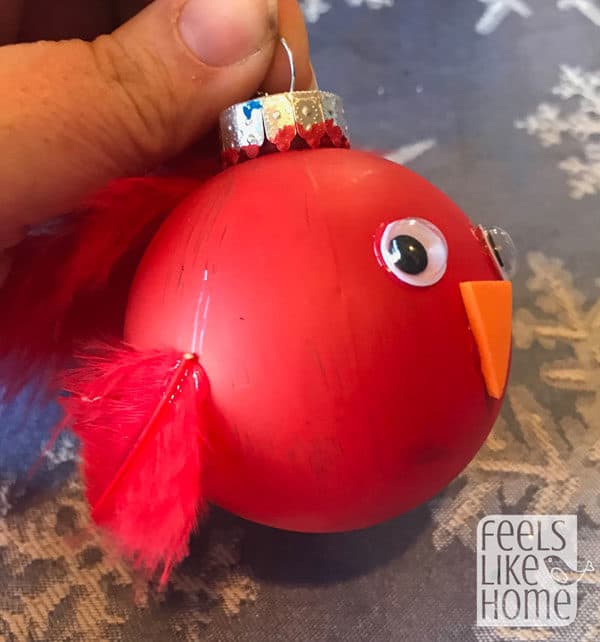
Here's one where the wings are angled, and I think it looks much better.
- Next, glue on the tail. You have lots of options where the tail is concerned.
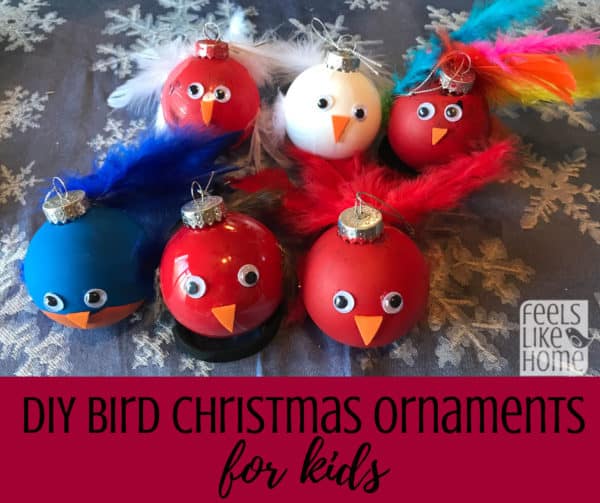
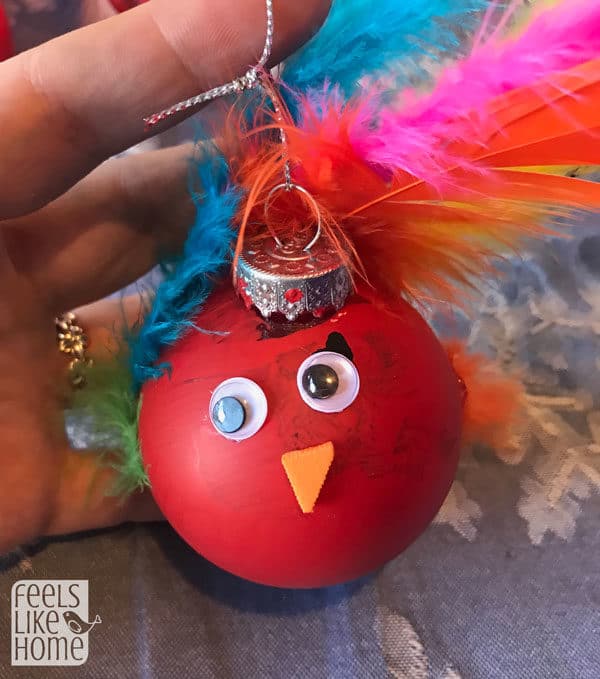
Grace went for a wild hairdo on her bird, complete with neon colored feathers sticking up at odd angles.
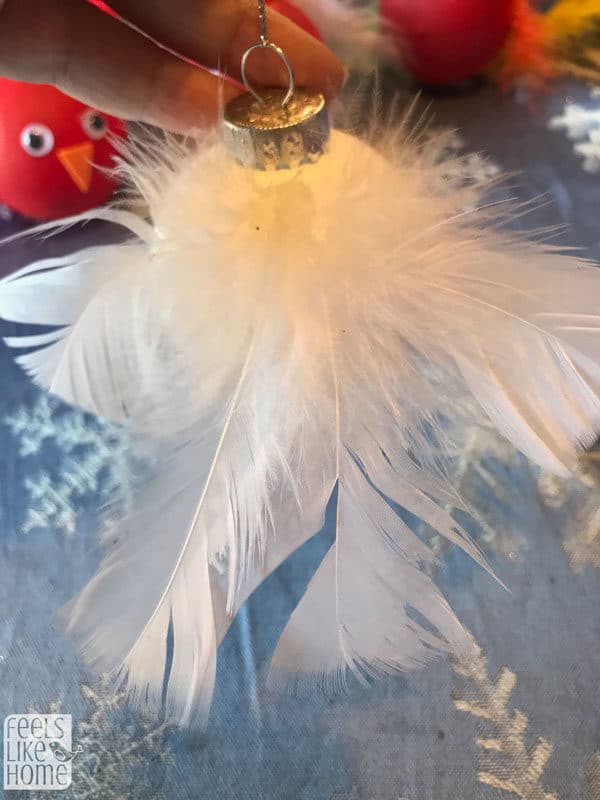
I went huge on this white bird. You could trim the larger feathers if you wanted.
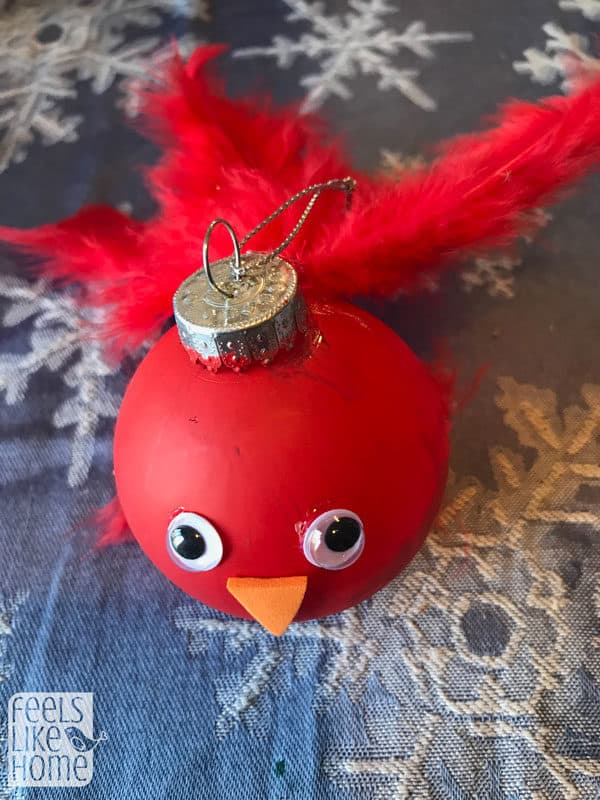
I did trim the tail feathers on this red bird.
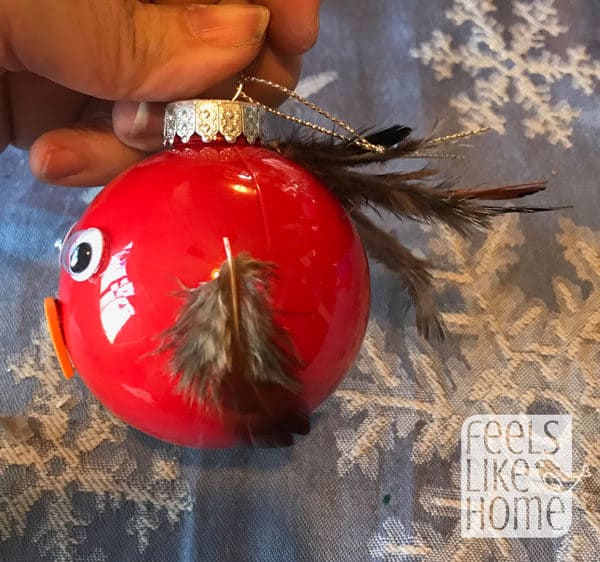
These feathers were from the natural colored pack I linked above. They were much smaller than the colored feathers, so the tail is much smaller and more sparse. Still cute, but different.
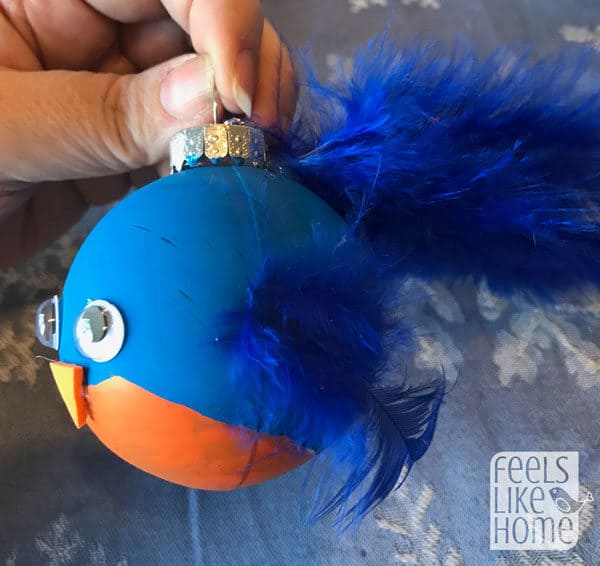
This bluebird ended up with big wings and a big tail.
After we were finished, Joe, Grace, Allie, and I agreed that this was a pretty fun craft that we are looking forward to doing at 4H in a couple of weeks.
Our little birdies are hanging on our Christmas tree already.
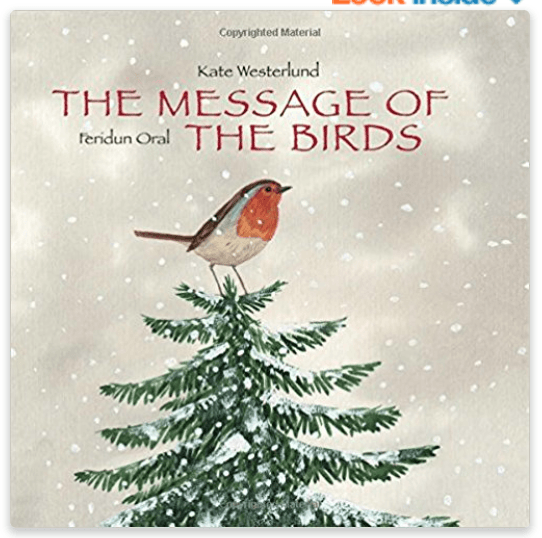
This DIY bird Christmas ornament craft goes really nicely with the children's book The Message of the Birds which is a sweet story that's not necessarily about Christmas but works really well during this season. It does start out with a brief mention of the Christmas story and how the birds were in the rafters watching when Jesus was born to bring a special message to all the earth. As the story continues, people no longer listen to the special message, and the birds decide to try to reach the world through children. They do end up spreading the special message which is revealed at the end of the book as the message of peace.


Melissa says
These are so fun Tara - - love them!
Enzo says
i Will make one of these when my mom & dad put up the tree and put the ortements!