


How to Make a Dollar Tree Welcome Sign Wreath for spring and summer in less than 15 minutes for your door decor. This easy DIY wreath costs under $10.

I love crafts that are cute, easy, and cheap. Over the years, I have made a really cute herb garden terrarium for less than $15, a really cute fairy garden for less than $20, and and I planted succulents in old boots so that I wouldn't have to buy a planter. I've made a couple of wreaths for the front door, too, but they weren't nearly as cheap as this one.
So this welcome sign wreath cost less than $10 to make because I already had the tools and got the rest of the supplies at the Dollar Tree! How much better does it get than that?
I love that the sticker in the center of the wreath is all flowery, perfect for spring and summer, and the lamb's ears (which actually came from Walmart and not Dollar Tree but still only cost a couple of dollars) match the sticker so nicely. I am just so excited about this craft!
A few things you need to know about this Dollar Tree craft
About the welcome sticker: This welcome sticker is a wall sticker, meant to be placed on a painted wall. There are tons of Dollar Tree stores around where I live, and some of them carry wall stickers and some don't. I've talked to other crafters around the country, and they had similar experiences: some stores have the stickers and others do not. I couldn't find the sticker on the Dollar Tree website either, and it is sort of the center of the whole craft, so make sure you get it before you get the rest of the supplies.
About the chalkboard paint: The Dollar Tree closest to my house carries little 2 ounce bottles of black chalkboard paint. This is not the best chalkboard paint to be perfectly honest with you, but if you are only intending to use the welcome sign for a few months, it doesn't really matter. If you want your sign to last longer, you may want to consider a higher quality chalkboard paint which will, of course, cost more.
You could also use a different color if you wanted to. A dark blue or dark green would be beautiful with the sticker, lamb's ear and burlap ribbon. I don't think I'd use a light color for several reasons. You need a dark color so that the letters and design on the sticker will pop. A dark color will also contrast better against the light green of the lamb's ear and the light brown of the burlap and nautical rope.
Where to hang your Dollar Tree Welcome Sign Wreath
In the instructions below, I suggested gluing a 4-inch piece of nautical rope onto the back of the pizza pan to hang the wreath. If you intend to set the wreath on a table or counter, you obviously don't need to glue that on. But I think it's better to have the option to hang it later if you decide.
I would have my welcome sign wreath hanging on my front door except my front door is all wonky at the moment and my storm door is off the house. This wreath is NOT water safe and cannot be left in the weather. The chalkboard paint is not intended for outdoor use, and the lamb's ear and burlap ribbon aren't either. If you want to use this on your front door, make sure you have a watertight storm door with a window to protect it. If you just have a screen there, no storm door at all, or if your storm door leaks a lot, the wreath will get wet, and it will deteriorate quickly.
What I am saying here is that this welcome sign wreath is not to be hung outside and should not be exposed to the weather. Either hang it behind a storm door or keep it for a wall inside the house.
Beyond the water, I'm not sure how this wall sticker will hold up in direct sunlight. It is a wall sticker however, and wall stickers are intended to be safely removed from painted surfaces, so you would probably be safe to peel the sticker off later if it yellows or fades from sunlight.
A note about printing the instructions
I have included the photos illustrating the tutorial in the instructions below, but you don't have to print the pictures when you print the instructions. When you click the button to print, a new window will open, and there is a little checkbox at the top that allows you to hide the photos. Just uncheck that, and you'll be able to print just the instructions.

How to Make a Welcome Sign Wreath - Easy Dollar Tree Crafts
Materials
- 1 piece 12" pizza pan from Dollar Tree
- 1 bundle 0.4" nautical rope from Dollar Tree
- 1 piece Welcome wall sticker from Dollar Tree
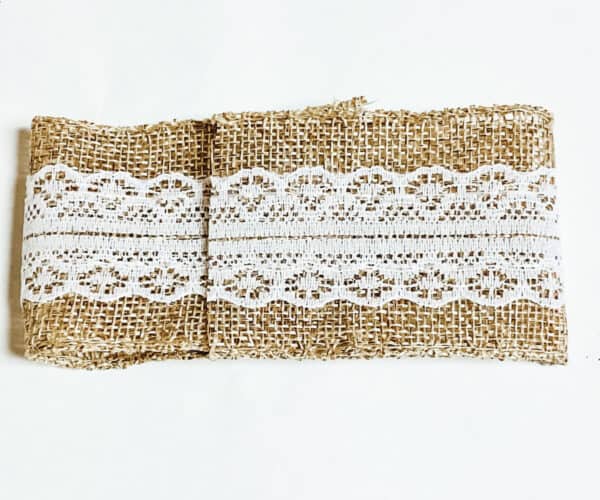
- 1 roll Lacey burlap ribbon from Dollar Tree
- 3 bottles Black chalkboard paint from Dollar Tree
- 1 bunch Lamb's Ear from Walmart, $2
Instructions
- Applying 2 coats of chalk paint to the pizza pan, allowing plenty of time to dry in between coats.
- Apply the welcome sticker to the middle of the pizza pan.

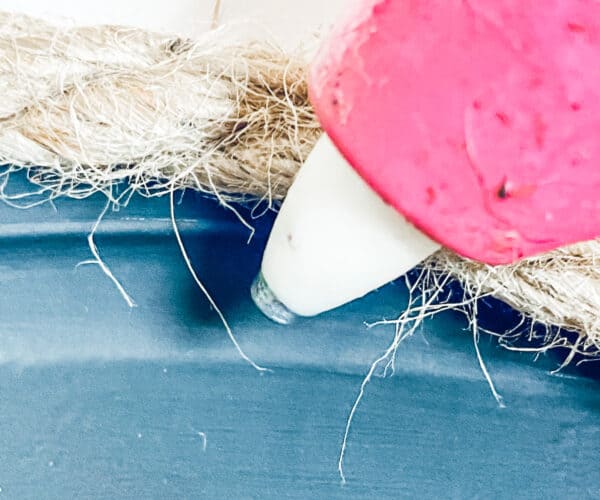
- Add a line of hot glue to the inside rim of the now black pizza pan and carefully stick the nautical rope in the glue. Complete this all the way around the inside rim of the pizza pan.

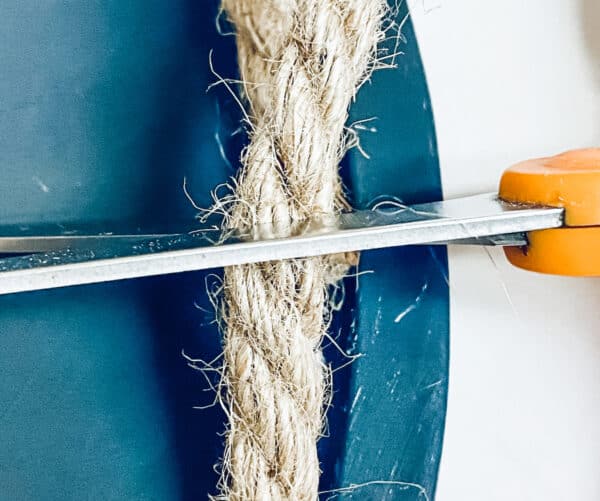
- Use heavy duty scissors to trim the rope at the end so that it just fits together with the beginning.

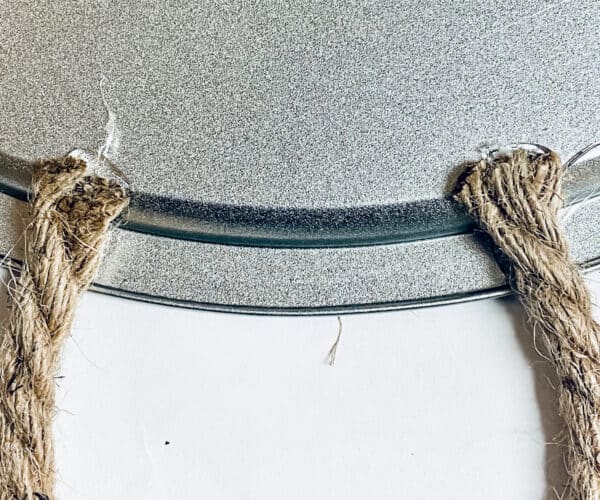
- Cut a 4-inch length of the nautical rope and hot glue it to the back side of the pizza pan to form a hanger.
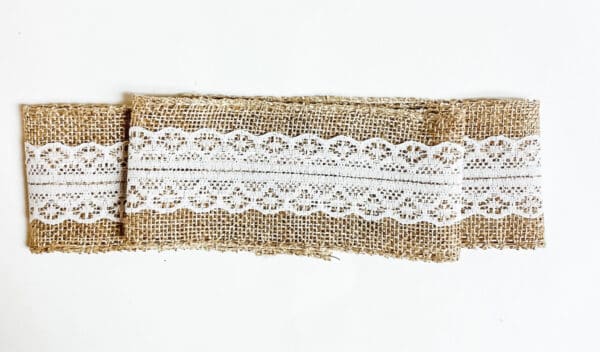
- To make the bow, cut the ribbon as follows: one 10-inch piece, two 7-inch pieces, one 6-inch piece, and one 3-inch piece.

- Start with the 10-inch and 6-inch pieces of ribbon upside down (lace side down). Fold the ends of both pieces of ribbon towards the back as shown.
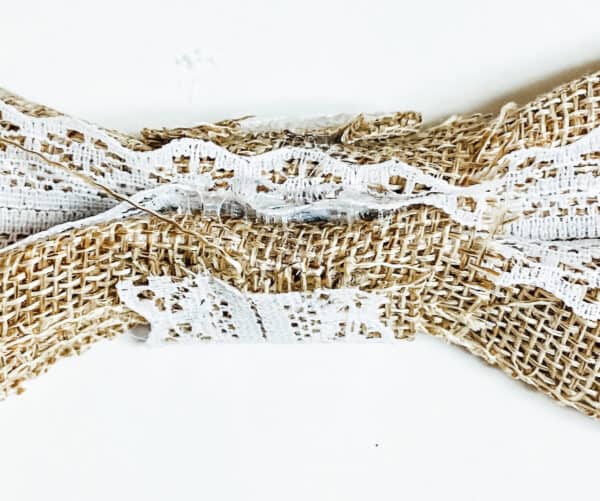
- Flip the 10-inch and 6-inch pieces over (lace side up) and lay the 6-inch folded piece on top of the 10-inch folded piece.

- Use the 3-inch piece to wrap around the middle of the combined bow pieces and add some hot glue to secure it.
- Add the two 7-inch pieces to the backside of the top bow section and cut the ends to make them pointed as shown.
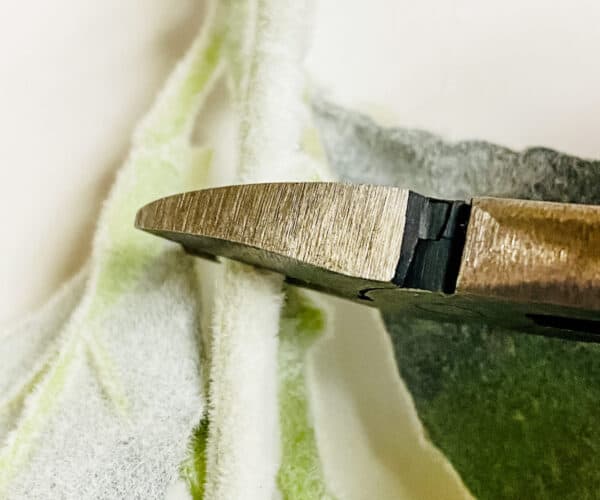
- Using the wire cutters, trim the lamb’s ear to leave just a few inches of the stem.
- Attach the two stems together with a rubber band or twist tie (from a loaf of bread) with one set of leaves up and the other set of leaves down.
- Hot glue the lamb's ear to the right side of the pizza pan and hot glue the bow on top to hide the connection.


These pretty butterfly crafts are great, too. Check them out if you're still looking for more beautiful summer projects!


Comments
No Comments