
How to Make a DIY Fairy Garden for Under $20 - This cheap project includes ideas and a tutorial for kids to make their own fairy garden with real, live plants, accessories and furniture. Lots of fun to put together with children.
When my mom was alive and healthy, she took Grace to monthly classes at our local garden center. During one of their classes, they made this fairy garden:
They put plants in it (the two in the back, next to the mushroom house) and soil and the pebbles. My mom splurged and got the gazing ball (red, my mom's favorite color).
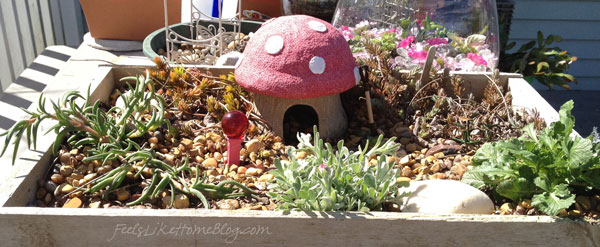
The fairy garden was designed to live outside in the winter, but some of the plants didn't make it. We went back to the garden center in the spring and got some new plants, as well as some decorations. We bought the red mushroom house for $45 (!!!), and we added a little shovel and bike and I forget what else.
The plants on the left and right didn't make it through the winter, either, so we tried a few more. Now, we have the two original sedum plants in the back, the little one in the front (and they have all become quite big), some grape hyacinths, and a couple of hens and chicks that grew out of their container.
So in total, I imagine that fairy garden has cost us over $150.
And I never put sealer on the pretty red house, and it faded to the same color as its base. Oops.
It sort of began an obsession with fairy gardens that has since pretty much gone unchecked. My mom always bought us little things for our gardens, and I always buy little things, too. Grace has (who am I kidding? They're mine.) all kinds of gazing balls, seashells, shovels, bikes, scooters, pails, bird baths, arbors, benches, and so on and so forth.
Clearly, writing about plants has me thinking about my mom in a crazy way. I miss her so much.
Anyway, Mother's Day was the last time she was out and able to go shopping. I pushed her in a wheel chair, and we pored over the pre-made fairy gardens at the garden center. The gravel was all glued together, like it was put in place and some kind of melted resin stuff was poured over it to make it freeze instantly in place forever.
Every one of them was like that.
I was wishing I could do that with that day, make it just freeze instantly, and we could go plant shopping together forever.
I took pictures of some of them, for inspiration.
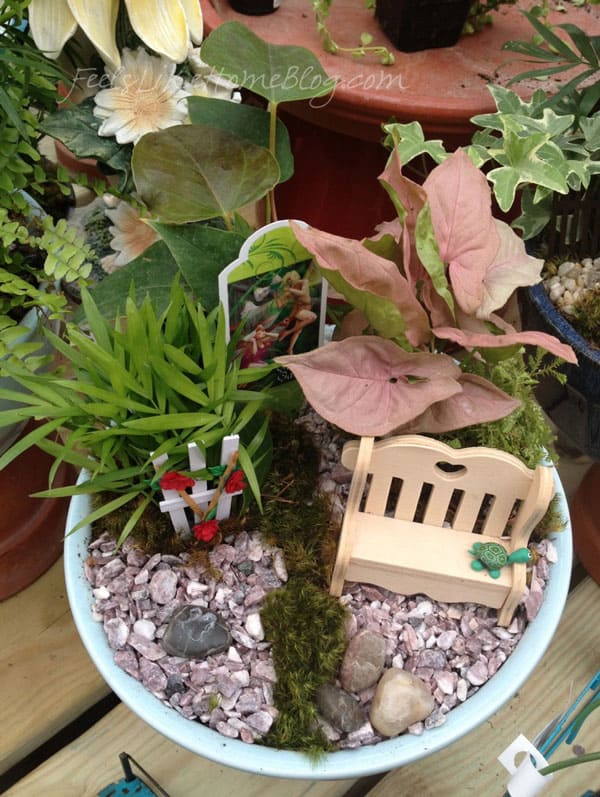
My mom helped me to choose a couple of plants and I made my own new fairy garden. I hate how this photo looks, but it's my pretty fairy garden. Here's how it turned out:
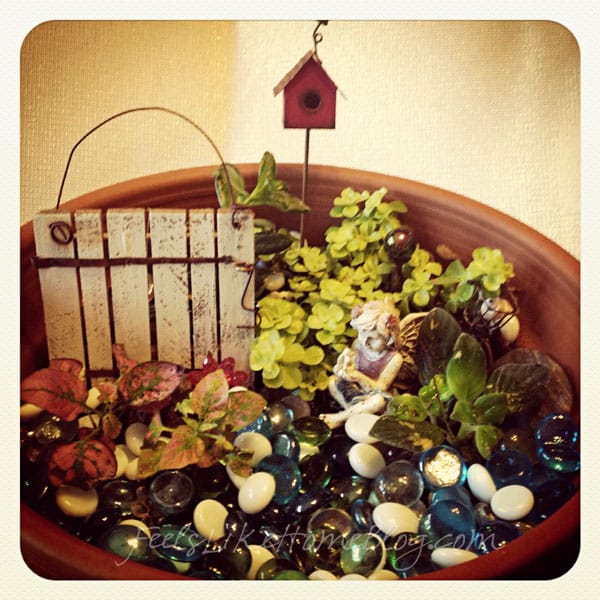
The pretty pink bird house has disappeared (perhaps one of my kids? or the squirrel?), and the pretty chartreuse plant in the back grew so much I pruned ⅔ of it off when I brought it into the house a few weeks ago. The little green stick of a plant behind the gate died promptly. The pink polka dot plants are a foot tall, and I'm slowly pruning them to get shorter and bushier plants. The dark green one on the right has gotten pretty huge, too, and I switched my dark gazing ball for Grace's red one.
You can no longer see the bicycle, but its tiny seashell still sits in its tiny basket, and my little gate and littler fairy still sits among the plants.
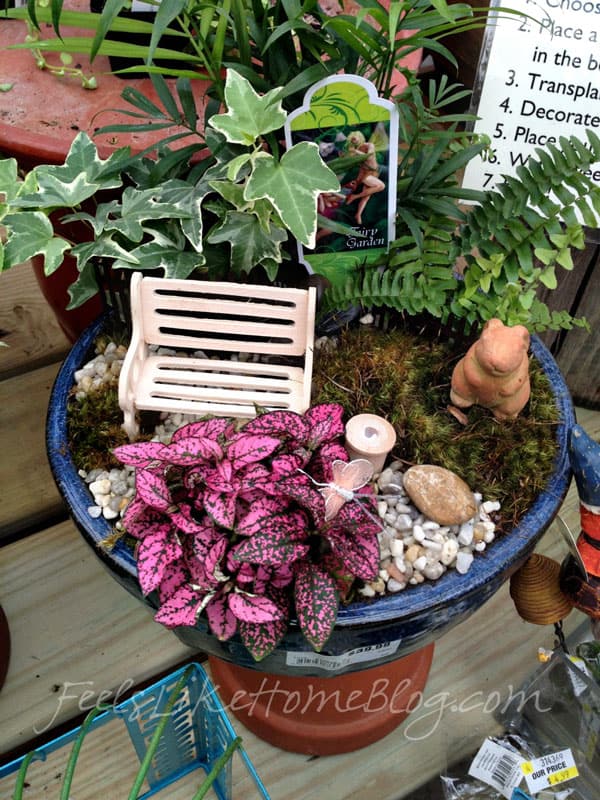
There's no room for glass marbles now because the plants have swallowed up the whole pot.
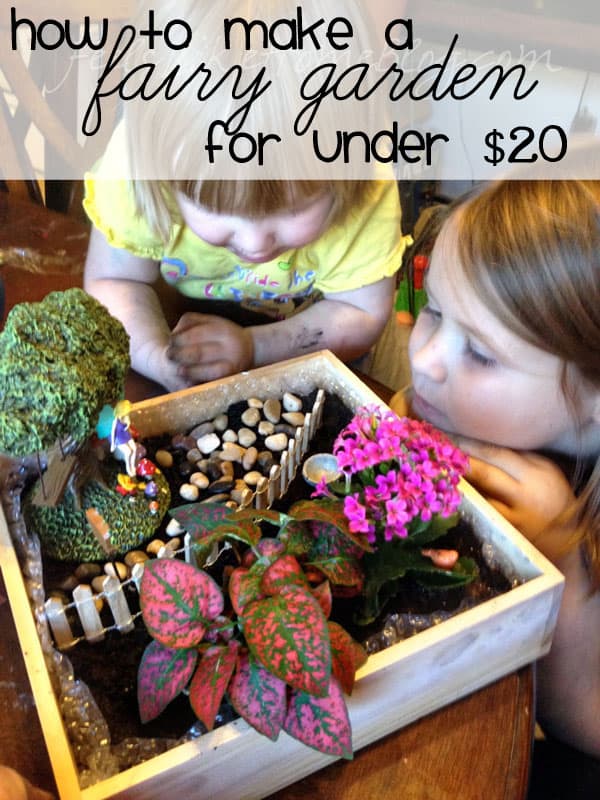
So anyway, this post is not about all of my other fairy gardens, but about the very cool Fairy Garden kit Horizon sent to me. These are on sale right now at Walmart for a little less than $20, but they'll only be on sale for a few weeks (before Christmas, I imagine). There are three different kits, but this one was our favorite.
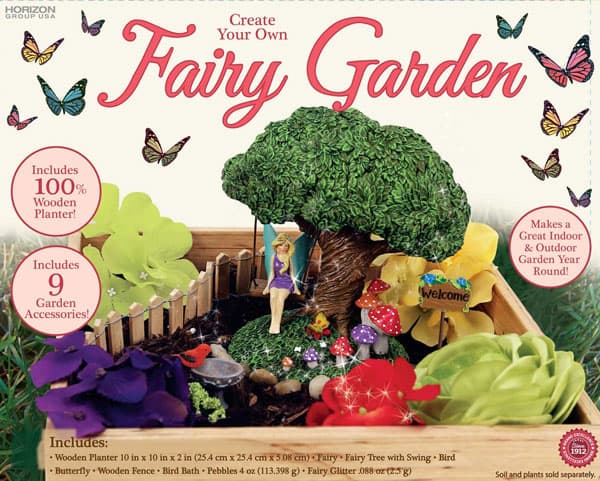
You can see what came with it. That pretty much sums it up. The wooden planter is sort of like balsa wood; it definitely will not hold water.
Other than that, all the pieces are really, really great. They are sturdy and nicely painted and will stand up to kid use and play or repeated waterings.
So here's where you have to make a decision.
Are you going to plant plants in this fairy garden and make your kids leave it alone?
Or are you going to put some dirt in it and give them some silk flowers and let them play all they want?
I planted plants, but I wish I had given them silk flowers.
It makes me want to go to Walmart and buy another kit because my girls love playing in the garden. They love moving the pieces around and making up stories, and that disturbs the roots of live plants.
Anyway. Sometimes, you have to just give up and concede the plants' roots.
How to Make a Fairy Garden for Under $20
Materials
- Fairy garden kit
- Soil
- 2-3 very small plants or a few silk flowers (If you have to buy these, most garden centers sell "terrarium plants" for $1-2 each. Alternatively, you could take some cuttings of your plants or someone else's {you ought to have their permission} or get some little plants on Etsy. There are great little plants on Etsy. Silk flowers are easily purchased for $1-2 a bunch at Walmart.)
Making Your Fairy Garden
1. This box, while very cute, is not going to hold water. If you are going to make this a soil-based play area, that won't matter. If you are planting plants, you will probably want to put in a liner so that the water doesn't run all over your table when you hydrate them.
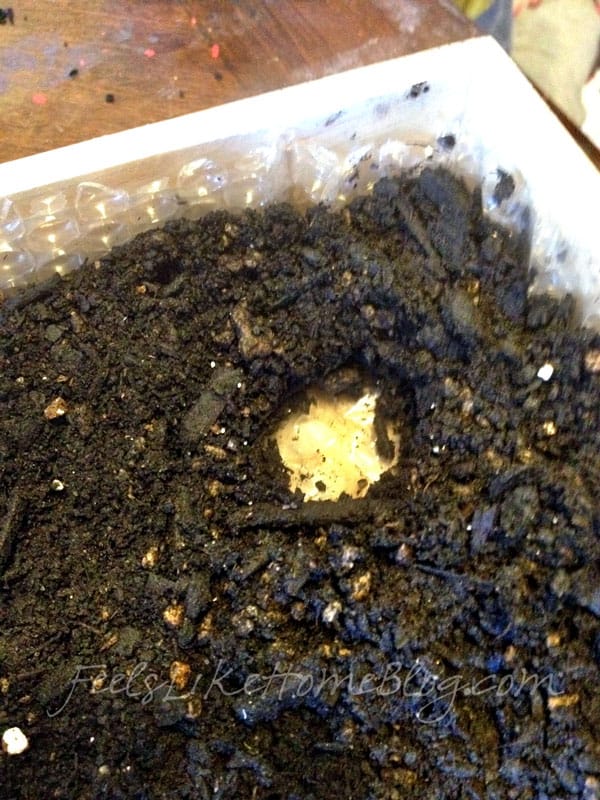
Because it was available, free, and waterproof, we lined our box with bubble wrap.
Except, if you put in a waterproof liner and overwater the plants, their roots will rot and they will die. Be careful about that and stingy with the water.
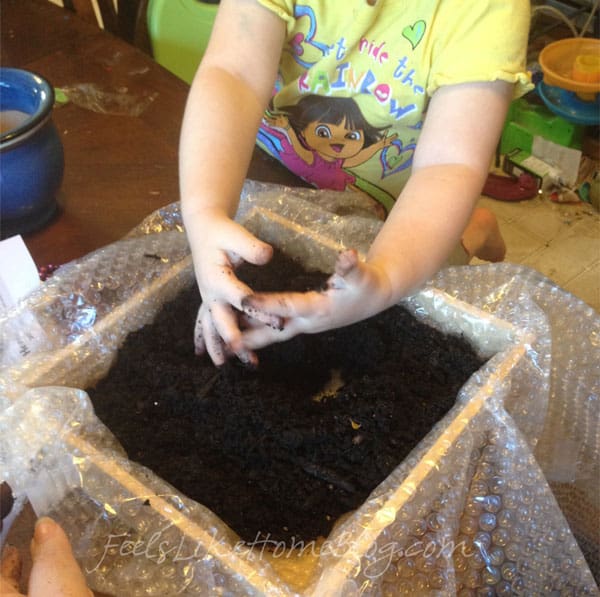
2. Spread soil out in the box. This is a very cool sensory experience for little peanuts. This was succulent soil, which is very unique in that it's full of sand and gravel in addition to normal soil, but any kind of soil or potting mix is going to have an interesting smell and texture for little fingers to explore.
3. Make a big hole where you want your first plant to sit. That hole was not big enough, by the way.
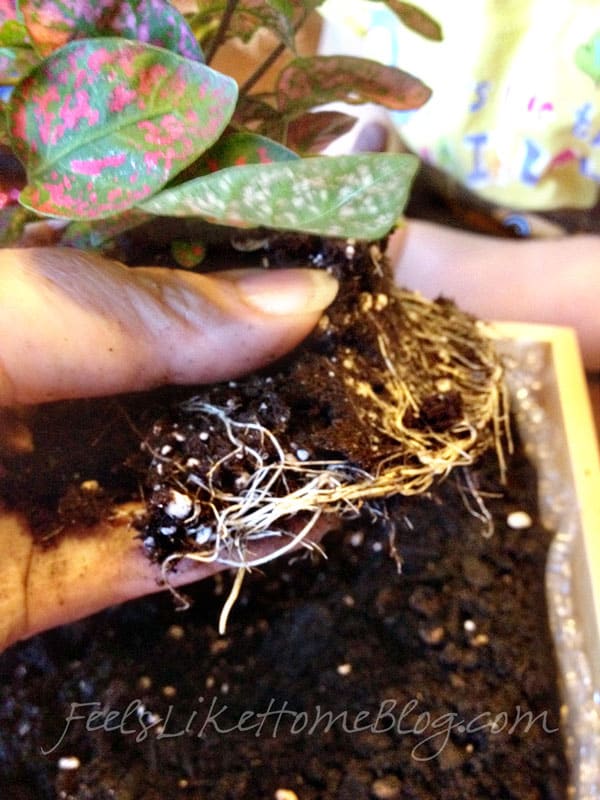
4. Take the plant out of the pot and flatten its roots the best that you can, without breaking the stem or any of the major roots. You will break some little roots, but that's okay.
This planter box is pretty shallow, so your plants must be in very small pots, and they must get pretty flat.
5. Pile the soil on top of the roots, smoosh the soil around the roots, and give it a wee bit of water. Make sure the soil completely covers the roots and mostly fills the box.
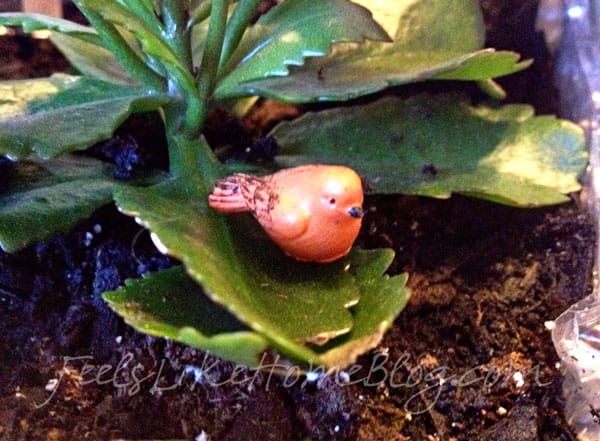
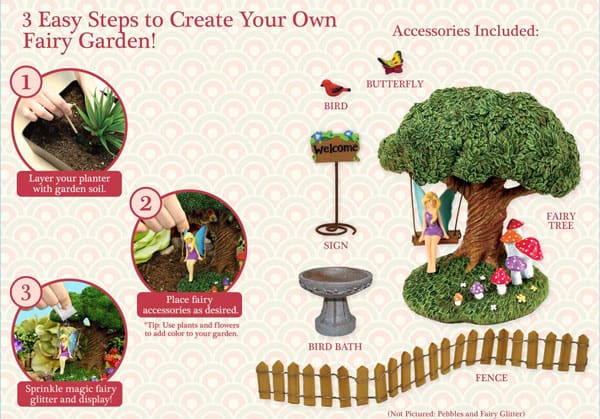
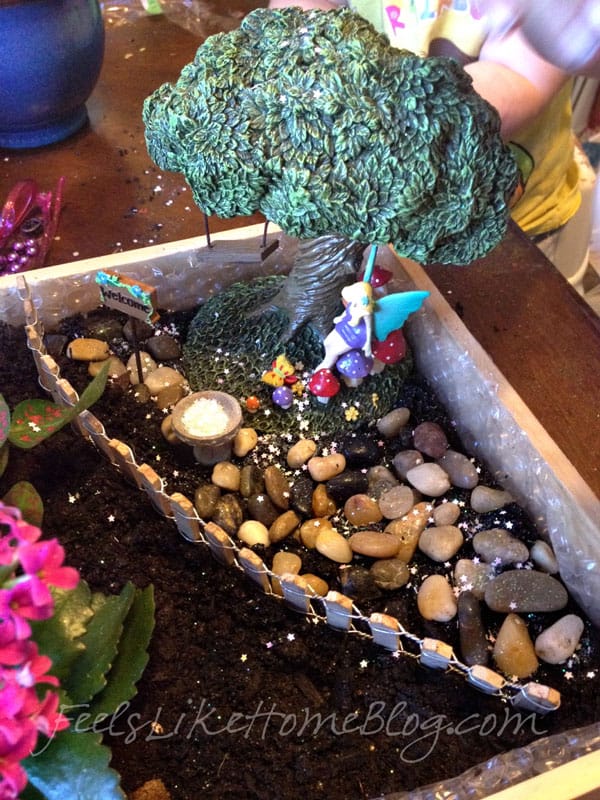
6. Decorate with your cute little supplies! I would personally have put the bird in the bird bath, but Grace thought he should be sitting in a "tree" (that is a flowering kalanchoe from a 1.5-inch pot).
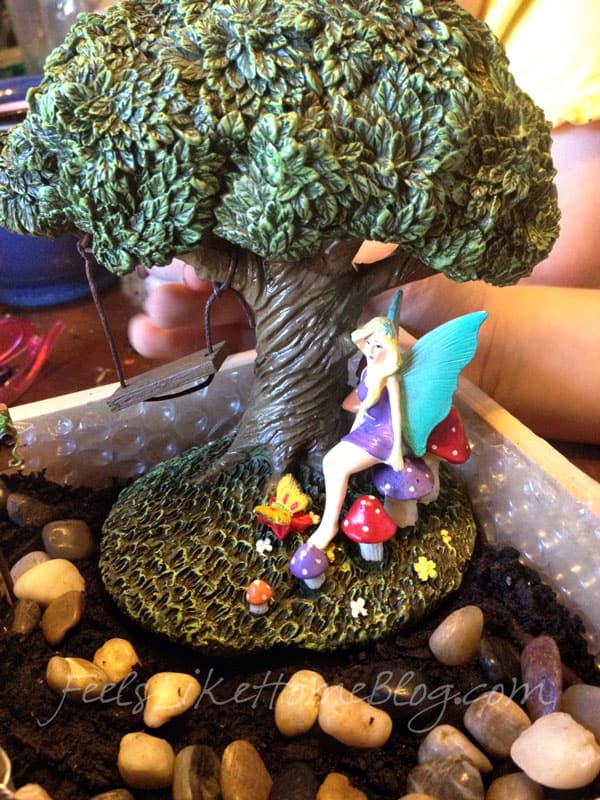
We had a disagreement about the fairy. Allie and I thought the fairy should sit on the swing, but Grace thought the fairy should sit on the mushrooms.
The kit also came with pebbles, which we spread all over the place. We need more pebbles to cover the area around the tree (and that was our intention, to cover that area). We'll pick some up somewhere.
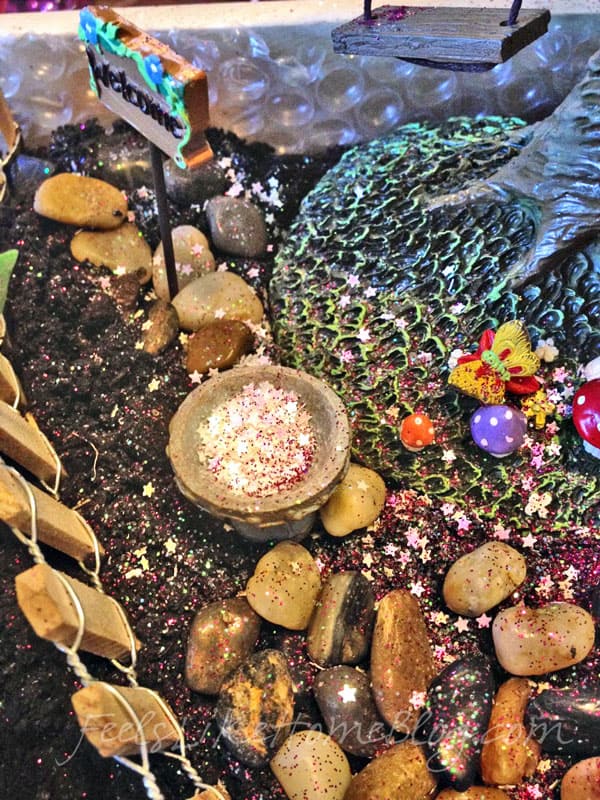
7. The kit comes with fairy dust (otherwise known as white glitter and glittery stars). Grace added her own pink fairy dust, too, and pretty much covered everything with it.
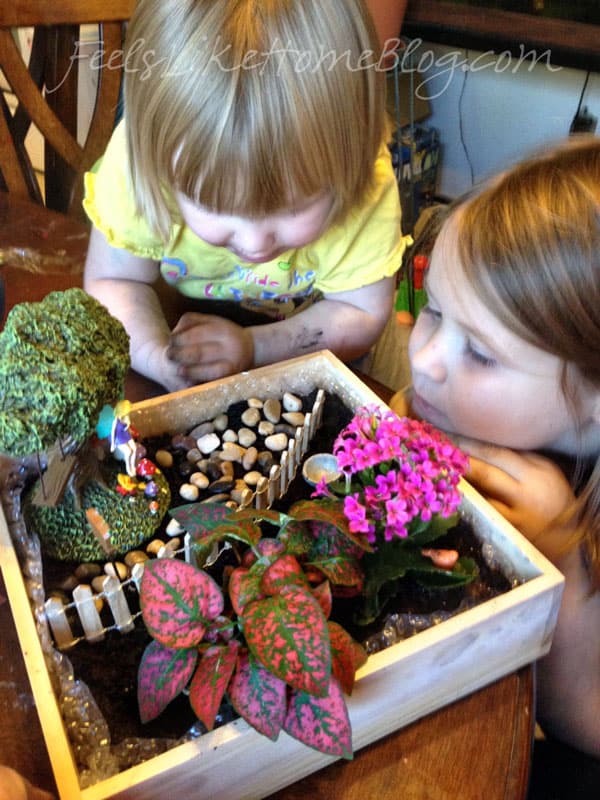
This was before the fairy dusting, but I love how the girls are just gazing at their new fairy garden. I wonder what they were thinking as they looked over all the dirt and the plants and the mushrooms and the butterfly and the pebbles.
When she thinks of it, Grace checks all the different fairy gardens to see if the fairies have visited. If anything is out of order (the fairy is moved, the birdbath is ajar, there is new glitter, etc), she is convinced that the fairies have come to visit.
And she stays a little girl just a little bit longer.
I received this kit from Horizon Group and CraftProjectIdeas.com.


Jennifer says
I used this same Fairy Garden Kit. I have always wanted one! Instead of using plants, I got some moss from my yard outside & used that as a 'cover' where ever there wasn't any pebbles. I also purchased another small pack that had a couple of gnomes with toad stools. I'm very pleased with the outcome! 🙂
Tara Ziegmont says
Thanks for sharing! Ours didn't hold up very well (not enough soil, I think, and the kids took all the pretty pieces out), but one of the plants is still living.
Kay Brewer says
Thank you for sharing. Such an awesome idea. Wish I'd known about it years ago when my children and grandchildren were little.
Kellie says
how fabulous! I have 4 girls who would love this!