
We have on different occasions made lots of different projects with loose sequins, the most memorable being this sequined snowflake Grace and I made when she was 3 ½. It was not especially pleasing to the eye, but she was proud of it, and we hung it on the Christmas tree until she peeled all the sequins off.
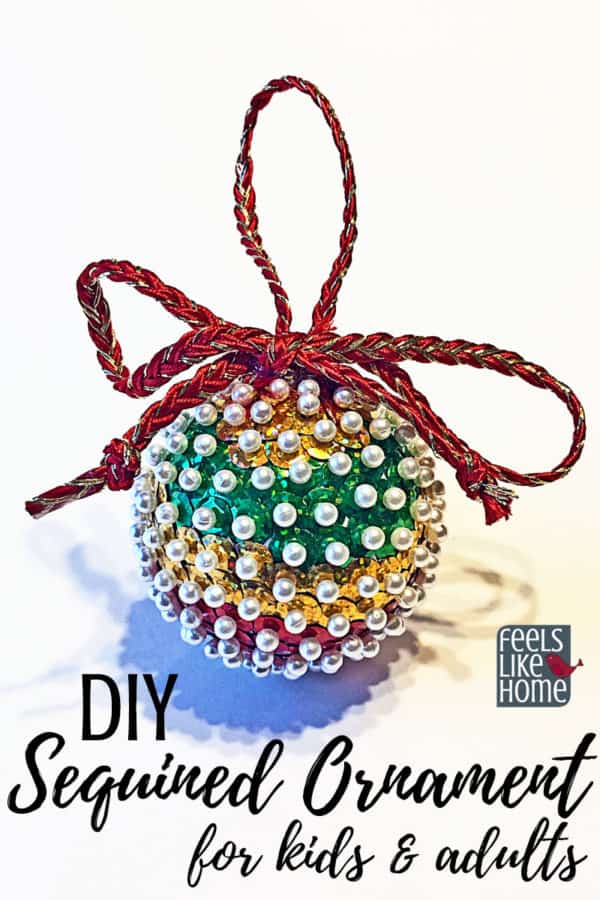
Now that Grace is 11, we make more grown up ornaments that are more pleasing to the eye. This is one that I would be happy to hang, and not just because my child made it but because it actually looks nice. I would also be proud to give it as a gift or add it to a wrapped package to pretty it up.
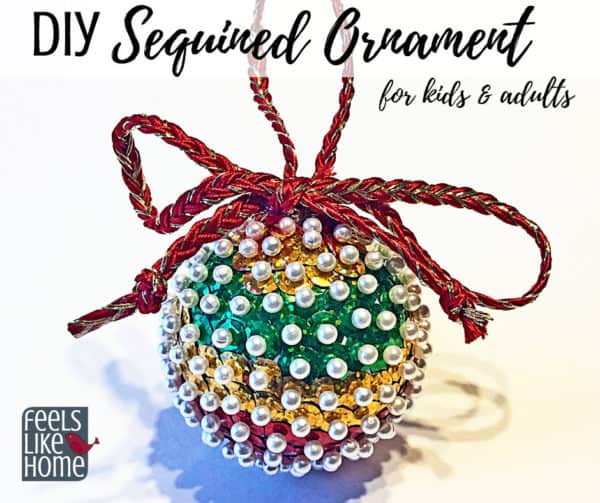
Simple & Easy DIY Sequined Christmas Ornament Craft for Kids & Adults
Materials
- Styrofoam balls - We used a 2" ball, and it was plenty big enough. I made mine in one sitting, but it took Grace 4 sessions to finish hers. She would work on it for a while, and then she would put it down and come back to it later. She liked it, and she could see how her plan was going to come together, but it was too much to just sit down and pin, pin, pin.
- Pearl headed straight pins - Make sure you get pins that are shorter than your ball is wide by at least ½". My ball was 2" as I said, and my pins were 1.5".
- Loose sequins - We got these free from CraftProjectIdeas.com.
- Red & gold cording - I got mine at Michael's but found something similar that you could order on Amazon.
- Hot glue gun & glue sticks
Sequined Christmas Ornament Instructions
This is a super easy craft. In fact, it is easily simple enough for toddlers and preschoolers, if you trust them with straight pins and offer a lot of gentle guidance and assistance. I think it would be great for a class of kids, if each child did 10 or so pins, the whole ornament would come together pretty quickly, making a beautiful teacher gift.
As far as making an entire ornament, I don't think young children would appreciate this craft. I couldn't get 8-year-old Allie to go near it.
- Decide what kind of pattern you want for your finished ornament. I made mine a color blocked wide stripe pattern, and Grace made thin stripes on hers (there are no completed pictures of Grace's because it's still not done!).
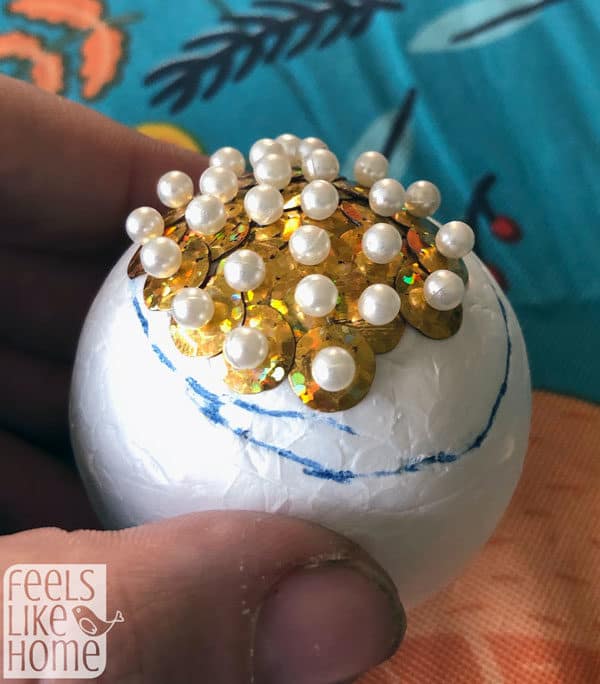
Grace drew out her sections with a pen on her styrofoam ball. This is a great idea for kids since it can be hard to track where your different colors of sequins are supposed to go.
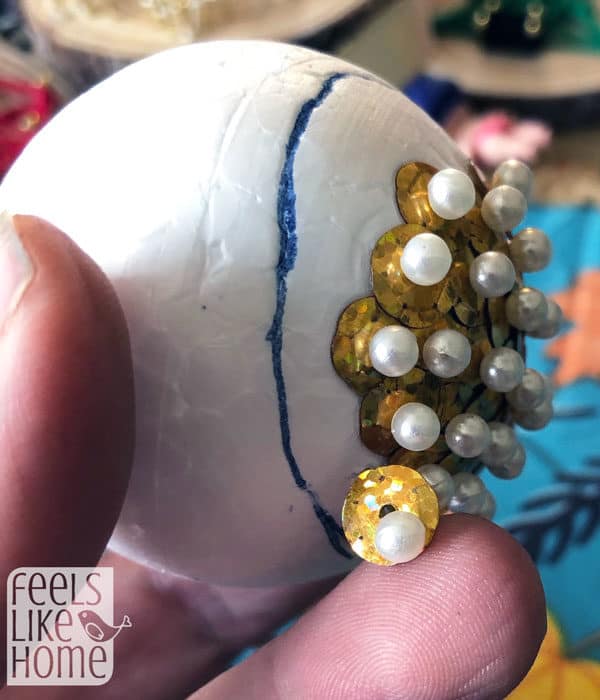
Sequins are generally not flat. They're more like tiny, flattened bowl shapes with a concave side and a convex side. You want to match the sequins up with the styrofoam so that the bowls are facing down.
2. Place a sequin on the ball, following the roundness of the ball (as opposed to putting it upright like a cereal bowl). Push a pin through the hole into the styrofoam to hold the sequin in place.
3. Overlap the next sequin so that there are no white spaces showing between them. You will eventually have a couple of tiny slivers of white, but you want to avoid these as much as possible.
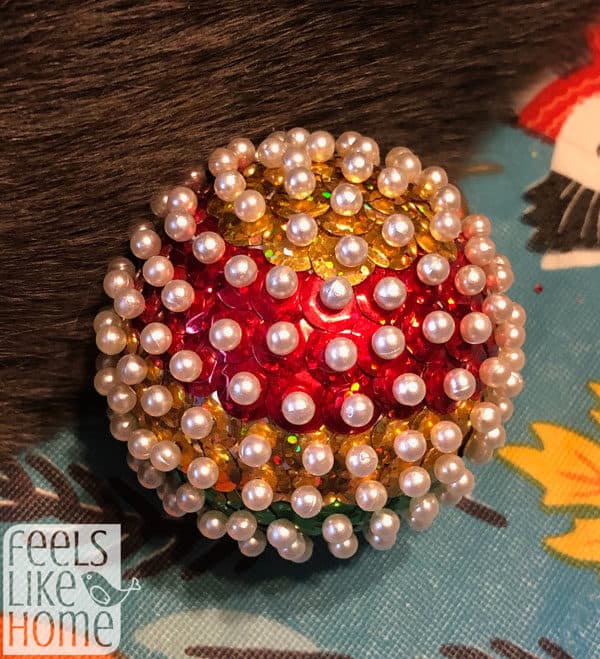
The cat's fur complements the colors in the ball so nicely, don't you think? I couldn't get him to move out of my photo area, so I just leaned the ball against him and snapped. I hope you don't mind.
I think the pins look pink in this photo. They aren't pink; they're white, but you can buy pink ones too if you look around.
If you look really closely, you can see a couple of slivers of white that I mentioned above, but they are few and far between.
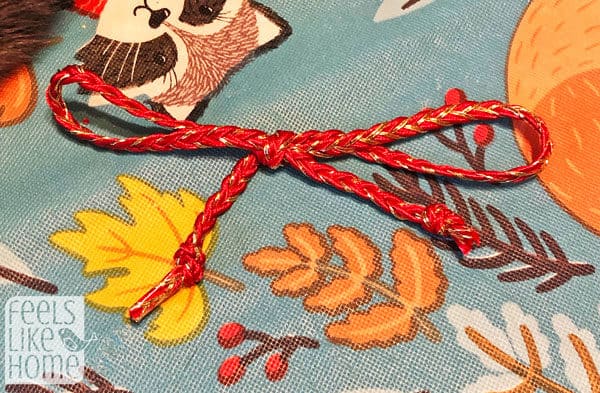
4. Once your ball is all covered with pins and sequins, tie a bow with the cord. I aimed for my bow to be a little wider than my finished ball. You will also need to cut a length of cord to hang the ornament.
5. Decide what the top of your ornament is. Using your hot glue gun, attach the two ends of the cord to the top of the ball, around a pin.
6. Hot glue the bow on top of the ends of the cord. You're done!
I love the way this ornament looks, and I can imagine making different designs with ribbon (pin the ribbon down in between strips of sequins) and different shapes and sizes of sequins. I would like to try a rainbow stripe with the sequins from craftprojectideas.com or an all gold or all silver ball.
I would also like to make a ball with these large and very pretty flower-shaped sequins (which come in many different colors, btw) and some pins with colored heads:

I might also get some red and white sequins and make a candy cane stripe ball. I was also thinking about getting mini sequins and layers in them on top of the regular sized ones. I think that would look pretty in bright pinks, blues and purples.
I am participating in the Kid-Made Christmas Ornament project again this year, and this Christmas ornament was inspired by Splendiferous Christmas which is a Fancy Nancy Christmas book. Nancy is of course on the hunt for all things fancy, including sparkly decorations and intricate cookies, but she learns that there is more to Christmas than just the material stuff. I chose these ornaments because I think Fancy Nancy would love them.

If you're looking for more Christmas books, check out my mega list of 101 Christmas Books for Kids.
If you're looking for more kid-made ornaments, check out my huge list of the 40+ kid-made Christmas ornaments that we've made.
And for a great all season craft that kids and adults can do together, check out my beginners string art tutorial.

Melissa Klinker says
ahhh I've been wanting to do these type of ornaments FOR-ever! They remind me of my grandmother & my Christmas tree growing up <3
Heather says
What a beautiful ornament craft! I love the sequins. Yes, those flower sequins are gorgeous. Can’t wait to see your creation with those!