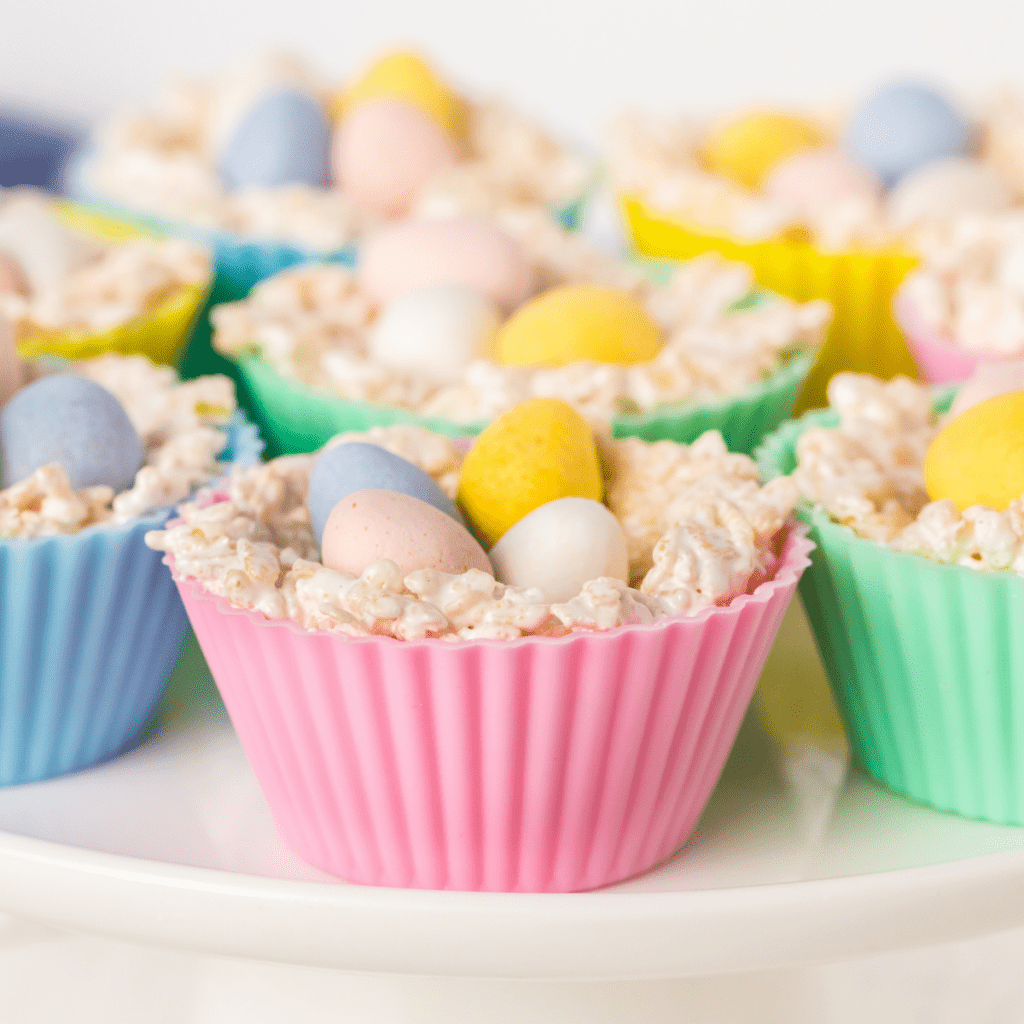
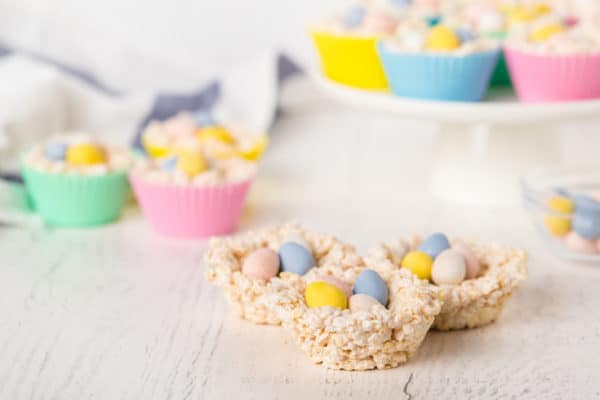
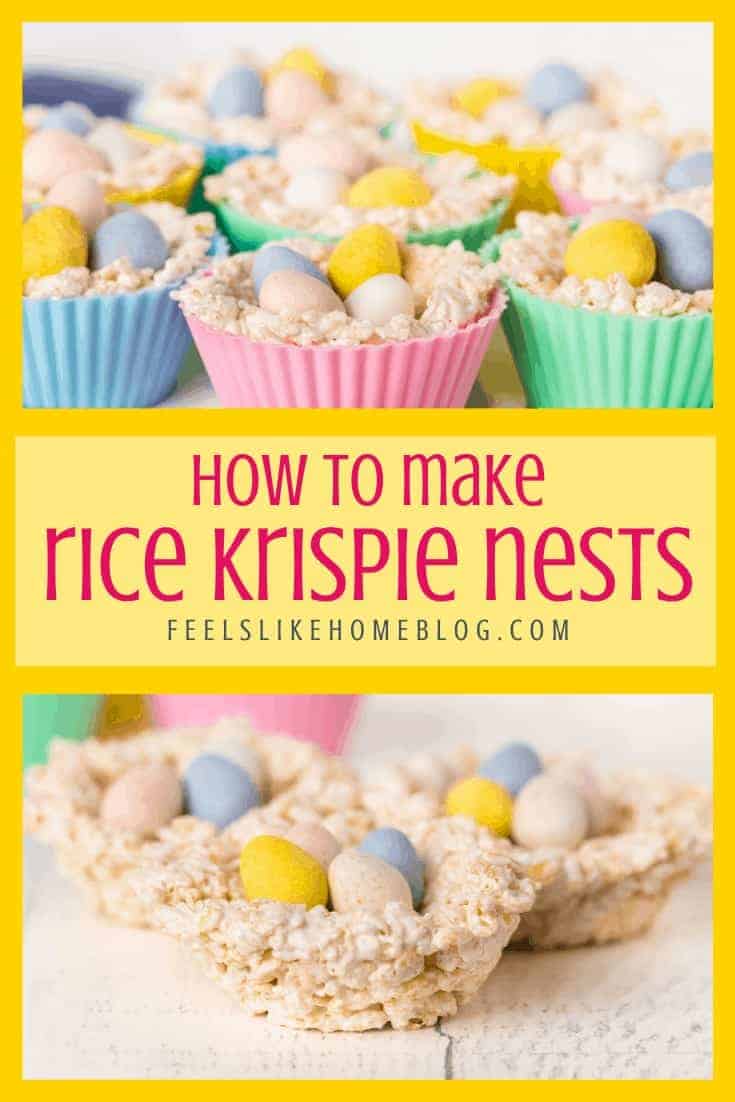
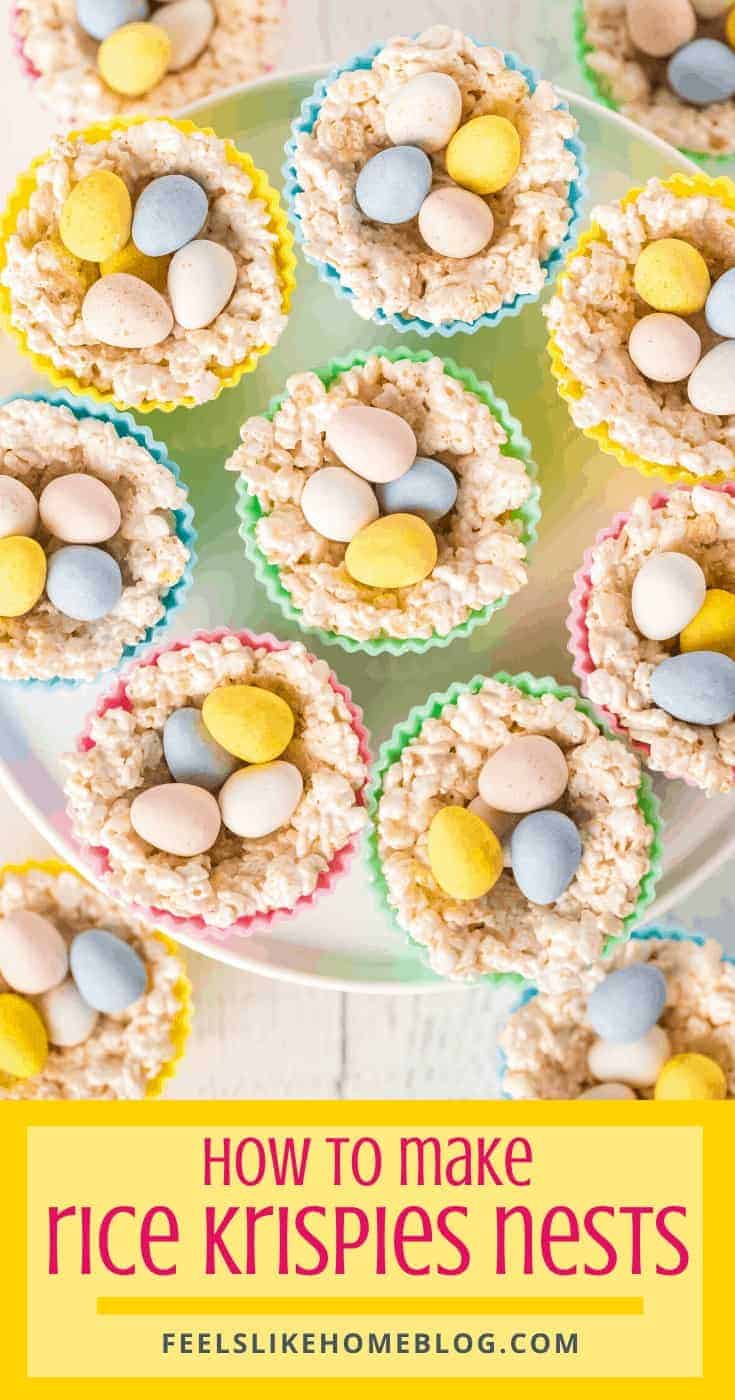
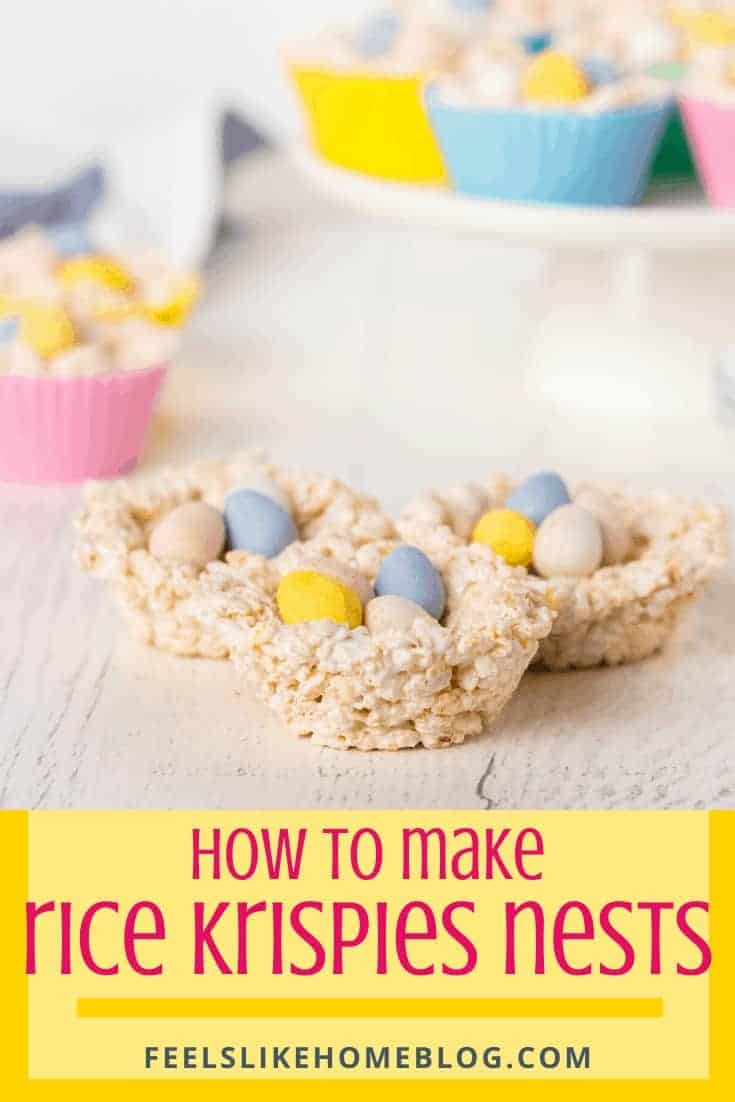
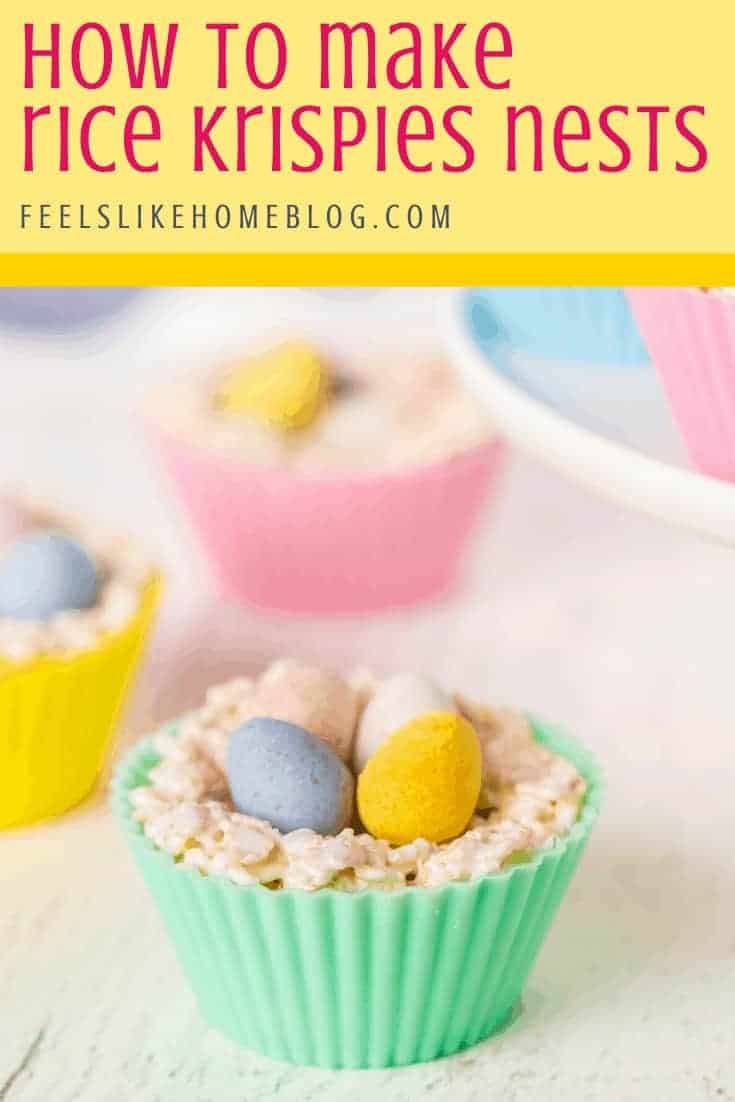
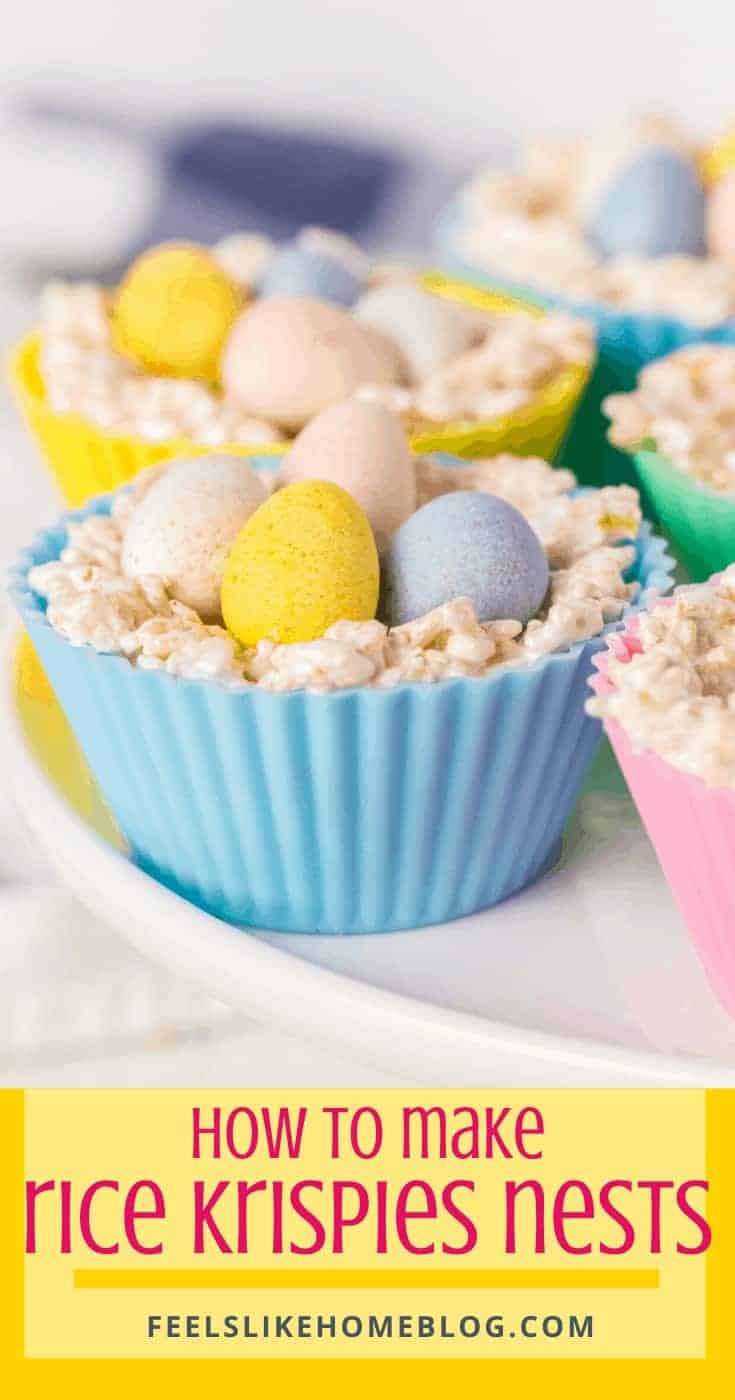
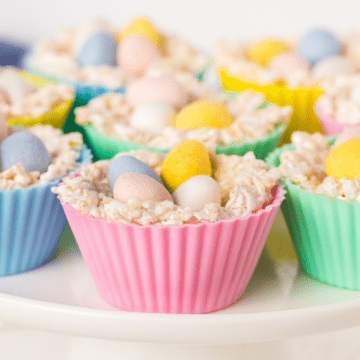
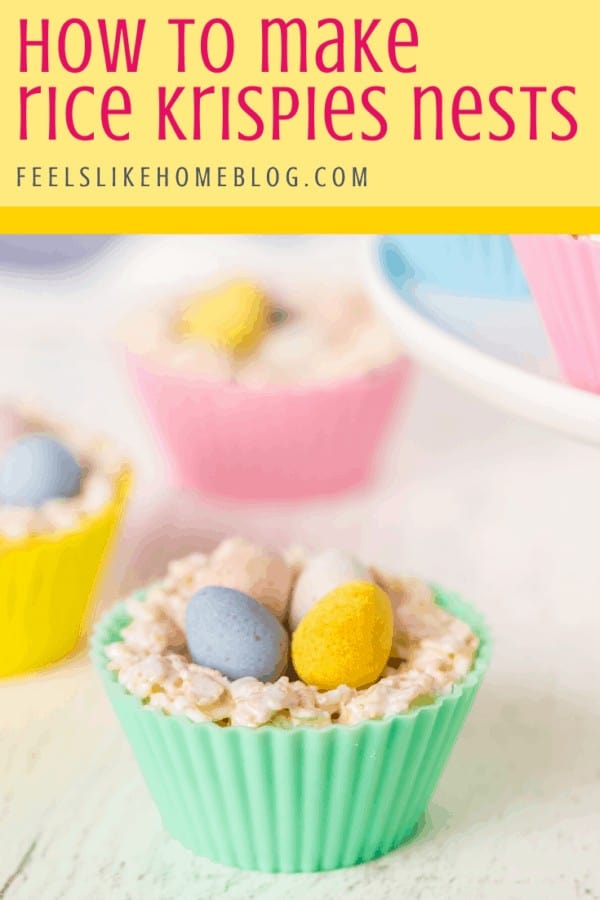
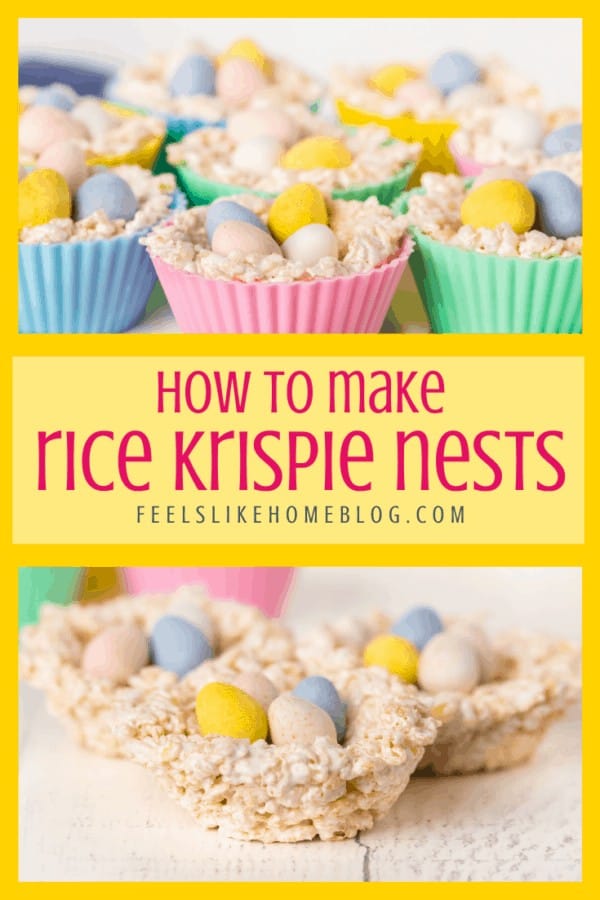
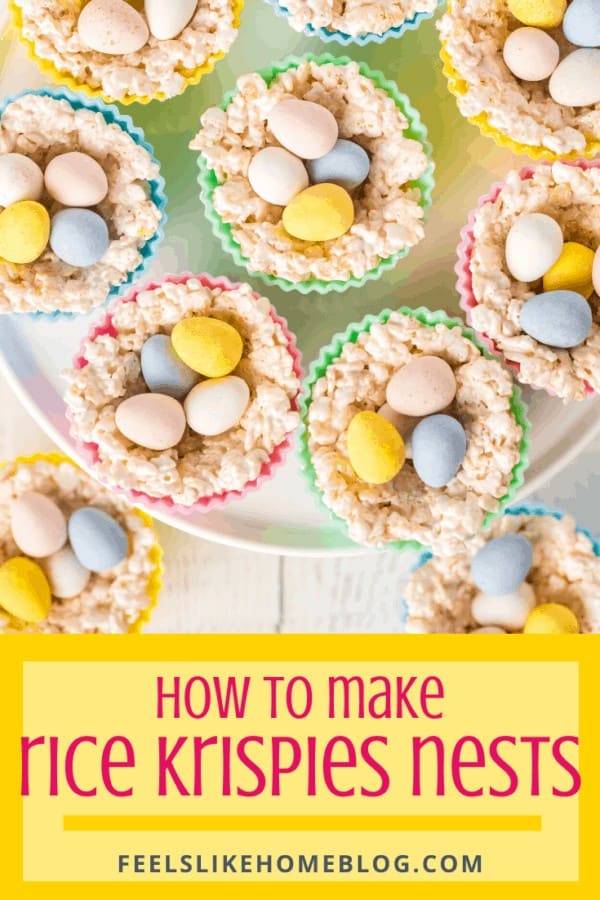
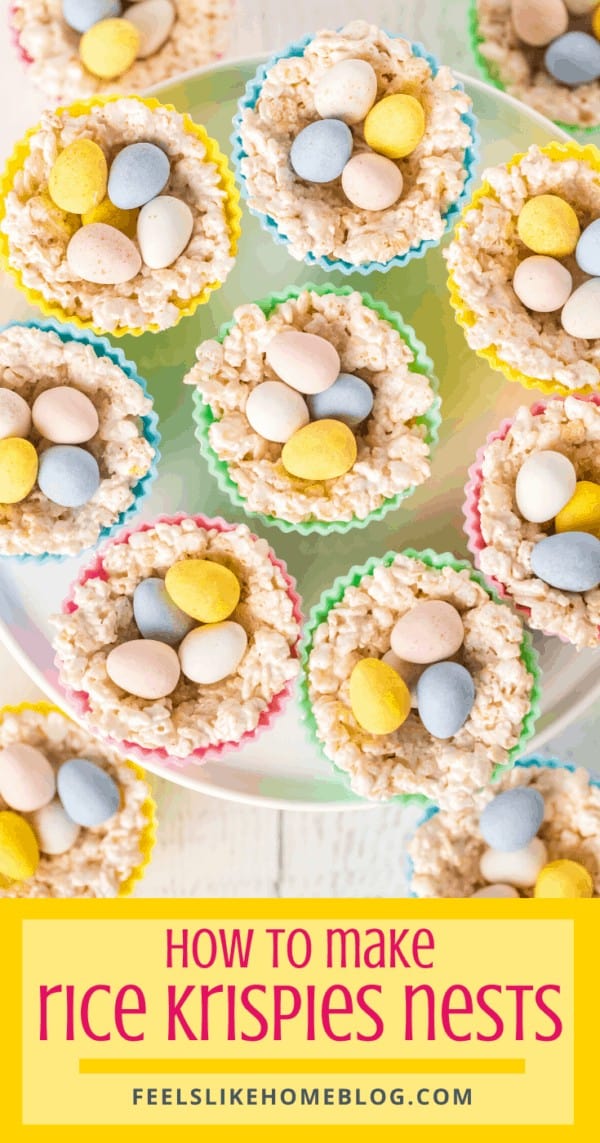
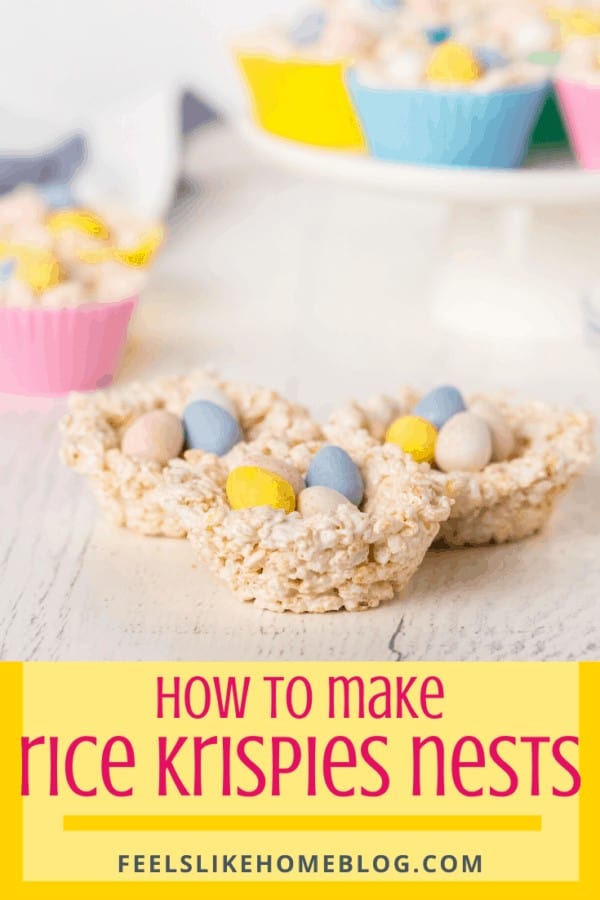
Rice Krispie nests are simple and easy and impressive! Packed with jelly beans, Cadbury mini eggs, or other small candies, the nests are a perfect Easter treat.
One day last week, the girls and I were driving somewhere when Grace said, "Mom?"
"Yes, Grace?"
"You know the church where we have Kids Time? Well, they had Rice Krispie nests with these little jelly beans inside for eggs, and I wasn't allowed to have one. They said {insert attitude-y voice} 'You're allergic to latex, so you can't have one. You can have a lollipop instead.' {end attitude-y voice} I didn't want a lollipop! I wanted a nest! I don't understand why I couldn't have a nest. Nests don't have latex in them. And the doctor said I'm not even allergic to latex, so what's the big deal?! But they wouldn't let me!"
Typical of any 5-year-old drama queen, her arms were waving, and her tone was appropriately outraged. I asked some questions, because I couldn't understand why she wasn't allowed to have a nest, either. It didn't make any sense to me, but whatever.
This was an easy fix. I had ruined Allie's shoes the day before and was planning a trip to Walmart on the way home anyway, so I told Grace we would pick up the ingredients for Rice Krispie nests. And we did.
We stopped at my mom's house on the way home, to show off the girls' new shoes and visit for a minute. While we were there, Grace told my mom that this whole Rice Krispie nest business happened during vacation Bible school.
In August.
Eight months ago.
I guess the timing doesn't matter since the point was the nests, and jelly beans are available in the store now.
When Allie collapsed on the couch in exhaustion, Grace and I took the opportunity to do some schooling and make Rice Krispie nests.
Despite my lengthy narrative below, Rice Krispie nests are really simple to put together. It only took us ten or fifteen minutes in the beginning, then a couple of hours to dry and set up.
How to make Rice Krispies nests
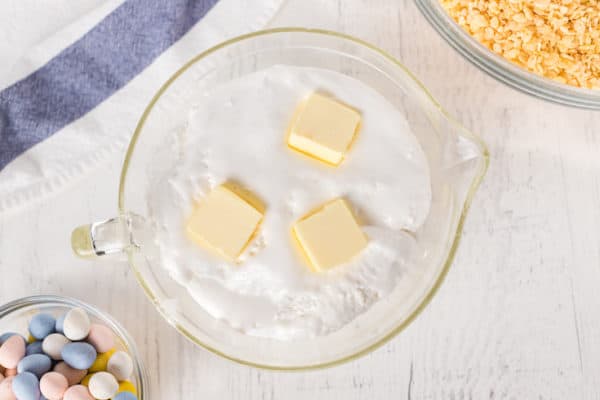
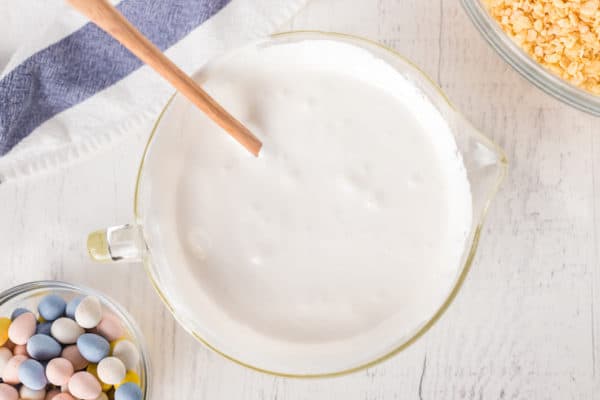
- The first step is to melt the marshmallow fluff and butter. You can do this on the stove, but the microwave is much faster and easier. Put them in a glass bowl for a minute or so.
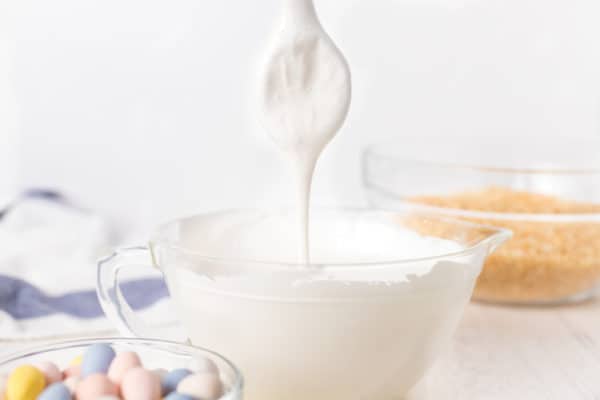
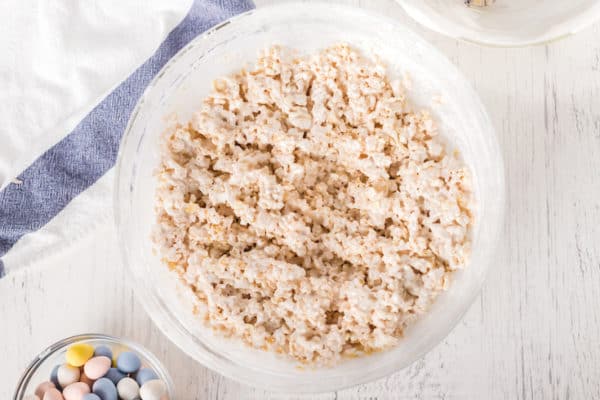
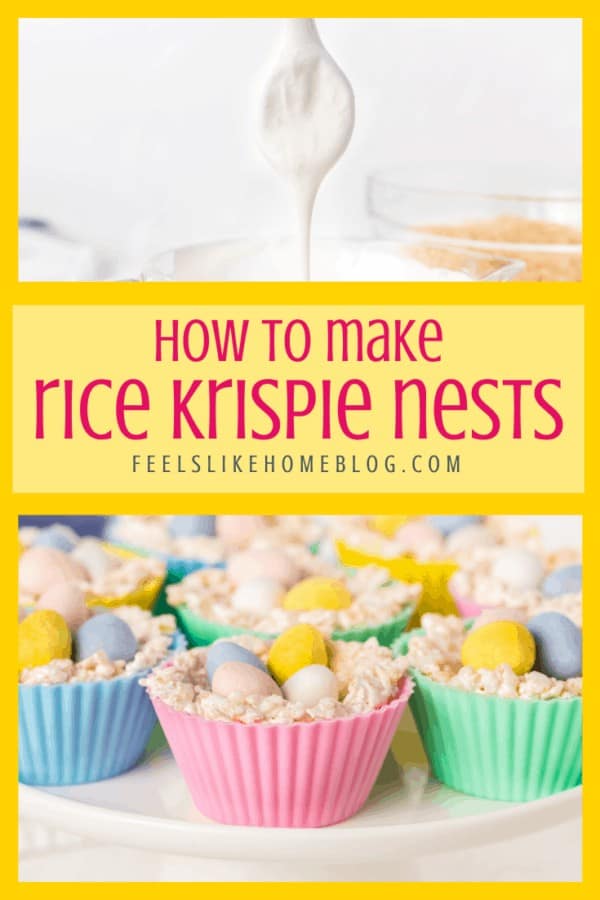
- Take the bowl out of the microwave (carefully - it's hot) and stir it up. If your marshmallow fluff looks fluffy, like the above photo, it needs to go back into the microwave for another minute.
- Remove the bowl and stir again. If it is sufficiently melted, the goo will be a liquid. Make sure the butter is incorporated with the marshmallow liquid.
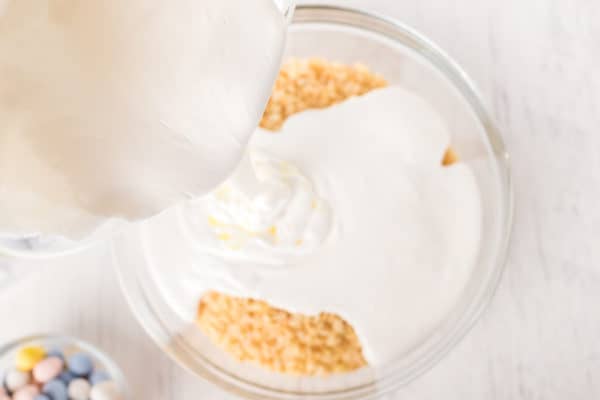
- Pour the marshmallow liquid into the Rice Krispies and mix them until it's completely distributed through the cereal.
- Don't make my mistake - At this point, I thought we could form the sticky Rice Krispies into nest shapes, set them on foil to dry, and be done. I grabbed a handful of the mixture, and I squeezed it. And then I opened my hand, expecting to find a nest. I was wrong. Instead, the sticky Krispies stuck to my fingers and spread out again. Grace and I looked at each other. We knew it was possible to make nests, but we had no idea how to actually make them. I suggested that we let the mixture sit a while (hoping it would get stickier), but Grace didn't want to wait. I decided that a muffin pan would give us the right shape, but I was worried about the sticky nests getting stuck in the wells of the pan. We had used up all the butter in the house in step one, so I couldn't grease the wells.
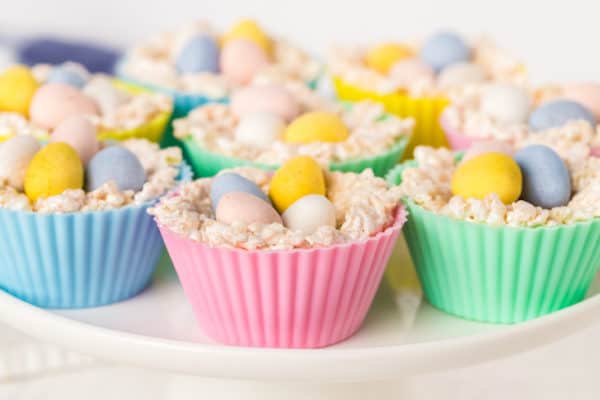
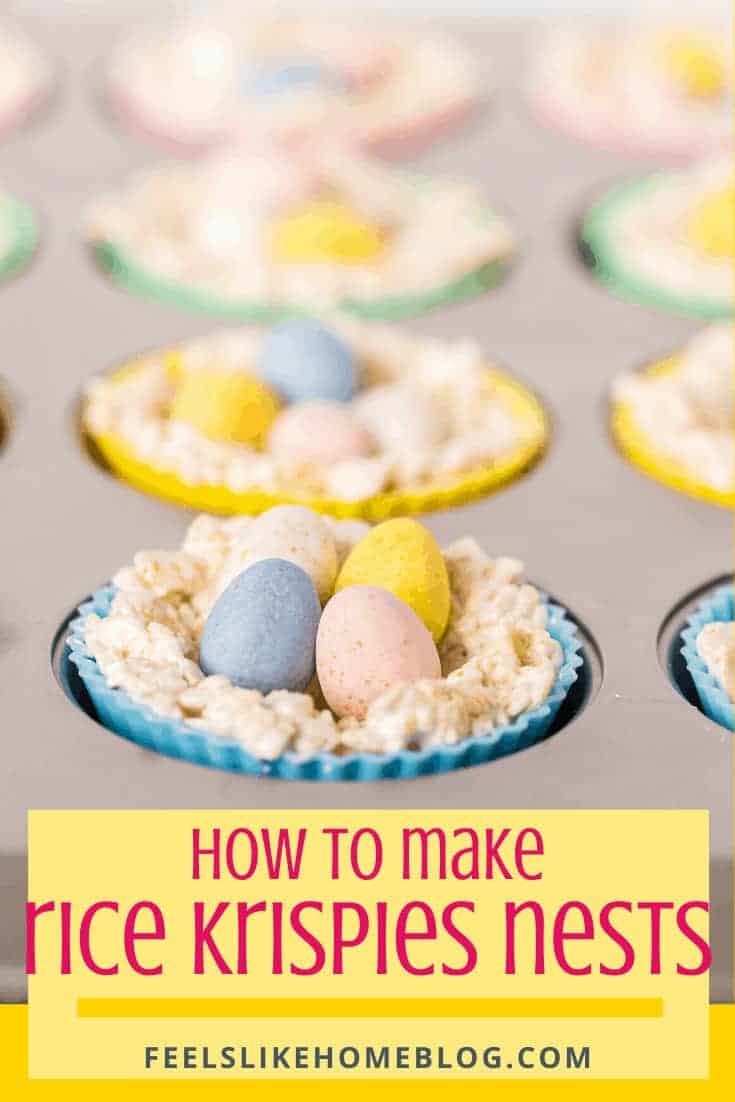
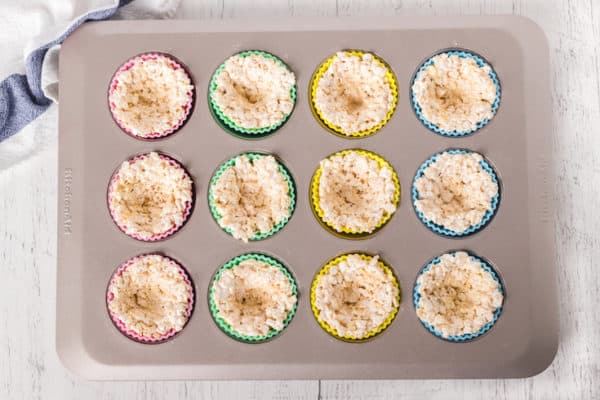
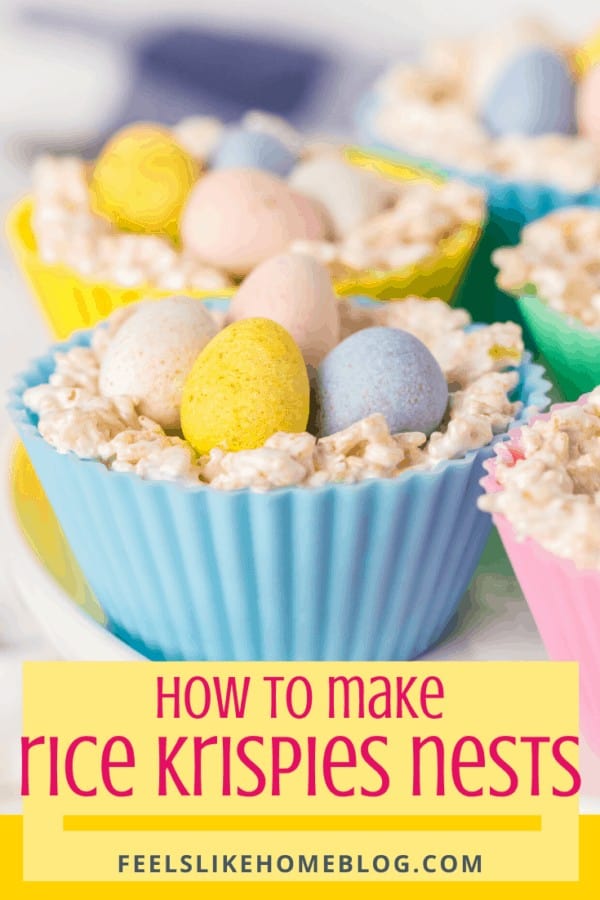
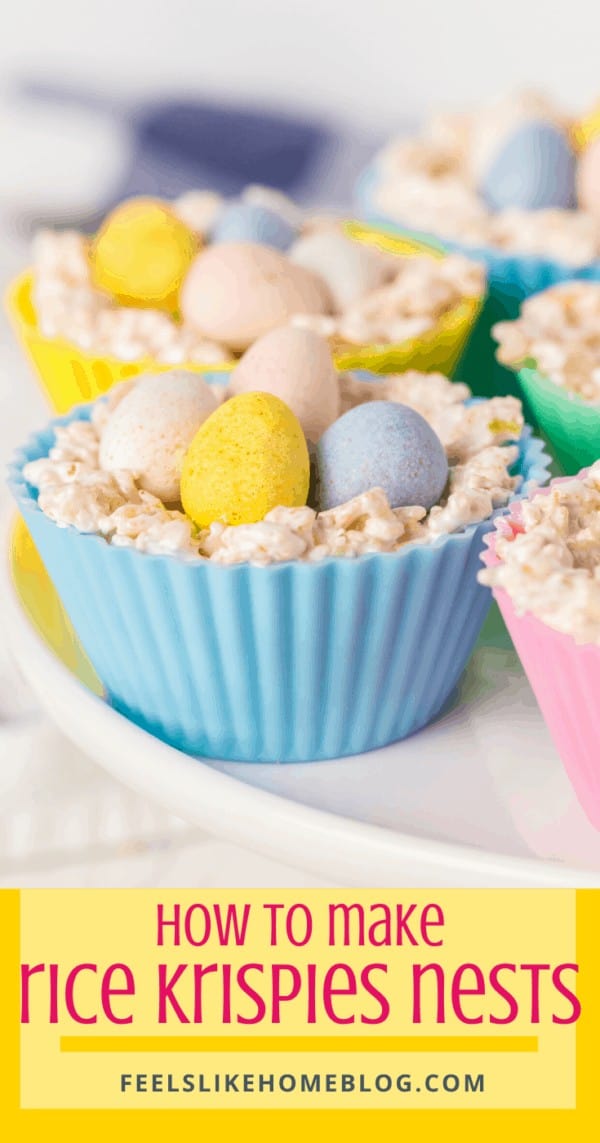
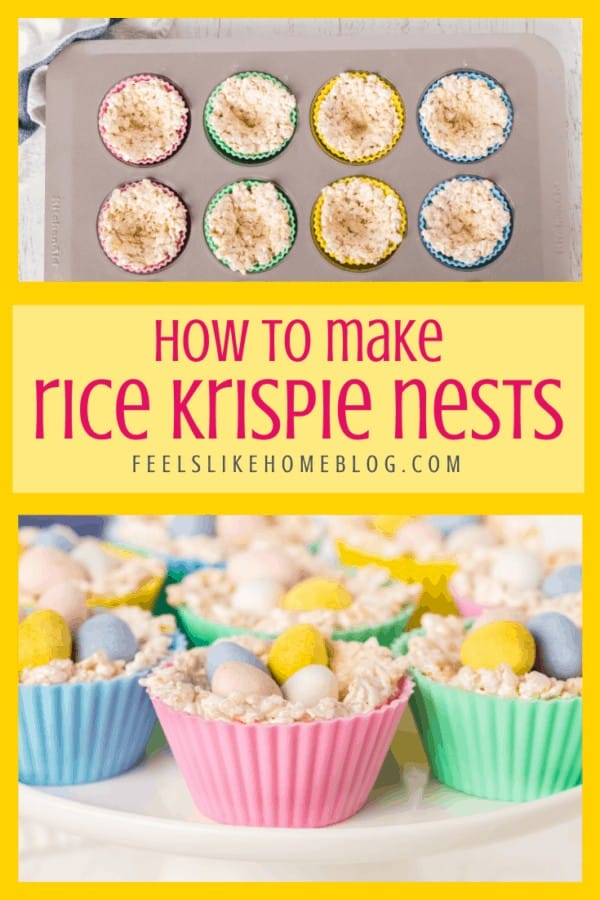
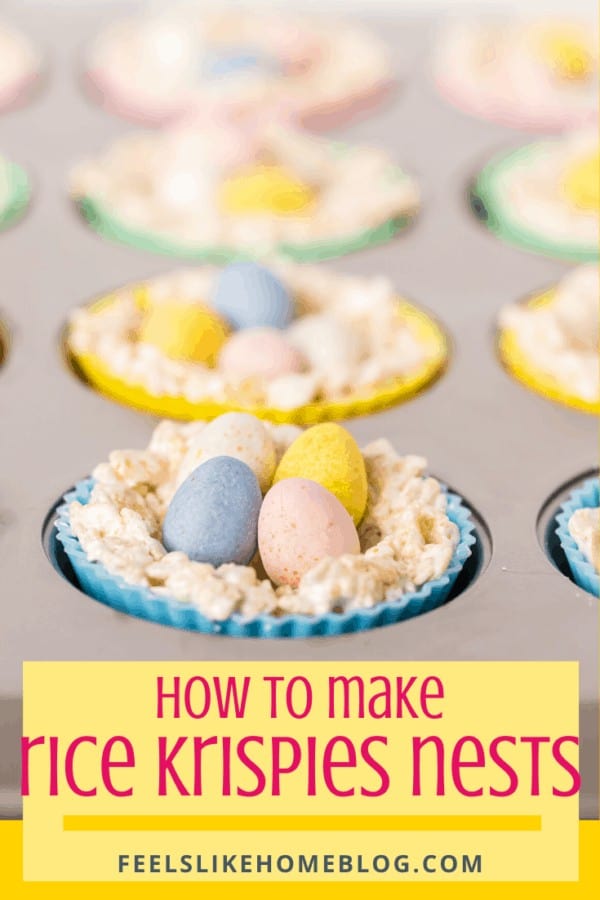
- Line the muffin pan well with silicone cupcake liners. Spoon the sticky mixture into the wells and press a dent in the center of each one.
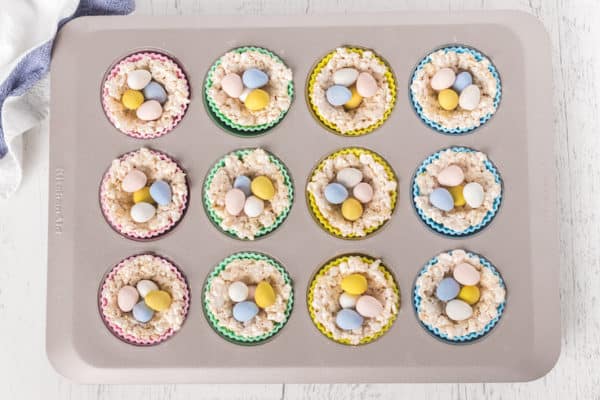
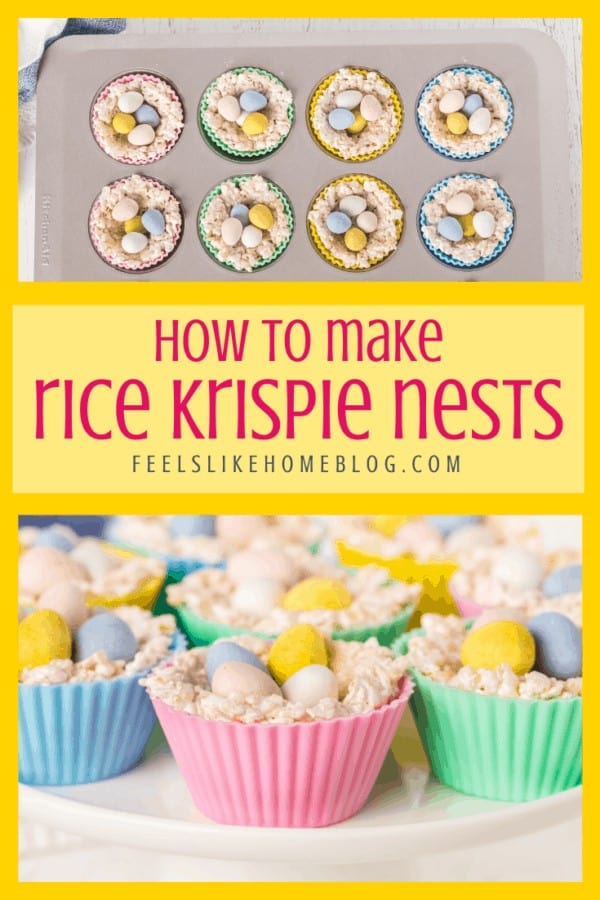
- Add egg-shaped candies to the center of each nest.


Comments
No Comments