
I created this super cute little reindeer craft from a pine cone, thinking it would be perfect for my 8-year-old to make on a chilly and rainy December afternoon.
I got out my trusty hot glue gun and all the supplies, and I invited her to come craft with me.
"No, I don't think so," she said from downstairs.
I sat with wide eyes, wondering what to do next.
"Why not?" I called to her.
"I don't want to," she said.
"It will be fun. We're going to make reindeer," I urged.
My 11-year-old emerged from her bedroom. "I'll make crafts with you, Mom," she offered. I can always count on her to do my silly kid crafts. She loves creating, and she really loves one on one time with me.
So that is how my big girl came to make a little kids' craft with me and had a great time doing it.
I still think these cute little reindeer would be great for a younger child or even a group of children.
Some of the materials for this craft were provided by CraftProjectIdeas.com.
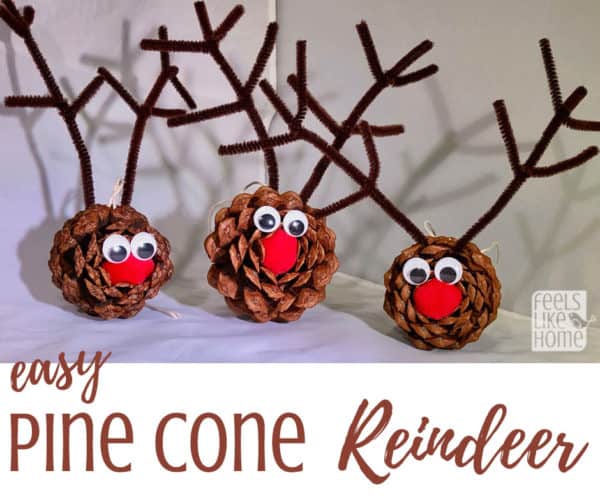
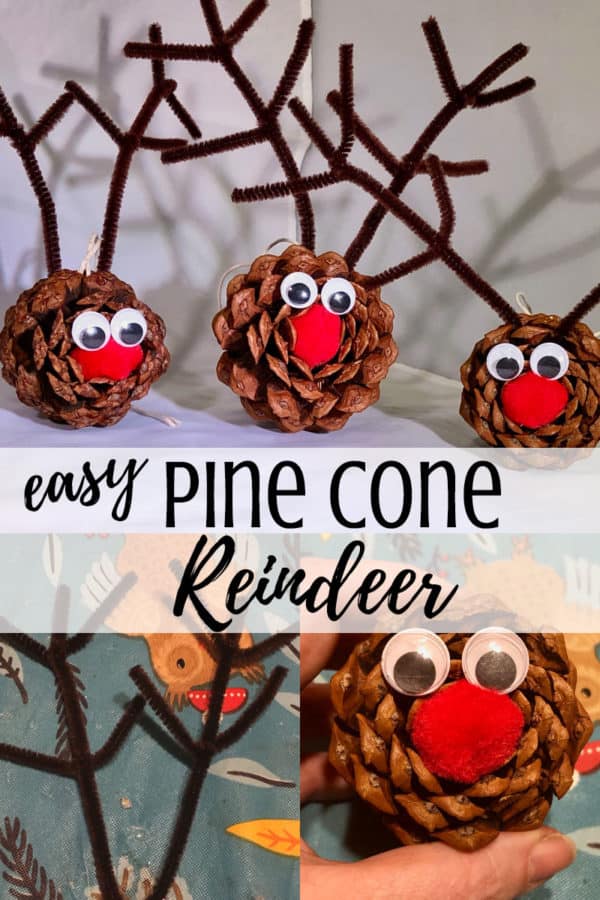
Easy Pine Cone Reindeer Ornament Craft for Kids
Materials
- Pine cones
- Brown fuzzy sticks (also known as chenille stems or pipe cleaners)
- Googly eyes
- Red pompoms
- Hemp cord
- Hot glue or craft glue
- Scissors
Instructions
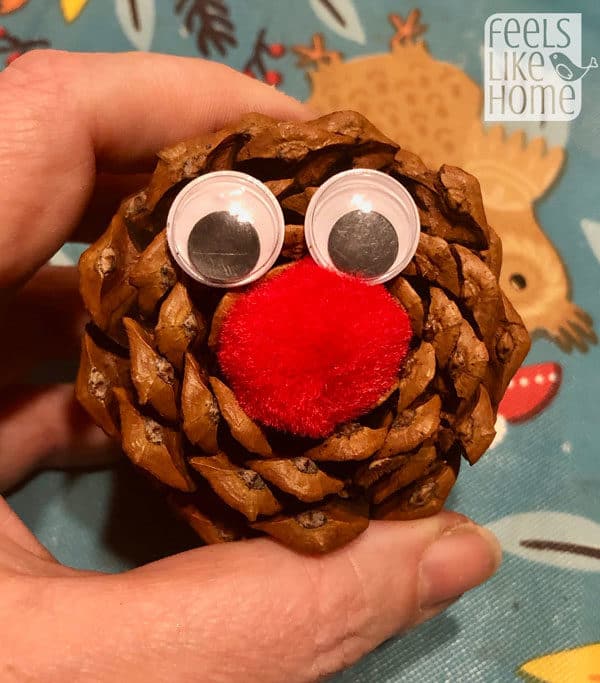
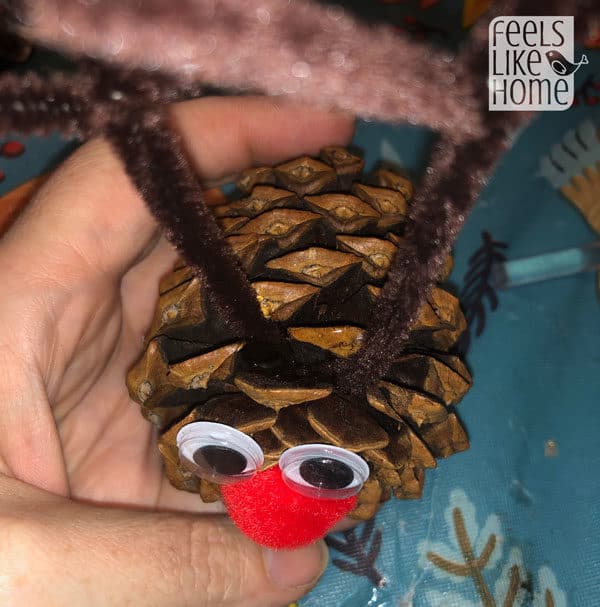
- Select a pine cone with the smallest possible divot on the fat bottom end. A flat bottom would be best and make the nose stick out most; some of mine had deep wells that allowed the nose to be almost flush with the eyes, not the look I wanted but the best I could do.
- Glue the eyes and nose onto the flat bottom of the pine cone.
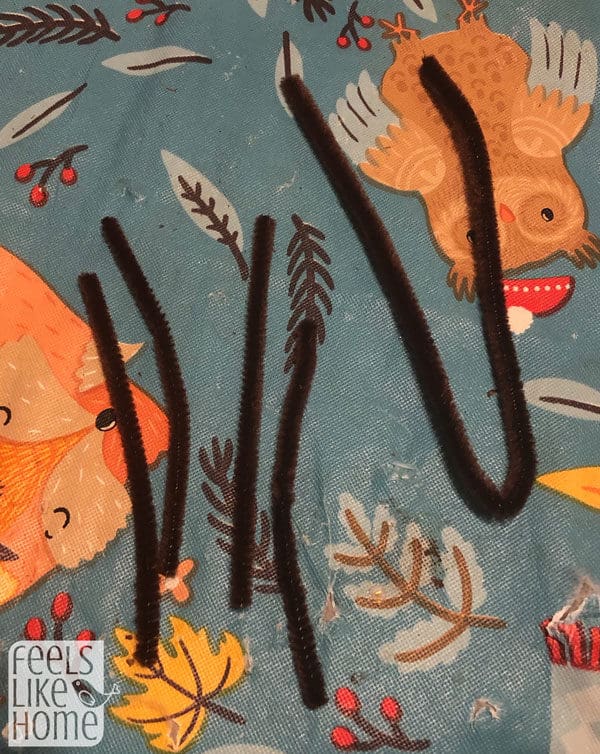
3. Cut some fuzzy sticks so that you have 4 two-inch pieces and one full stick. Fold the full stick in half and crease it to form a V.
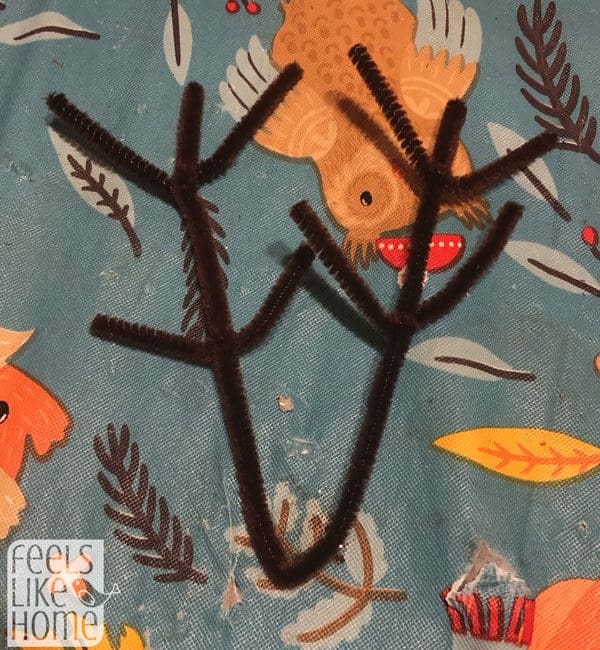
4. Wrap the shorter pieces around the two sides of the V as shown below. I wrapped each short piece tightly around the main antler twice and then shaped it and trimmed if necessary to make the two sides even.
5. Glue the antlers behind the eyes, poking them the whole way down between the scales of the pine cone.
6. Cut a length of hemp cord and wrap it around the pine cone close to the antlers (but not between the antlers and the eyes). Tuck it in as much as possible so it doesn't show. Tie it around the pine cone and then tie the ends to make a loop for hanging.
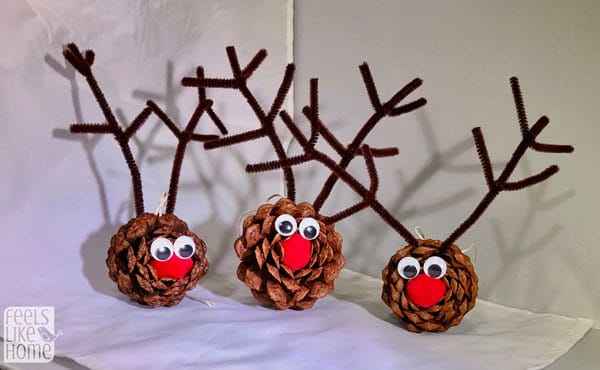
I love these little pine cone reindeer, and I think they're perfect for the Christmas tree or as gift decorations in place of a bow or ribbon. The child who made them with me thought they were fun to make and cute too, and I think they would be nice for even young children, if you used regular craft glue instead of hot glue. I can't wait to see yours!
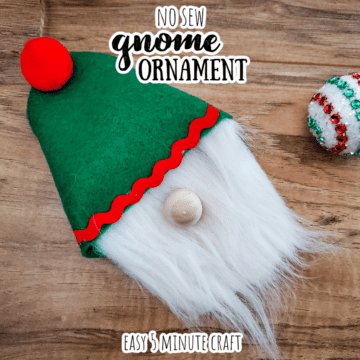
Be sure to check out the other 4 simple and easy Christmas pine cone craft projects that I shared today!


Lizette Peters says
love these, and will do this with our kids craft and fun class this weekend!