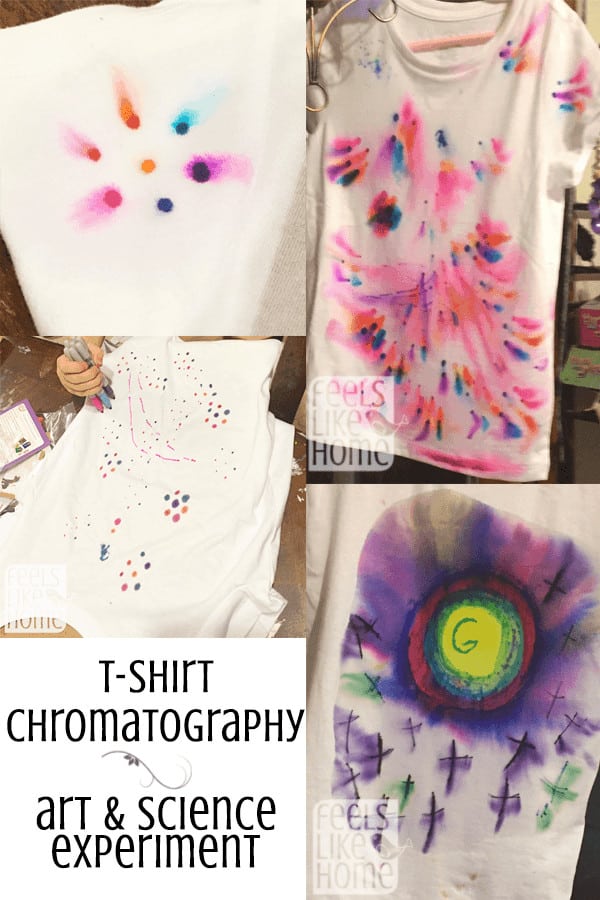
T-shirt chromatography is an "experiment" that dates the whole way back to my days in the science museum in the '90s. We routinely did paper chromatography at our Discovery Bar on the museum floor, and I decided to try the same thing with t-shirts and Sharpie markers. I may not have discovered the concept of Sharpie marker chromatography, but I was definitely early on in the idea.
Back then, I had the kids stretch their shirts over buckets and drip rubbing alcohol on the design with an eye dropper. That was fun, but it was also tedious. I didn't think my kids (especially 5-year-old Allie) would sit for that lengthy of a process this time around.
I needed a faster way to apply the rubbing alcohol, and I settled on a spray bottle. It seemed like a good idea and, overall, it worked out pretty well.
My kids love to design their own clothes, so this was a big hit. We'll probably grab some more white t-shirts the next time we're at Walmart and do this a couple more times before the summer is over.
T-shirt Chromatography Materials
- A white t-shirt for each kid
- Sharpies in a variety of colors - Much cheaper on Amazon than at Walmart
- 70% rubbing alcohol
- An empty spray bottle
- A piece of thick cardboard for each kid, cut to the approximate size of the t-shirt
Instructions
- You should probably wash and dry the shirts ahead of time to get the sizing and weirdo chemicals out of them, but we didn't.
- Slide the cardboard inside each shirt. If you don't do this, the colors from the Sharpies and the experiment will leak through from the front to the back. This might be cool, or you might want to color the back separately. Your decision.
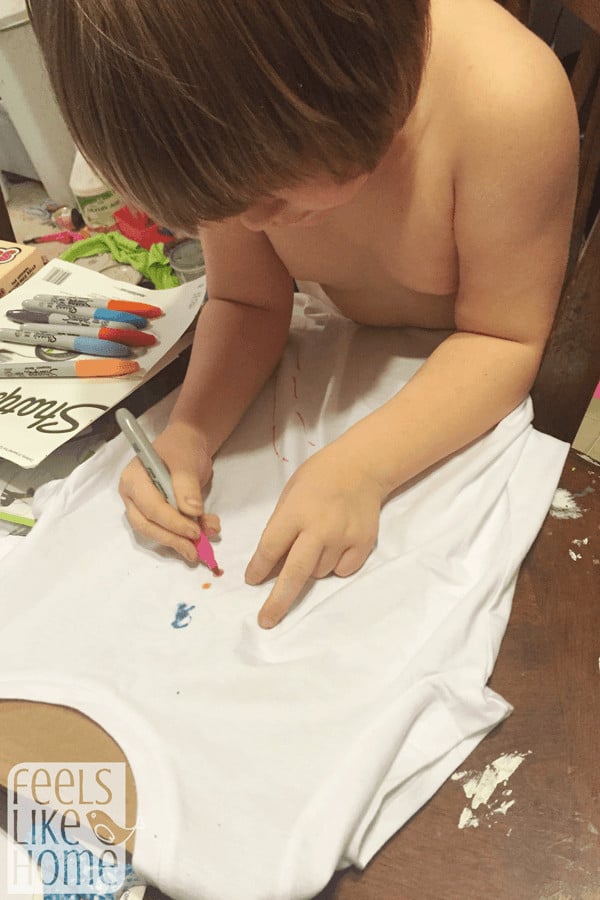
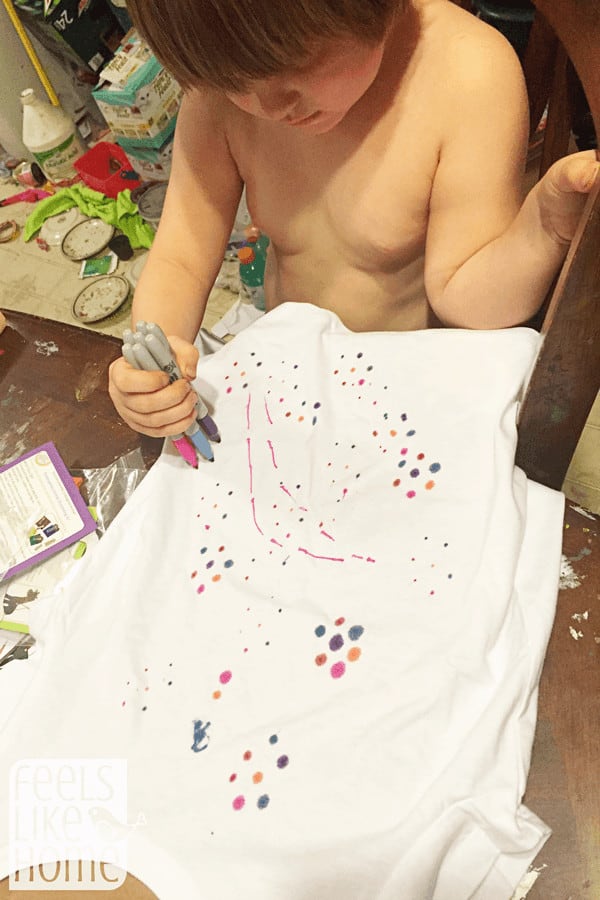
- Color the t-shirt with Sharpie markers. I have several tips for you:
- Open designs work best. Circles, open flowers, arrangements of dots, etc.
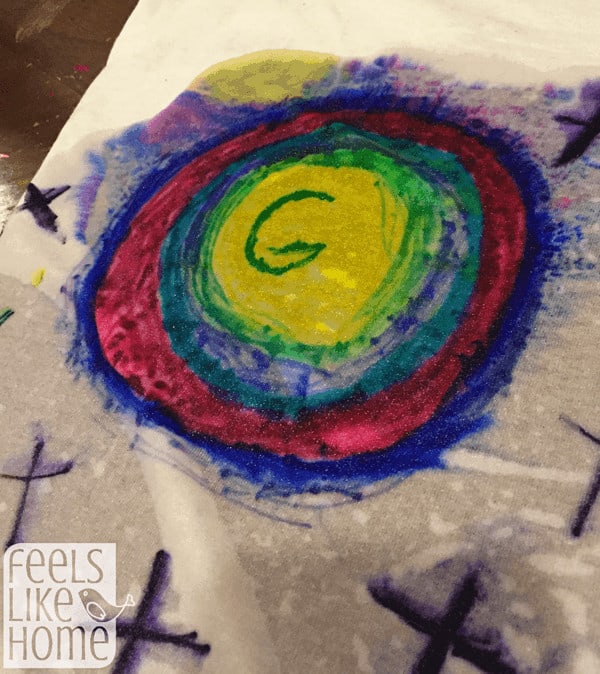
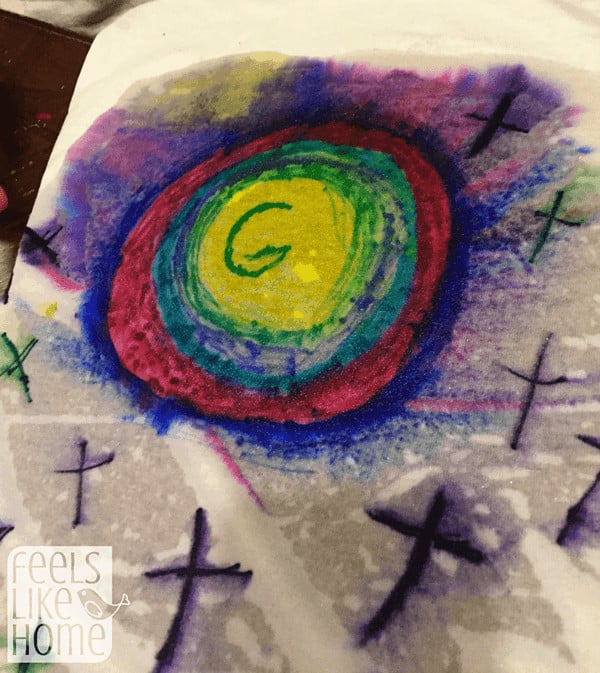
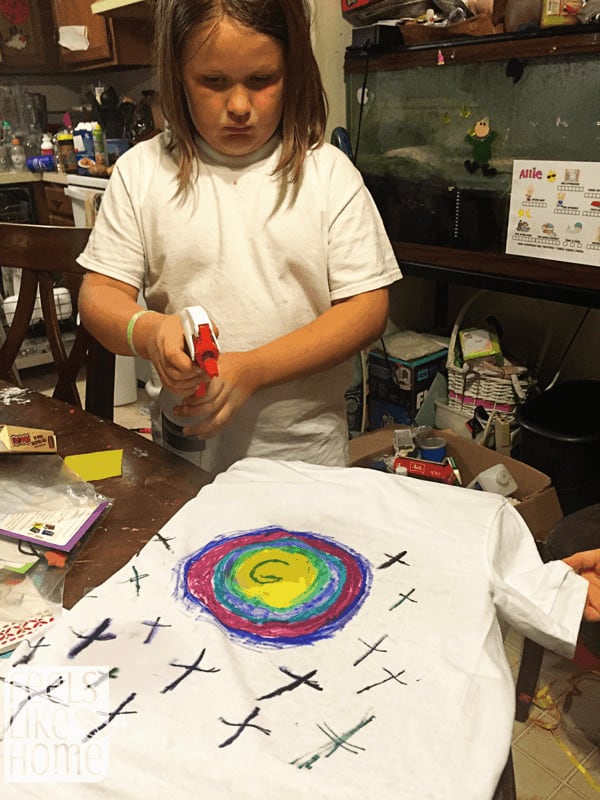
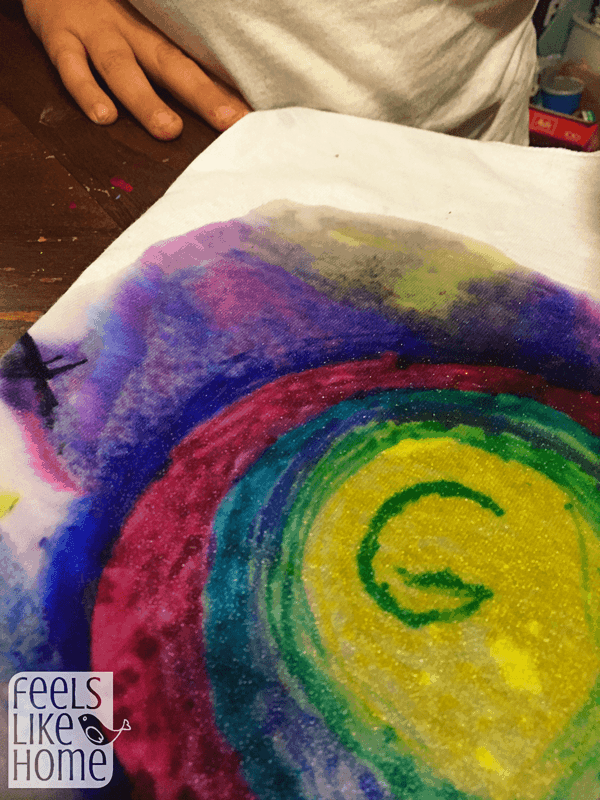
- Closed, fully colored in designs often end up creating muddled colors. (Grace did hers this way, and her results are pretty cool. Just be warned that it doesn't always turn out well.)
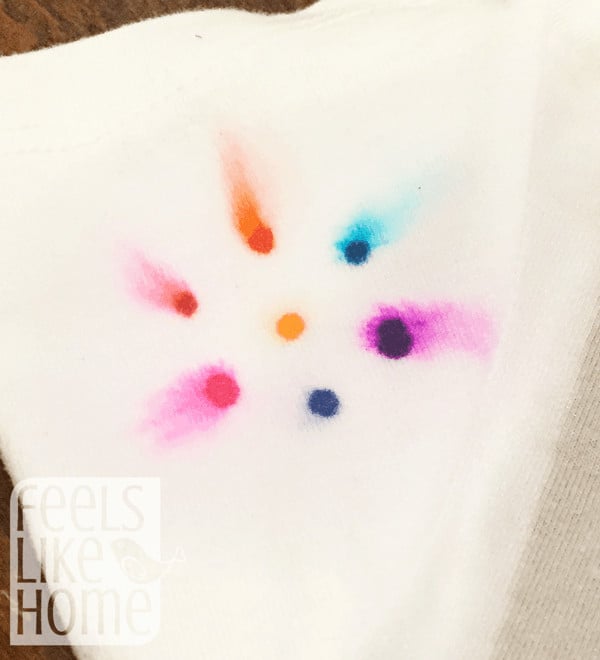
- More ink means a greater effect during and after the experiment. A small dot will blur slightly; a large, saturated dot will blur more.
- Your designs may or may not be recognizable after you soak them. Be forewarned.
- Move to a well ventilated spot. Outside would be best, but we did the spraying at night in our dining room with the ceiling fan on and the door open.
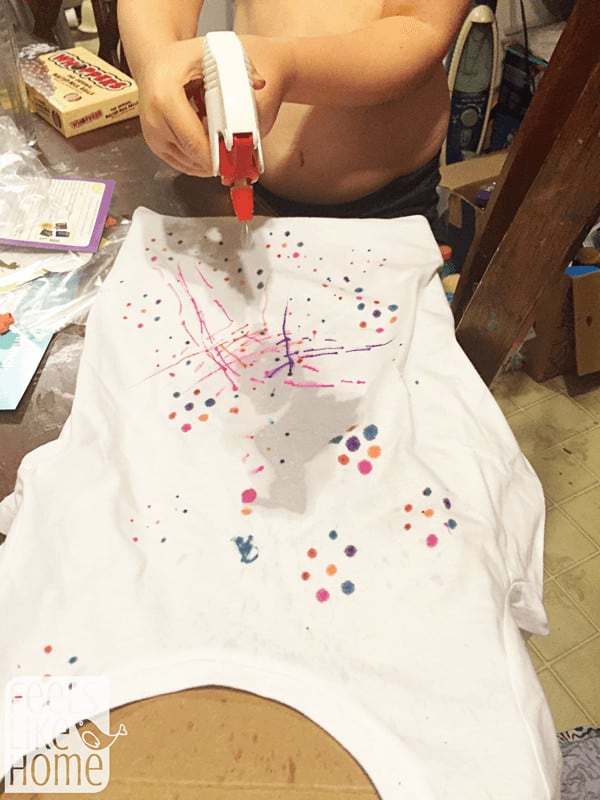
- When you are satisfied with your colored image, pour the 70% rubbing alcohol into your clean, dry spray bottle. Starting in the center of the design, spray a generous amount of rubbing alcohol all over the designs.
- Saturate the shirt everywhere there is design.
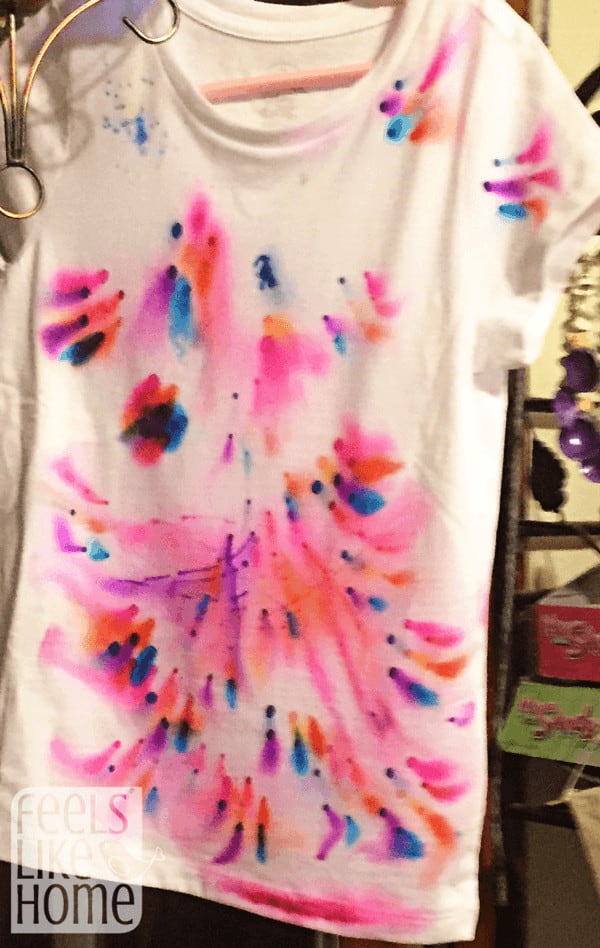
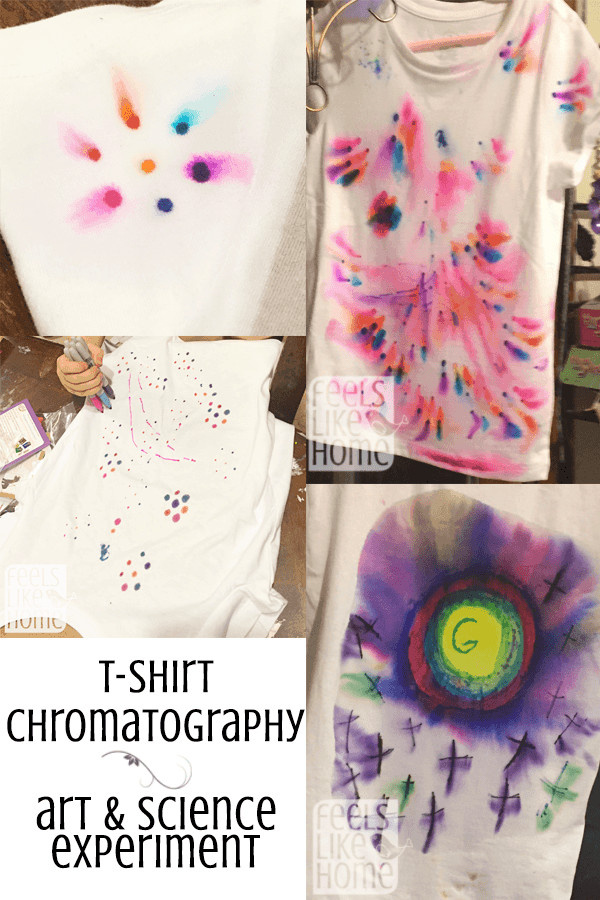
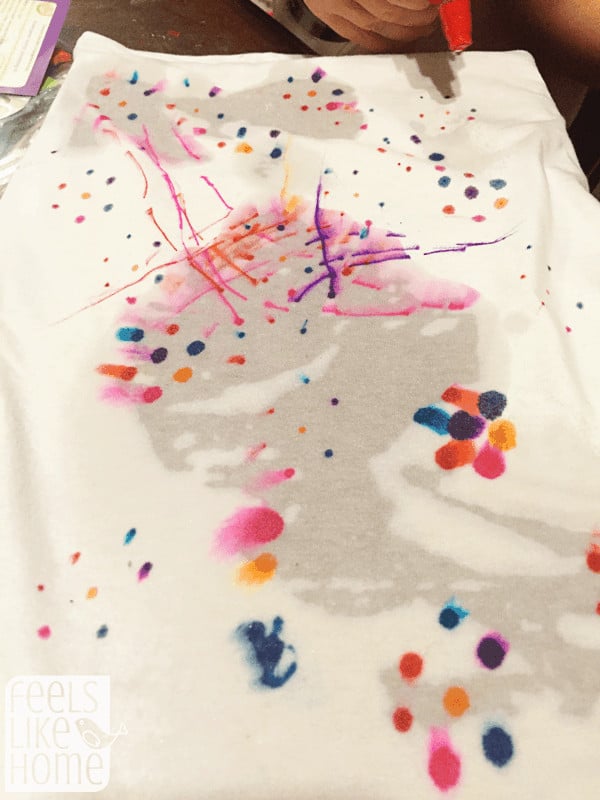
- The shirt will stick to the cardboard a little. This is not a big deal. Watch as your designs smear and blur all over the place! If you are lucky, you will even be able to watch as different colors appear out of a single ink splotch!
- When you are satisfied with the amount of alcohol in the shirt and the overall look of the design, carefully peel the shirt off the cardboard and hang it up to dry.
- Leave the room and get some fresh air. You will no doubt need it after all that alcohol spraying.
The Science Behind Chromatography
This experiment is the next step of my paper chromatography experiment from last Friday. In that one, we used coffee filters, washable ink, and water to separate the dyes used to make markers.
This time, we're using permanent markers, and we learn that they may not be as permanent as we thought. The reason is that these markers are alcohol based. It goes back to the solubility concept that I talked about last week:
That leads me to the second idea. The second idea is solubility. These markers are all washable or water-soluble. That means that they are made with water and that water will wash them away. They dissolve in water. That's why this experiment works with washable markers but won't work with Sharpies. (Chromatography with Sharpies comes next Friday!) Sharpies are not made with water, so water can't dissolve them.
Because Sharpies are alcohol based, alcohol will dissolve them. If we had used a more concentrated alcohol solution (you can buy 90% in the pharmacy), the colors would have blurred more, but then there would also have been more fumes. I decided to go for the lesser blurring and the lesser fumes for safety's sake.
One last thing. The liquid into which a substance dissolves is called a solvent. It's a good word to throw around with your kids. The thing that gets dissolved is called the solute. In the case of this experiment, the solute is the Sharpie ink and the solvent is rubbing alcohol. In the case of making Kool-Aid, the powder is the solute and the water is the solvent. These terms are not used frequently, but occasionally in the hardware store (with paints and varnishes, mostly).
Extending the Experiment
If you were really careful, you could try this with the more concentrated alcohol. You could also experiment with the method you use to apply the alcohol to the shirt, as I mentioned above. I'm not sure whether an eye dropper would create a different design than a spray bottle. It's worth testing!
You could experiment with different designs and different concentrations of ink on the shirt.
You could experiment with different colors. I bought a pack of 24 Sharpie markers to see what would happen with lots of different ones. You could also try metallic markers (I have no idea what would happen with those!) or other brands of permanent markers.
And of course, if you haven't already done paper chromatography, you should definitely go check that out.
The Finished T-Shirts
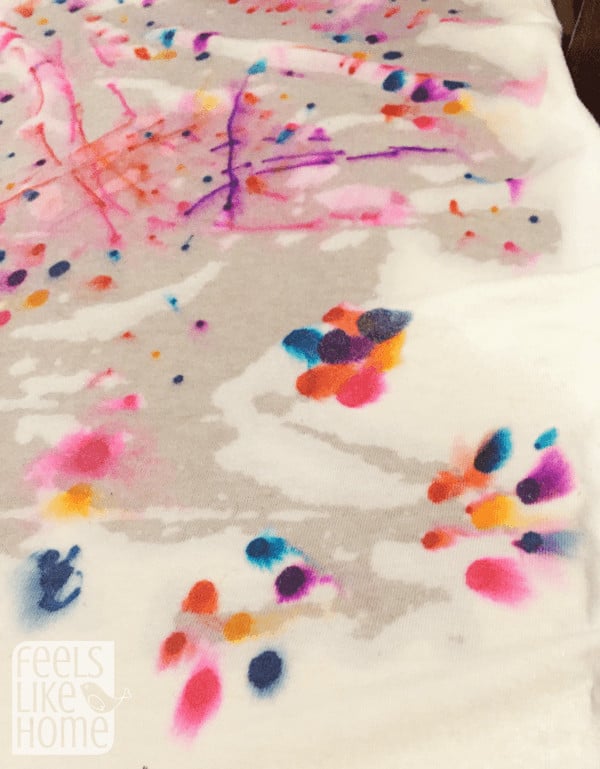
Here are my girls' finished shirts. Grace, age 9:
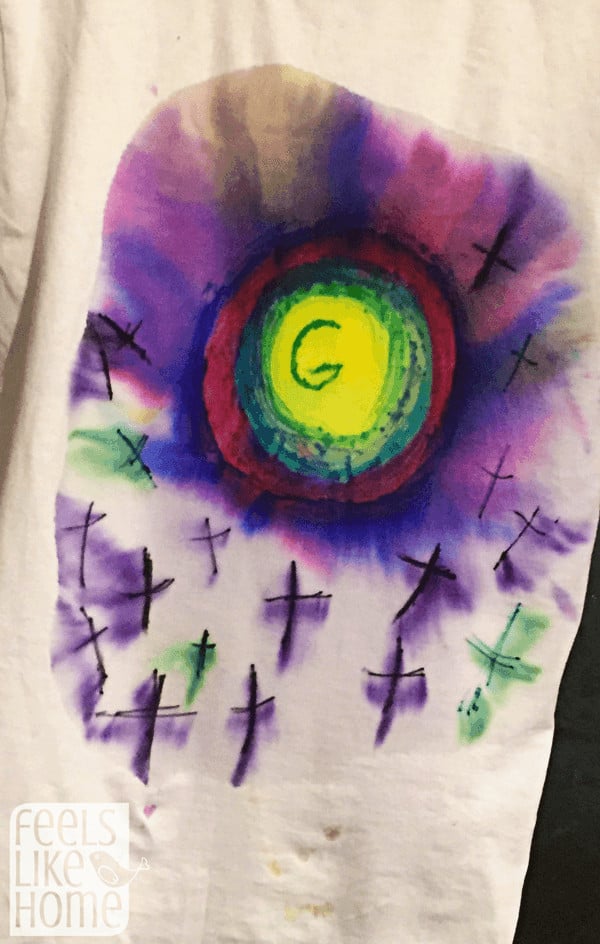
Allie, age 5:




Julie says
This looks so fun. I am excited to try it. Once you have used the alcohol and the shirt has dried, can you wash and dry the shirts with at home detergent in a washer and dryer?
Tara Ziegmont says
You sure can! The ink may fade over time (like a normal tie dyed shirt would), but they will last for quite a while.