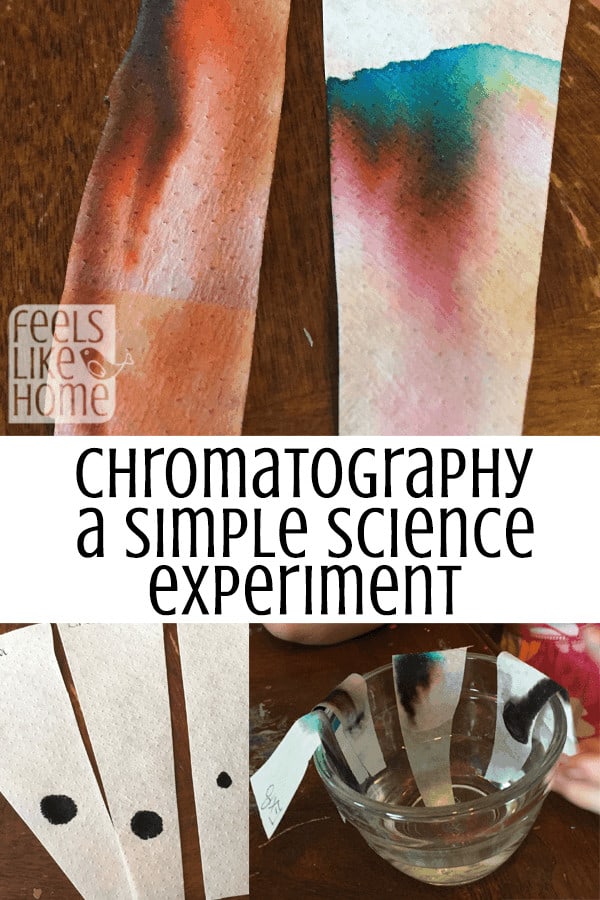
When I was a science teacher, chromatography was one of my favorite activities. The kids would color on filter paper, dip it in water, and watch what happened. It never ceased to amaze them, no matter what age they were.
We all learn in art class that green is made up of blue and yellow and that red is a primary color, made up only of red. We learn that all the colors mixed together make something between brown and black. But when you dissect marker colors, sometimes you find something very different.
Paper Chromatography Materials
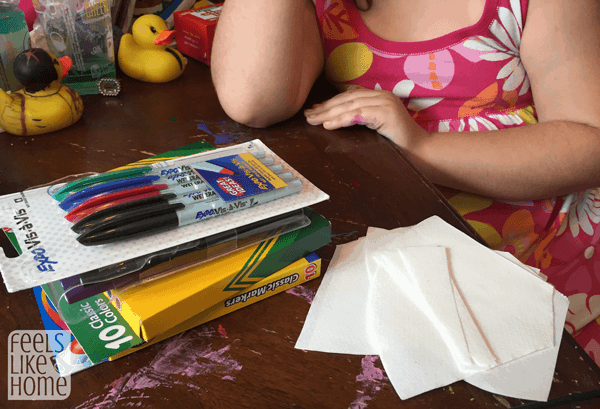
- Coffee filters - The premium ones work best, but this link will get you 300, and you only need about 10 (if your kids are really into this activity. If they're not, 2 or 3 will be plenty.)
- A variety of markers in different brands - Black works best and my favorite brands for this activity have always been Flair and Vis-A-Vis. I also picked up a package of Crayola and Cra-Z-Art markers at the store, and Cra-Z-Art were awesome! I didn't think of it at the time, but we also have some scented Mr. Sketch markers. We'll have to try them tomorrow!
- Ballpoint pen
- A small bowl or cup
- Water
Instructions
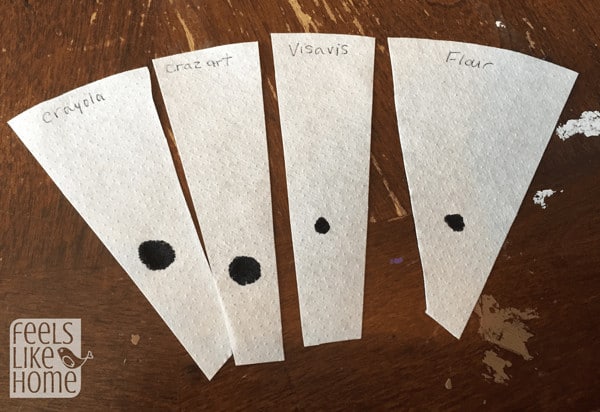
- Chromatography is so easy! First, cut your coffee filters into strips. I say that the premium ones work best because those are the densest. They hold the ink best, too. So cut them into strips. Ours were about 1" wide at the bottom and 2" wide at the top. I tried to get 4 strips out of each filter.
- Write the brand of marker at the top of the strip with a regular pen, so you'll be able to see what happened to each brand. This isn't really necessary, but I think it's fun to see what did what.
- Draw a pea-sized dot about two finger widths above the bottom of the strip. You will need space to hang the strip into the water without the dot getting directly wet.
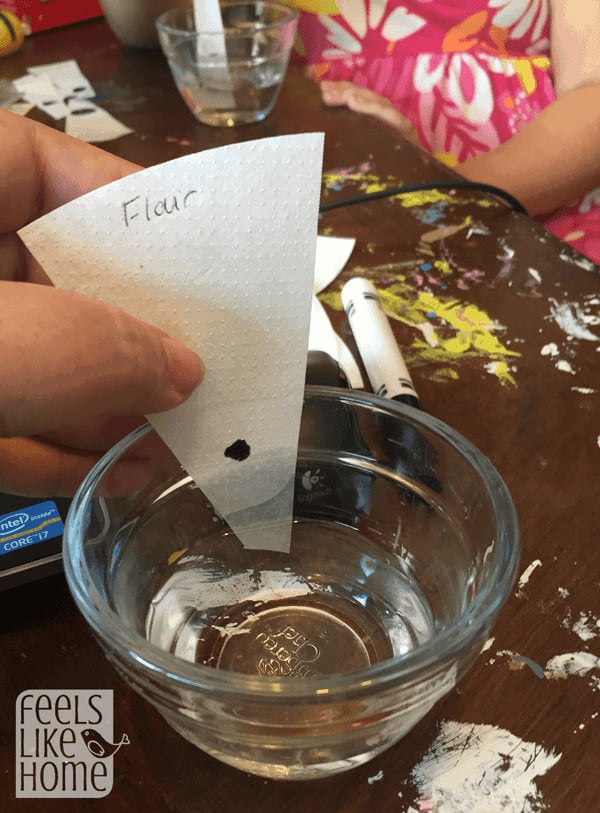
- Hold the strip of paper in the water so that the dot is well above the water line. The idea is that you want all the ink to go up the paper and not into the water. You will have to hold it there for a couple of minutes.
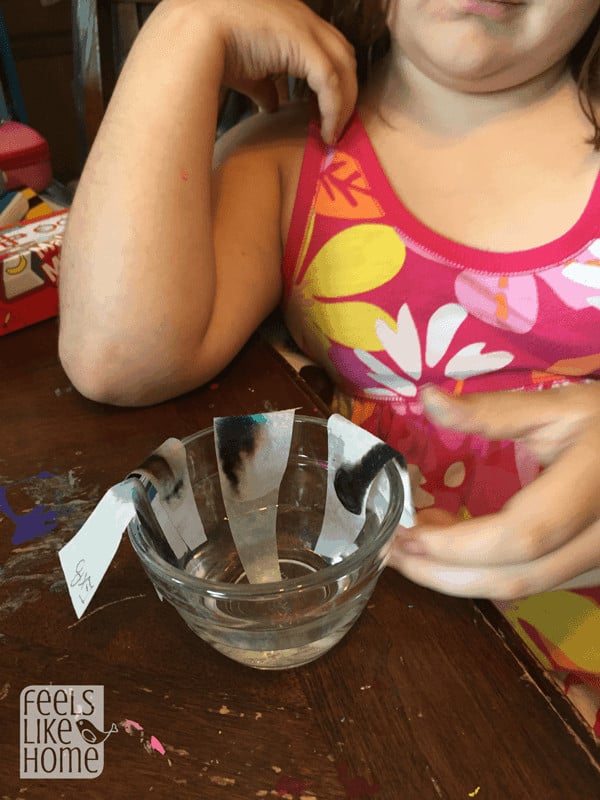
- When the paper is wet far enough up, you will be able to lay it over the edge of the bowl and work on your next strip.
- When the water has climbed nearly the whole way to the top, take the strips out of the bowl and lay them flat to dry. If you lay them on a paper towel, they won't get ink on your table.
The Science behind Chromatography
There are three ideas at work here. The first is cohesion. Cohesion means that water is sticky. It likes to stick to itself. The water hits the paper, which is porous (has lots of holes in it), and the holes fill up with water. The top edge of the water keeps climbing up into the holes in the paper, and it pushes the ink along with it.
That leads me to the second idea. The second idea is solubility. These markers are all washable or water soluble. That means that they are made with water and that water will wash them away. They dissolve in water. That's why this experiment works with washable markers but won't work with Sharpies. (Chromatography with Sharpies comes next Friday!) Sharpies are not made with water, so water can't dissolve them.
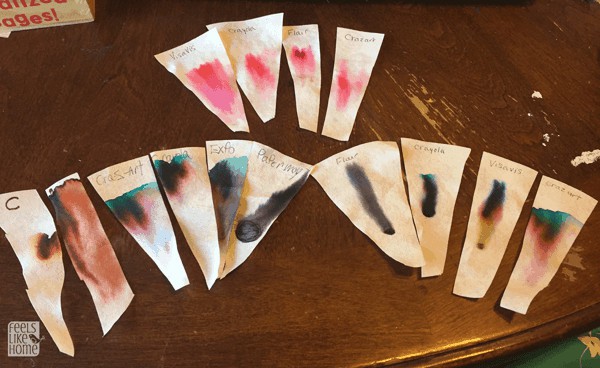
The third idea is the biggie, and that is molecule size. Everything around you is made of molecules. Molecules are tiny shapes that squish together to make up everything on earth - even things you can't see like the air! So these molecules can be big or small depending on what materials make them up. Different molecules of the same stuff - marker ink - can be very different sizes. So the reason you are seeing some colors move up the paper quickly and some get left behind has to do with the size of the molecules of that color. If you look closely at the following photo, you can clearly see which colors have big molecules and which have small ones:
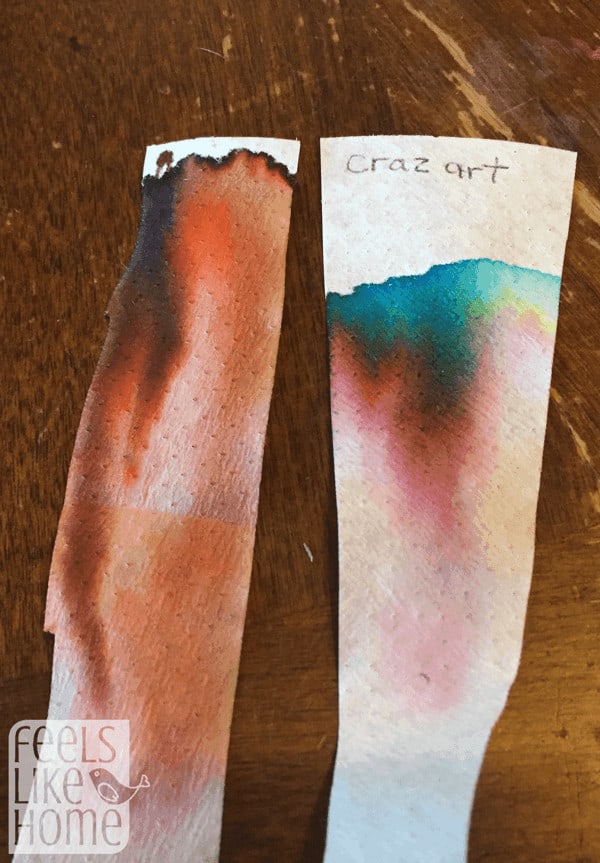
Did you say that red has big molecules and blue has small ones? That is the case! The blue molecules are so small and fast moving that they get to the top of the water. Yellow is a little bigger and slower, and red is so big that it lags behind. All those colors came from one black Cra-Z-Art dot!
You can do the same thing with the Cra-Z-Art brown dot on the left. It looks like there was some brown ink in there, along with black and orange. It isn't as easy to tell which one was the biggest and which was the smallest because they're sort of all spread out across the paper. The reason for this is that Grace drew with the brown marker all up and down the paper. If she had made one single dot near the bottom, you would have been able to tell which molecule moved the fastest.
Extend the Experiment
I am so excited for next Friday when we are going to extend this activity big time!
But in the meantime, you can try making paper flowers with this same concept. Use a round coffee filter or cut a circle out of the premium ones. Draw a circular design in the center - lines and dots only - no colored in shapes. (Too much ink on the paper will ruin the design.) Next, either drip some water onto the center with an eye dropper or fold the circle in half several times and dip the center point in a dish of water. Either way, the water will start in the center and move out toward the edge of the filter, creating a pretty flower-like design.




Comments
No Comments