

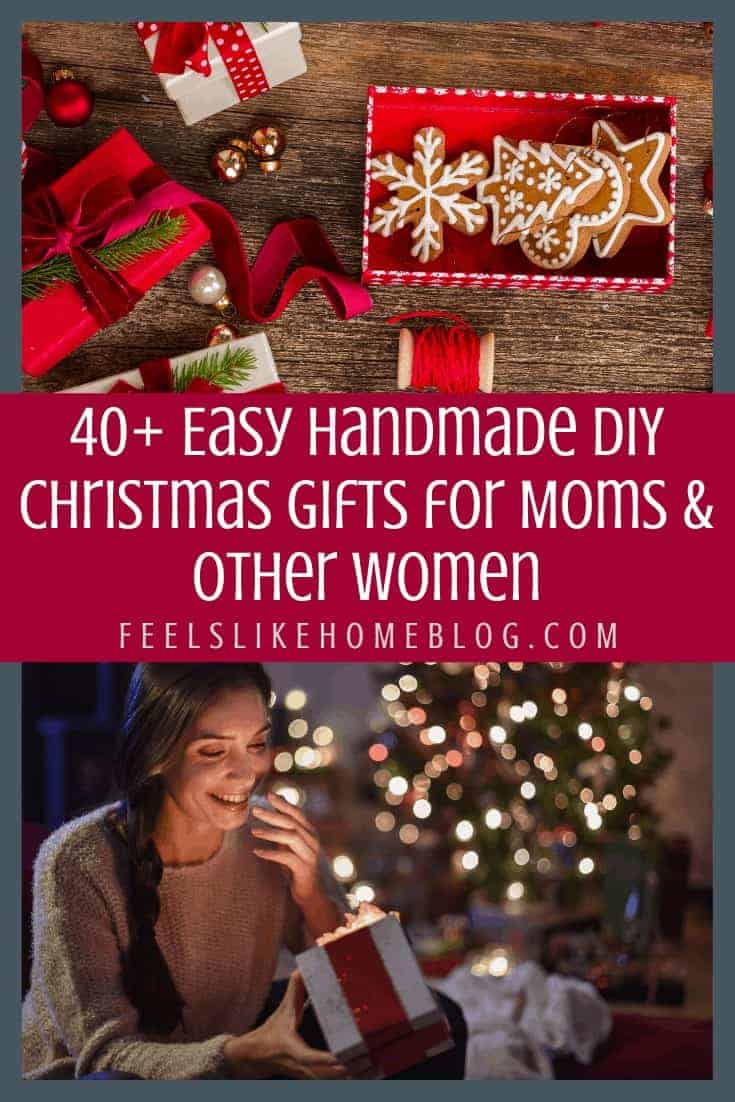
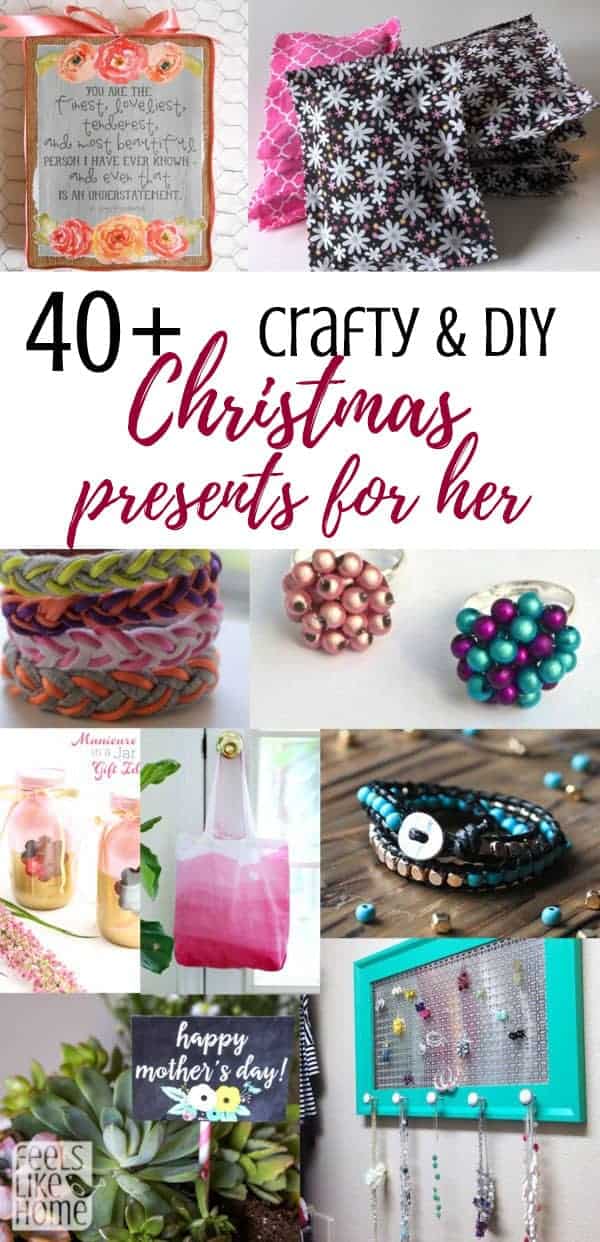

40+ Easy Handmade DIY Christmas Gifts for Moms & Other Women
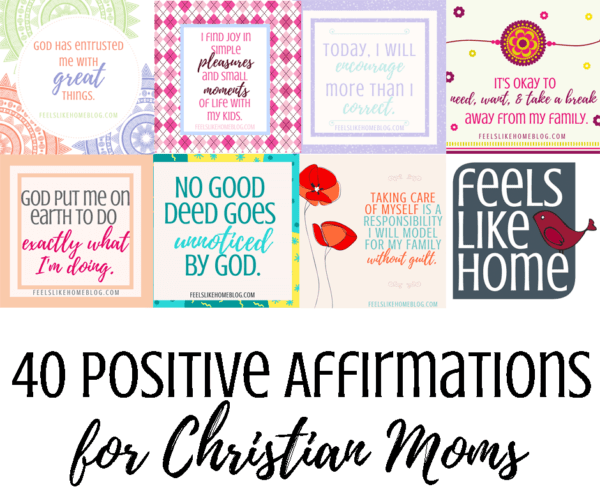
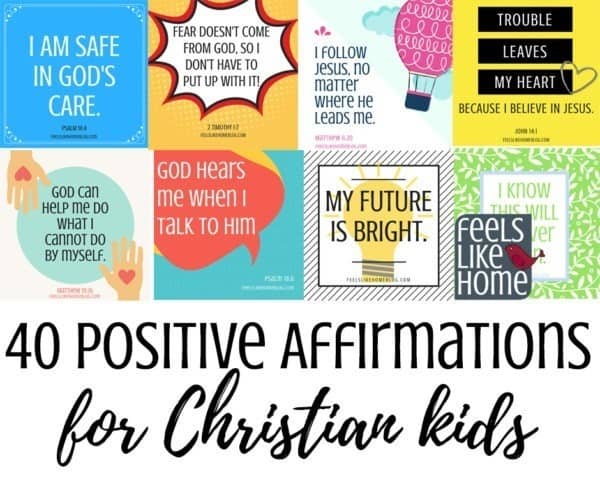
- Positive affirmations - I think every woman needs these affirmations cards. While the digital files may not be an impressive gift, imagine if you printed them out on cardstock and laminated them for her. You could present her with 80 life-giving, Biblical messages that are guaranteed to lift her up and help her to see the good in her days and her life. The file for Christian moms is more stylized with script and block letters, and the messages are specific to being a wife and mother. The file for Christian kids is heavy on anxiety, peace, and calming messages, and the text is only in block letters with no script.
What you'll need: positive affirmations download (click on the images above to download one or the other or both), white cardstock, laminator with pouches, pretty ribbon to tie the cards together


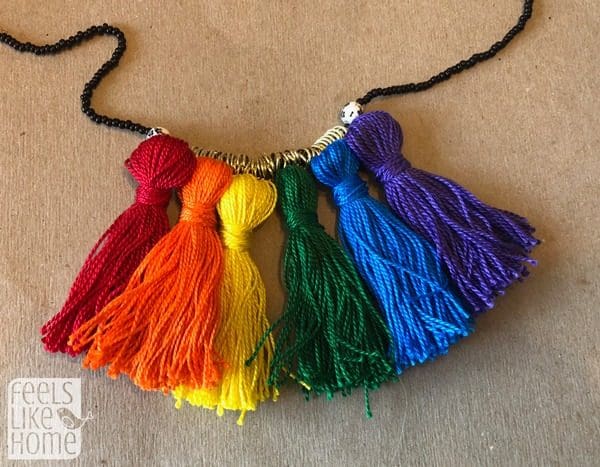
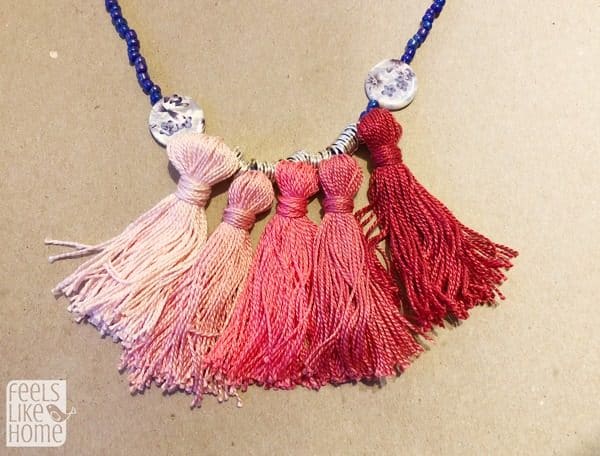
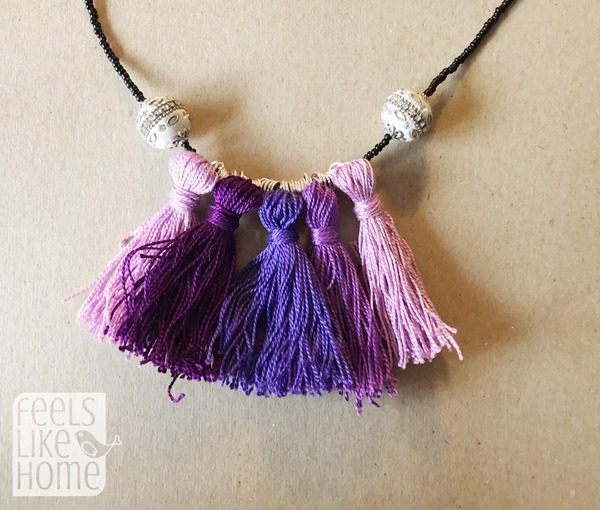
- Rainbow tassel necklace - Are these gorgeous or what?!?! I love these so much, I made a bunch for myself and some for my girls. They are lightweight because they're just thread and seed beads, and you can choose whatever colors or pattern you like.
What you'll need: Embroidery thread (This pack is great because it contains 35 different colors - lots of similar hues for an ombre look and contrasting colors for a rainbow!), scrap of cardboard, scissors, pencil, seed beads in a matching or complementary color, accent beads (There are about 50,000 different ones on Amazon. Get anything except plastic pony beads because those would look very juvenile.), 8mm jump rings, jewelry pliers, nylon beading thread, embroidery needle

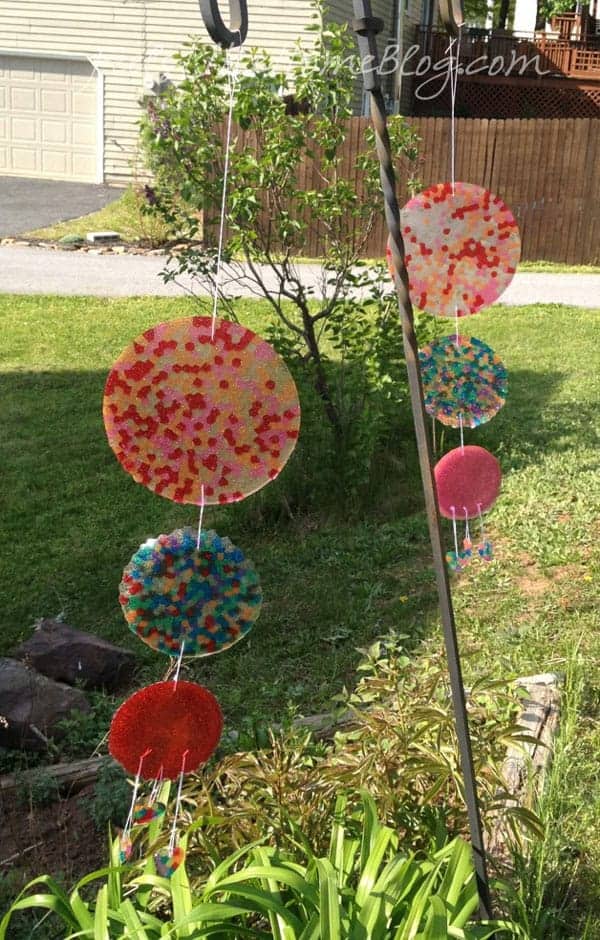
- Melted bead suncatchers - We made these several years ago, while my own mom was still alive, and they were huge hits. Everyone loved them. They're made from pony beads, so there are dozens of possibilities in terms of colors and transparency. Make sure you get some metal pans and dishes from the thrift store though because the melted beads will ruin whatever you put them in. I have a separate stash of stuff that we use only for melting beads in the grill.
What you'll need: Transparent pony beads, a variety of metal trays or pans (get these from the thrift store since you won't be able to use them for anything else when you're finished), drill, drill bit, string

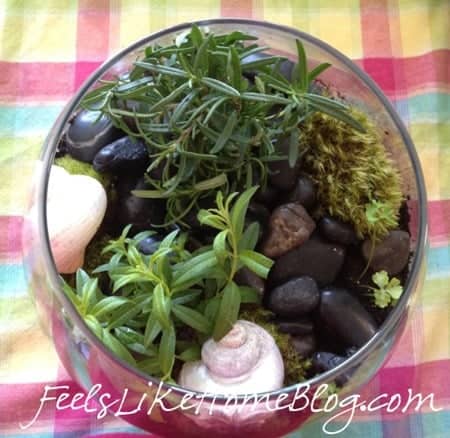
- Herb terrarium - I love plants, so this herb terrarium was a perfect craft for me. I kept it going for almost a year, and then I forgot to water it. And then you can guess what happened. Anyway, mom will love to have some kitchen-ready herbs all potted and ready for snipping, so a terrarium is a great option for Christmas!
What you'll need: A large glass bowl or dish, {terrarium essentials kit OR moss, gravel, and potting soil}, river rocks or tumbled glass (for on top of the soil), plants like rosemary and lemon verbena, and decorations

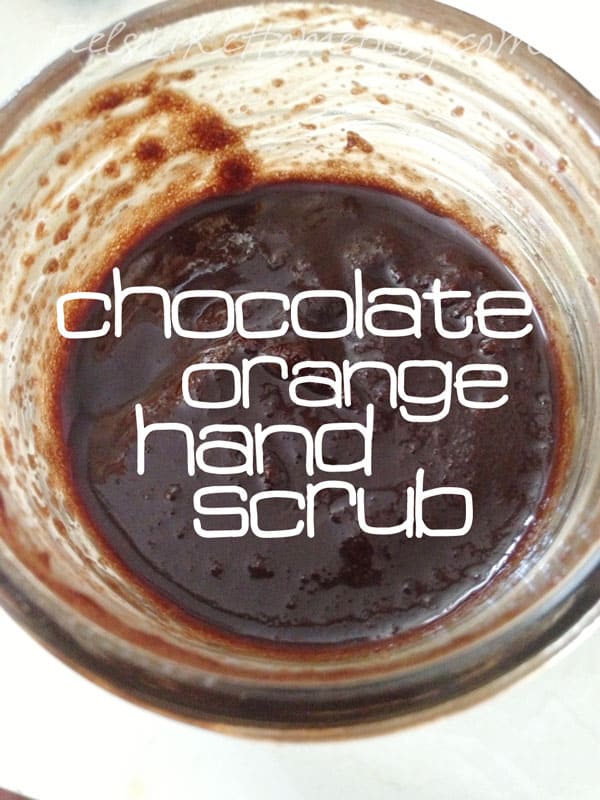
- Chocolate orange hand scrub - Chocolate oranges are amazing, are they not? If your mom is as into them as we are, she will adore this sugar hand scrub. It's perfect for those days when you've been gardening - it gets all the dirt out from under your fingernails and leaves your hands feeling smooth and silky and smelling so very good you consider taking a nibble.
What you'll need: Cocoa powder, brown sugar, white sugar, vanilla extract, olive oil, sweet orange essential oil, half pint mason jars

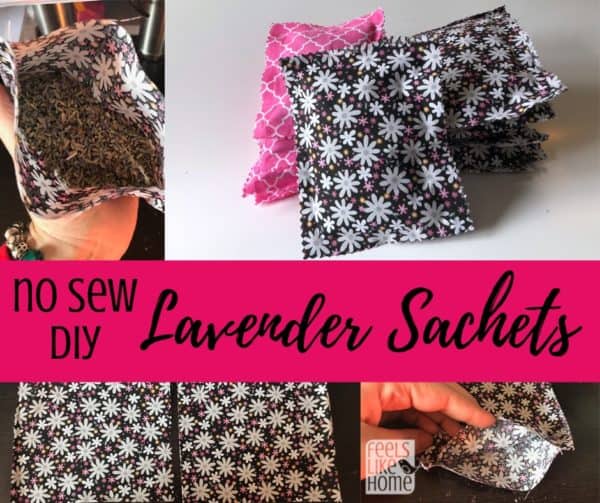
- No-sew lavender sachets - These could not be easier, and they smell and look so nice that your mom will want one for every drawer and closet in her house. I made these with my 10 and 11 year old Girl Scouts last year, and they loved them. They wanted to make more and more to give as gifts. Seriously, you can make a dozen of them in about five minutes.
What you'll need: A couple of fat quarters, pinking shears (optional but highly recommended), dried lavender, ⅓ cup measuring cup, hot glue gun, hot glue sticks

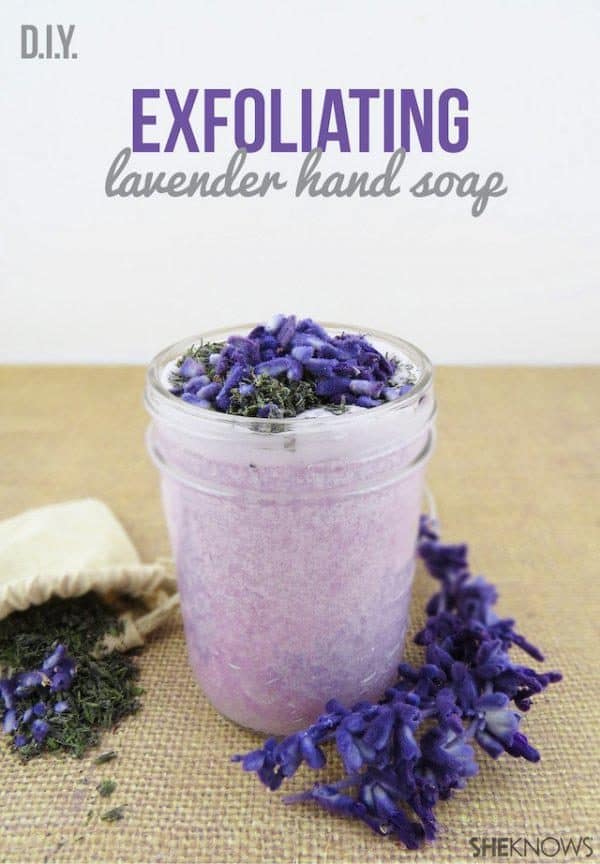
- Lavender exfoliating hand soap - My mother-in-law loves lavender, and we try to always make or buy something for her that contains it. For a number of years, we simply gave her a bottle of Young Living lavender oil, but I think something handmade is so much nicer. We made lavender sachets this year using this very fragrant lavender from Amazon. It's not very pretty; the color of the buds is kind of a grayish lavender, but it smells very strong and beautiful. It would also be great for the hand soap recipe I linked here.
What you'll need: dried lavender, pretty mason jars (half pint), white sugar, blender, food coloring, unscented or lavender scented hand soap

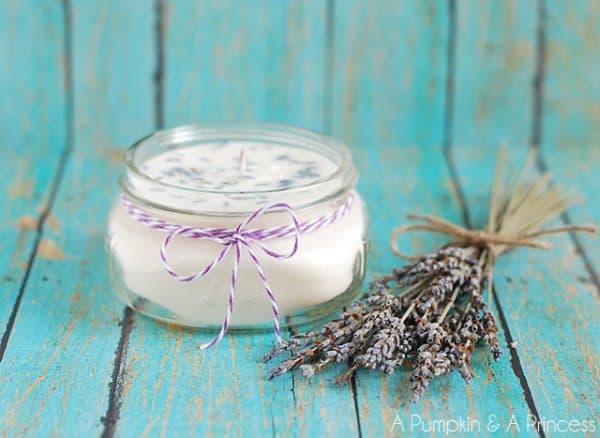
- Lavender mason jar candle - This pretty candle smells great and will make any lavender lover squeal with glee! Burning candles are soothing and pretty and make any room feel cozier. Your mom will love these candles, and she might love them even more if you put them in pretty thrift store tea cups instead of mason jars. Just a thought.
What you'll need: soy wax, candle wicks, double boiler (I bought a double boiler at the thrift store to use for candle making, but you could also buy this inexpensive metal pitcher from Amazon and use it as the inside layer with a regular pot. The point is that the wax will leave a residue on the inside of the inside piece, and you won't want to use it for food after melting wax in it.), dried lavender, pretty mason jars (4 or 8 oz), lavender candle fragrance oil

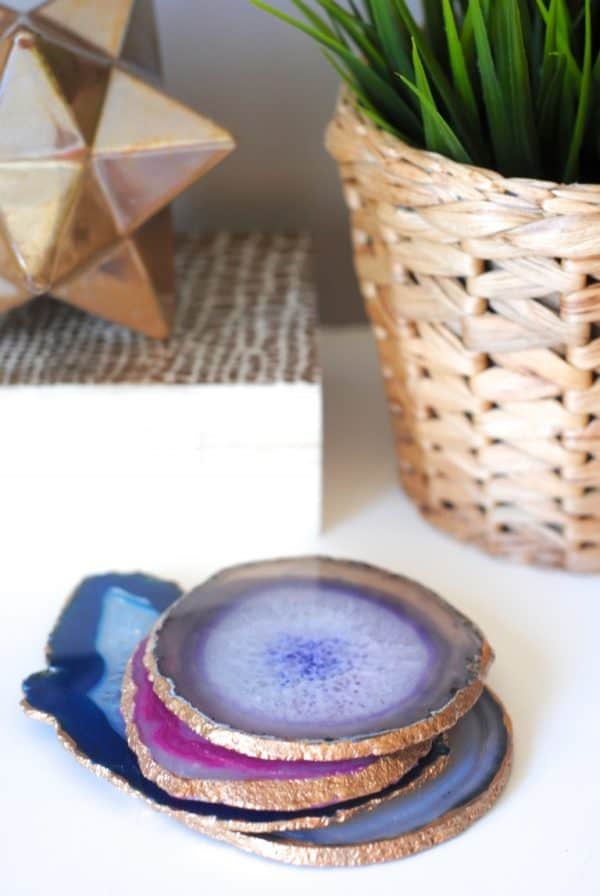
- Gilded edge agate coasters - I love agate, so I am truly enamored with these coasters, and I think your mom will be, too! Basically, you get agate slices and then you use gilding paint to paint the edges. Easy peasy! I think these would be gorgeous hot glued onto the top of a pretty acrylic box or even on the sides of a box to make a planter.
What you'll need: agate slices from Etsy or Amazon (They are much cheaper on Amazon, but the Etsy listing guarantees size and shape while the Amazon listings don't unless you search specifically for agate coasters, and then some of the results are already painted and wouldn't be DIY - but that might be okay with you because you could still package them up in a pretty way.), gilding paint, paint brush

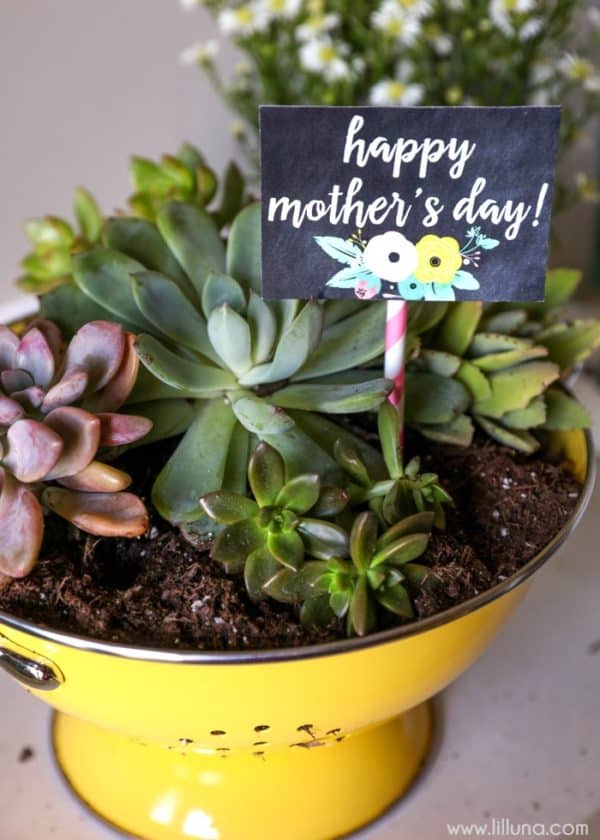
- Succulent colander - I love love love succulents! They are super easy to grow and thrive on neglect. They like to be watered only every couple of weeks or even once a month, which makes them a great houseplant. The only caveat is that they need a lot of light, but that means you can throw them out on the patio all summer long! Anyway, this easy project involves planting a bunch of pretty succulents in a colander and sticking in a little sign (obviously, you'd have to make your own for Christmas since Happy Mother's Day doesn't quite work this time of year).
What you'll need: Succulents (I buy almost all of my succulents on Etsy, where you can get all kinds of fancy varieties for not much money. Just make sure you're getting actual plants and not seeds. Succulents can take years to grow from seeds.), succulent soil, a pretty colander
PS. I think the succulents in the photo above are echeveria, moonstone, and maybe pachysedum. The echeveria is my favorite because it forms strong rosettes and comes in many different colors. But really, there are literally thousands of different succulents available on Etsy, so just pick out what you like.

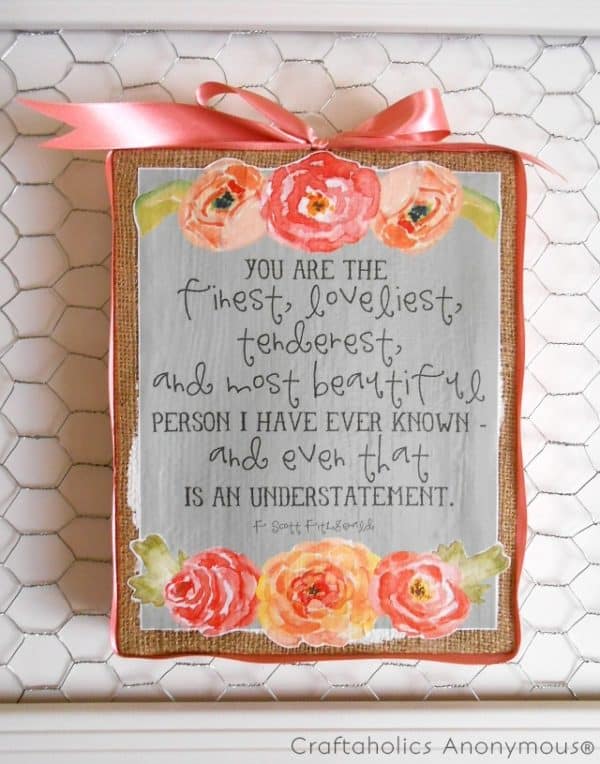
- Framed quote - This is perhaps my most favorite item (well, along with the succulents) on this whole list. I just absolutely adore the quote on the canvas, and I would dearly love to have it hanging in my home. In fact, when I'm finished with this blog post, I may just print it out and get started on the project.
What you'll need: burlap canvas, color photocopy of printable from the post (she says it's very important that it's a photocopy and not an ink jet printer version), scissors, Mod Podge transfer medium, satin ribbon, hot glue gun with glue sticks (to glue on the ribbon), soft rag

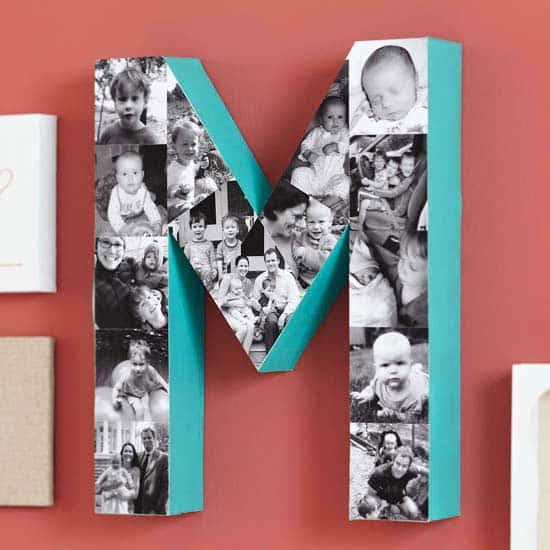
- Black and white photo collage - Every mother loves pictures of her children and grandchildren. Combine that love with a big initial, and you have a winning combination. I would love one of these letters to put in my office.
What you'll need: Photos, large paper mache letters
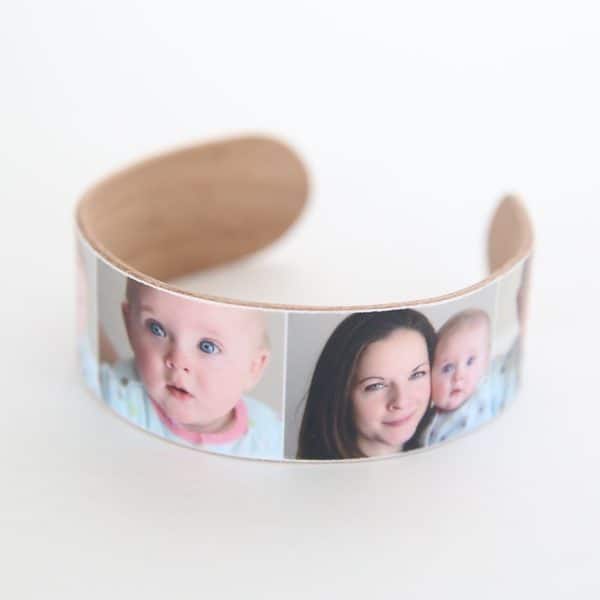
- Popsicle stick photo bracelet - I didn't think I'd ever wear a popsicle stick bracelet, but this one is gorgeous and would not be difficult to make.
What you'll need: jumbo popsicle sticks, Mod Podge, sandpaper, Photoshop Elements, pot to boil water, a large mouth jar

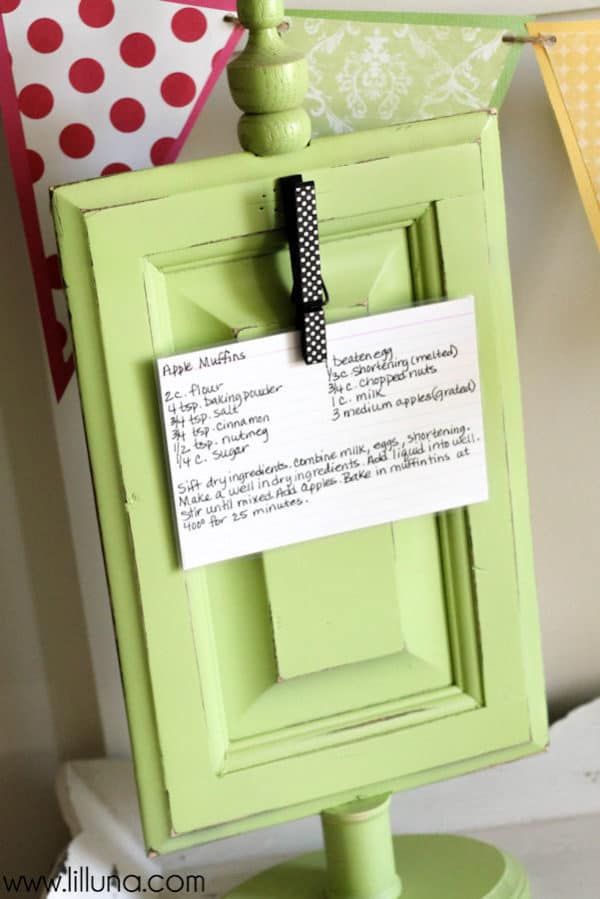
- Cabinet door recipe holder - I think this is gorgeous, and I probably wouldn't use it for recipes. I'd put it on my desk to hold a photo or maybe some kid art. It takes a little woodworking, and wouldn't be as quick as some of the items on the list, but Mom would thoroughly enjoy it for years to come.
What you'll need: cabinet door (this is a nice small one), wood finial, wood spool, wood plaque, spray paint, wood glue, drill, drill bit, ⅜" dowel pins, sandpaper, clothespin, hot glue gun, hot glue sticks, a scrap of scrapbook paper

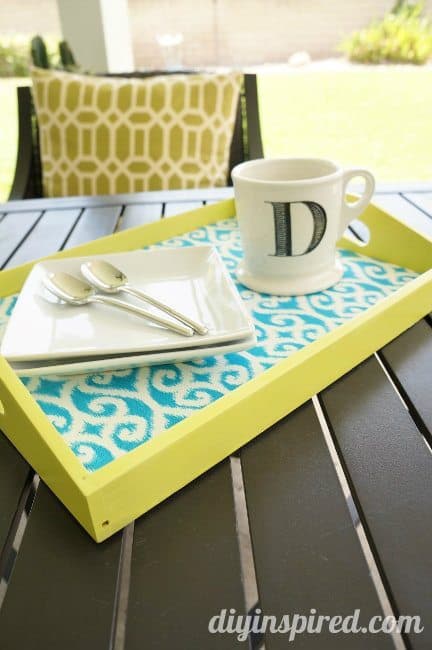
- A repurposed serving tray - If you make this for Mom, it has to come with breakfast in bed. Naturally.
What you'll need: a wooden serving tray, spray paint, a fat quarter, spray adhesive

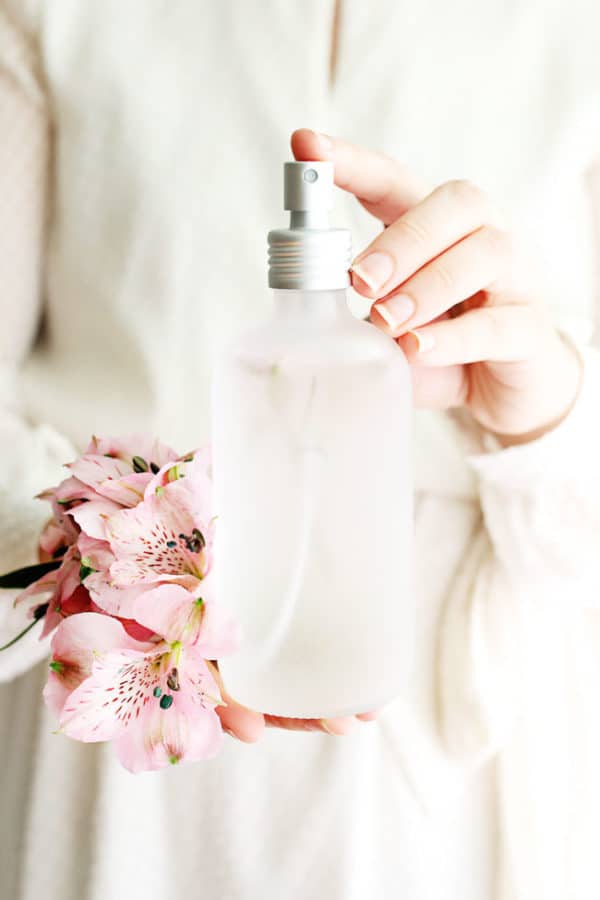
- Homemade perfume - Allie has been dying to make her own perfume, ever since picking someone's flowers on a walk last spring. (They were on a hill with no house; don't think I let her traipse up into someone's garden and pick their posies.) Anyway, I think perfume handmade by little poppets would be any mother's new favorite.
What you'll need: glass perfume bottle, vodka, essential oils, lots of flower petals, distilled water
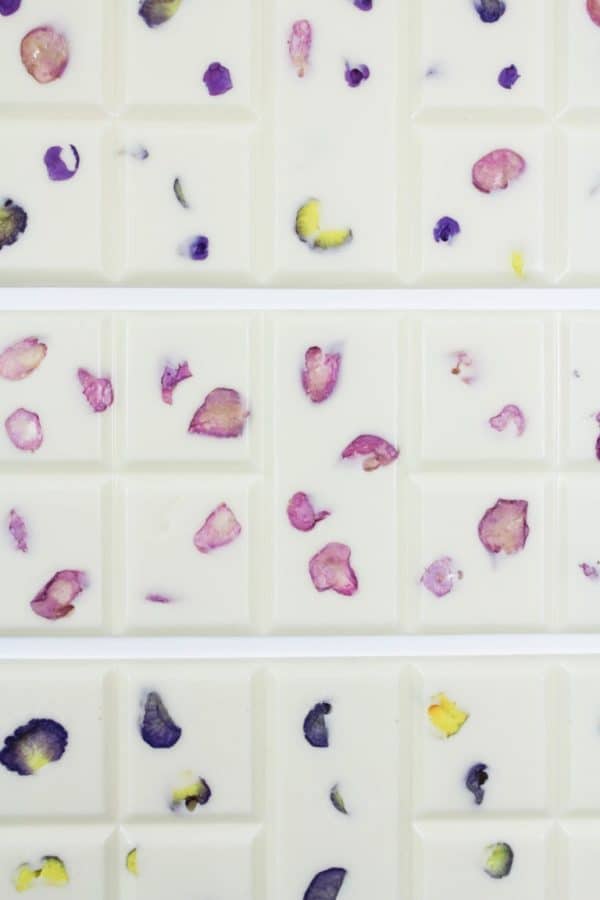
- Edible flower chocolate bars - You can use roses, violets, geraniums, pansies, and a bunch of other flowers. There's a link in the post to a list of edible flowers.
What you'll need: fresh flowers (best if you grew them yourself to avoid pesticides), white chocolate melts, chocolate bar mold
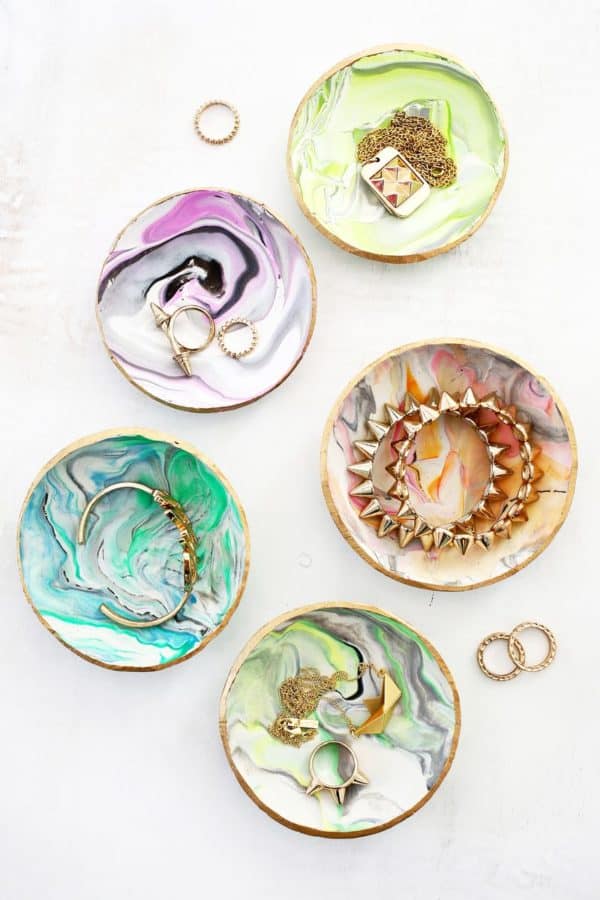
- Marbled clay jewelry dish - These are so pretty and could be used for so many different things. Wouldn't one be lovely on the sink in your bathroom, to put her rings in when she washes her hands? Or on her bedside table?
What you'll need: oven baked clay in several colors, gilding paint
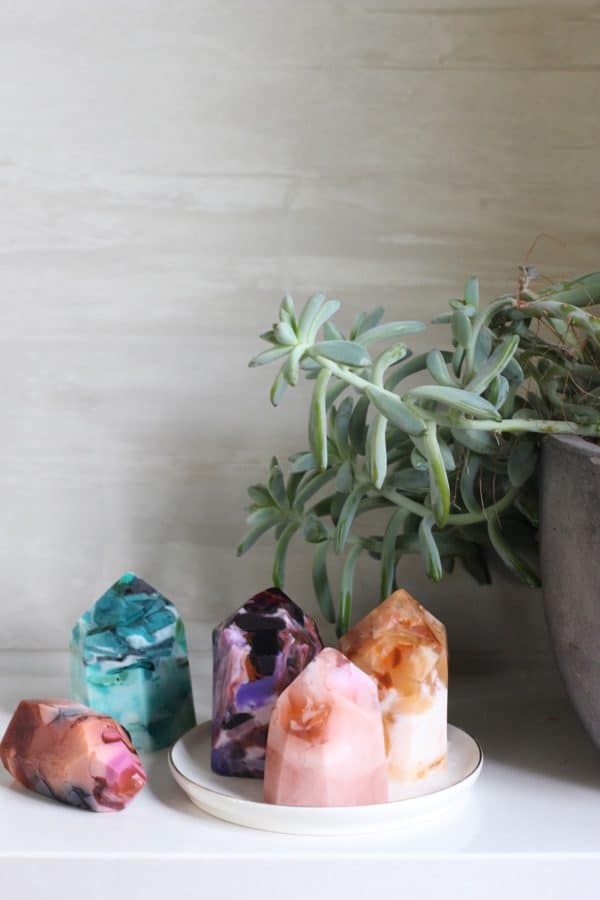
- Gemstone soaps - These are super cool, and they are 100% homemade. The tutorial talks about buying the creator's pre-made kit, but it's no longer available and you can easily get the supplies on Amazon.
What you'll need: clear soap base, white soap base, soap coloring, soap molds (1" molds or 3" molds or do as the original creator did and use a heavy duty plastic cup and then shave it down into shape with a sharp knife)
- DIY heart canvas tote bag (see video above) - This pretty tote is super simple to make using only paint and a pencil eraser. Even little kids would be able to do it, making it perfect for a special gift for mom this Christmas.
What you'll need: plain tote bag, acrylic paint in red, dark pink, light pink, and white, pencil, cardstock
- Scarf camera strap - If your mom is anything like me, she always has her camera close at hand. This beautiful camera strap is made from an inexpensive and pretty scarf, making it lightweight and easy on the neck. If you can't follow along with the video above, the full tutorial is available here.
What you'll need: A lightweight scarf, a scrap of leather, split rings, large lobster clasps, sharp fabric scissors, heavy duty leather needle, and heavy weight embroidery thread
- DIY jewelry organizer - If there's one thing most moms have, it's jewelry. Or is that just me? I don't think so. I have most of my jewelry shut up tight in a jewelry armoire, but I would rather if the things I wear frequently were out on display, making it easy to find the right piece. This pretty DIY jewelry organizer is easy to put together with simple materials, and your mom will love it.
What you'll need: decorative metal sheet, same size picture frame (this maple frame is sturdy and comes in lots of different colors), glazier points, hammer, flat head screwdriver, drill, drill bit, decorative knobs
- An arm knit blanket - When I was heavy, I didn't get cold. Now that I'm not so heavy, I get cold all the time! Every mom I know likes to sit under a blanket, because we just get chilly really quickly. So these chunky arm knit blankets would be great for tweens or teens to make for their moms. If this video doesn't work out for you, try a different one. There are about five thousand arm knit blanket videos on YouTube.
What you'll need: About 140 yards or 7-8 pounds of super chunky (sometimes called super bulky) yarn. This yarn can be hard to find and very expensive, but it makes amazingly beautiful and soft blankets. Look for it on Etsy. I haven't found this style of yarn at my local craft store, and it's ridiculously expensive on Amazon.

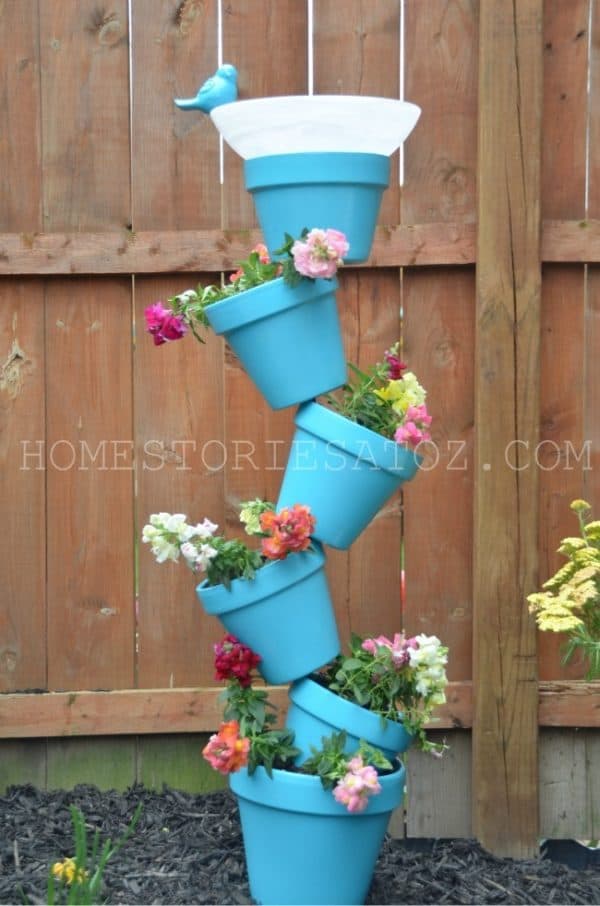
- DIY Flower Pot & Bird Bath Stand - I would love this, too! I think the combination of pretty flowers and bird bath up where cats can't reach it is perfect, and I would be so happy to have one of these towers in my backyard.
What you'll need: one 8" terra cotta pot, five 6" terra cotta pots, 62" piece of rebar, spray paint, a shallow bowl or glass lampshade, ceramic bird, DAP all purpose sealant, potting soil, plants

- Photo lampshade - These are amazing! So amazing in fact that the creator of the tutorial was taking custom orders for a while, but no longer. It doesn't look hard to make given the availability of collage software like Canva and some iOS apps. (I personally would use Photoshop Elements, but I have a lot of experience with that.)
What you'll need: a lamp with a straight-sided lampshade, lots of vellum, printer, scissors, spray adhesive or hot glue gun

- Stress relieving foot soak - Any mom who's been on her feet all day will love this relaxing foot soak, dissolved into a tub of hot water – and the 20 minutes of relaxation that goes along with it. Be prepared to give her a foot massage when she's done soaking.
What you'll need: sea salt, epsom salts, baking soda, essential oils or lavender buds, foot spa or basin (surprisingly, the foot spa is cheaper), a glass canister, bakers twine, small scoop

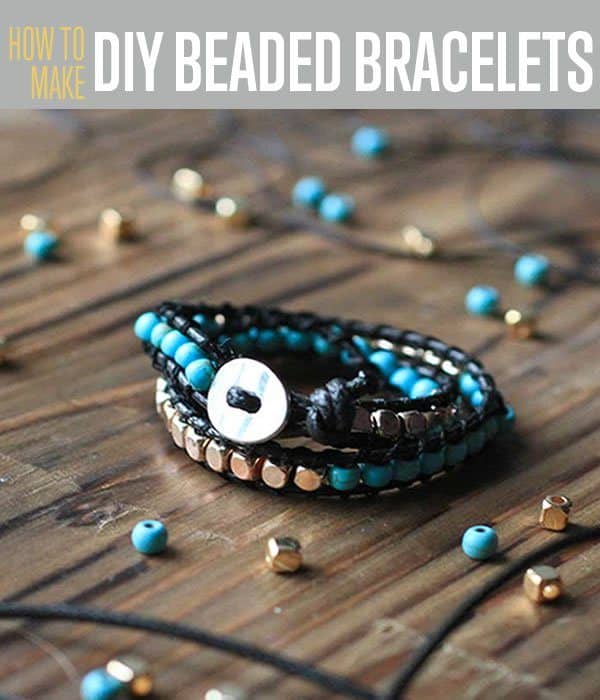
- Beaded button bracelet - This pretty bracelet is a little chunky which makes it so cool and interesting. I personally don't love the pattern they made with their beads, but that would be super easy to change. Perhaps best of all, the closure on this bracelet is a simple button, so there's no need for hardware or beading pliers.
What you'll need: 0.5 mm black beading thread, 2 mm black beading cord, a button, beads, beading needle
- Stamped clay bowls - I think these are so pretty, and air dry clay makes them super easy to stamp and make. No baking, no mess, just stamp, leave alone, and you're done!
What you'll need: Air dry clay, rubber stamps, stamp pad, small glass bowls, a knife, rolling pin, sandpaper, gilding paint to make the edges prettier
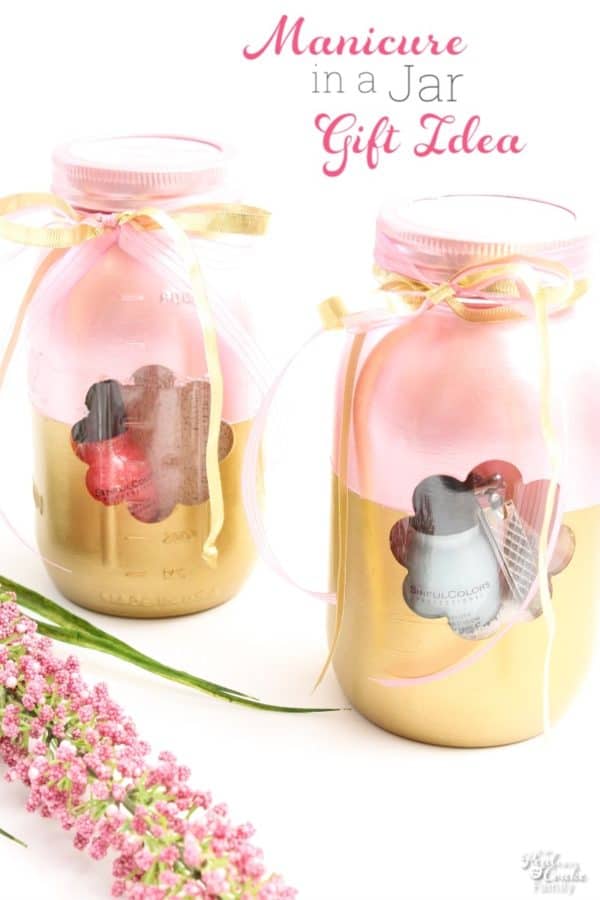
- Mani or pedi in a jar - These cute all in one jars could go along with the foot soak above. Basically, you put the soak (or plain epsom salts) in the bottom of the decorated jar to anchor everything, and then you load it up with all the tools that she'll need to pamper herself. I think these are great!
What you'll need: smooth sided quart jars, painters tape, adhesive stencil, acrylic paint in gold and one other color, manicure tools, nail polish, cuticle cream, pumice stone (for pedicure only)
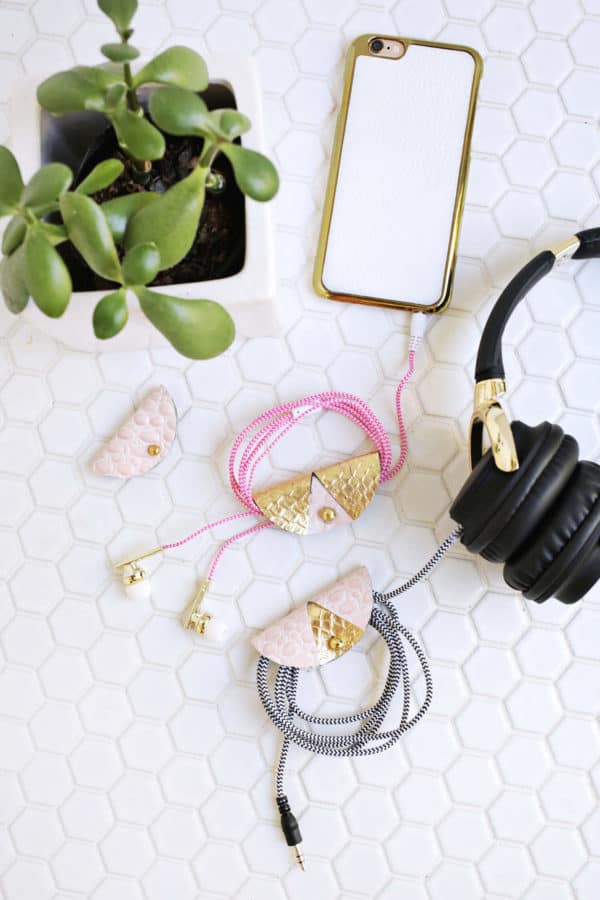
- Leather cord keeper - Tangled cords are a common problem, especially if she keeps her earbuds in her purse like I do. These cute cord keepers are super easy to make and only take a few minutes but will solve a huge problem for her!
What you'll need: gold leather, leather in another color, crop-a-dile, screw back fastener, fabric glue, sharp fabric scissors

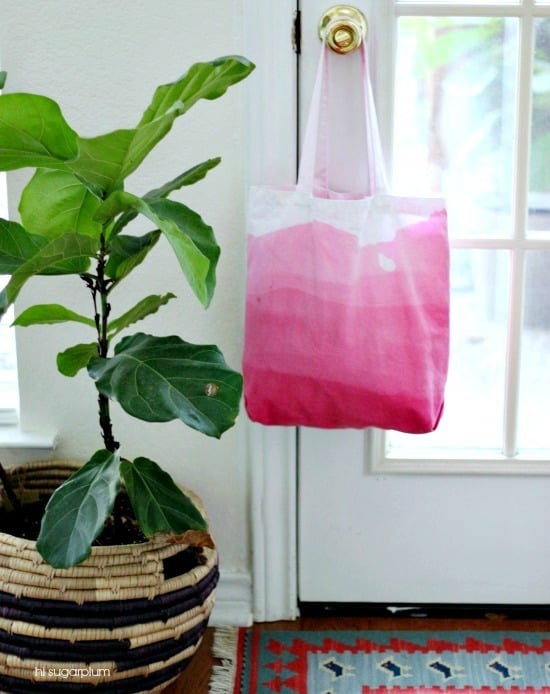
- Ombre tote bag - I've never used Rit dye before, so I don't know how this would go, but the tutorial makes it seem super simple and easy. I think it would be a great project for a dad who doesn't feel confident about crafting. I'm a bit of a tote bag hoarder, so I know I would love and use the finished bag.
What you'll need: a plain cotton or canvas tote bag, Rit dye, a big bucket, some sort of rigging to hold the bag in place while it soaks in the dye (the creator used a 2x4 and a clamp, but whatever you have will be fine)
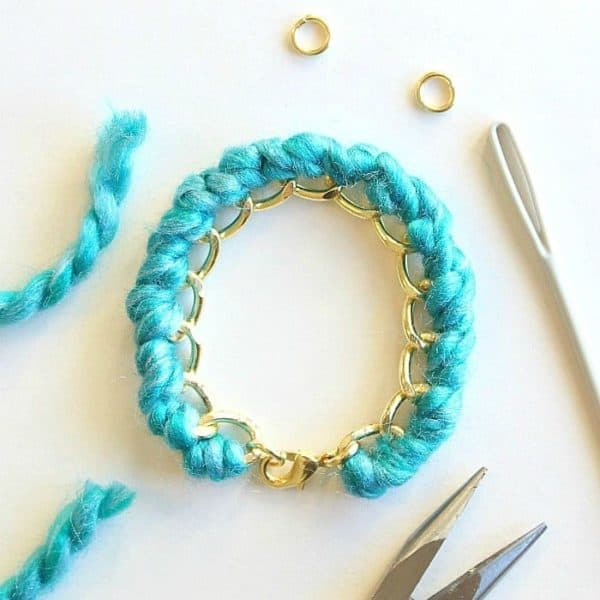
- Yarn-wrapped chain bracelet - You probably already know I crochet, and I have half skeins of yarn all over the place, leftovers from blankets or other projects that got to be too big. Those would be perfect for this pretty bracelet. If you don't already have yarn, you can usually get a small skein at the craft store for under $5. Just go in, look around, and choose the one you think your mom will like best.
What you'll need: Gold or silver chain (it needs to have large links), yarn, jump rings (again, gold or silver depending on the chain), jewelry pliers, lobster clasp, yarn needle

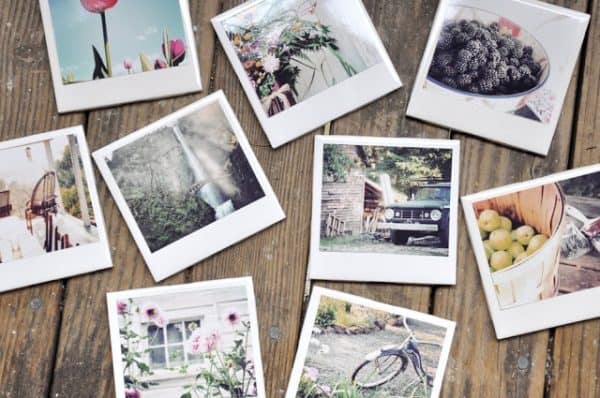
- Photo coasters - We've covered the photo thing already, right? Moms love photos of their babies and grandbabies. So, if she uses coasters at all, these would be a great addition to her living room.
What you'll need: 4x4 ceramic tiles, sandpaper, printed photos, Mod Podge, foam brush, clear acrylic sealer, ½" felt circles

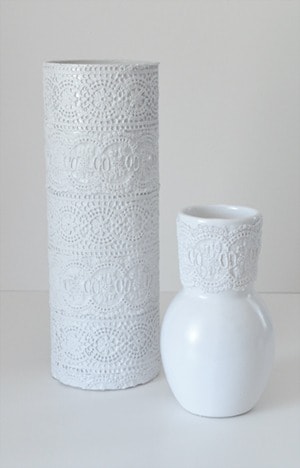
- Lace vases - I love vases, mostly because they hold flowers which I really, really love. Your mother will adore these pretty vases which come out looking and feeling like they're solid ceramic and not actually a plain vase with fabric lace Mod Podged on the outside. She will be very impressed by your mad skills here.
What you'll need: cylindrical vases, thick lace, Mod Podge, foam brush, white spray paint

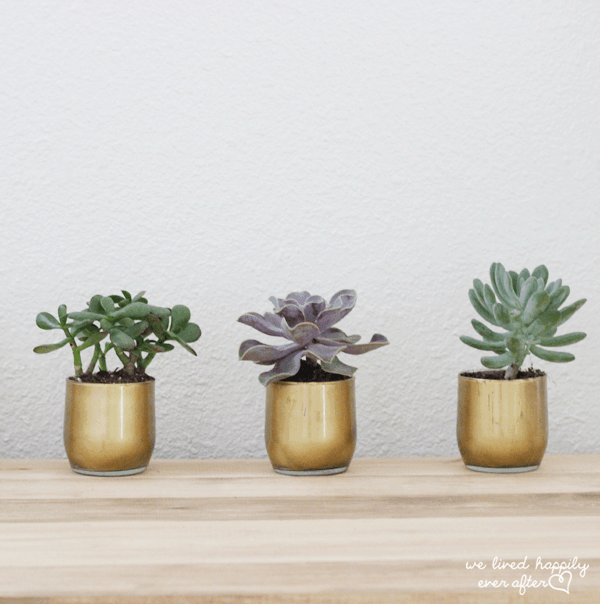
- Gold succulent planters - These little planters are super cute, and all you need to make them is a can of spray paint and some newspaper or scrap paper and painters tape. See above (#9 - succulent colander) for my advice on buying succulents.
What you'll need: juice glasses (I really like the stripe around these ones.), gold spray paint, painters tape, newspaper, succulents, succulent soil

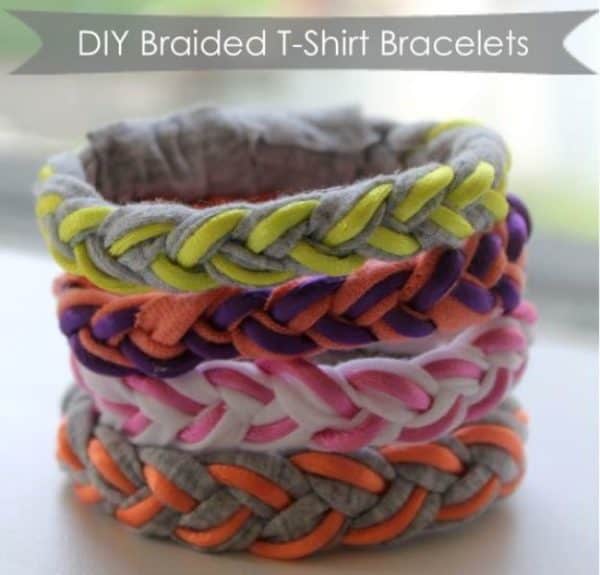
- Braided t-shirt bracelet - I have a thing for bracelets. I wear at least 5 all the time. So I love these pretty, easy to make bracelets, and I think any other youngish hip mom would love them, too. They're chunky and soft and easy to wear. While you're crafting, you might want to make a couple of yourself!
What you'll need: an old cotton t-shirt (I think gray would be nicest; get this at thrift store.), rattail cord (this is the silky cord you've probably seen before), 2 strong magnets per bracelet, hot glue gun with glue sticks

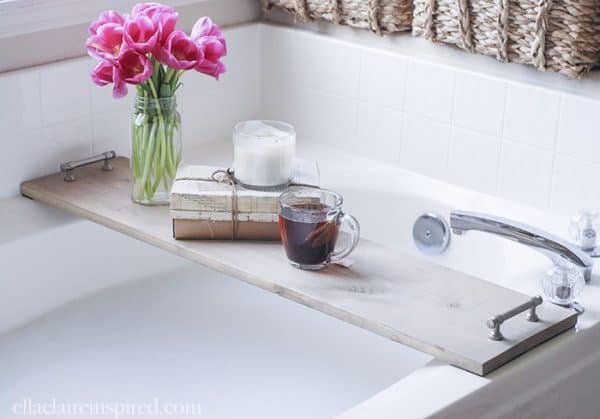
- DIY bathtub tray - This is the neatest idea. I am not in the habit of taking baths (leftover from my heavier days when I couldn't fit in the tub), but if I was, I would definitely want one of these gorgeous trays to hold my drink, my Kindle, or whatever else I wanted. If you get your wood at a large hardware store, they will most likely cut it for you, and then all that's left is to paint or stain it and add the hardware. Easy peasy.
What you'll need: 1x10 board cut to the width of the tub, sandpaper, paint or stain, gripper strips, 2 cabinet pulls (I wouldn't buy these from Amazon since the smallest package I could find was 10 pulls. Link goes to some beautiful handmade pulls on Etsy.)

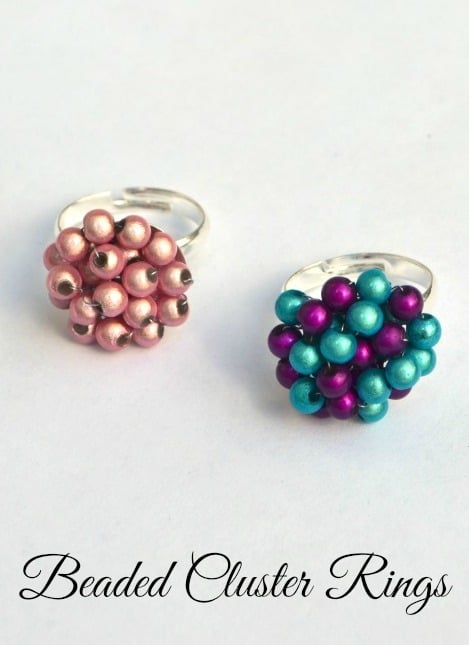
- Beaded cluster rings - I have a ring a lot like this, but it is now about four sizes too big. I can't even wear it on my thumb anymore. I would love to have another one that actually fits, and I bet your mom would love one, too, especially if she's a stylish or flashy dresser.
What you'll need: adjustable beadable rings, 4mm miracle beads, 28-gauge wire, wire cutters

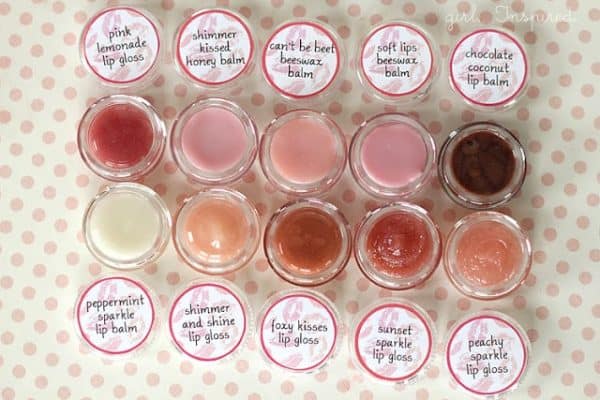
- DIY lip gloss - I have a preferred brand of lipstick and lip gloss, so this one is actually not for me, BUT I know a lot of moms who are completely and totally addicted to lip products. If you have one of those, she will undoubtedly love these yummy looking and yummy tasting lip glosses and balms.
What you'll need: There are a couple of different recipes in the original post with a list of ingredients as long as my arm. So... go over there and check those out.

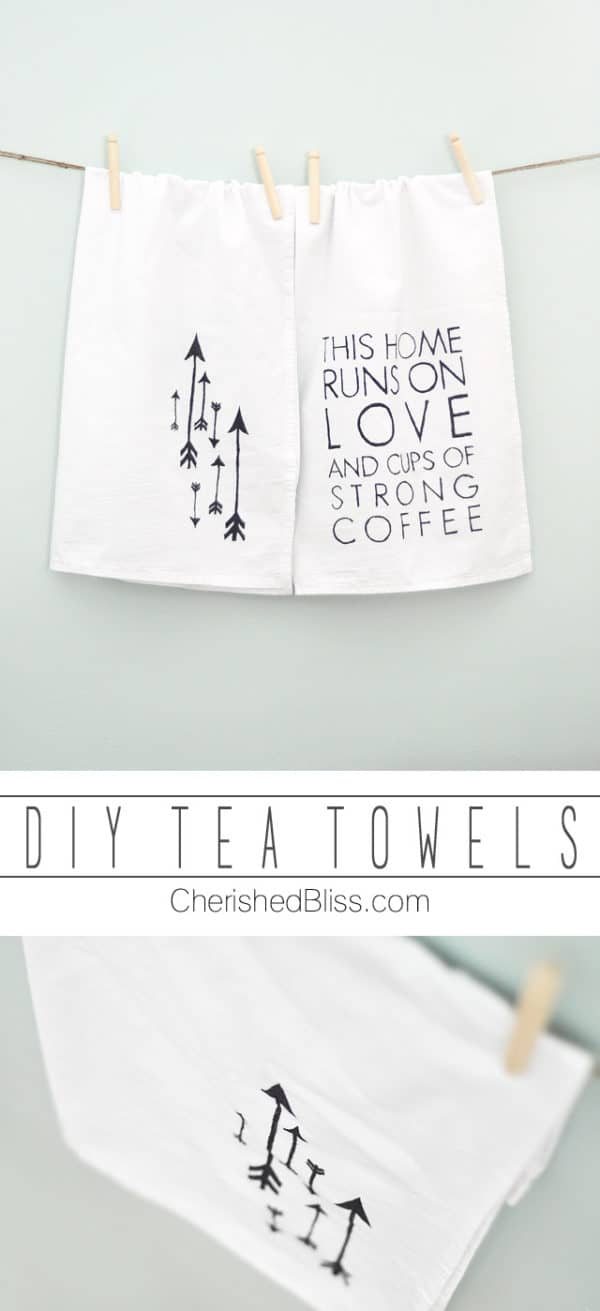
- DIY Tea Towels - I think these are so pretty, and dish towels are always missing at my house. You could make them say whatever you want, so
What you'll need: flour sack towels, fabric markers (she says to use Sharpies in the post, but I think fabric markers will work better), printables from the site or your own template
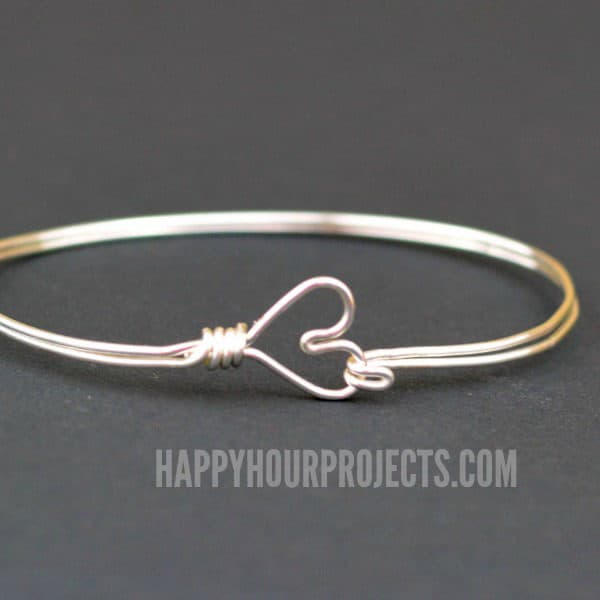
- DIY wire heart bangle - I love bracelets and wear a lot of them. My sister is really into wire jewelry, too, so I think she would really like this pretty bangle. Once you have the tools, these are simple to make, quick, and very very cheap. You could make a bunch from one roll of wire.
What you'll need: 18-guage wire (the tutorial uses silver, but if you poke around on Amazon, you can find many different colors), nylon jaw pliers for jewelry (these won't scratch or dent the wire - very important), round nose jewelry pliers (you'll need these to get that pretty heart clasp at the end), wire cutters - Breakfast in bed - I know this isn't really a gift that you can put under the Christmas tree (although, maybe you could make up a book of breakfast in bed coupons), but surprising the woman in your life with one of these awesome breakfasts in bed is sure to win you major points.


So that's that. 40+ gifts that I think any mother (or woman!) would love to receive this year for Christmas. You can't go wrong with any of these gifts. So tell me,